How to Recover Lost Data on OS X Mavericks

Has Mavericks upgrade erased your data on an external WD, Hitachi, Seagate or LaCie drive? Disk Drill deals perfectly with OS X Mavericks data loss and will rescue your data in minutes.

External HD
How to Recover Lost Data Lost on OS X Mavericks
?

Some Mac users are reporting Mavericks data loss issues after installing OS X 10.9. The most common scenario is as follows:

  • You had a functioning external hard drive (it doesn’t have to be a Western Digital one — other brands like Seagate, Hitachi and LaCie seem to have also been affected)
  • You had a Western Digital (WD) software application installed on your Mac prior to upgrading, such as WD Drive Manager, WD Raid Manager or WD SmartWare (if you ever had a Western Digital drive, the software may have been installed without you even noticing)
  • You have upgraded to Mavericks and now you cannot access your external drive and/or when you open the drive it appears to be empty

You could read the official Western Digital statement regarding this OS X Mavericks data loss issues, no longer accessible though, and the Apple Support forum thread about the OS X Mavericks upgrade destroying data here. The good news is there is no need to panic: your data might still be there and has not been lost! Disk Drill can help you recover deleted files after Mavericks OS X update. There is no need to wait for Apple or WD to fix this Mavericks bug in the format of your external hard drive.
#1 Don’t Use the Disk

Don’t attempt to save anything to the disk, reformat it, or do anything else that might inadvertently cause true data loss. Unplug it until you are ready to scan it with Disk Drill.

#2 Uninstall WD Software

Use Western Digital’s Uninstaller to uninstall any pieces of the WD software that might be lurking on your Mac. Then restart your Mac. Western Digital also recommends opening a support ticket with them and with Apple to help document the extent of the disk data loss during the OS X Mavericks upgrade.

#3 Install Disk Drill

Download the free Disk Drill Basic app. If you need assistance, follow our tutorial on how to download and install Disk Drill.

  • Download Disk Drill
    1

    Download Disk Drill

  • Drag to Applications Folder
    2

    Drag to Applications Folder

  • Launch Disk Drill
    3

    Launch Disk Drill

#4 Prepare to Transfer Files

When Disk Drill recovers your files, we recommend that you save those files to a separate disk. So you will need to have enough room on your Mac’s internal drive, or connect a second external drive to recover the files to.

#5 Connect External Drive

Connect your hard disk that was damaged during the Mavericks upgrade to your Mac. Connect a second drive to copy the files to, if needed. Then launch the Disk Drill app.

Connect External Drive

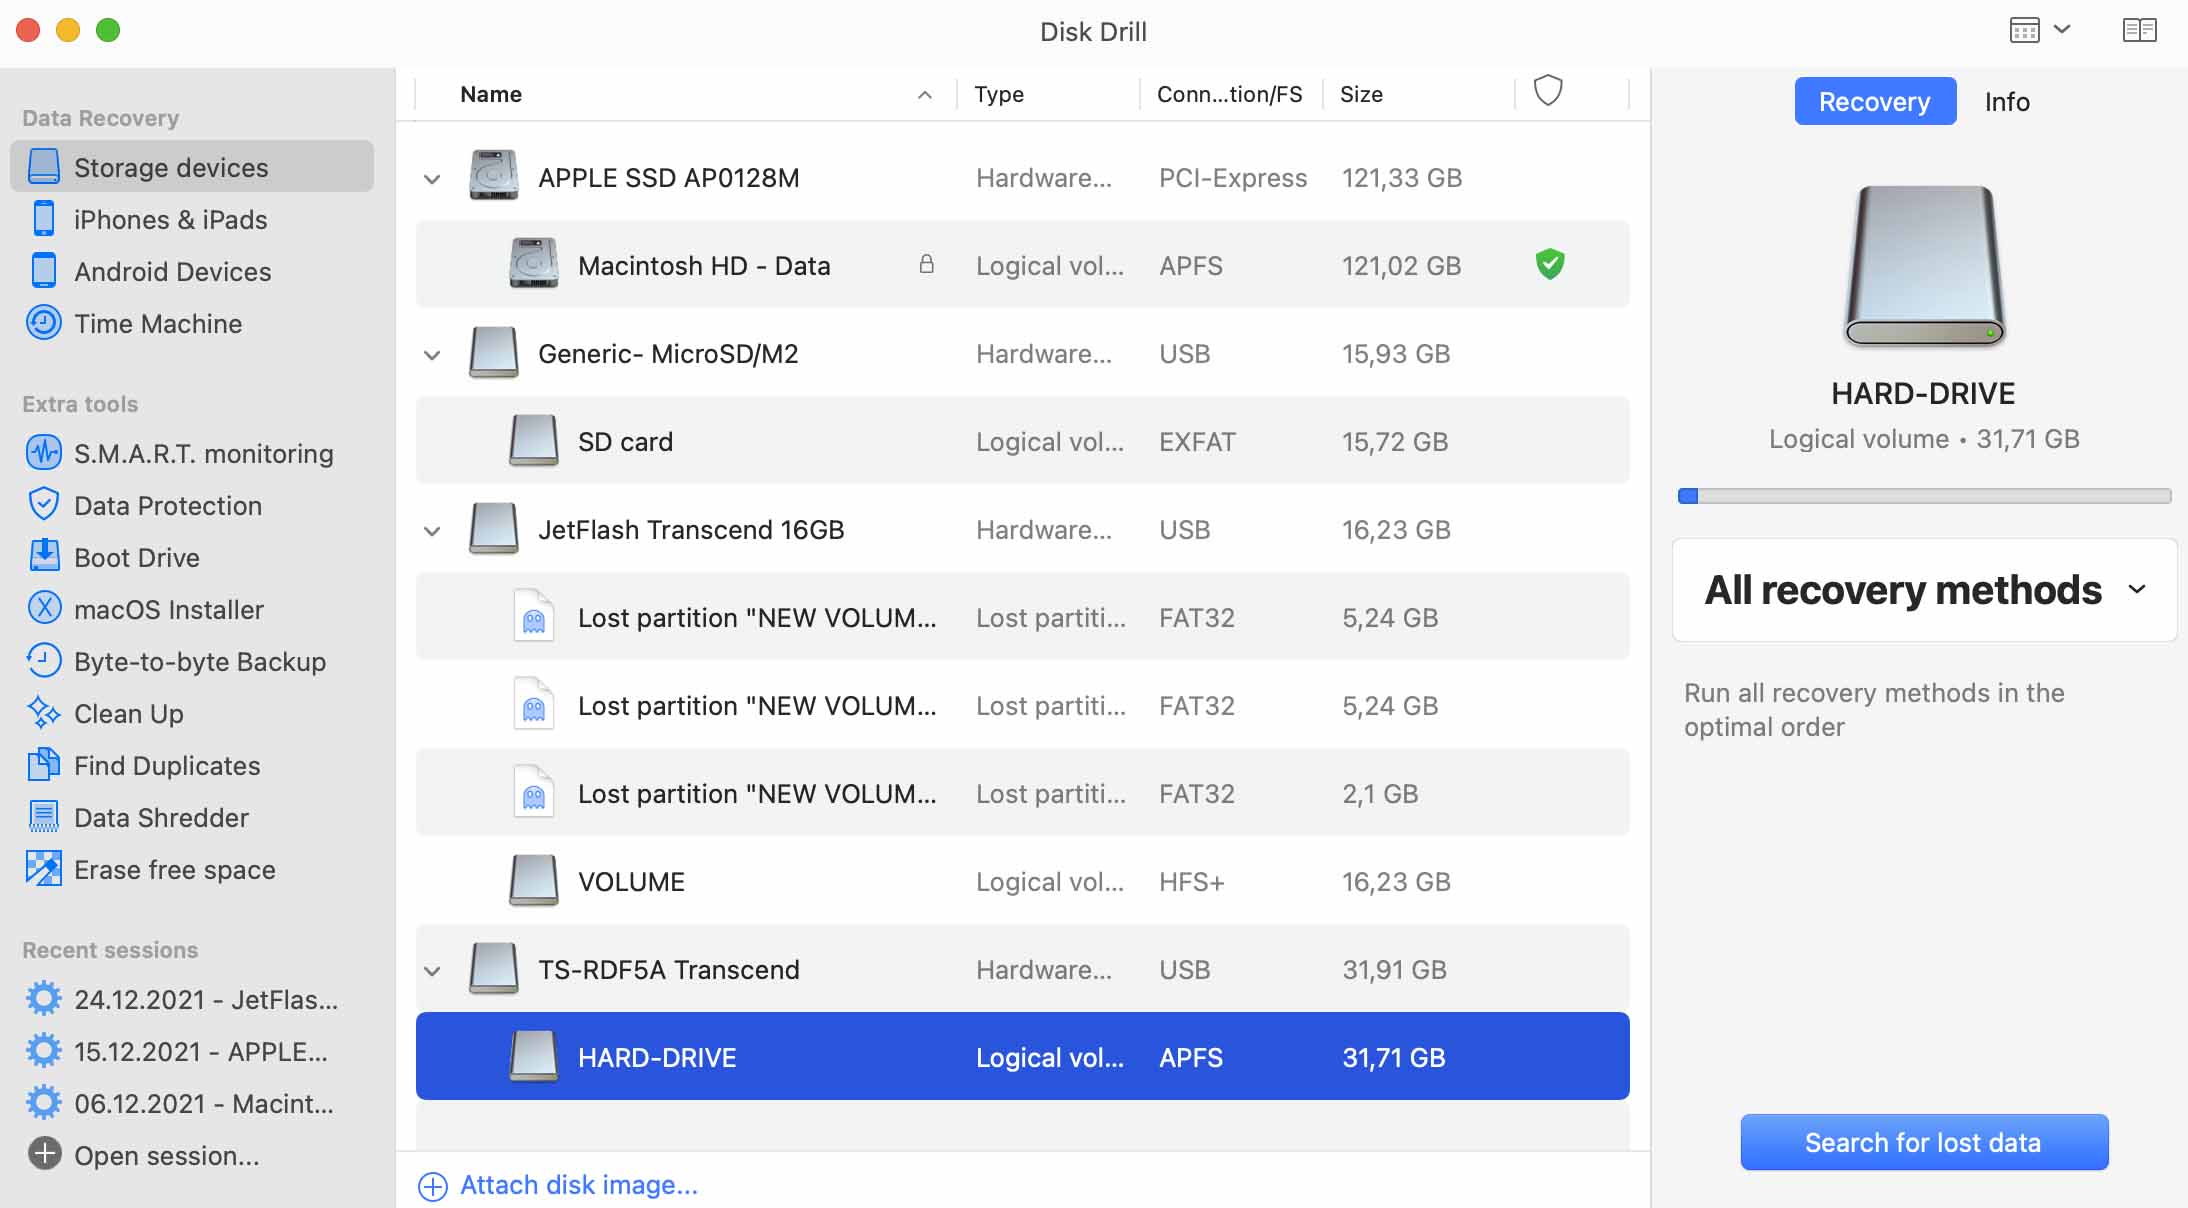
#6 Select the Disk

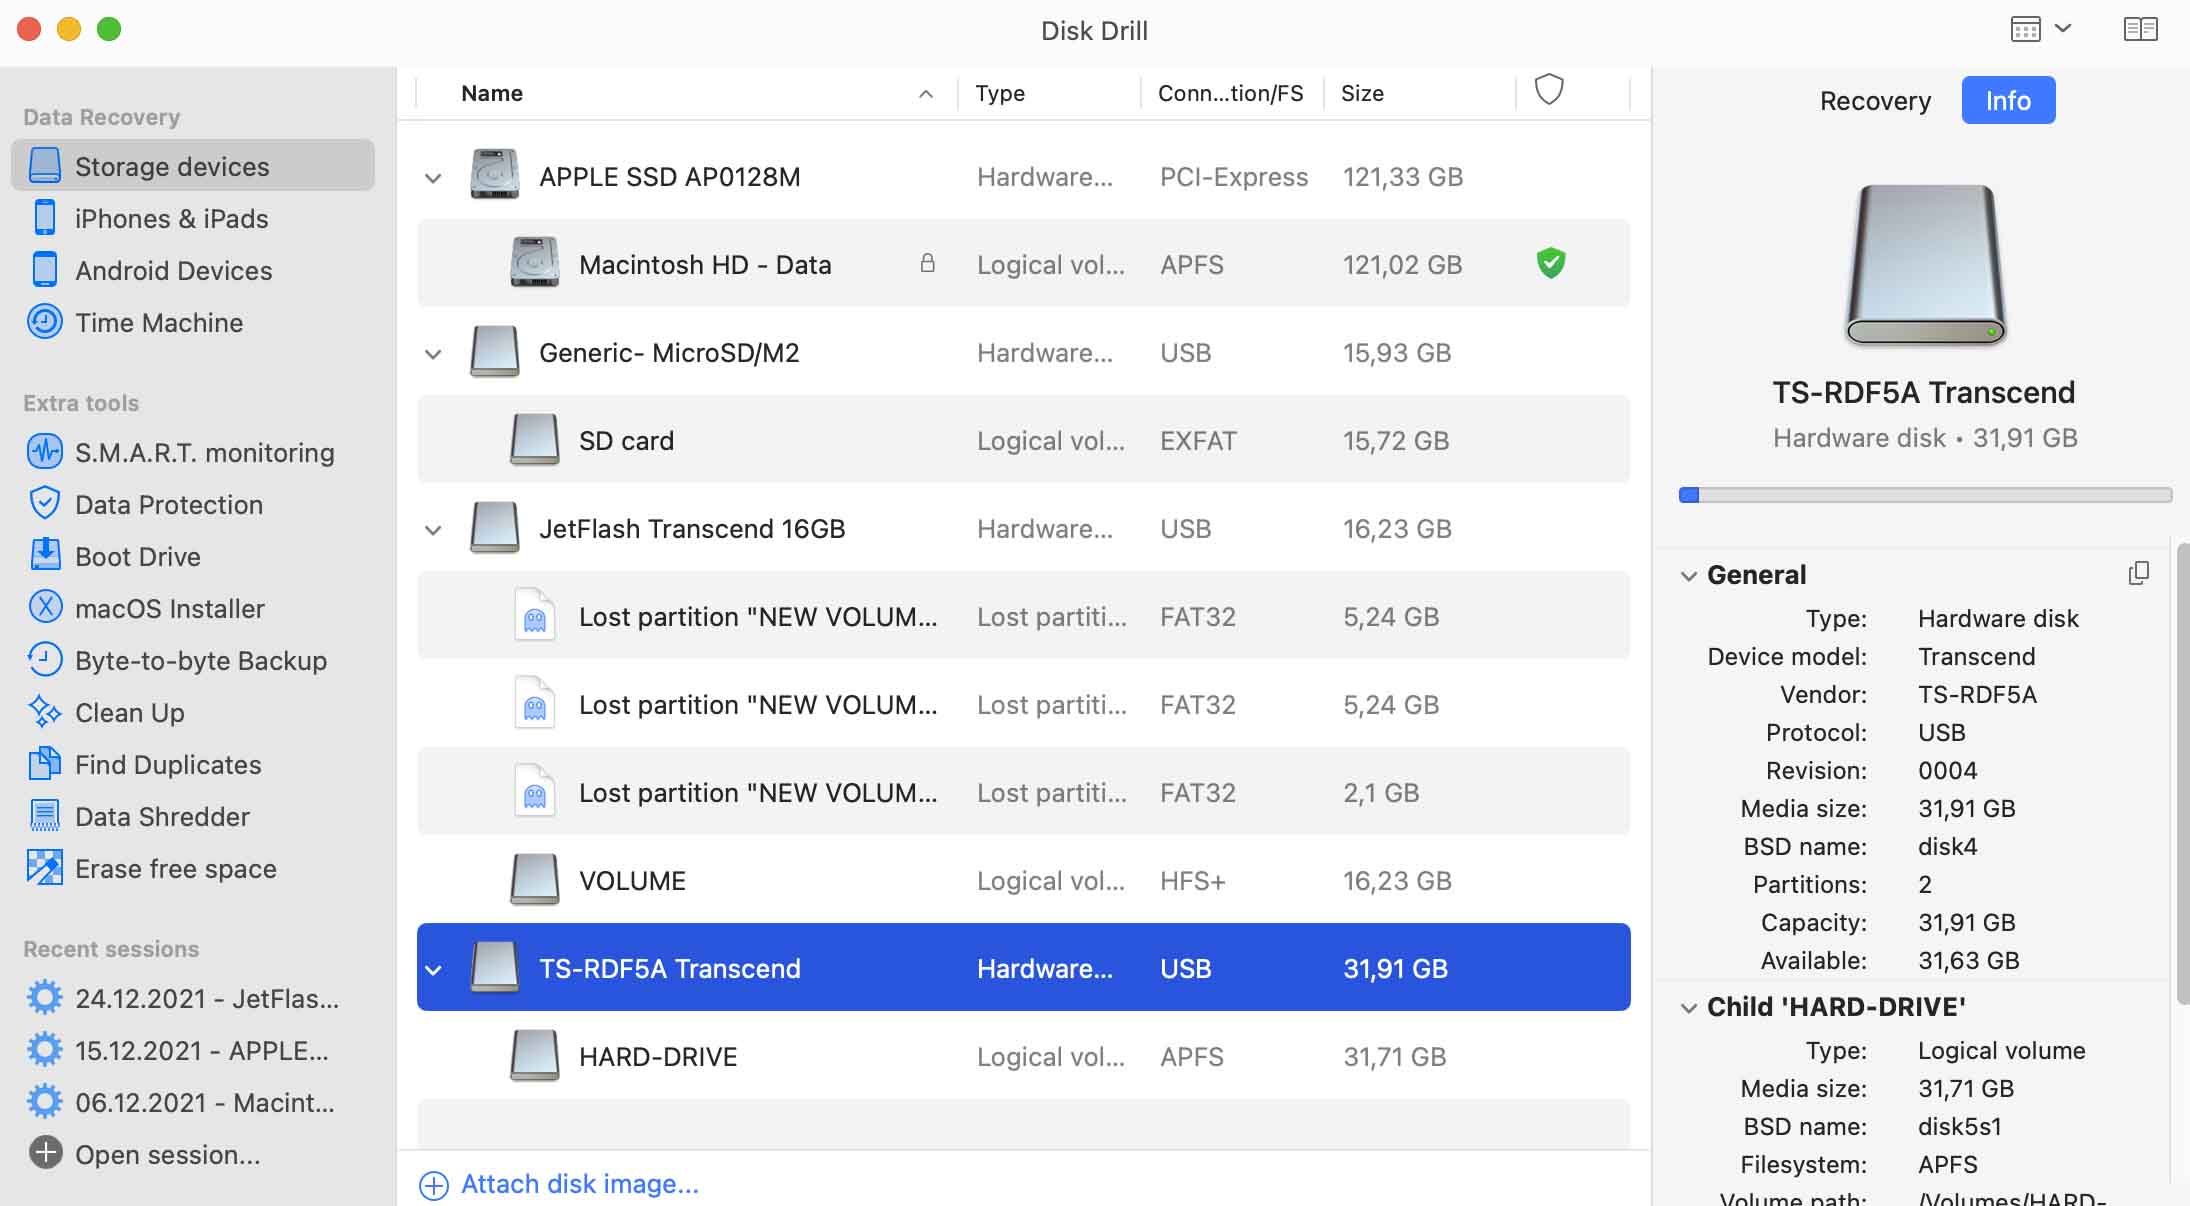
Once you launched Disk Drill, a list of available disks will be shown. Click the name of your corrupted external hard drive to select it. Now select a scanning option. Most probably the lost partition will have a generic name instead of the correct one that was used before the data loss. If the button to the right of the partition name says “Rebuild” it means that the drive is not mounting properly. Click “Rebuild” to rebuild your directory and mount the disk. It will then automatically complete a Quick Scan of the disk. If the button next to the drive name says “Recover” it means that your drive is mounting OK. In that case, you can go straight to scanning. Simply click the drop-down arrow next to “Recover” and choose “Quick Scan”.

#7 Review Found Data

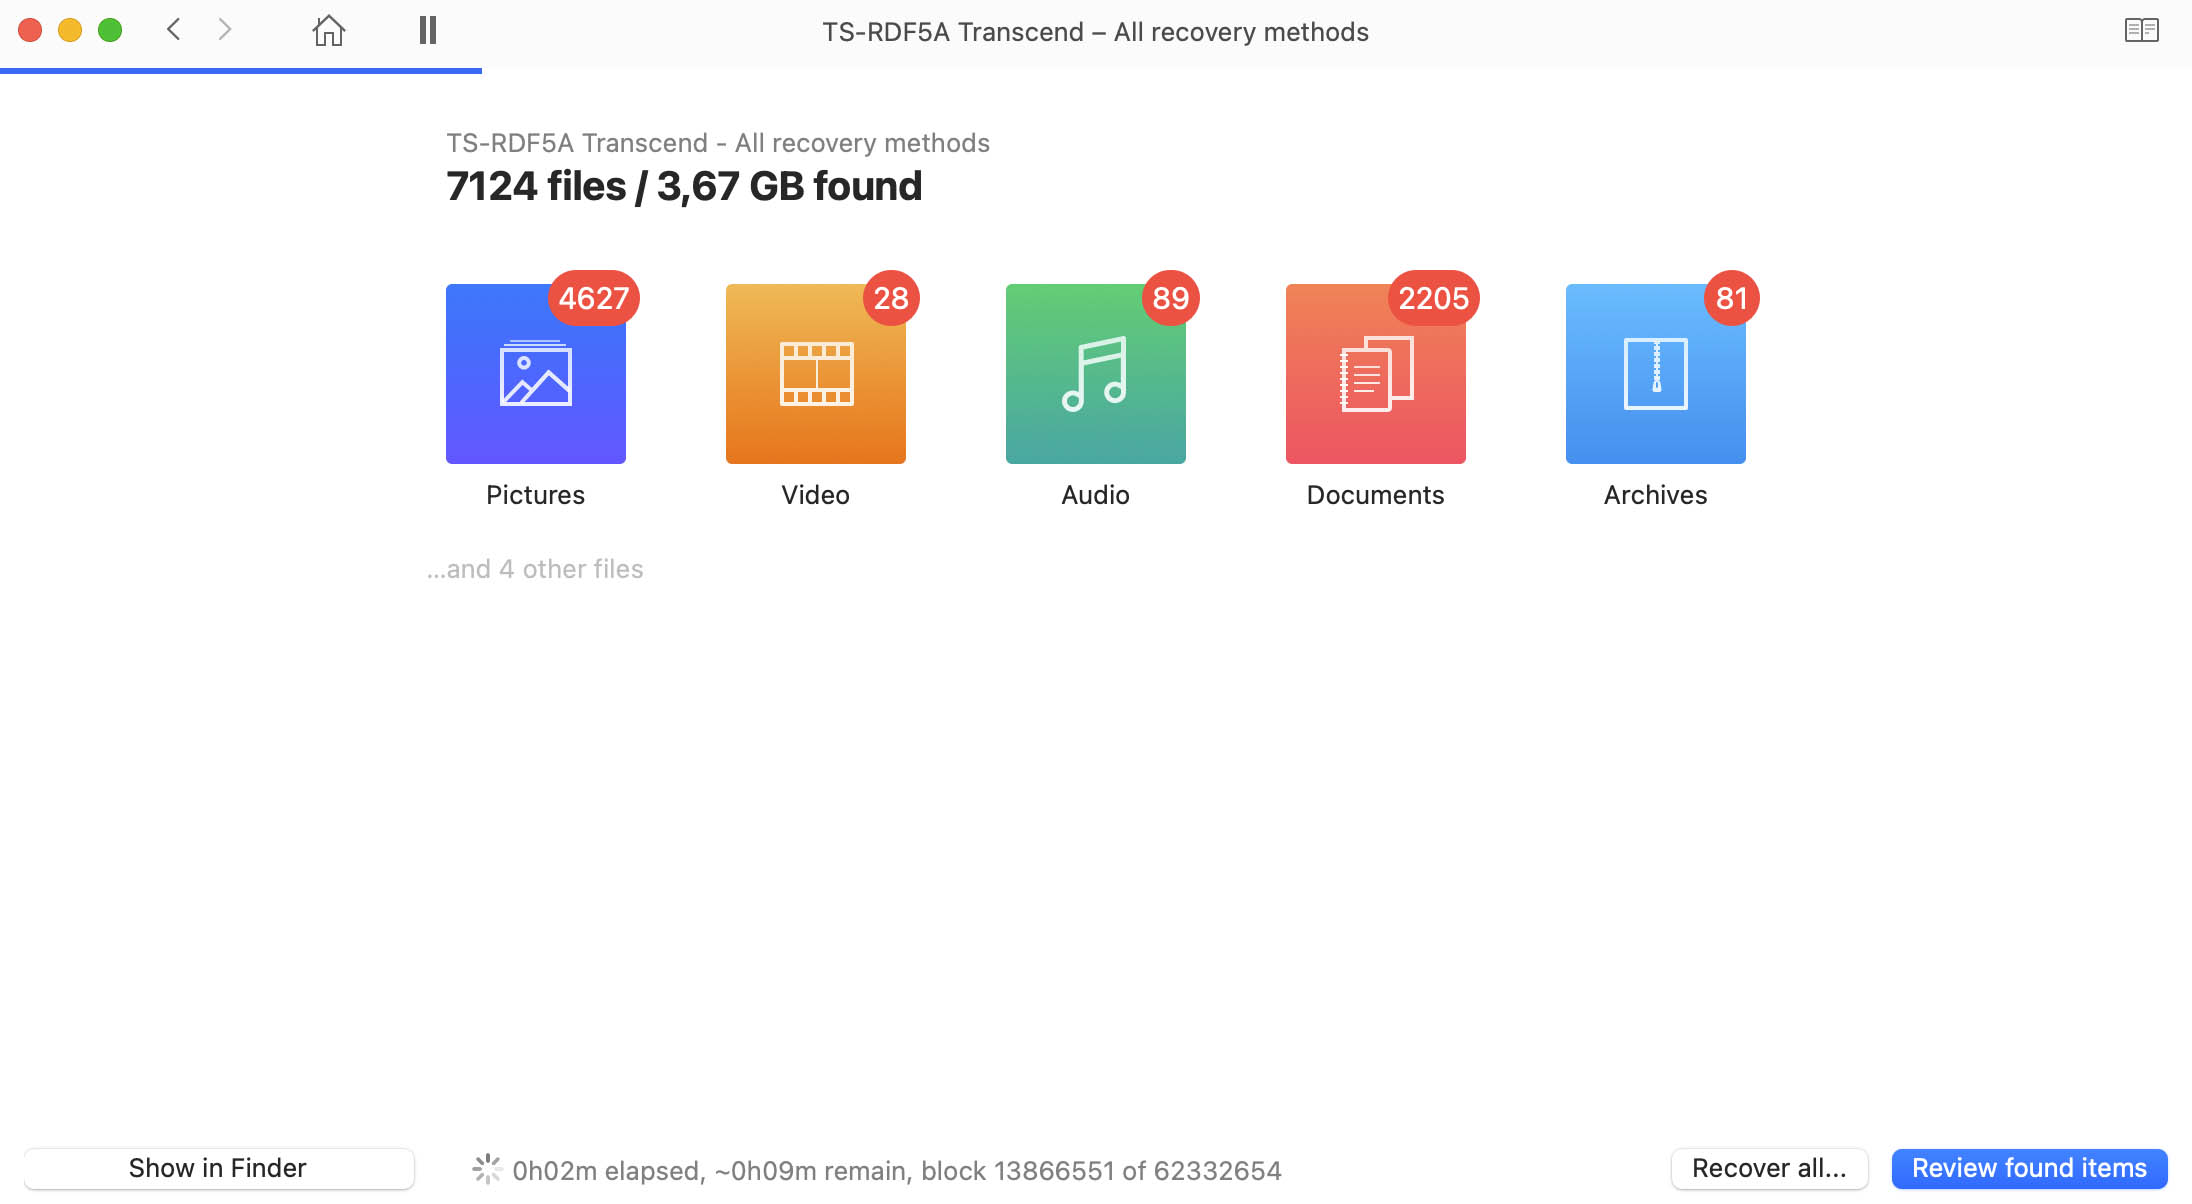
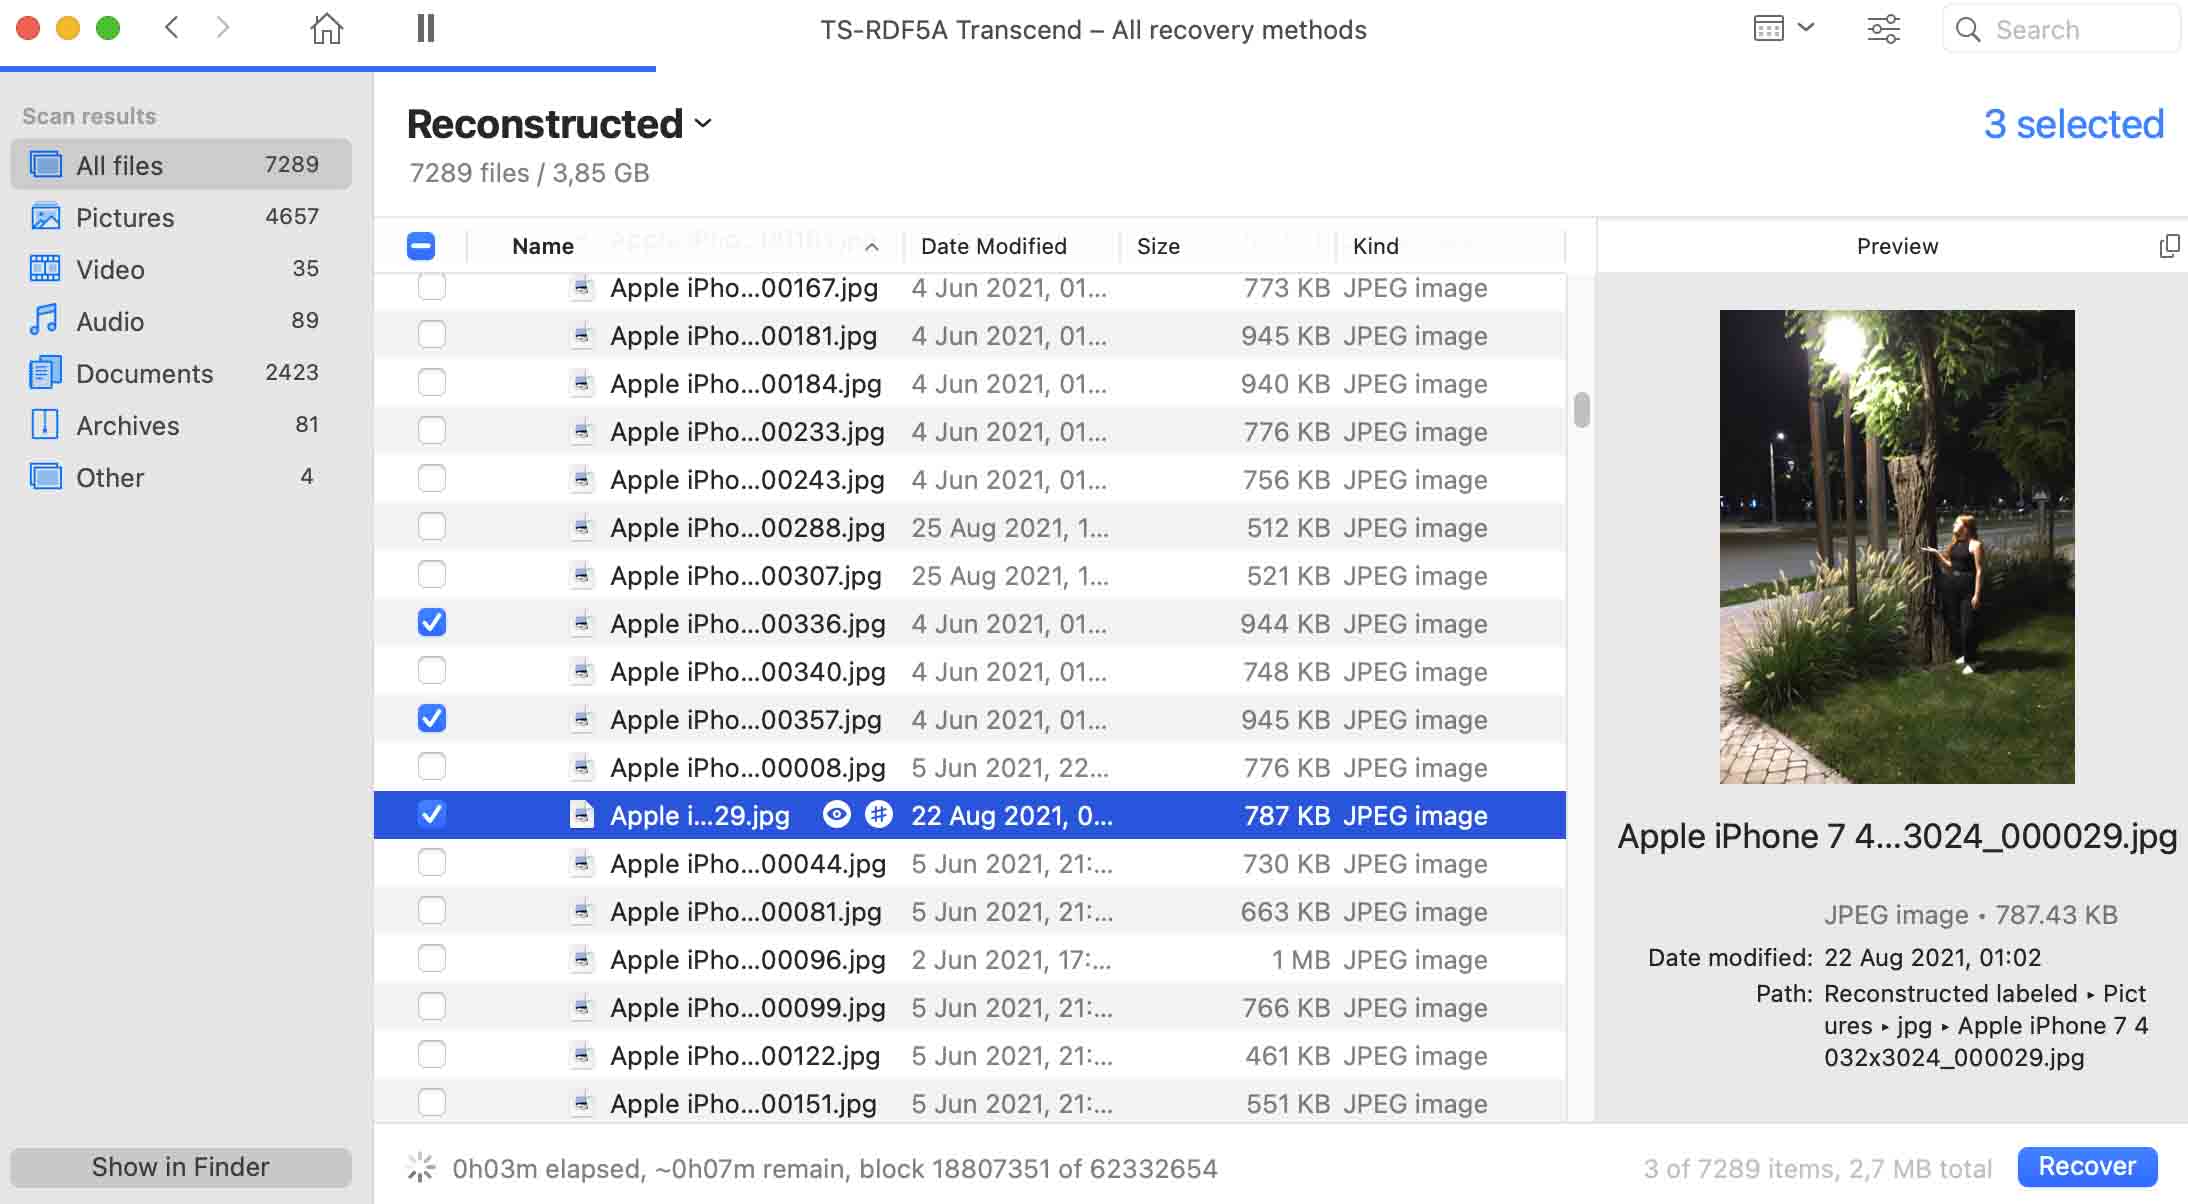
Once Disk Drill is done scanning, it will display all the files it has found. Review these files to be sure all of your data is there. If you haven’t made any repair attempts on your drive since your Mavericks upgrade, we anticipate all of your files will be in good shape. However, we do recommend that you preview key files (by clicking the “eye” icon next to the file name) to be sure that they are not corrupt. And if you did make any rescue attempts prior to using Disk Drill, then you should definitely preview your files.

#8 Upgrade and Recover

Once you have identified your files and made sure they aren’t corrupted, you are ready to upgrade to Disk Drill PRO and recover your files. Please follow our Upgrade Tutorial and then move on to How to Recover Files with Disk Drill PRO. Make sure to use the 20% coupon code MVRCK-UPD-DDTW when making your purchase.

Disk Drill is very serious about OS X data recovery

Disk Drill will dig deep into details with Deep Scan feature for cases when there is hardly any file structure left. The app will scan the raw data on your hard drive (FAT, NTFS, or else). Disk Drill looks for a binary signature of the file working fragments that it finds into a single structure. Once a sought file signature is recognized it is so much easier to recover files like XLS, DOC, AVI, MP4, JPG, and others.

Protect your important files now!

More How To Instruction

Disk recovery university

What users and software Pros say

Used by world famous companies