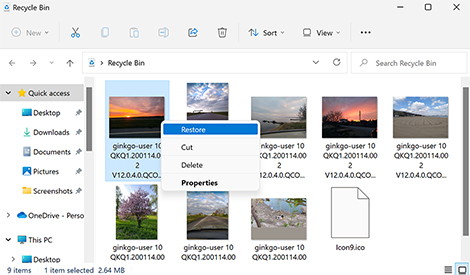
Step 1. Open the Recycle Bin by clicking its icon.
Step 2. Locate the files you wish to restore. They will be recovered to their original location which is displayed in the Recycle Bin.
Step 3. Click on the Restore button to recover the files.
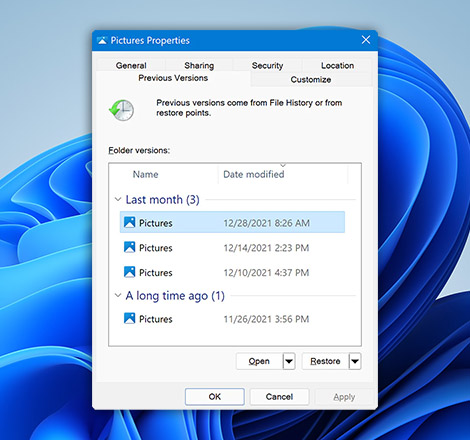
Step 1. Open File Explorer and navigate to the folder that contained the lost files before they were sent to the Recycle Bin.
Step 2. Right-click on the item you would like to recover and select Restore previous versions.
Step 3. Choose the version of the file you would like to recover and click the Restore button.
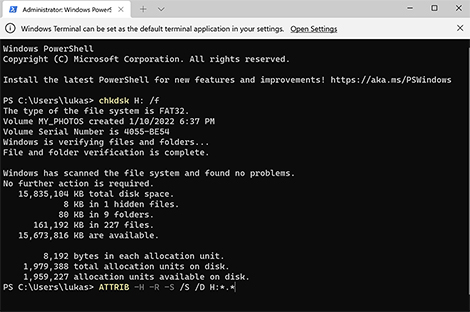
Step 1. Open a Command Prompt on your Windows machine.
Step 2. Type chkdsk "drive letter": /f and press Enter:
chkdsk D: /f
Step 3. Press Y until the command line reappears.
Step 4. Type the drive letter and hit Enter.
Step 5. Enter this command:
ATTRIB -H -R -S /S /D D:*.*
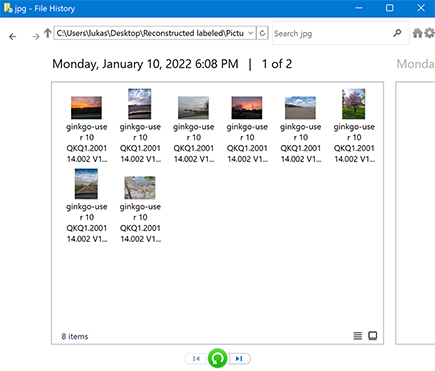
Step 1. Open the folder containing the items you want to restore.
Step 2. Click the Home tab.
Step 3. Click the History button to start the File History program.
Step 4. Choose the items and versions you want to restore.
Step 5. Click the Restore button and select how to handle naming conflicts.
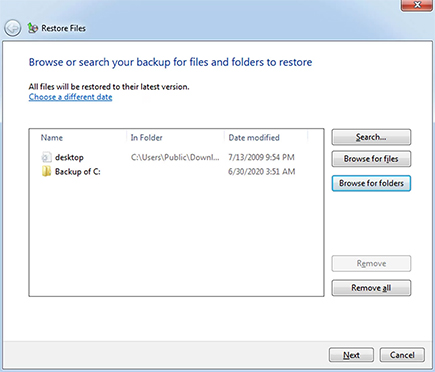
Step 1. Open Backup and Restore.
Step 2. Click Restore my files.
Step 3. Locate the files you want in the Restore Files dialog box.
Step 4. Select the location where the files will be restored and how to handle duplicates files.
Step 5. Click the link to View Restored files and Finish to close the dialog box.
Have Windows confirm file deletions with these steps:
Step 1. Right-click on the Recycle Bin and select properties.
Step 2. Open the General Tab.
Step 3. Check the box next to Display delete confirmation dialog.
Check or uncheck the Recycle Bin checkbox to show it or hide it with these steps:
Step 1. Select the Start button, then select Settings.
Step 2. Select Personalization > Themes > Desktop icon settings.
Step 3. Select the Recycle Bin checkbox > Apply.
Increasing the Recycle Bin’s size allows it to hold more data before automatically rolling off the oldest items as it fills up. Use this procedure:
Step 1. Right-click on the Recycle Bin and select Properties.
Step 2. Modify the value in the Custom size field to the size you prefer.
Step 3. Click Apply.
By default, Windows keeps files in the Recycle Bin for 30 days or until its space is exceeded. You can modify this setting by opening System -> Storage and clicking on the Change how we free up space automatically link. Set the number of days to your desired length of time.
To recover a file from the Recycle Bin use these steps:
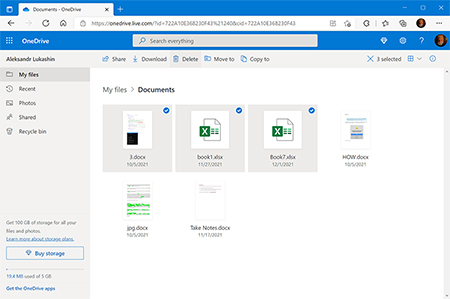
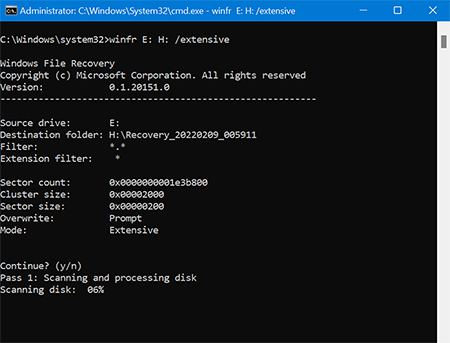
Use these steps to recover data from an empty Recycle Bin:
Recover deleted files from the Windows 10 Recycle Bin with these steps:
To recover deleted files from the Recycle Bin without software:
Items may not appear in the Recycle Bin for several reasons. The system may be set up to skip the bin and permanently delete data. In this case, you need to enable the Recycle Bin by right-clicking on its icon and selecting Properties. You might need to add space to the Bin so it can handle large files.
Yes, you can. The free trial version of Disk Drill enables you to recover up to 500 MB of data before upgrading to the pro version of the software. This is the best way to discover the power and intuitive ease of operation of the tool by performing a real data recovery without any financial commitment.
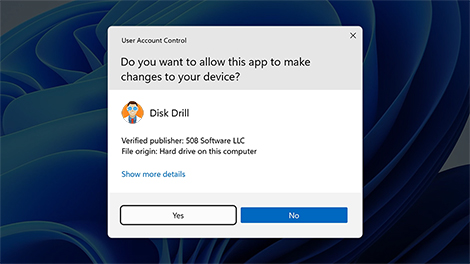
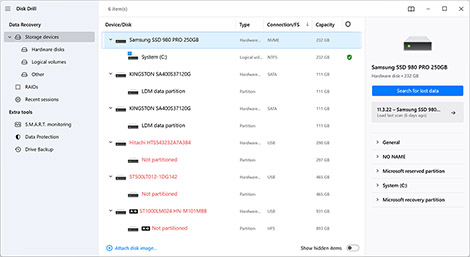
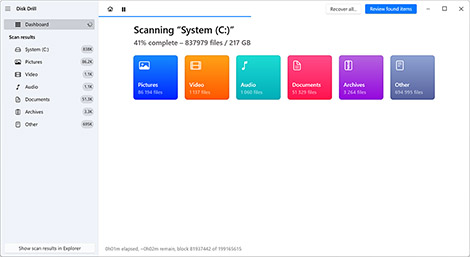
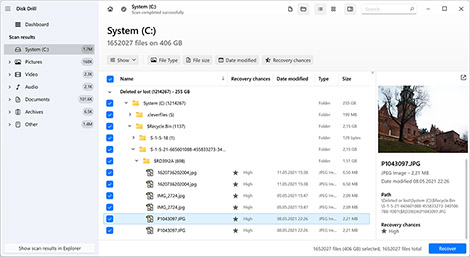
Yes you can, with Disk Drill data recovery software. Here’s how to do it.
You cannot delete the Recycle Bin but you can delete its icon. If your Recycle Bin is corrupted, it may disappear from your desktop. Use this procedure to get it back:
Use this procedure to change the space allocated to the Recycle Bin.
Use these steps to show or unhide the Recycle Bin Icon.
You can stop Windows from instantly deleting files by activating the deletion confirmation dialog box. Follow these steps:
Customers and software guru say