It happens to all of us, and all it takes are two identical file names. Sure, Word or Excel will ask you if you are 100% sure about overwriting the original document, but before your brain can stop your fingers from hitting the enter key, the original file is usually gone.
Luckily, there are several ways how you can get it back in just a few minutes. In this article, we are going to describe three of them — two unique to Windows and Mac OS X and one that works on both operating systems.
How a File Becomes Overwritten
When you delete a file, it’s not actually deleted from your drive immediately. Instead, the information that your operating system uses to locate that file is deleted instead. Then, the physical location where your data resided on the drive is marked as available so new data can be written to it.
Until new data is written to that same physical location, your data will still be there. This allows data recovery tools to scan your drive and recover this data. However, once an existing file is overwritten, or a new file is written to the same physical space as your deleted file, recovery becomes extremely unlikely given the contents of the file have been replaced.
When moving data around your drive, make sure every file has a unique filename so none of your files overwrite each other. Additionally, if you’ve lost your data, avoid using the drive until you’re in a position to perform recovery, as regular use can cause your data to be overwritten with temporary system files.
How to Recover Overwritten Files on Windows
There are a few methods you can use to recover overwritten files. A lot of them require the prior configuration of some form of backup utility, but there is a chance you can recover the file using third-party software. Read on to learn more.
Method 1: Restore a Previous Version
If you set up File History, or you create a system restore point when the file was still intact, you may be able to restore a previous version of the file before it was overwritten. Follow these steps to recover an overwritten file on Windows PC using File History:
- Open Windows Explorer and navigate to the folder where the file was located in.
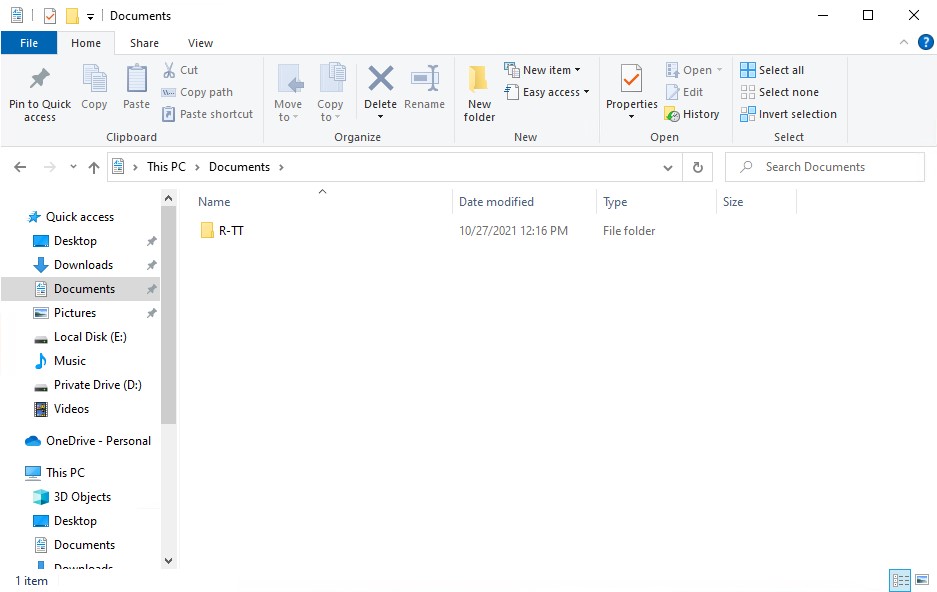
- Right-click anywhere inside this folder and select Properties from the context menu.

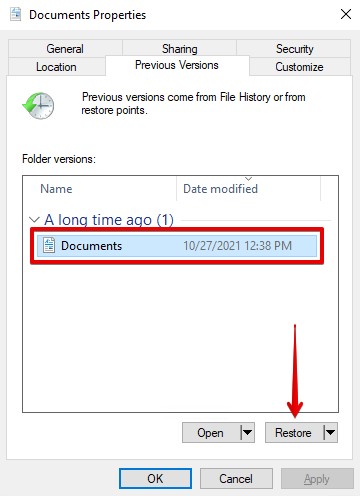
- Select the Previous Versions tab and look for an earlier version of the overwritten file.
The problem is that Windows stores previous versions of documents using the File History feature or restore points, and most users don’t actively use either of them. Therefore, if this method does not work for you, check out the next solution.
Method 2: Restore from a Backup
If you had the foresight to create a backup of your data before your files were overwritten, you can easily restore your data from it. Aside from File History, the Backup and Restore feature is another backup utility available with Windows. Follow these steps to restore a file using Backup and Restore.
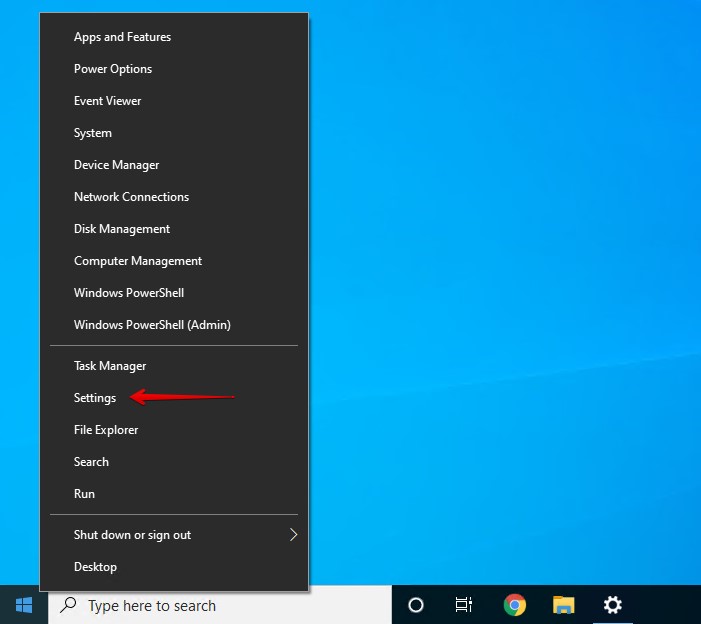
- Right-click Start and click Settings.
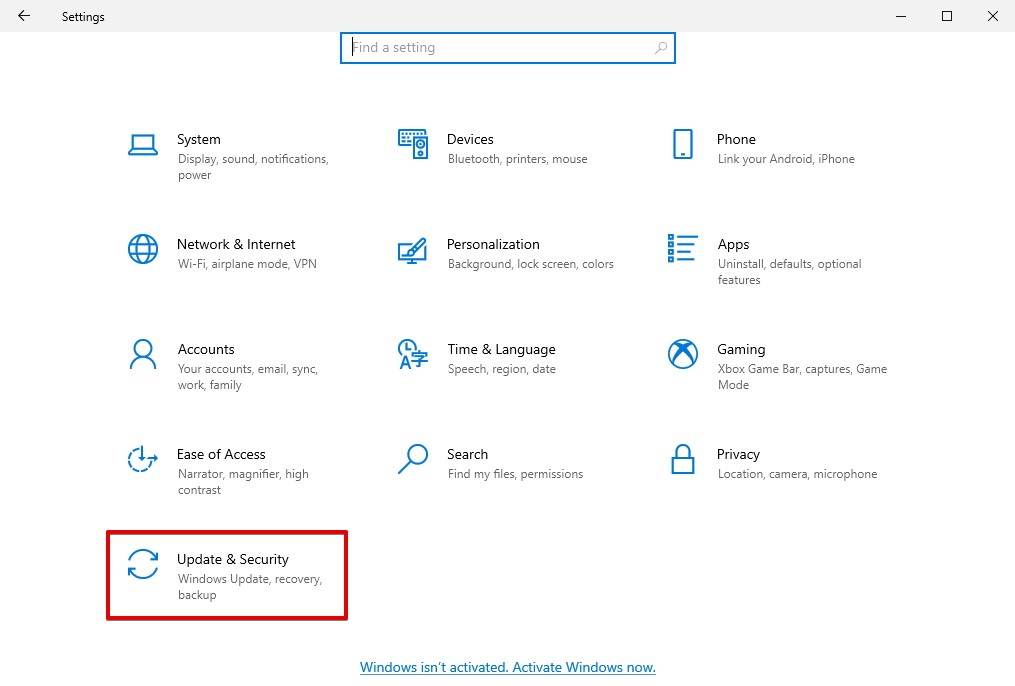
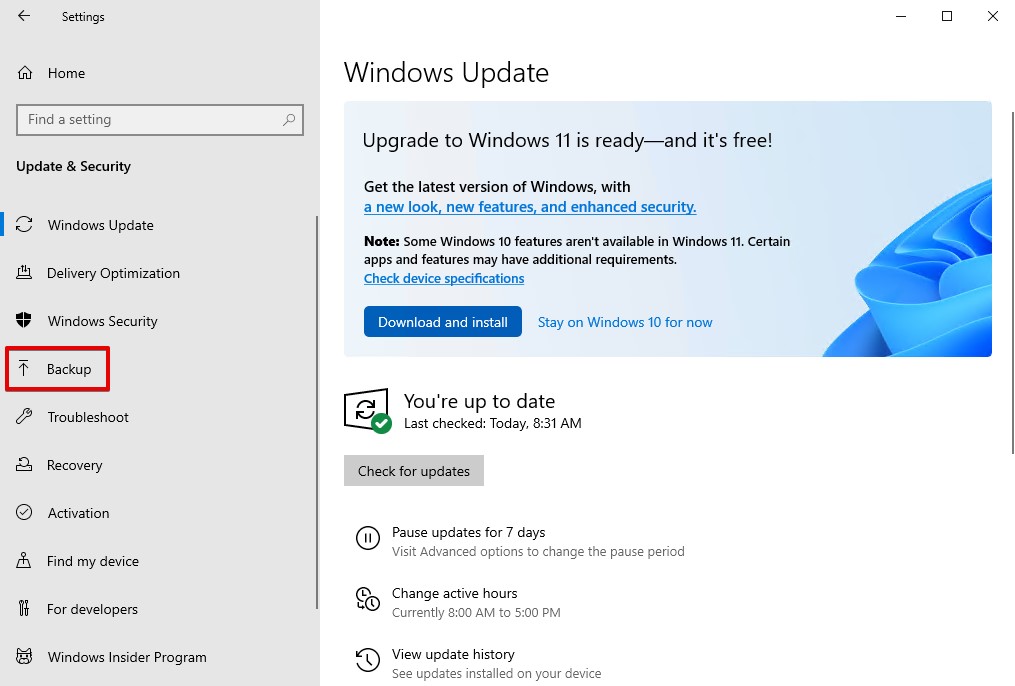
- Click Update & Security.
- Click Backup.
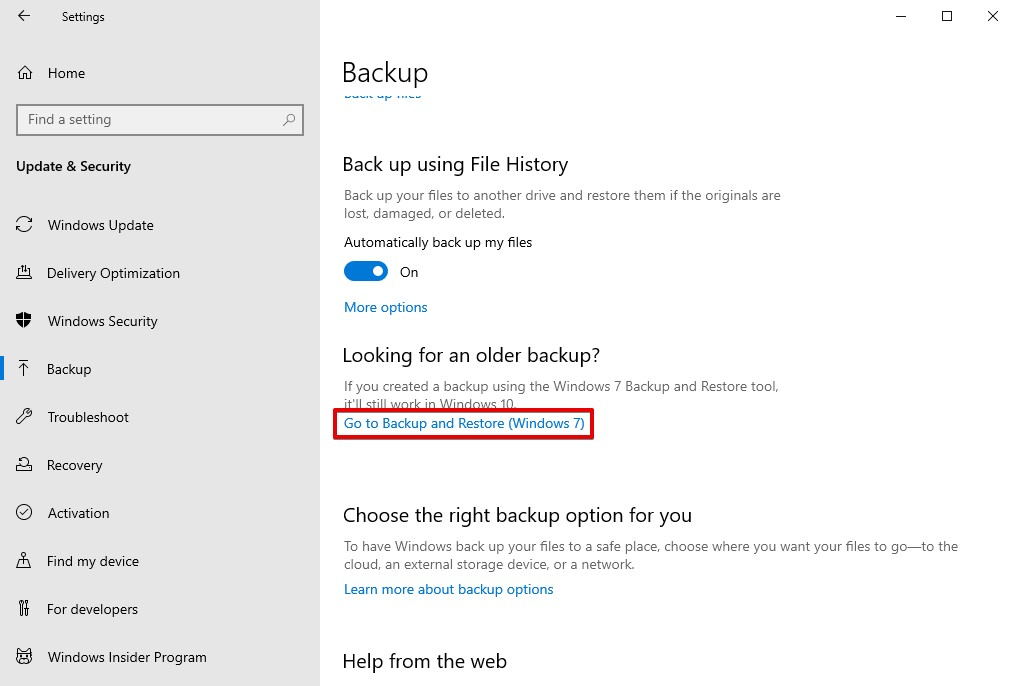
- Click Go to Backup and Restore (Windows 7).
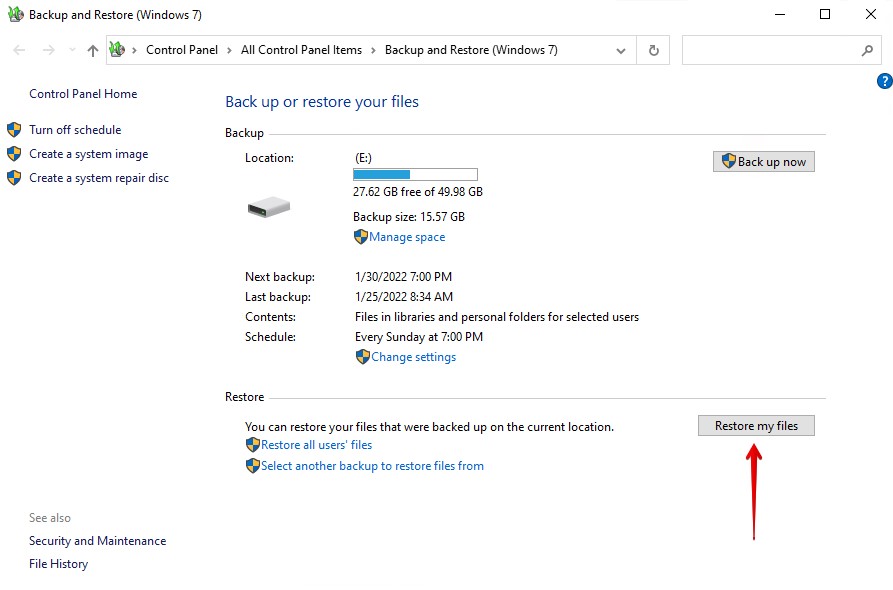
- Click Restore my files.
- Click Browse for files and select the files you wish to restore.
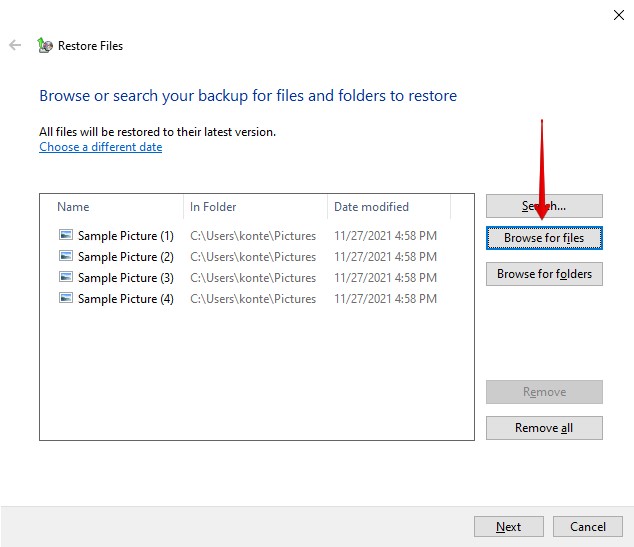
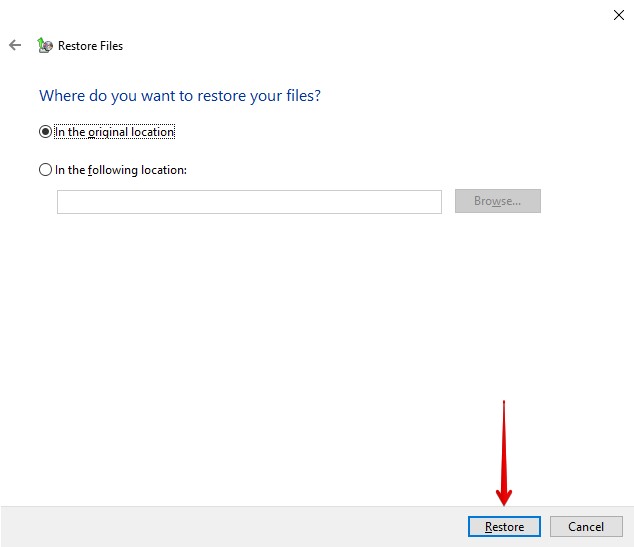
- Choose whether you want to restore the files to their original location or a new one, then click Restore.
Again, if you didn’t set this up before the file was overwritten, you may not have much luck. Instead, move on to the next method.
Method 3: Revert with System Restore
System Restore creates restore points during certain actions performed by your computer, such as installing software and updating or installing drivers. You can also create system restore points manually. These restore points are snapshots of your computer’s system and registry files, essentially the files that are needed for your computer to run like normal.
The problem here is that System Restore doesn’t back up your personal files. Therefore, this solution is only viable for those who have overwritten or lost system files that need to be restored. If this is the case for you, follow these steps to restore your system files using System Restore.
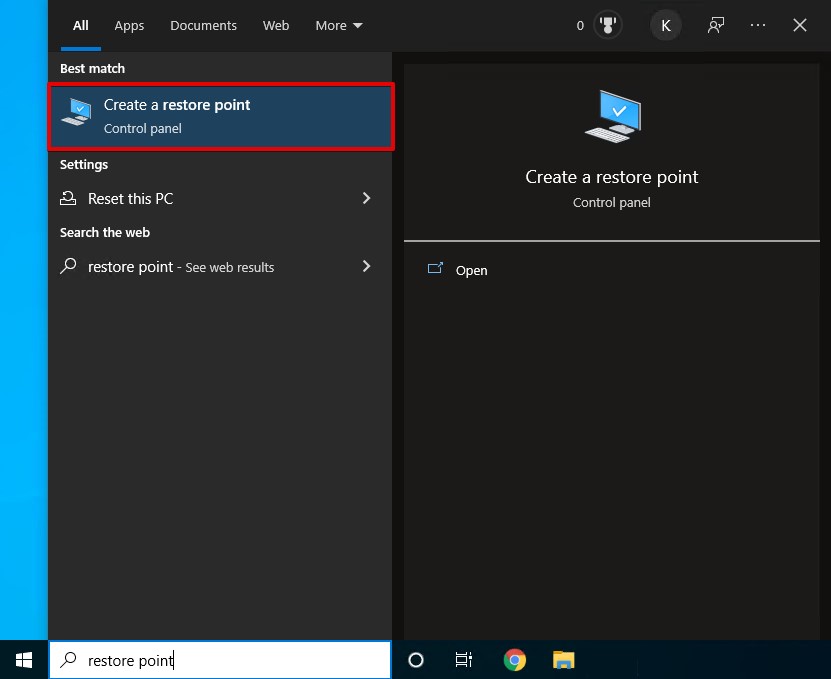
- Press Windows Key + S and type restore point. Open the option that says Create a restore point.
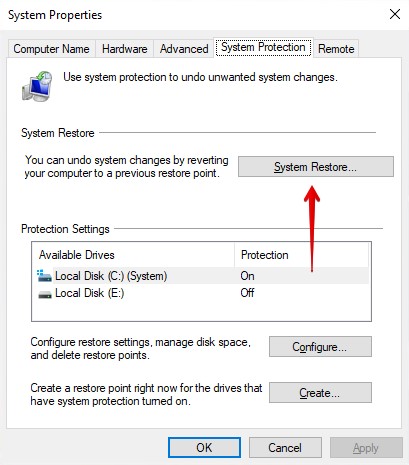
- Click System Restore.
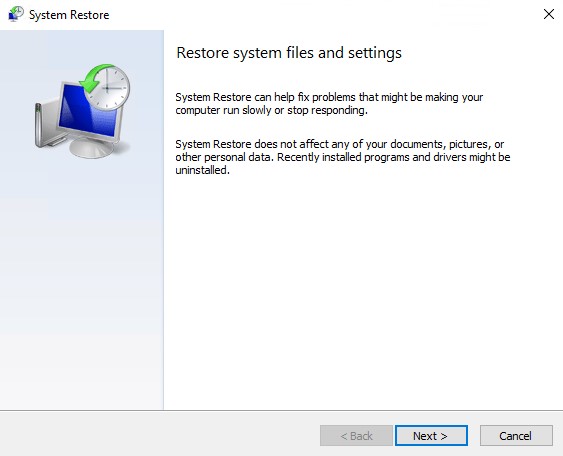
- Click Next.
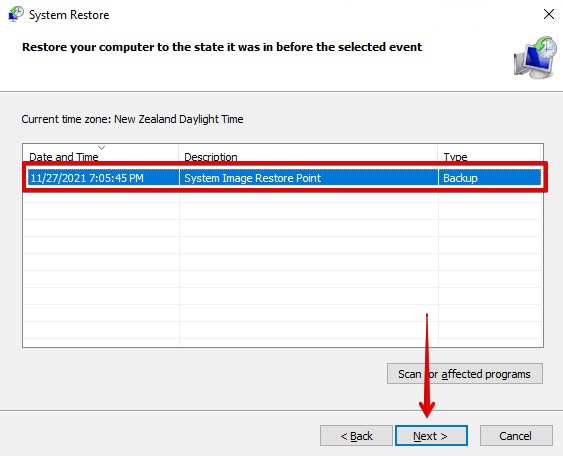
- Select the restore point and click Next.
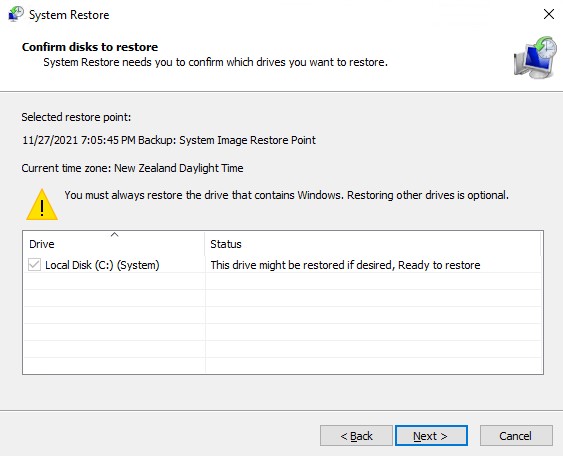
- Click Next again after confirming all of the details are correct.
- Click Finish.
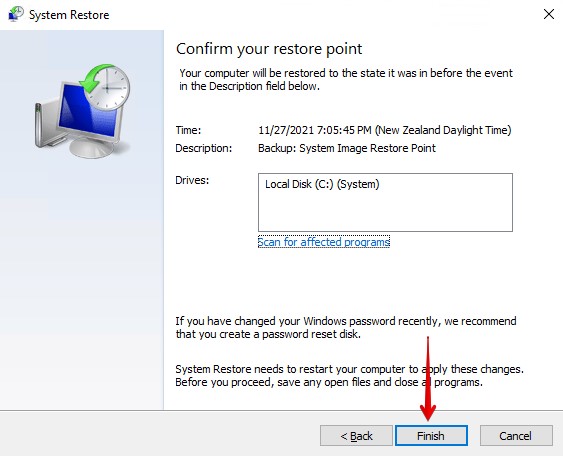
After the system restoration, your system files will be back to their original working state.
Method 4: Recover with Data Recovery Software
In case you are unable to recover your overwritten document using native recovery methods of Microsoft Windows, it’s time to try a more robust solution like Disk Drill, a proven data recovery app that has helped millions get back their overwritten, lost, and corrupted files.
Disk Drill can scan your drive for the lost data, then recover it to a folder of your choosing. Of course, there’s never a 100% guarantee when recovering data, but if the file is in a recoverable state, chances are Disk Drill will be able to recover it for you. Follow these steps to recover overwritten files with Disk Drill.
- Download, install, then open Disk Drill. Make sure you install it to a separate physical partition to avoid overwriting the lost data.
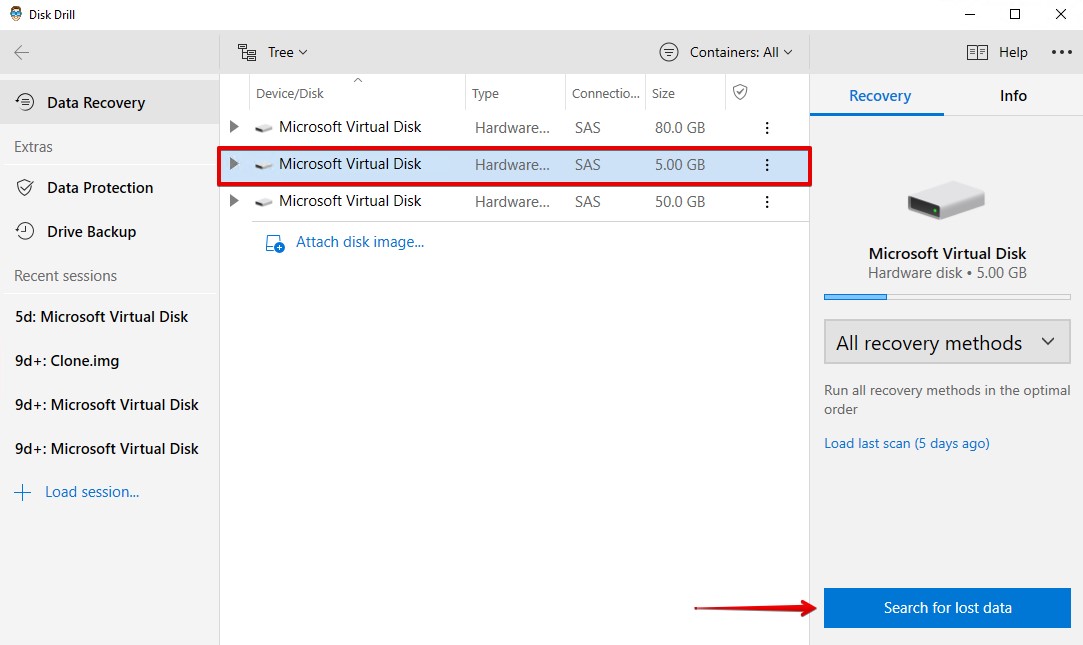
- Select your drive. Click Search for lost data.
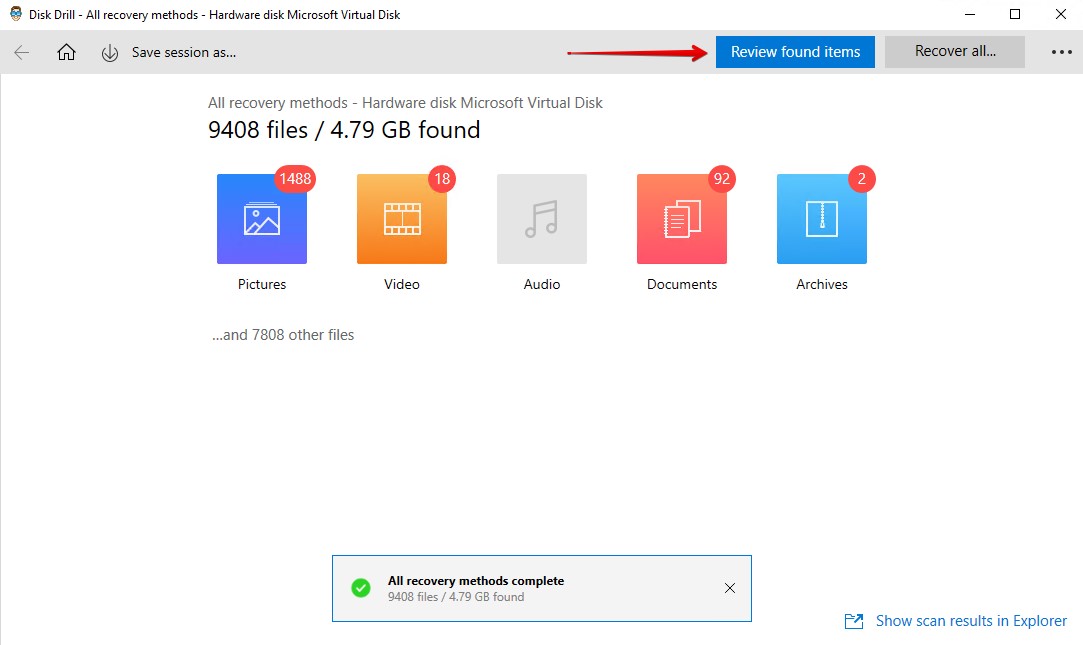
- When the scan is complete, click Review found items.
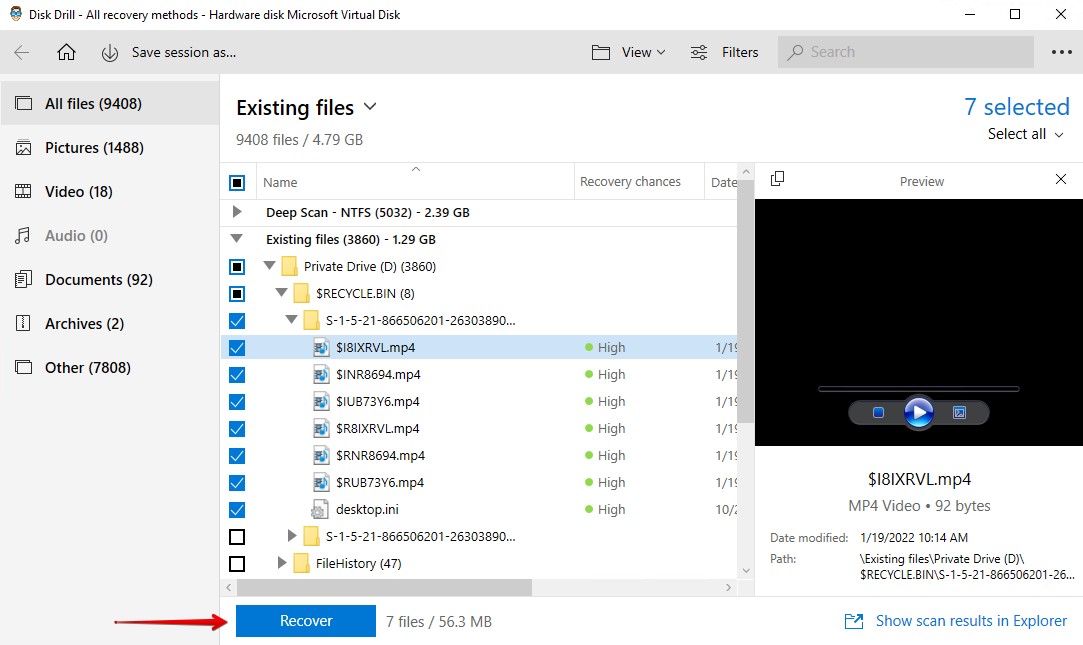
- Scan the list for your overwritten file. The Recovery chances column will automatically give you an indication of how likely it is that file can be recovered. Mark it by checking the tickbox, then click Recover.
- Select where you want to restore the file. Again, make sure it’s a separate physical partition to avoid overwriting and corrupting the file you’re trying to recover. Press OK.
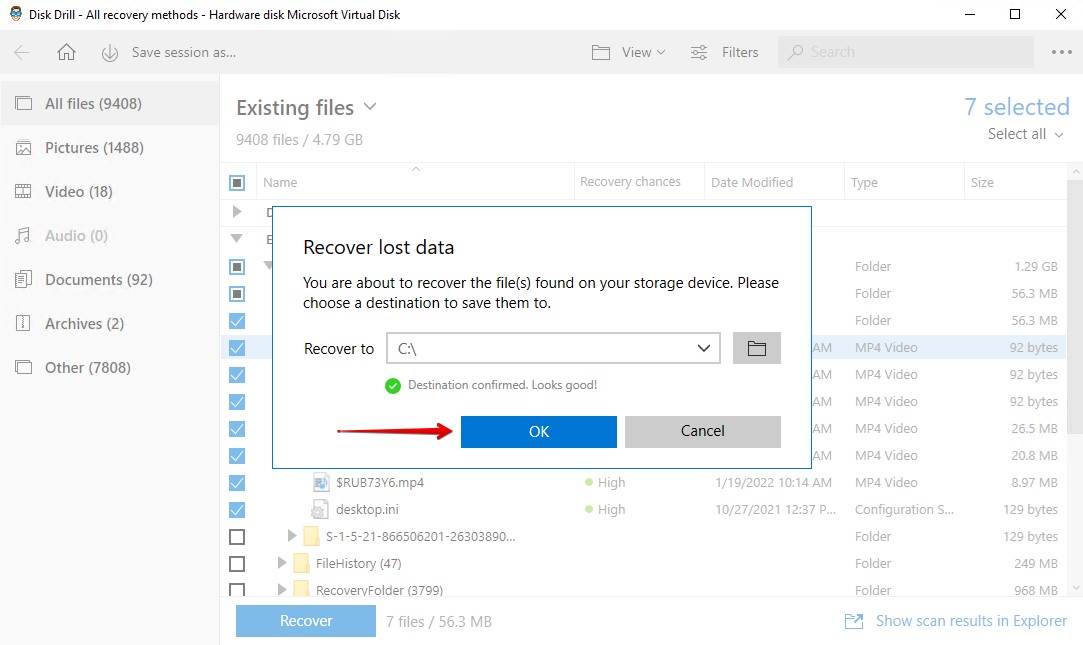

Once the recovery is finished, you will be able to find your files in the folder you specified for output.
Recovering Overwritten Files on Mac OS
 Arguably, Mac OS X users have it slightly better when it comes to the recovery of overwritten files compared to Windows users.
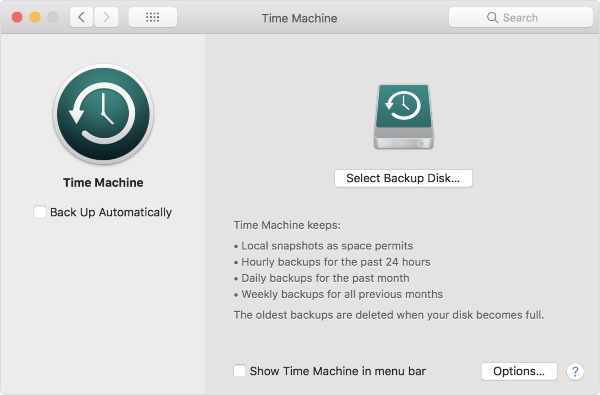
However, there’s one huge caveat: the Time Machine feature must be active. If it is, you can use Finder to find the folder that contains the overwritten file and select a previous version of the file from Time Machine’s vault.
If it’s not available via the Time Machine, check out our other article that explores other avenues for recovering overwritten files on Mac.
How to Prevent Files from Being Overwritten
To help avoid overwriting your files in the future, here are a few helpful tips you can use to actively avoid your data being overwritten.
- Unique filenames – Using unique filenames for each of your files eliminates the chances that you will accidentally overwrite existing files with the same name. However, this will not prevent overwriting deleted data, in which case you should cease using the drive and proceed with data recovery immediately.
- File History – File History takes regular snapshots of your file, allowing you to restore to a specific version if the file becomes damaged, corrupted, or overwritten.
- Backups – Making backups of your data ensures you have an exact copy of the file you need. While this can be done with File History, it can also be done with other backup solutions like Backup and Restore.
- Patience – When moving files around your drive, make sure you’re not moving anything that has a duplicate filename. Taking a few extra seconds to confirm your actions can save you the time and effort of performing recovery.
Basically, if you have an effective backup solution in place that takes regular snapshots of your files, you can rest easy knowing there will always be a copy of your files available.
Conclusion
Now that you’ve recovered your overwritten files, make sure you set yourself up for success by implementing solutions that will protect your files in the future. While recovering your data after the fact is definitely an option, restoring from a backup has a higher degree of success.


FAQ
Unfortunately, using the Undo (CTRL + Z) command will not restore the original file that was overwritten. Instead, you must restore a previous version of that file. If File History is enabled, you can do so by following the below steps:
- Navigate to the folder that contained the file.
- In the Home tab, click History.
- Using the navigational arrows, go to a point in time that contains the original file. Select it, then click the green Restore button that contains an encircling arrow.
In addition to File History, you can use the Backup and Restore utility in Windows. If this was configured prior to when the file was overwritten, you can restore the original file from the backup using these instructions:
- Right-click Start and click Settings.
- Click Update & Security.
- Click Backup.
- Click Go to Backup and Restore (Windows 7).
- Click Restore my files.
- Click Browse for files and select the file.
- Click Restore.
Windows 11 contains the same backup features that are found in Windows 10, File History and Backup and Restore. If neither of these solutions works, or if they weren’t configured at the time of deletion, you can try Disk Drill instead. Disk Drill is a data recovery tool that is supported by Windows 11.
- Download, install, then open Disk Drill.
- Select your drive, then click Search for lost data.
- Click Review found items when the scan is complete.
- Scan the list for your overwritten file then mark it by checking the tickbox. Click Recover.
- Select where you want to restore the file. Make sure it’s a separate physical partition to avoid overwriting and corrupting the file you’re trying to recover. Press OK.
The only way to recover an original file that was replaced by another file with the same name is by restoring the original from a backup. The backup utilities built-in to Windows, File History and Backup and Restore, take regular snapshots of your files and folders and allow you to restore a working version of that file. Follow these steps to restore a working version of the folder that once contained your file using File History.
- Open Windows Explorer and navigate to the folder where the file was located in.
- Right-click anywhere inside this folder and select Properties from the context menu.
Select the Previous Versions tab and look for an earlier version of the overwritten folder.