How to Recover files on Mac OS X Yosemite

Mac hard drive recovery can be tricky. The good news is, Disk Drill takes a complicated task and makes it simple. When you need to recover files from a Mac hard drive — either internal or external, Disk Drill can help you get your data back quickly. macOS Sonoma Ready!

Mac hard drive
How to Recover files on Mac OS X Yosemite
?

If you’ve upgraded to Apple’s OS X Yosemite, you may have lost critical files either during the upgrade or afterwards. In particular, some Mac users are reporting problems with lost Boot Camp Windows partitions after upgrading. And even worse, Time Machine does not typically back up files on Boot Camp partitions.

While losing data is always scary and frustrating, the good news is that Disk Drill is fully compatible with Yosemite (even the new Core Storage partition) and can help you find your lost data.

#1 Download and Install Disk Drill

If you are recovering from your Mac’s internal hard drive, then save the application to an external hard drive or USB flash drive, in order to avoid overwriting any data. To do this, download Disk Drill to your MacBook as you normally would from the CleverFiles website, double-click the disk image and then drag the Disk Drill icon to your external drive. If you are not recovering files from your internal hard drive, then you can drag the icon to your Applications folder.

  • Download Disk Drill
    1

    Download Disk Drill

  • Drag to Applications Folder
    2

    Drag to Applications Folder

  • Launch Disk Drill
    3

    Launch Disk Drill

#2 Launch the App

Once you have downloaded Disk Drill to your Mac, launch the app to get started. You may be asked what additional options you wish to install. Uncheck all the boxes, as you should not install any additional data recovery enhancements at this time.

#3 Prepare to Scan

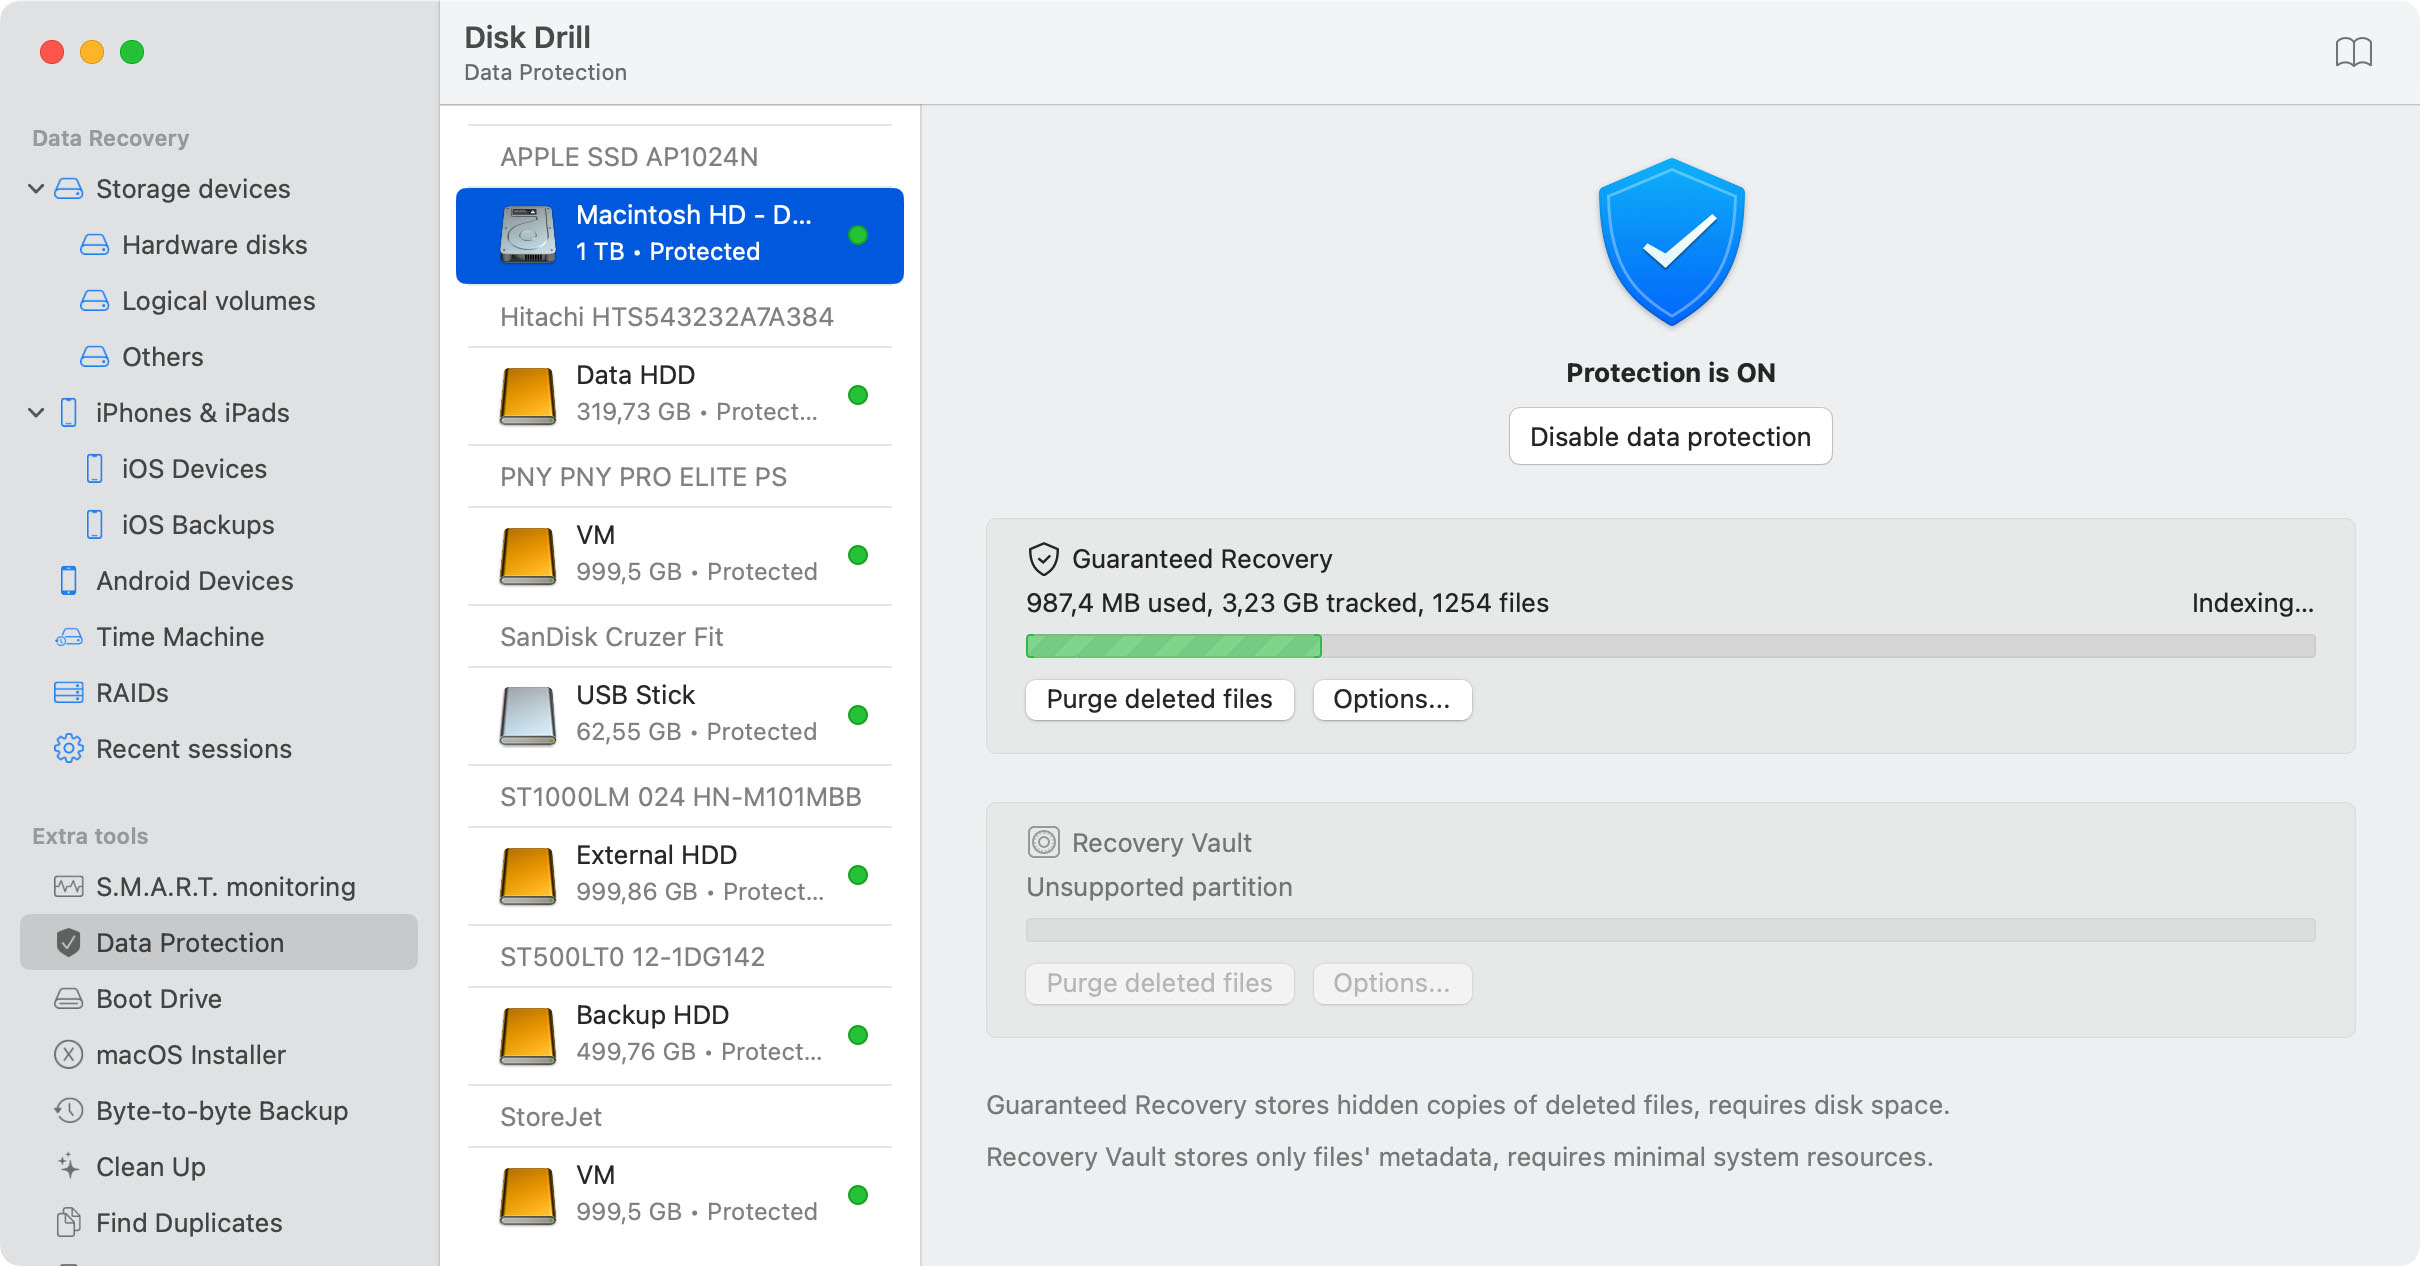
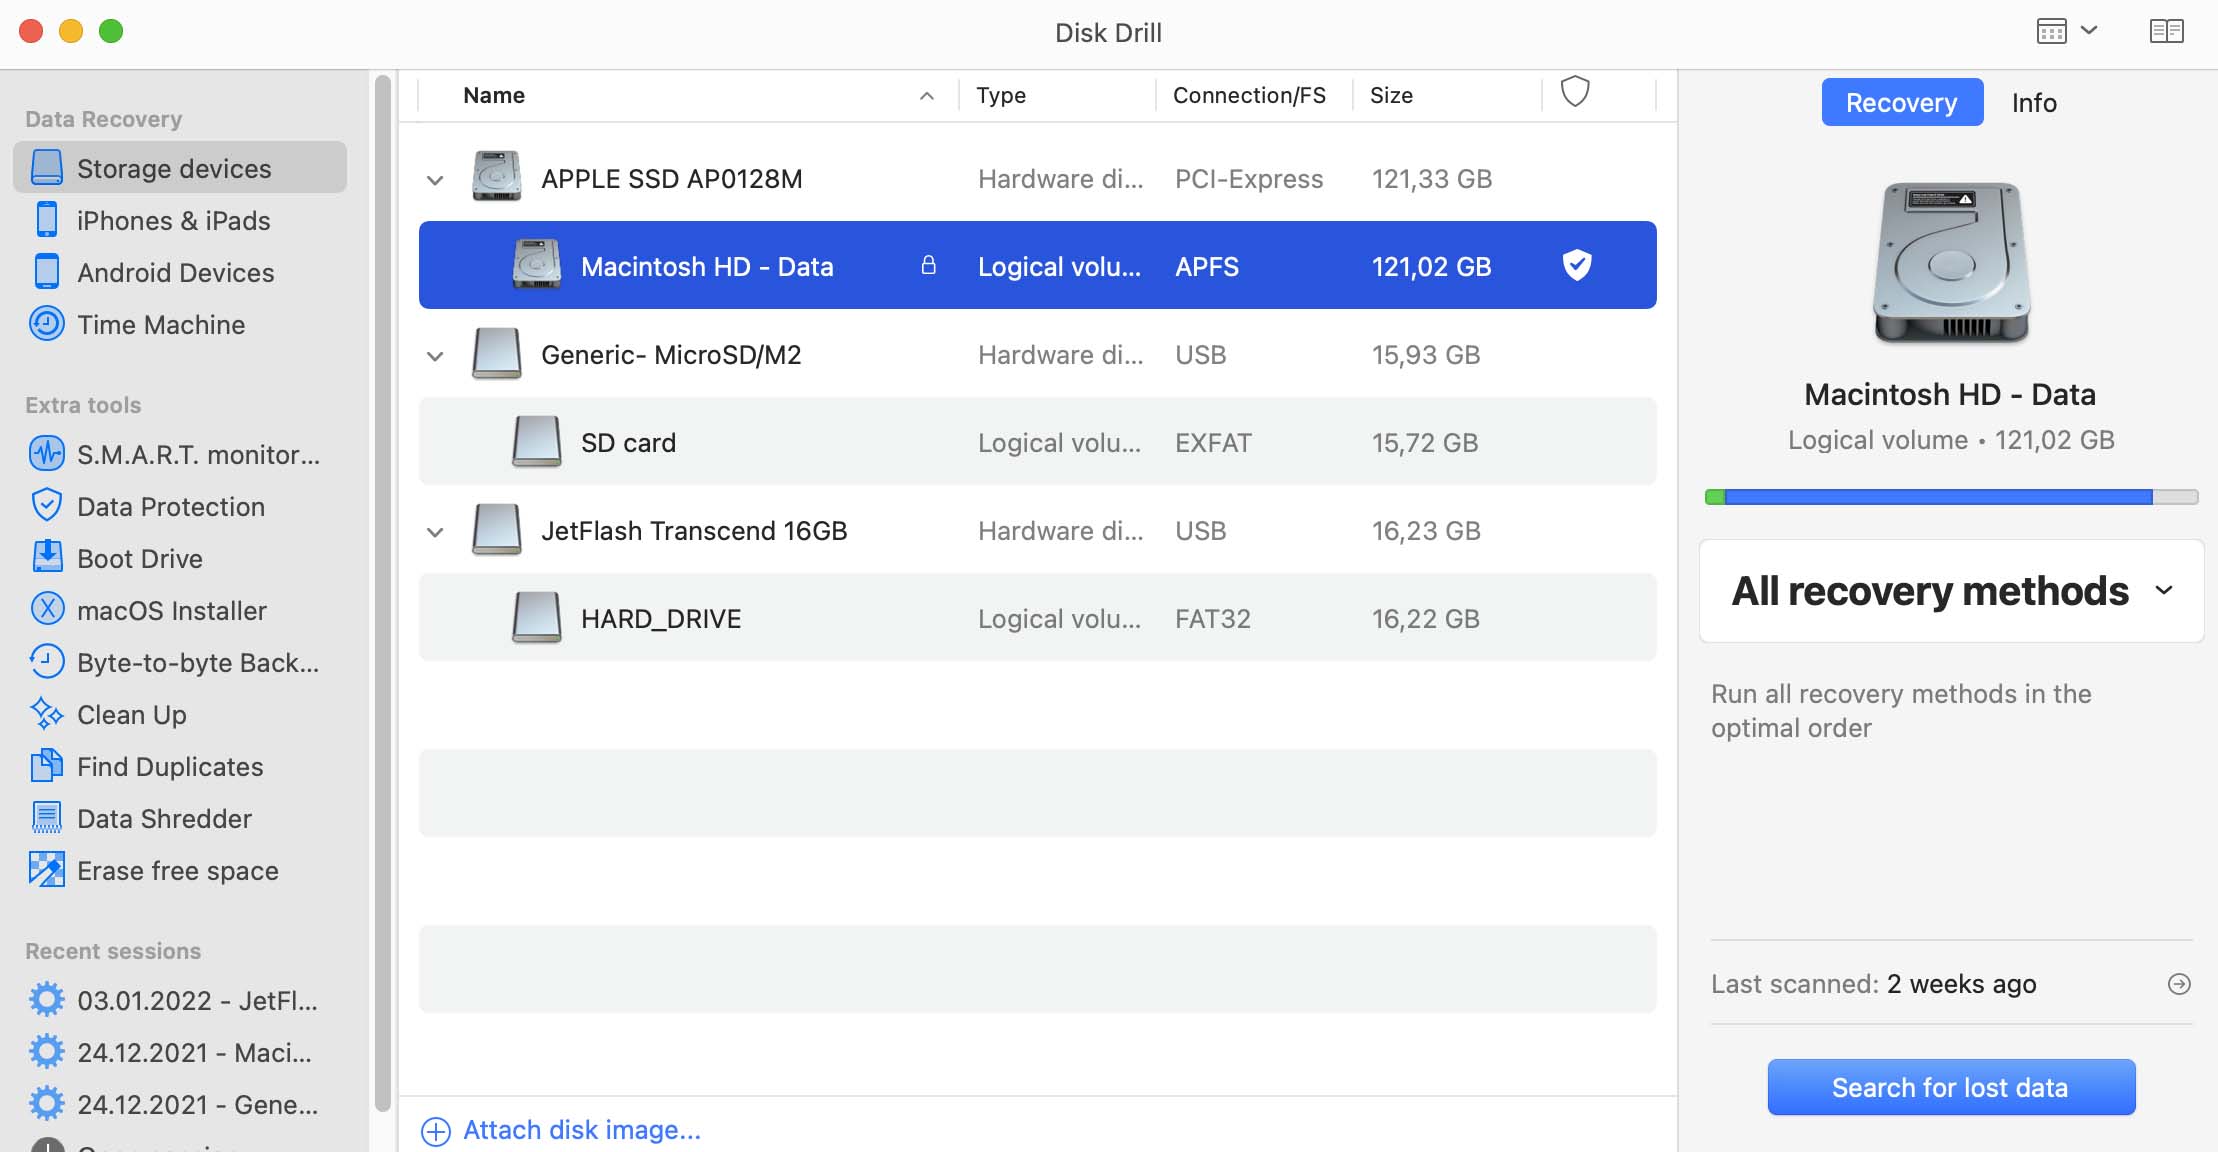
After Disk Drill launches, you will see the list of drives (both internal and external). Click on the volume you wish to recover deleted Yosemite files from. If you are looking to recover a lost partition in Yosemite, be sure to select the whole volume, not just an individual partition.

#4 Scan the Volume

Next to the volume you wish to scan, click the “Recover” (or “Rebuild”) button. Disk Drill will do a complete scan of the volume, proceeding with each of its scanning algorithms one by one.

#5 Recover Your Partition Data on Yosemite

If Disk Drill finds a lost partition, it will list the recoverable data of this partition in the scanning results, and you just need to choose a destination drive for data recovery Mac Yosemite. Alternatively, if the lost partition can be rebuilt using HFS+ Catalog Rebuild algorithm, the corresponding option will appear in the disk list, and you can go ahead and click the Rebuild button. If the rebuilt file structure looks correct, you can either copy the data by mounting the partition as a virtual disk, or just go on and write the repaired catalog to the source drive.

#6 Recover Your Deleted Files on Yosemite

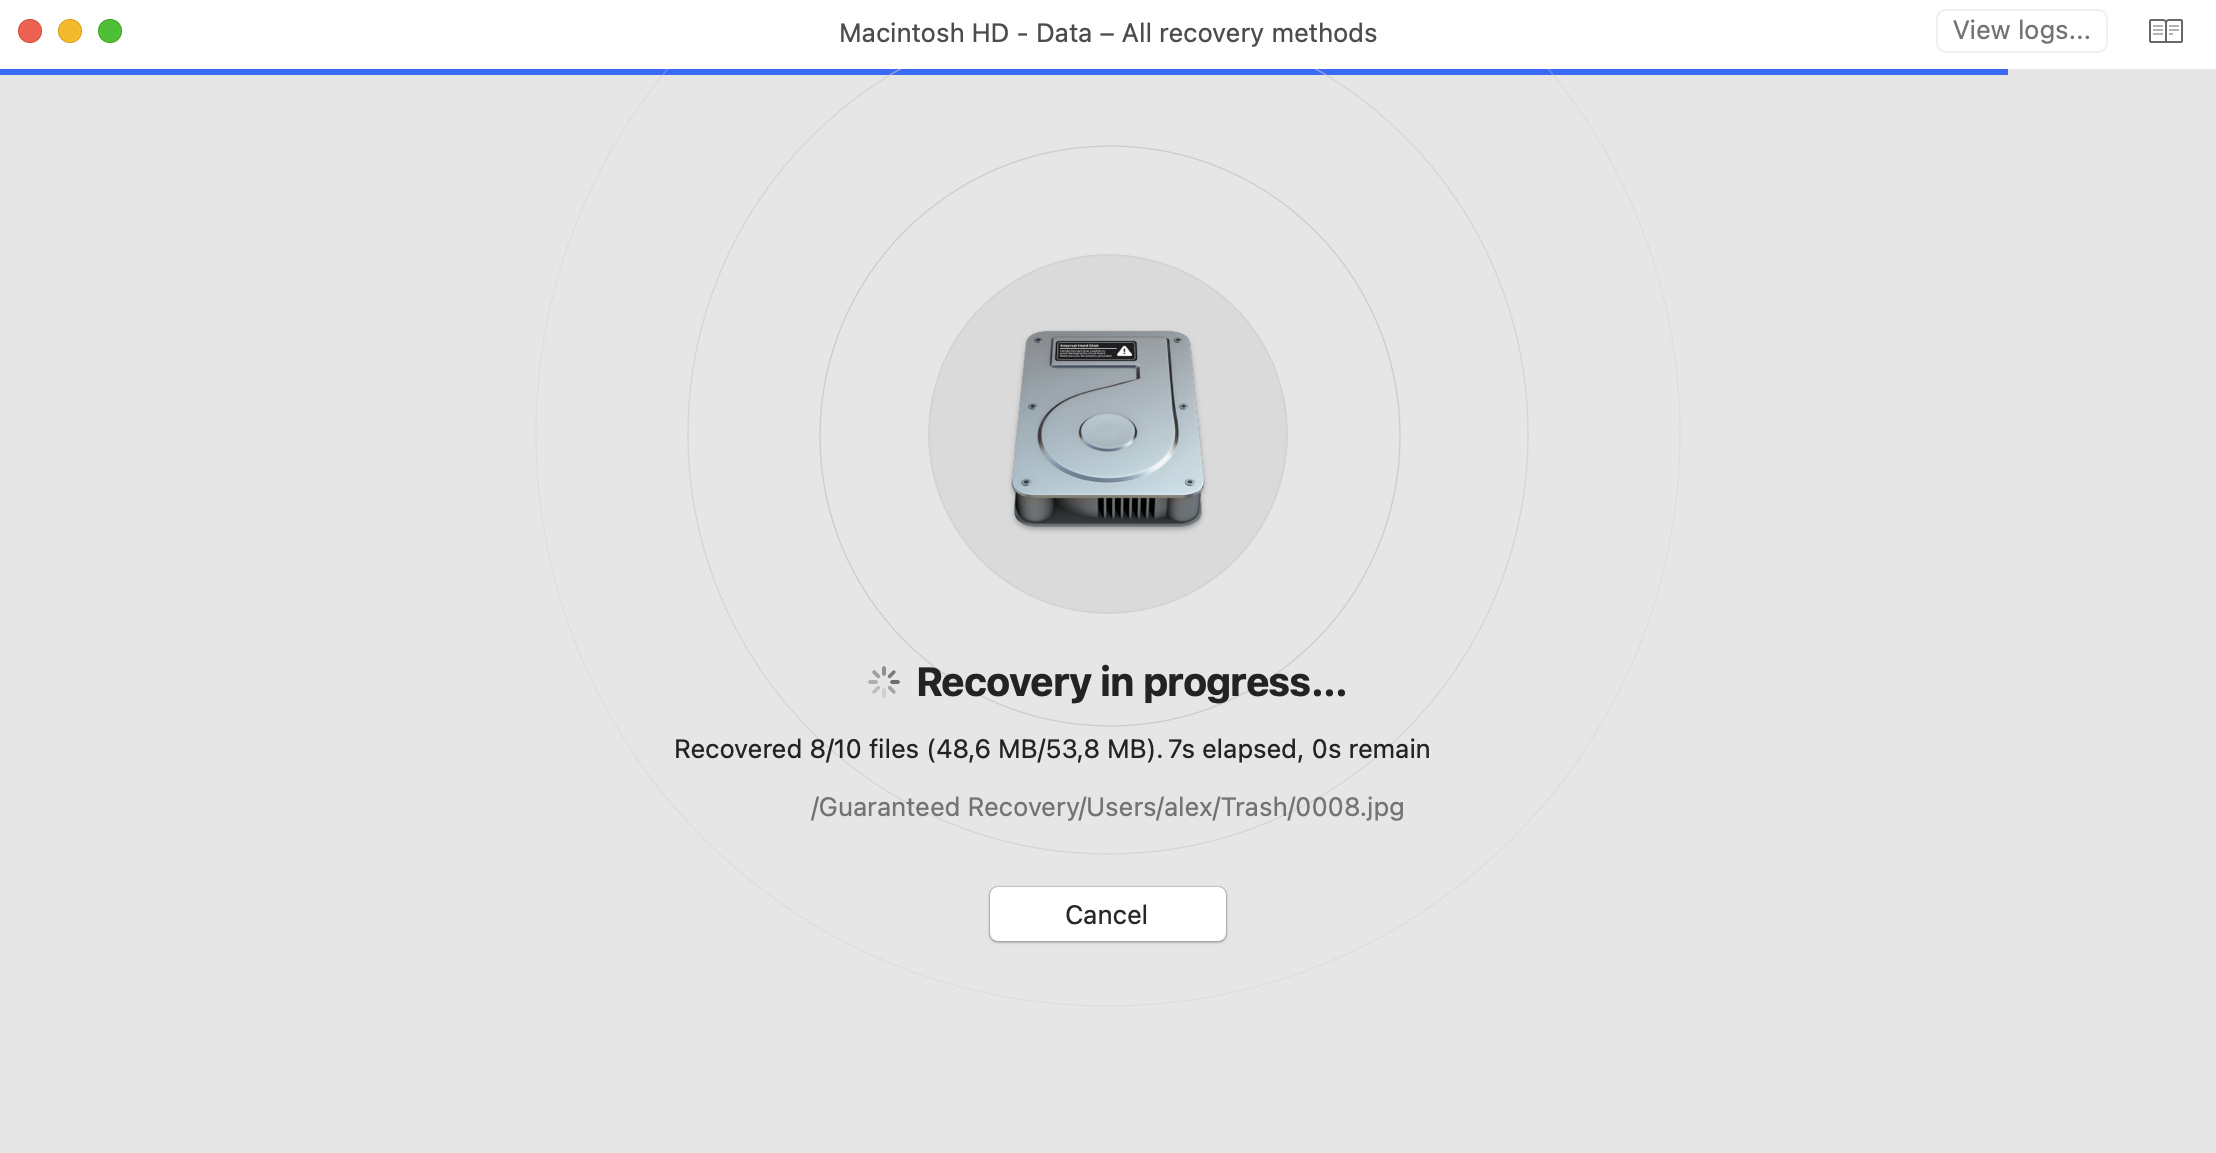
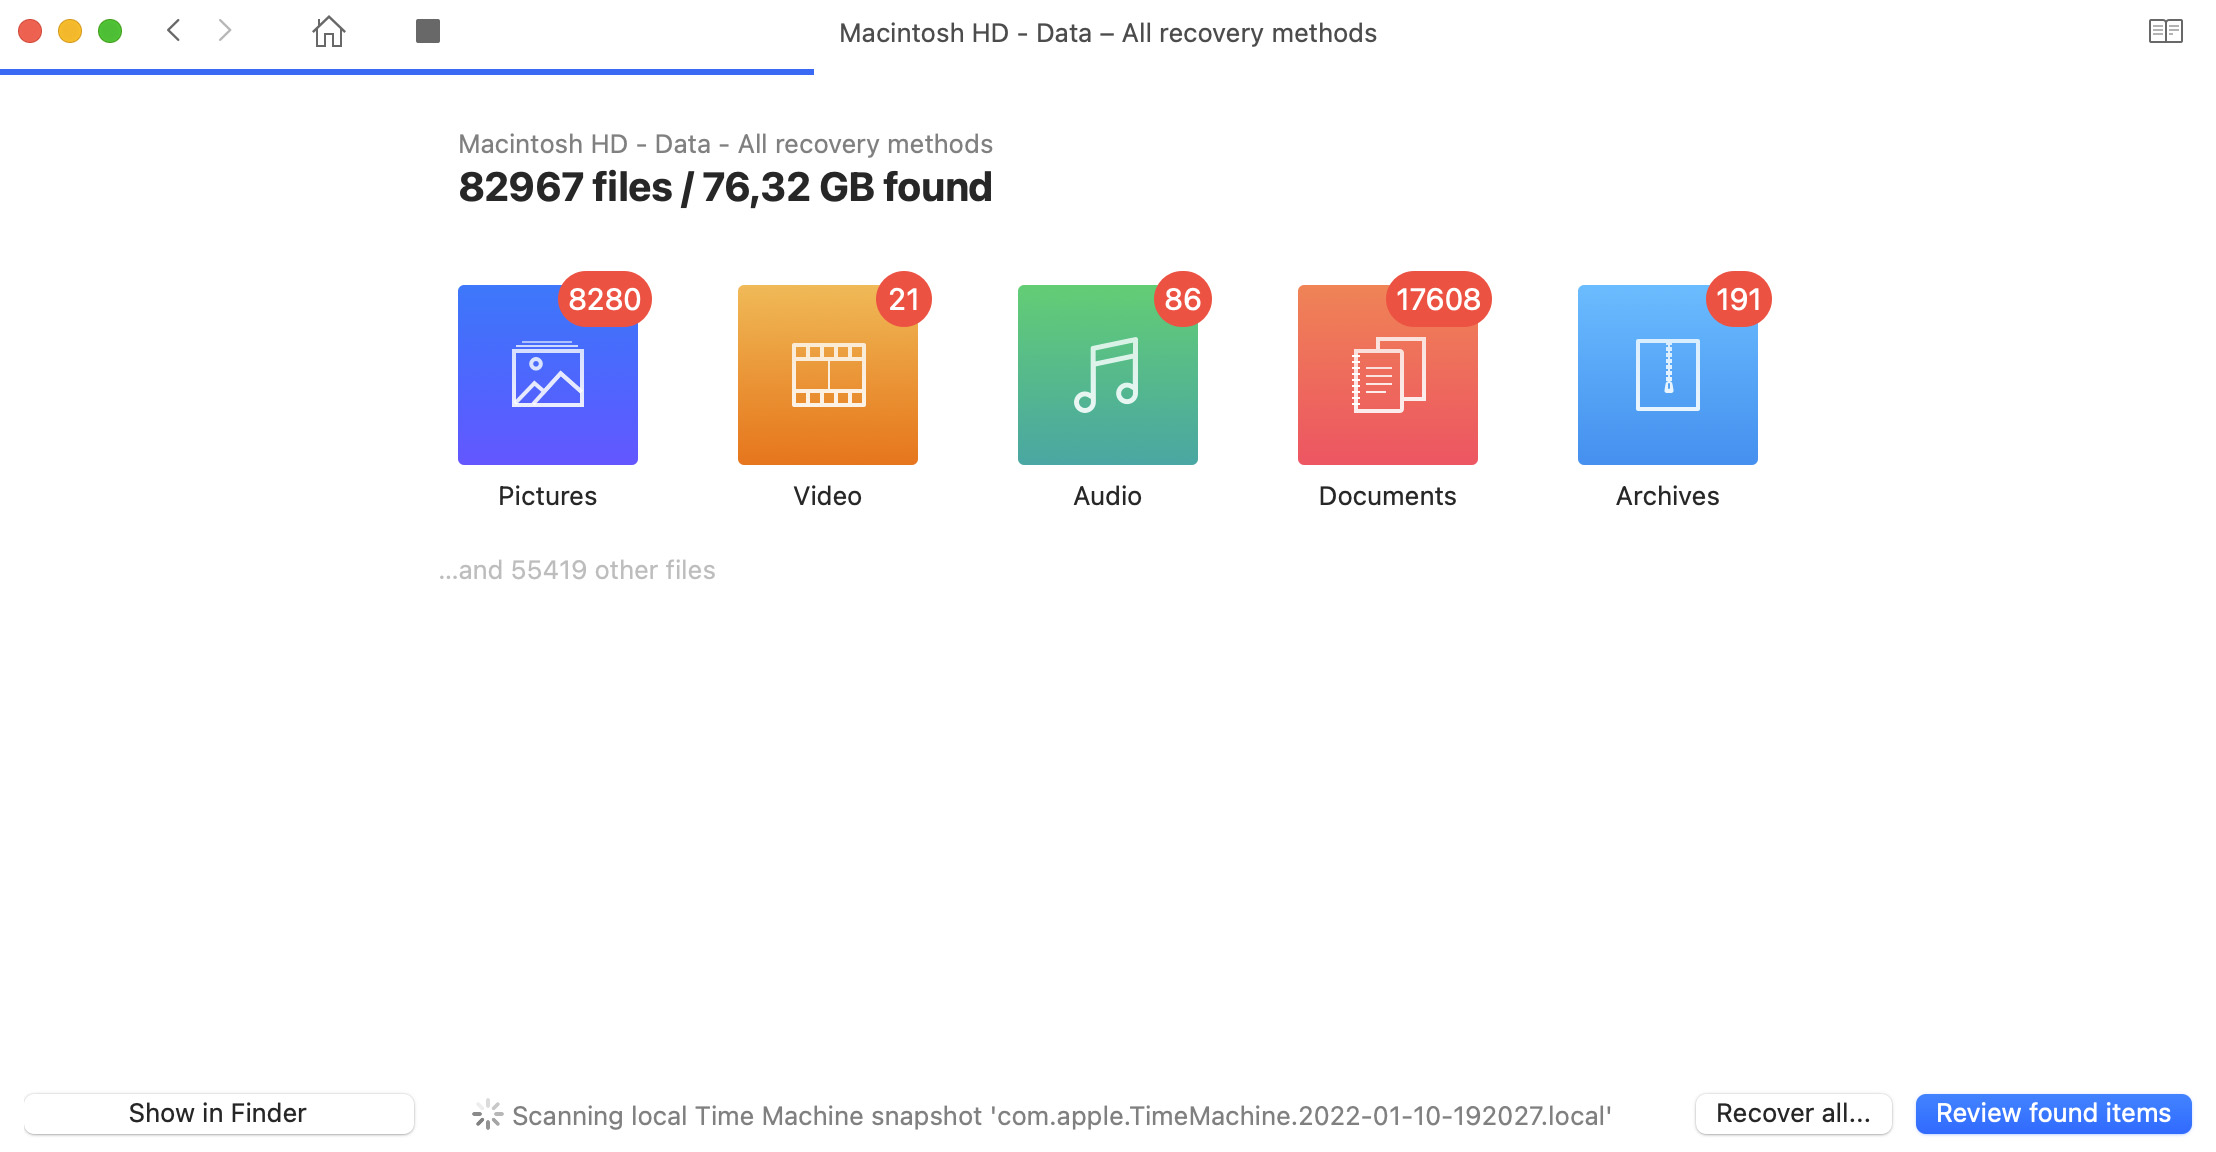
If you’re looking for files, not partitions, you can review the list of files that Disk Drill recovered during its scan. The files may not have their correct filenames, so you may need to preview each one by clicking the preview (eye) icon. You can narrow your search by sorting the files by size, date and file type. Once you have found your lost data, you can proceed with upgrading to Disk Drill PRO and recovering your files.

Recover Your Deleted Files on Yosemite

Frequently Asked Questions

Updated on by Disk Drill Team

How to start Mac in Recovery Mode for OS X Yosemite?

If you’re using an older Mac and would like to start Yosemite in Recovery Mode, then follow these steps:

  1. Click the Apple logo in the top-left corner.
  2. Select the Restart option.
  3. Hold down the Command and R keys until you see the Recovery Mode Utilities window.

Has your Mac booted into OS X Yosemite like normal? Then try rebooting with the Option key held down as well.
Can I reinstall Yosemite?

Yes, and you can do so from Recovery Mode:

  1. Click the Apple logo in the top-left corner.
  2. Select the Restart option.
  3. Hold down the Command and R keys until you see the Recovery Mode Utilities window.
  4. Choose the Reinstall OS X option.
  5. Click Continue and follow the installation wizard.

Does Apple still support Yosemite?

No, support for Yosemite ended in August 2017, with the latest update (10.10.5) released in July 19, 2017.

Can you still download Yosemite?

Yes, you can download Yosemite directly from Apple using Safari or any other modern web browser. The Yosemite installer provided by Apple can be used to upgrade Mavericks, Mountain Lion, Lion, or Snow Leopard.

Disk Drill is super serious about data recovery on Mac OS X Yosemite

It will go deep into details and structures with the help of Deep Scan even when the situation seems hopeless. Disk Drill scans raw data on your hard drive (NTFS, FAT, or else) and is searching for a binary signature of the file. Once the app can collect the found fragments into a structure and file signature is recognized, files like XLS, DOC, AVI, MP4, JPG, etc. are recovered faster.

Take care of your important files now!

More How To Instructions

File recovery guide

What other users and professionals say

Used by world famous companies