What do you do when you go to start your computer and it won’t boot? You see a message warning there’s either an error with the hard drive or something within the operating system has gone awry. At that point, you stare into the void that was your only means of working with and sharing your files. Fear not, chances are still pretty good that data isn’t lost. With just a little work, you should be able to recover those files.
Can I Get Files off a Hard Drive That Won’t Boot?
Before I actually dig into this, I’m going to put your mind at rest and say that, yes, you can get those files from a hard drive that won’t boot. It does, however, take some work. Why? Well, you’re in this jam because the computer won’t boot, which means you can’t simply install a tool on that non-booting computer and recover your files.
Why? The computer won’t boot.
Because of this, you have two options:
- Boot your computer with a live Linux distribution, attach an external hard drive, mount both the internal drive and the external drive, and copy the files from the internal drive to the external drive.
- Remove the non-booting hard drive from the computer, attach it to a computer that works, install a data recovery software, and recover your files to the working computer.
How to Recover Data from Hard Drive That Won’t Boot on Windows 10/8/7
I’m going to walk you through the process of recovering data from a hard drive from a non-bootable computer, using Windows 10 and a tool called Disk Drill Hard Drive Recovery. This process is the same if you’re using Windows 10, 8, or 7.
Things to Do Before Data Recovery
There are a few things you must take care of before you can recover data from the hard drive. First, you must remove the hard drive from your computer. This means you’ll need to know how to remove the case cover from your desktop, locate the drive, unplug the drive, and physically remove it from the desktop chassis.
If you’re working with a laptop, you’ll need to find out how to remove the hard drive, which will probably require a bit of research (either via Google or the website of the manufacturer that made your laptop).
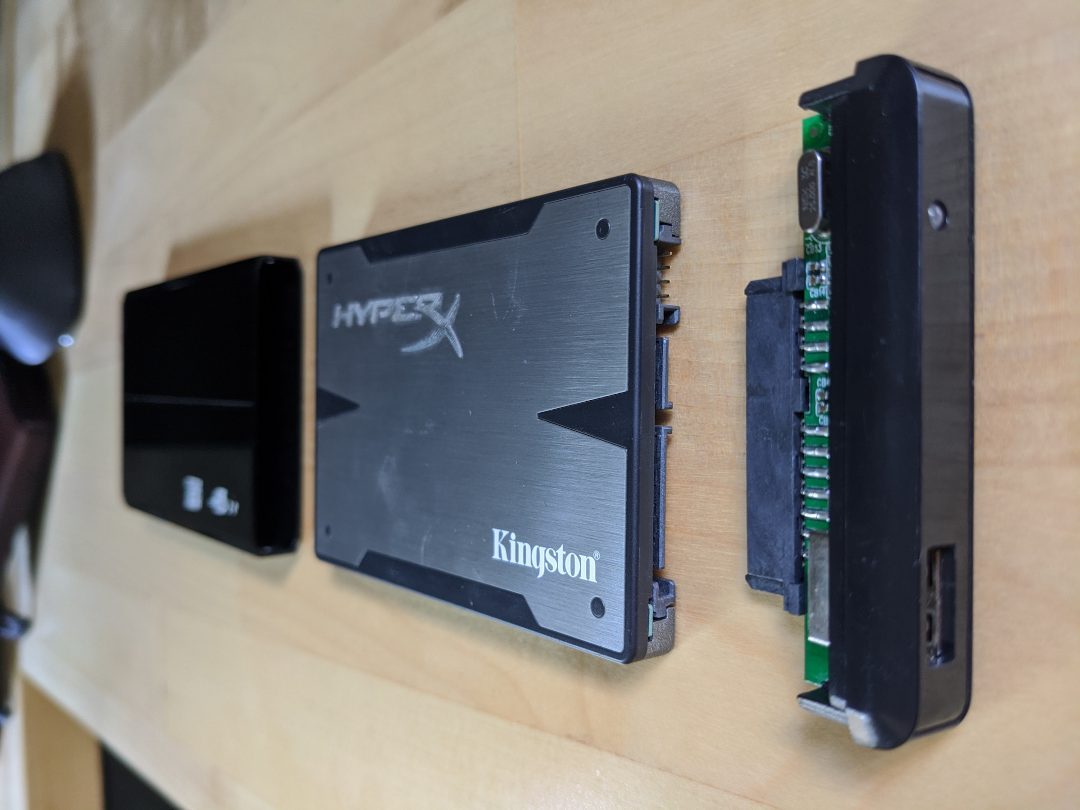
This method also requires that you have means to connect that drive to a working computer. You can purchase either simple cable connectors or an external drive case for your hard drive.
You’ll also need a working computer to attach the hard drive to. And installed on that computer, you’ll need the Disk Drill application. You can use the free version of Disk Drill to make sure the app can find your data, free version allows you to recover 500MB for without upgrade to the Pro version. With everything in hand (and your drive successfully removed from the computer), it’s time to recover your files.
Step-by-Step Guide using Disk Drill
Step 1: Install Disk Drill on your PC
This is as simple as any Windows application installation. All you need to do is download the installer file and walk through the install wizard.

Step 2: Attach the drive
The next step is to attach the recovered hard drive to the working computer. How you do this will depend on whether or not you purchased a simple cable or an external case. Either way, plug that drive into a working Windows computer and you’re ready to recover the data.
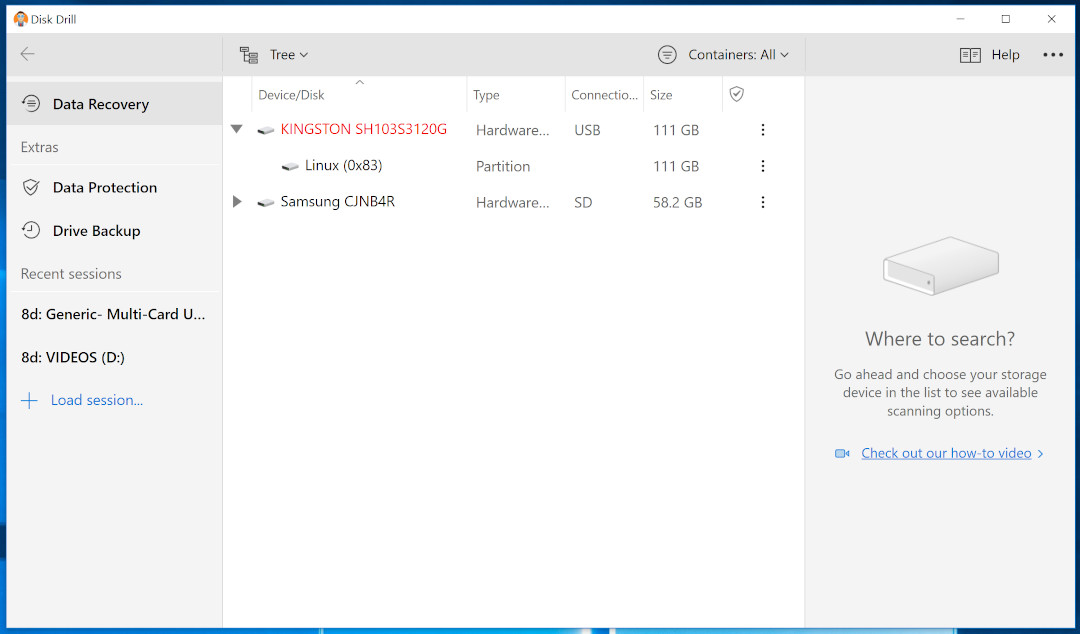
Step 3: Open Disk Drill and locate the drive
When you open Disk Drill, it should automatically locate the external drive. Initially it will list the drive by the manufacturer. Expand that listing to reveal the actual partition housing the files.
Step 3: Search for lost data
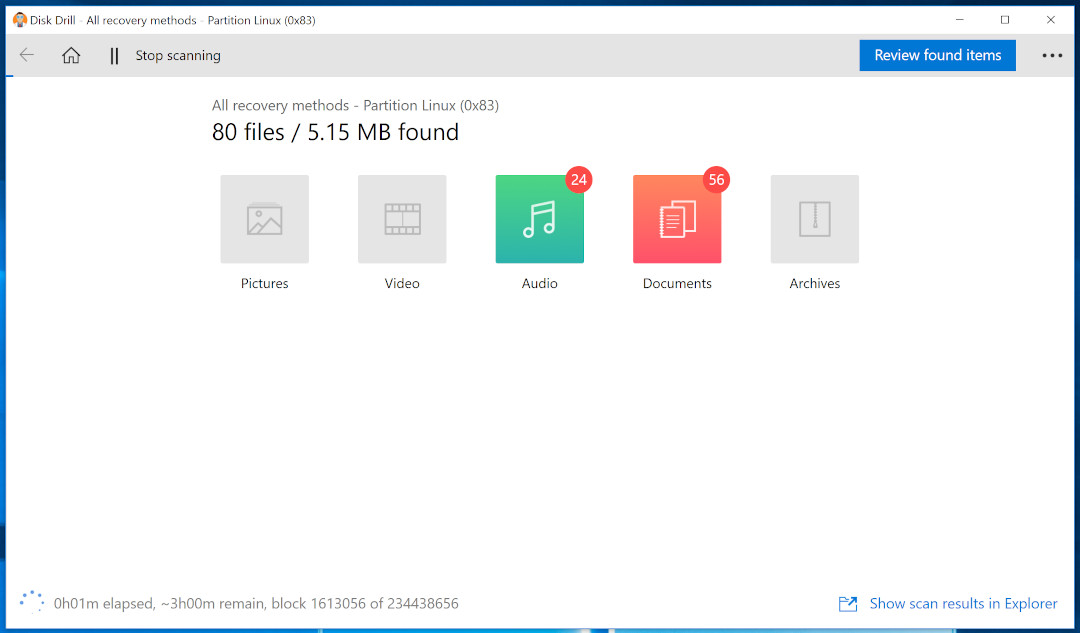
With the drive successfully detected, select the partition and click Search for lost data. This will initiate the scan and Disk Drill will immediately report back, in real-time, the files it has found. At this point, you can either wait for the scan to complete, or you can click Review found items to see the scan in progress and view the discovered files.
Step 4: Recover the files
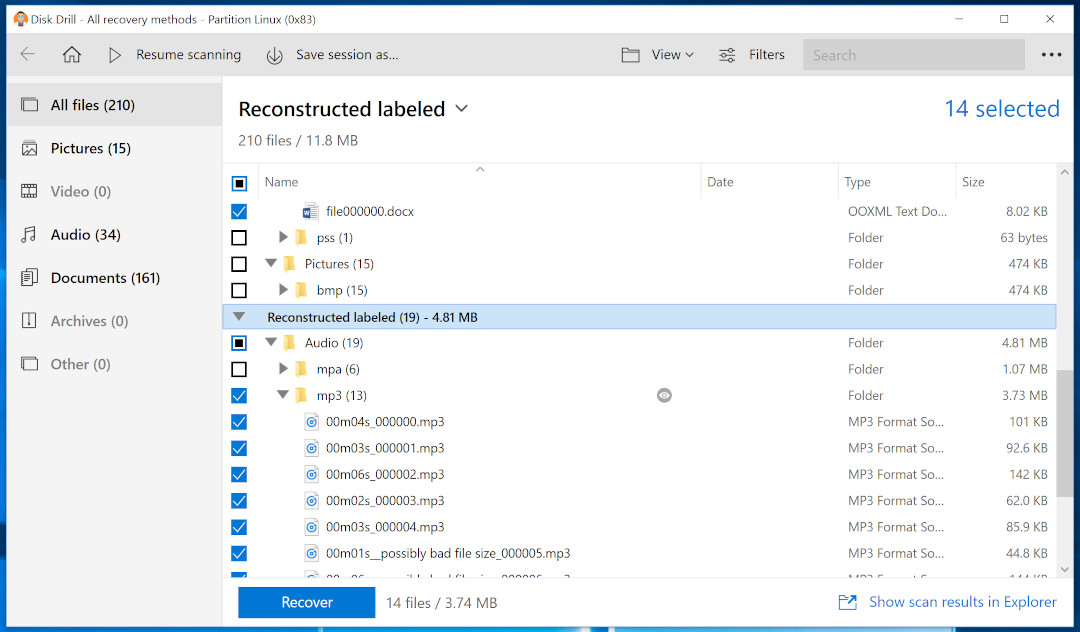
When the scan completes (or you pause it), Disk Drill will present the different types of files it has found. In the left hand sidebar, you can select from Pictures, Video, Audio, Documents, Archives, Other, or All.
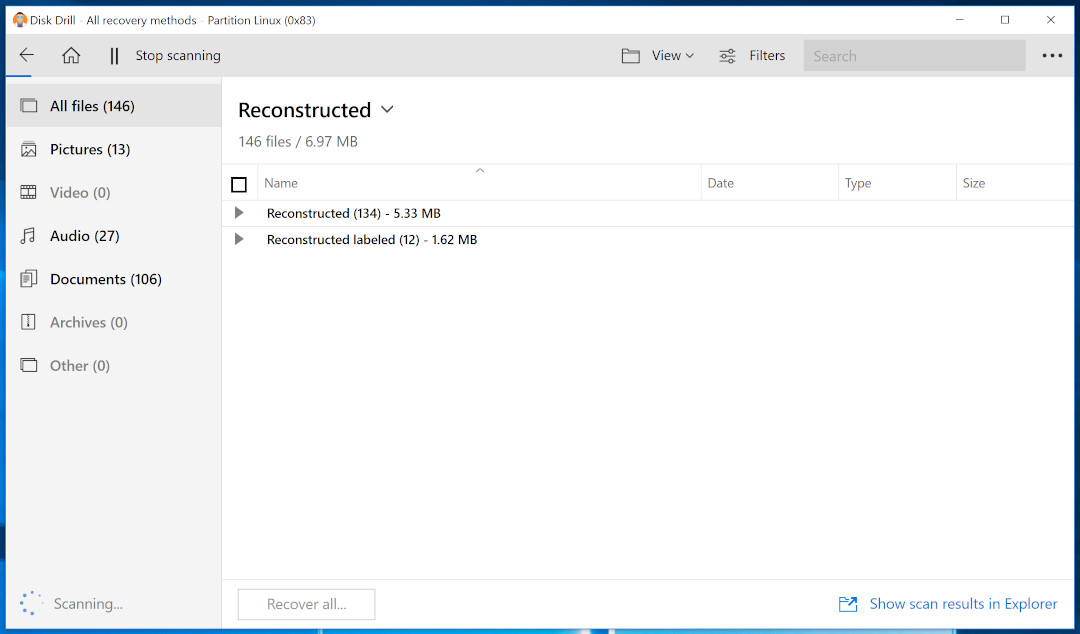
Expand either the Reconstructed or Reconstructed labeled entry and keep expanding until you see the file(s) you need to recover, and check the associated boxes for each file to be saved. Once you’ve selected all the files to be recovered, click Recover.
You will be prompted to choose a location to save the new files into.
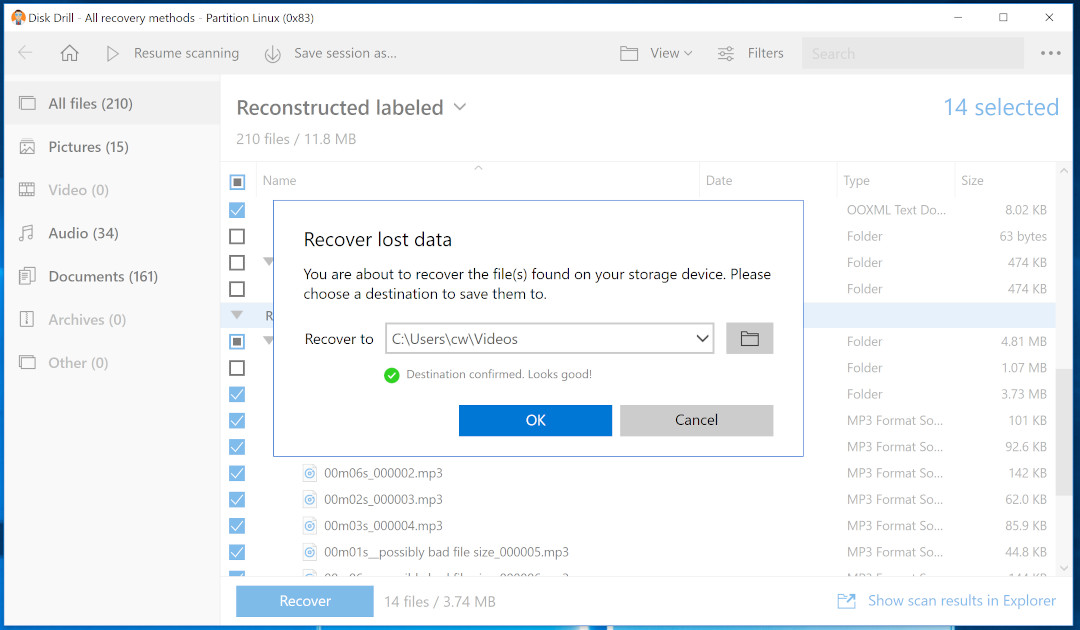
After selecting the location to house the files, click OK and the files will be recovered to your chosen location. When the recovery is complete, you can close out Disk Drill, safely remove the external drive, and relocate the recovered files to wherever you need them.
How Hard Drive Becomes Unbootable
You might be asking yourself, “How does a hard drive become unbootable?” There are a number of reasons why this can happen. One such reason is the Windows upgrade process. When your operating system begins an upgrade, if you lose power during the process, that drive can become unbootable.
Your hard drive could also have been damaged by a power surge or outage.
There are a number of reasons why your hard drive could become unbootable, each of which could have you working to recover your data.
Be S.M.A.R.T. about Your Hard Disk’s Health
Many modern hard drives include S.M.A.R.T. tools that help to monitor the health of your hard drive. Most S.M.A.R.T. monitoring tools check two values: “threshold not exceeded” and “threshold exceeded”. These values tend to be represented as “drive OK” or “drive fail” respectively. If your S.M.A.R.T. monitor software indicates “drive fail”, you should immediately remove the drive and go through the process of recovering your data (before the drive suffers a catastrophic failure and your data becomes unrecoverable).


Conclusion
If you find your computer no longer boots, there’s no need to panic. With just a bit of work, you can recover the files housed on that drive, move them over to a working computer, and not miss a beat. It is, however, important that as soon as your computer becomes unbootable, you either take the steps to recover those files, or you locate a local computer service company and have them take care of the problem for you.
FAQ
In a word, yes. The process of recovering files from an external drive is the same as those used for an internal drive that no longer boots. And because your external drive most likely doesn’t include an operating system, you won’t be booting from that drive in the first place.
The process of backing up files when a computer won’t boot is the same as recovering files. You’ll use the same tools to recover those files. The difference is, you’ll want to make sure to recover those files to a backup drive that is also attached to the computer used to recover the files.