One of my favorite pastimes is capturing videos with my iPhone of the stunning views I witness while aboard an airplane.
I’ve seen some of the most beautiful views in the world from the cockpit. I know that we all have videos that we’ve taken on our iPhones of things that have a magical touch to them and hold a special place in our hearts.
However, the frustration and disappointment that come with losing important video memories can be overwhelming. If that’s what you’re dealing with right now, wondering how to recover deleted videos from iPhone, then consider this guide your emergency parachute.
The Best Methods to Recover Deleted Videos from iPhone
There are many methods to recover deleted videos from your iPhone. Below, we’ve picked out the best and most efficient ones in the order that you should attempt them!
To make navigating the article as easy as possible for you, we put together a table to help you know which recovery method you should go to based on which scenario has resulted in deleted videos on your iPhone.
| Video Deleted Scenario | Best Method for Video Recovery |
| You deleted a video on your iPhone within the last 30 days. | If you deleted the video within the last 30 days, then you will want to recover the video via the Recently Deleted folder. |
| Not sure when you deleted the video and you checked the Recently Deleted folder but don’t see it there. | You will have two solutions here. You can use third-party data recovery software or restore from an iCloud Backup. |
| You’ve tried using both third-party data recovery software and restoring from an iCloud backup. | Reach out to a data recovery service. |
Method 1. Recovering Deleted Videos Using the Recently Deleted Folder
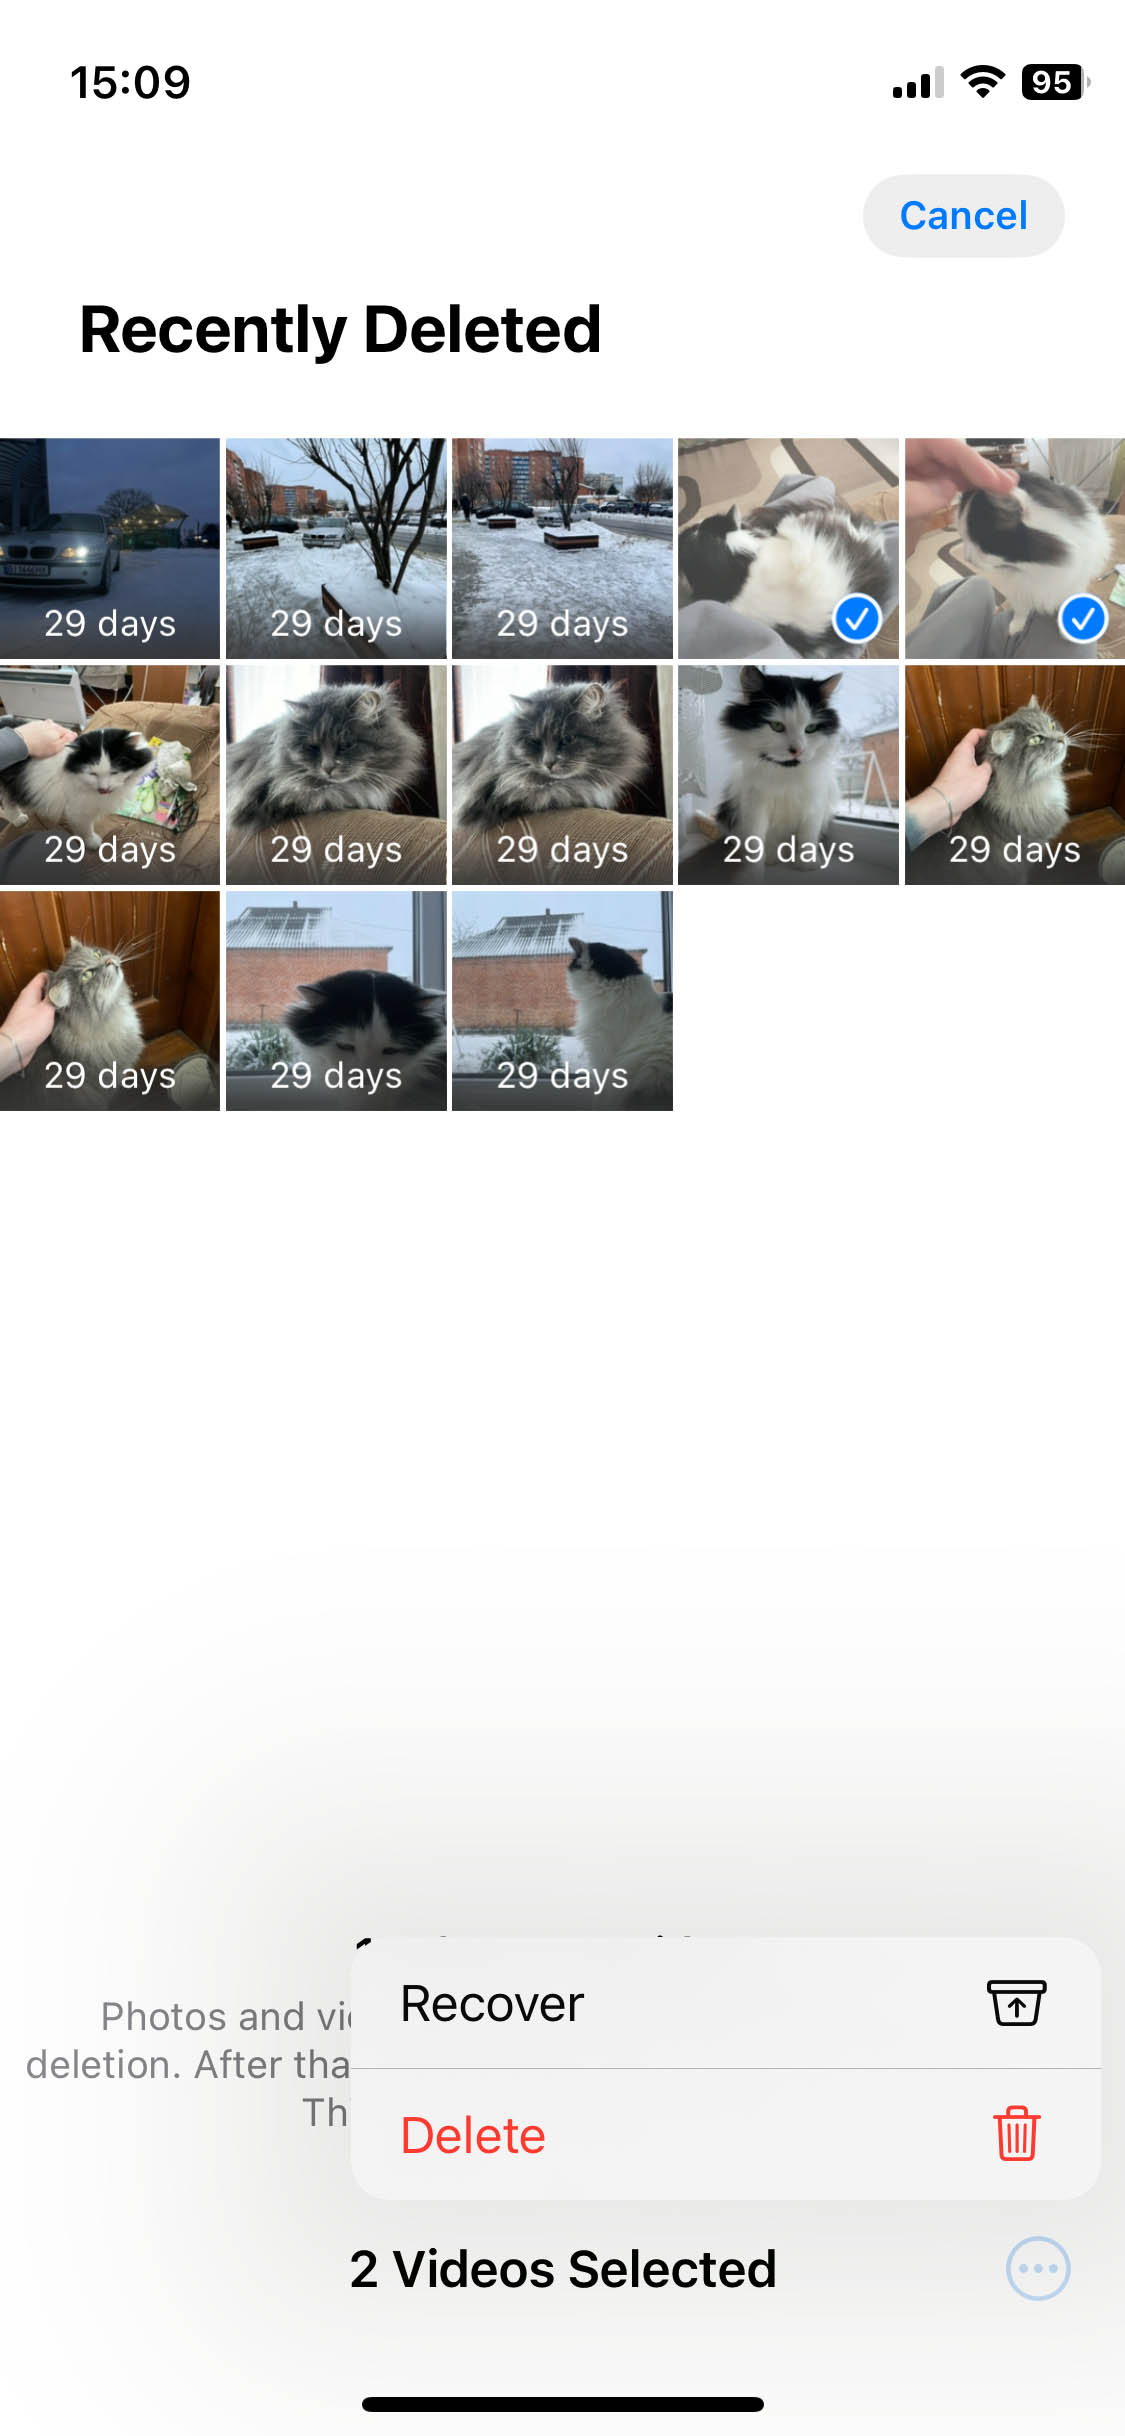
The first place we should go to and attempt to recover lost videos would be the Recently Deleted Folder on our iPhone. This folder is built into your device by Apple, and it’s to help if you should delete a video from your main video library.
Deleted videos on iPhone will be moved to the Recently Deleted folder where they will stay for 30 days before they’re permanently deleted from your device.
To recover deleted videos from iPhone, we can move deleted videos from the Recently Deleted Folder to the main library by following the steps below.
- Grab your iPhone and head to the Photos app.
- Within the Photos app, head to the Albums tab and then scroll down until you see the Recently Deleted folder.
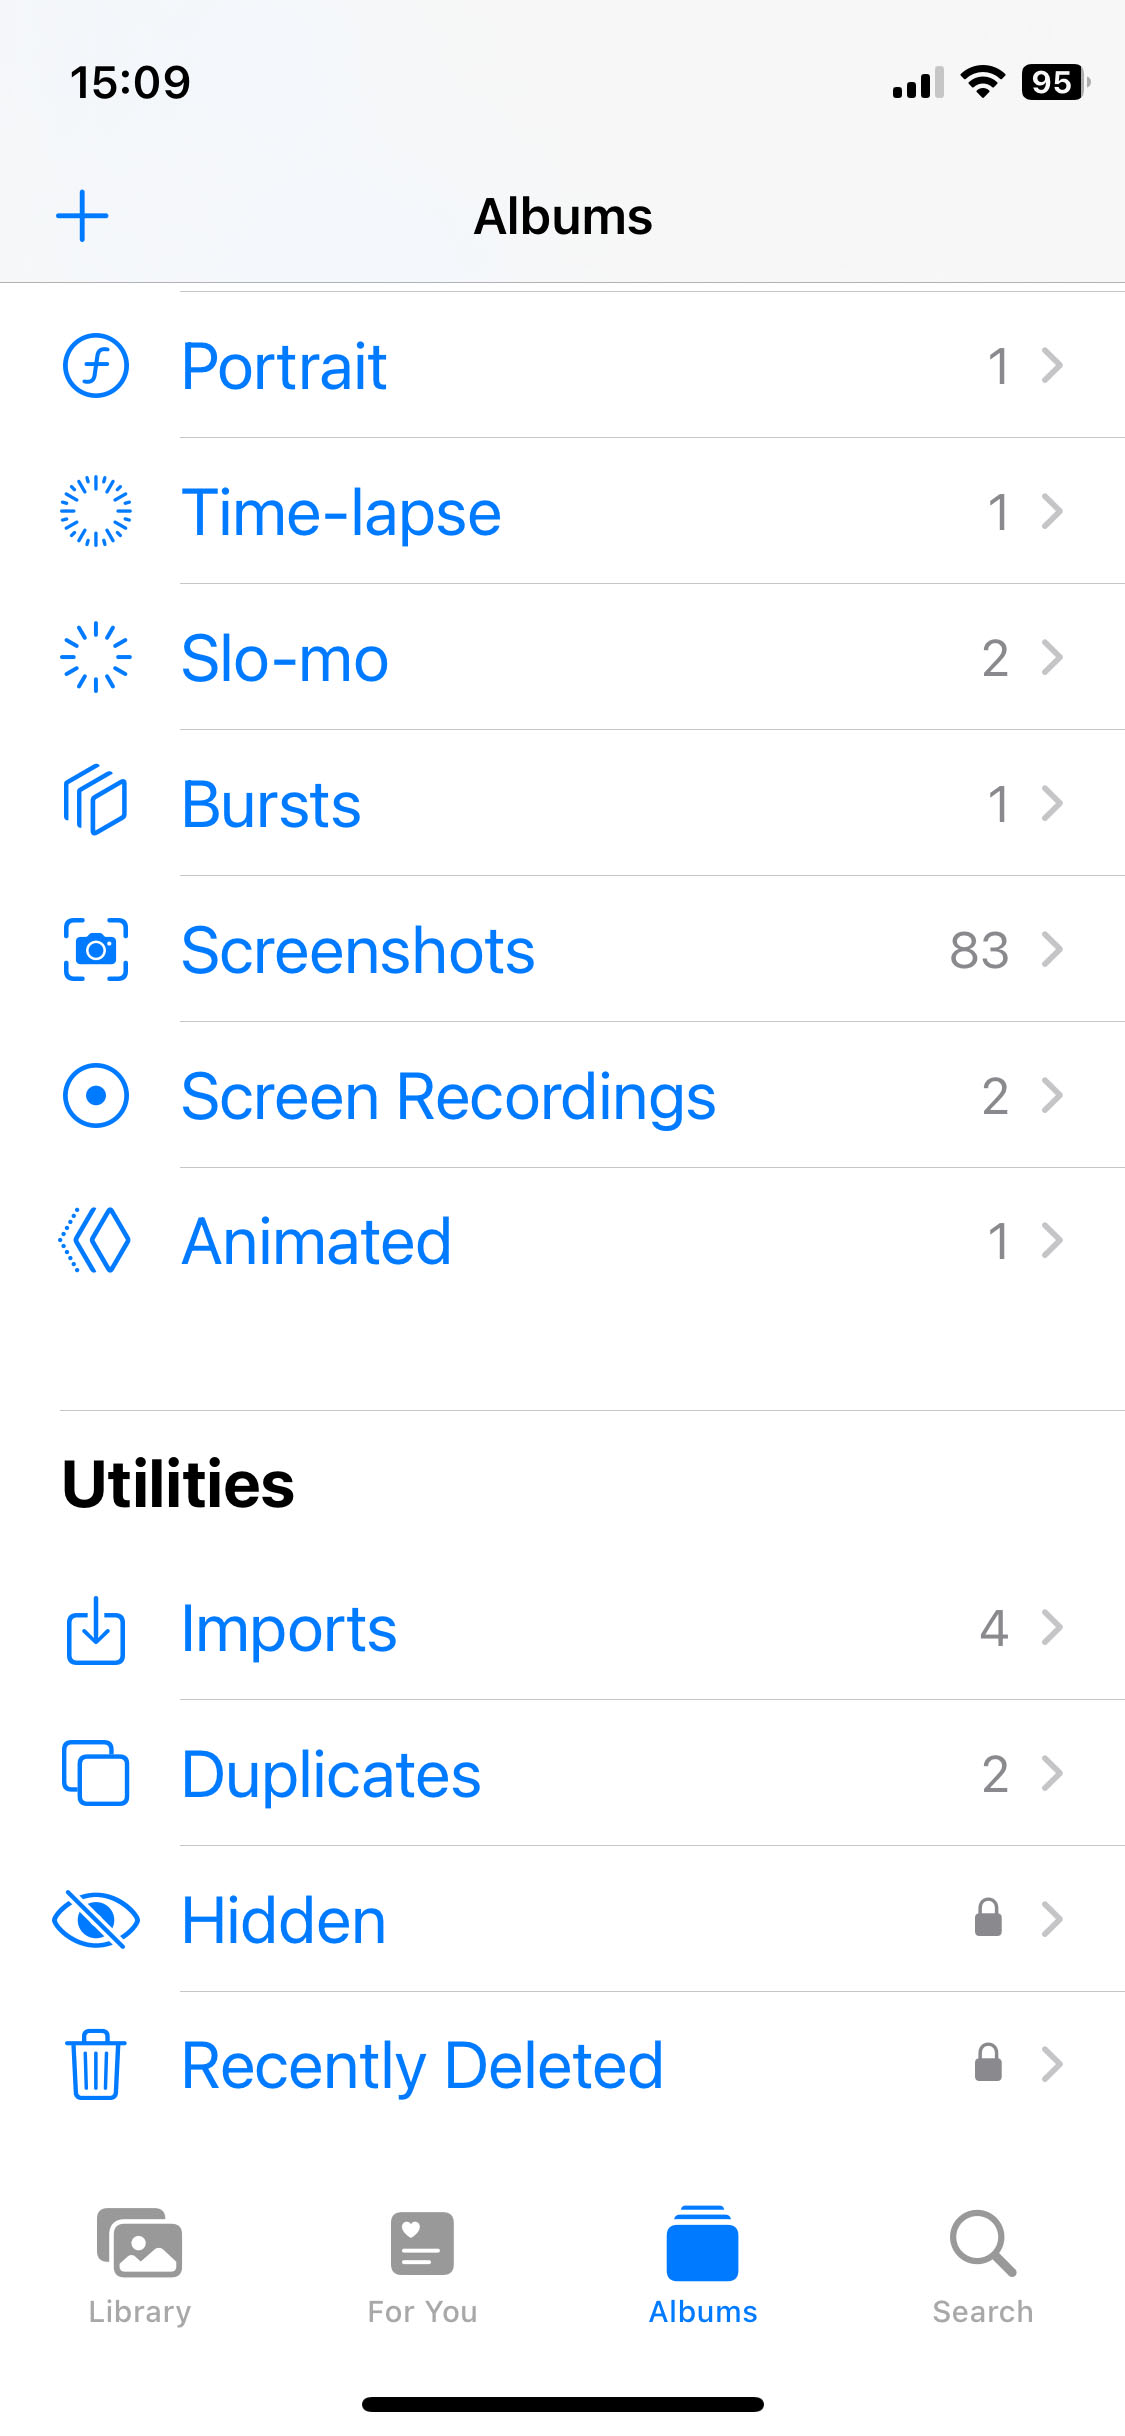
- Look for the videos that you would like to recover and then select them.
- Click on three dots in the lower right-hand corner and select the Recover button, and then they will be put back into your main video library on your device.
If you don’t see your videos in the Recently Deleted folder, then let’s move on to using Disk Drill as it can find deleted videos even after the Recently Deleted Folder has been emptied manually or if 30 days have gone by.
Method 2. Recover Deleted Videos Using Recovery Software
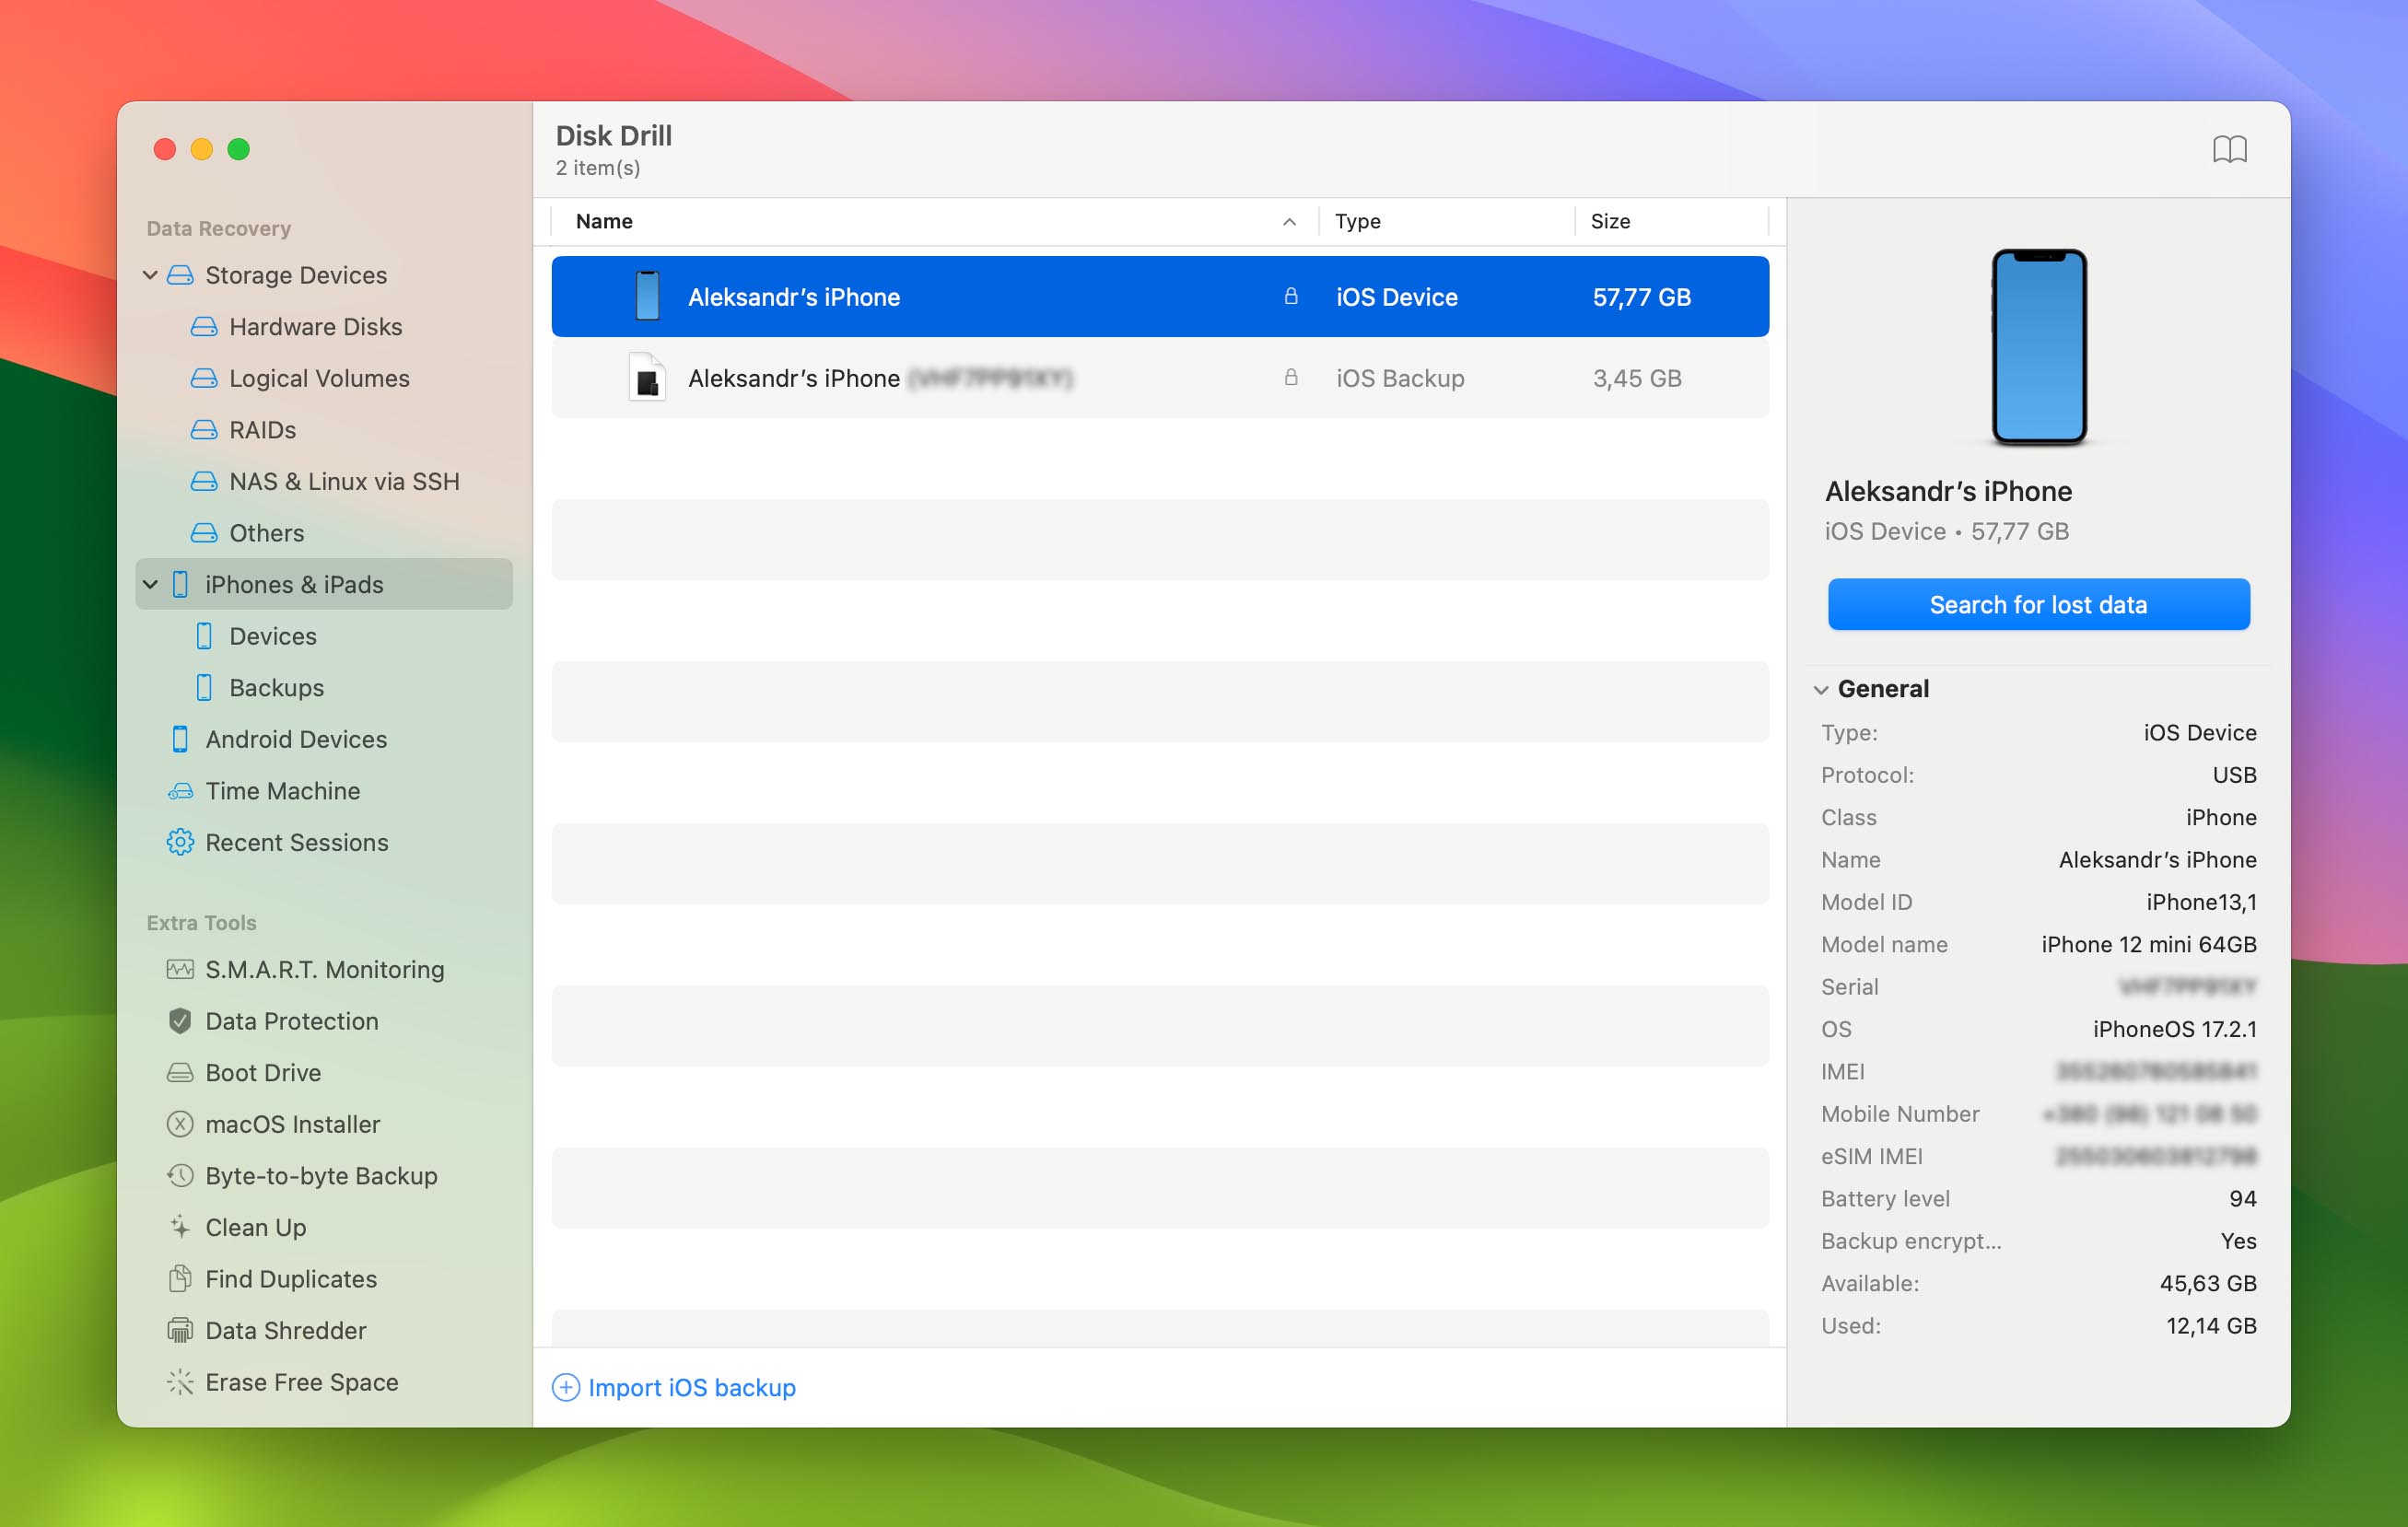
Disk Drill iPhone Data Recovery is a third-party software tool that will allow us to recover deleted videos even after they’ve been emptied from the Recently Deleted Folder on our iPhone. It does this by scanning existing iPhone backups located on your Mac or create a fresh backup for immediate analysis.
The recovery of deleted or lost iPhone videos using Disk Drill is straightforward, and the software supports virtually all commonly used video file formats, including those used by iPhones. Here’s are the steps you need to go through:
- Download and install Disk Drill onto your Mac.
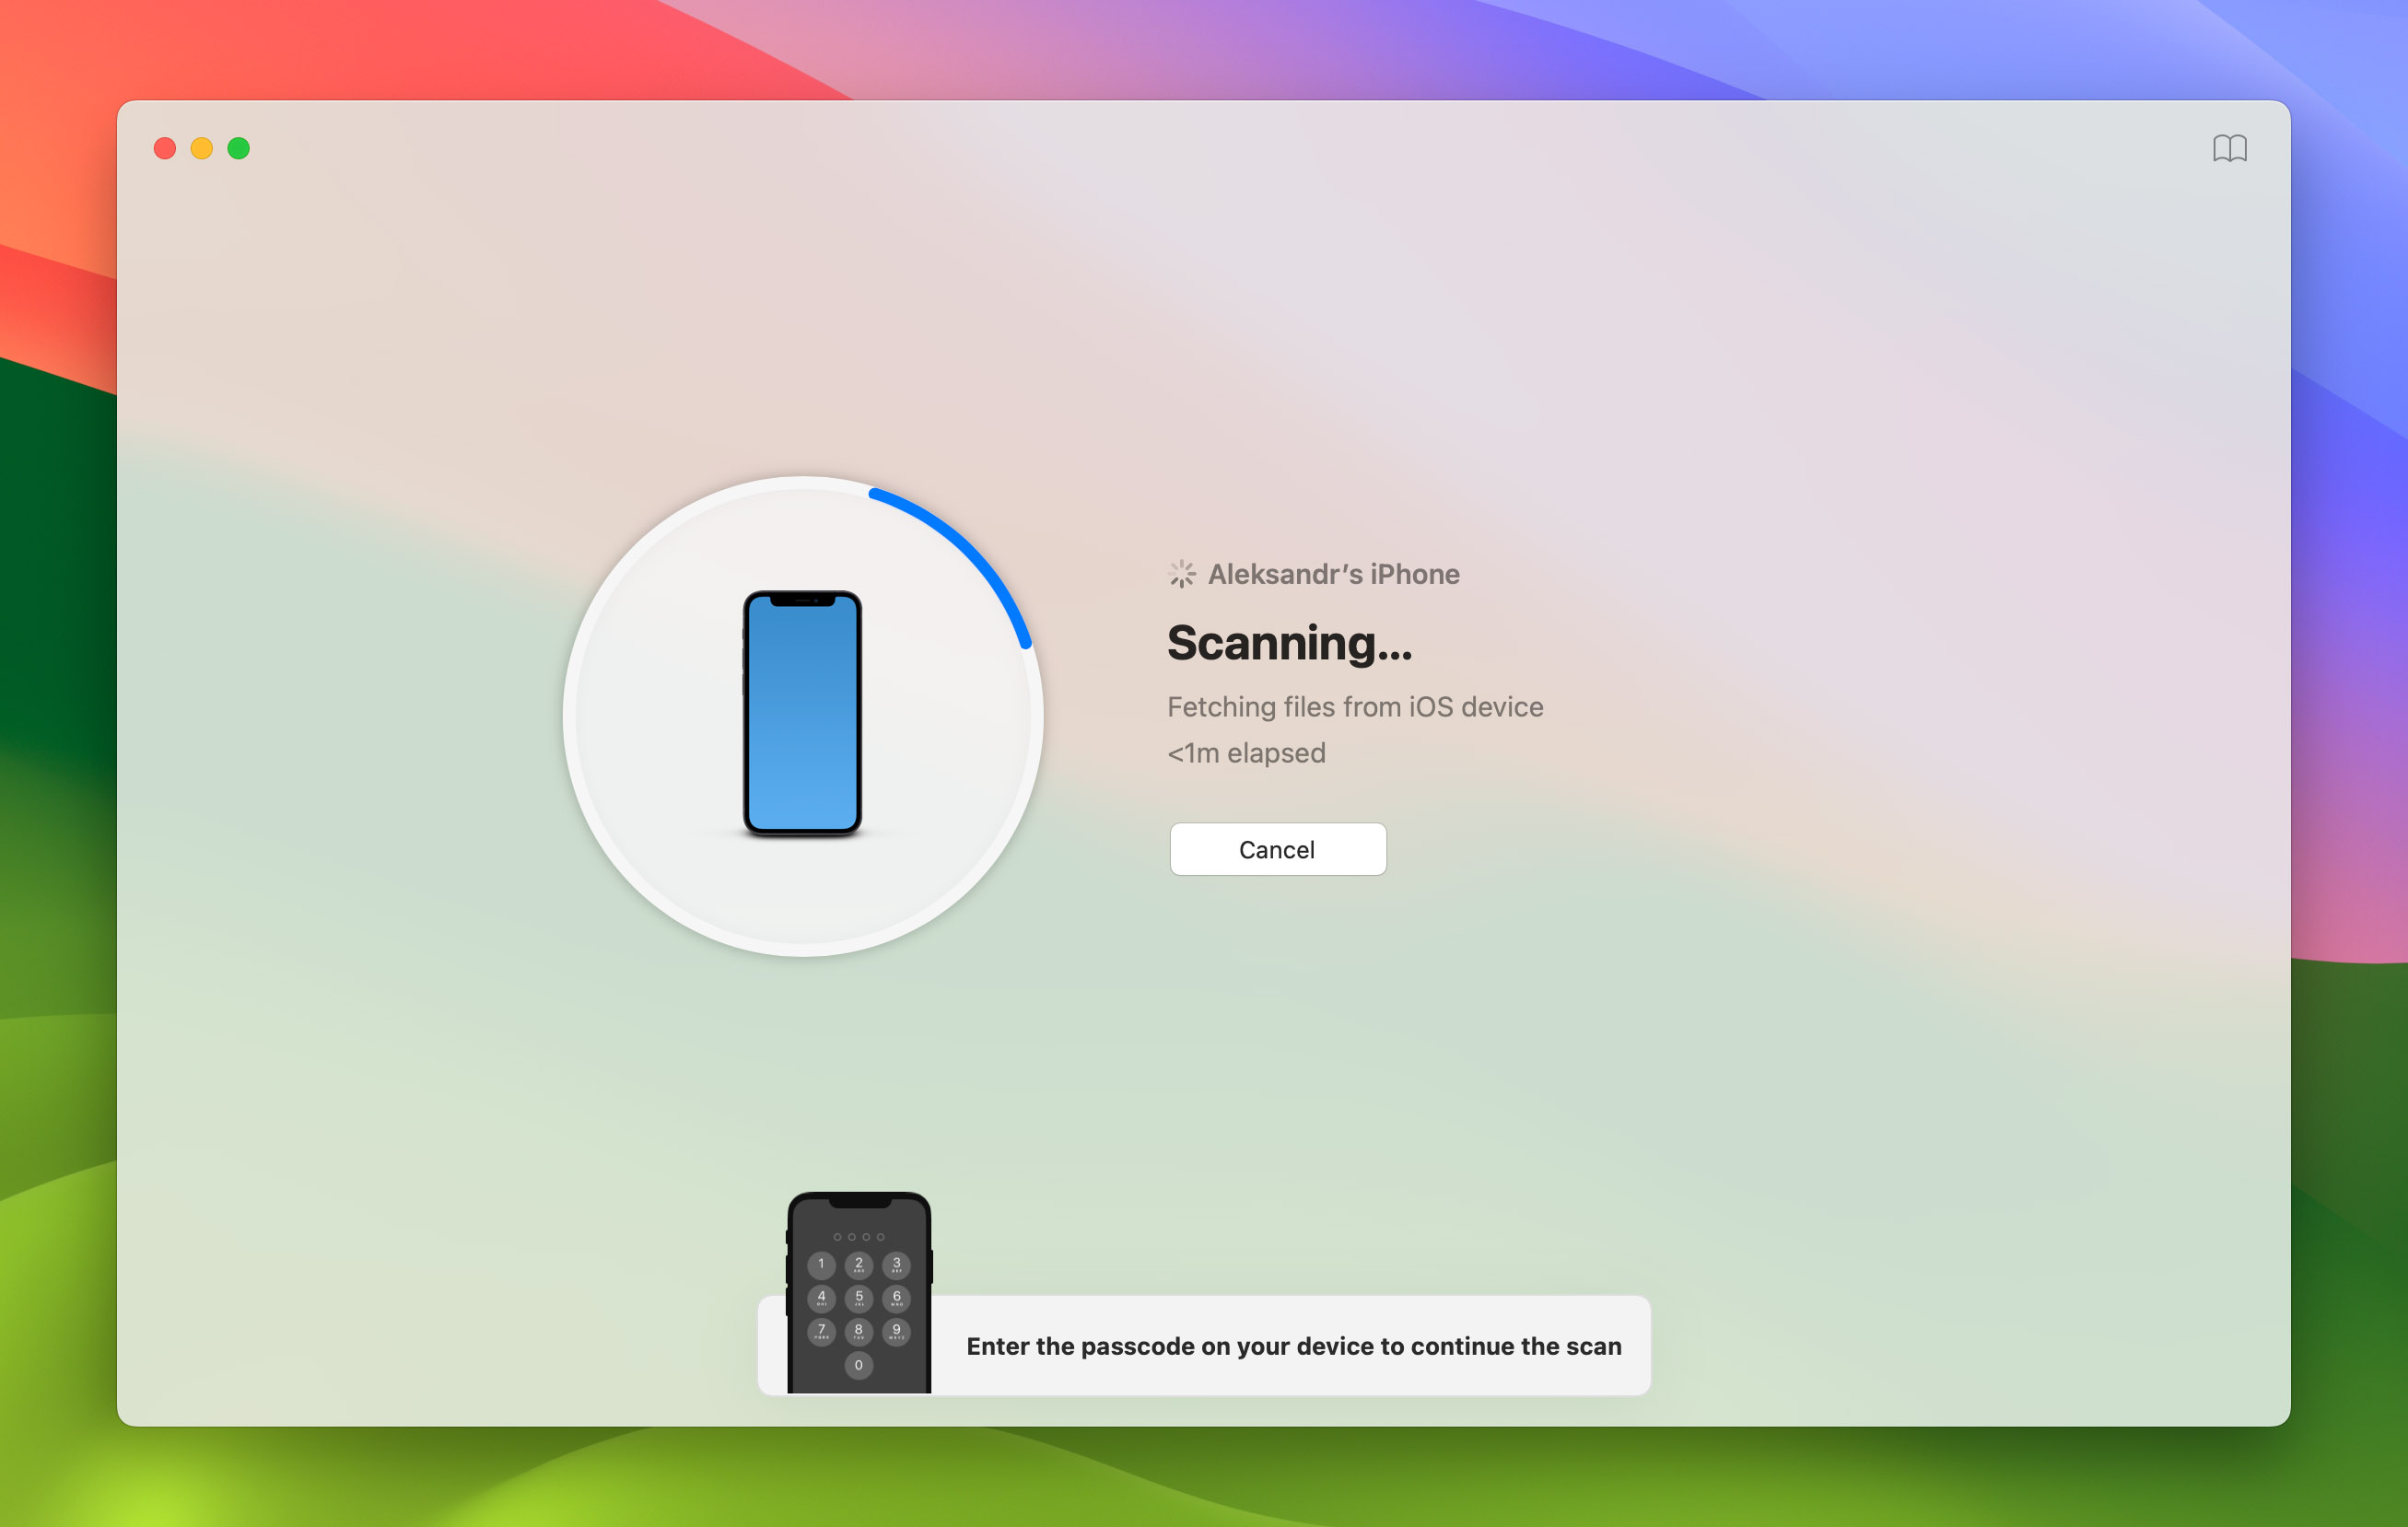
- Connect your iPhone to your Mac using a reliable USB cable (preferably an Apple-branded one). Select the Trust this device option on your iPhone to let Disk Drill communicate with it. Depending on your iOS version, you may also need to enter you screen unlock code.
- Launch Disk Drill and then go to the iPhone & iPads section. Select your iPhone from the list of devices listed there. You can then click the Search for lost data button. Note that you need to have about 3x the amount of storage space that’s used on your iPhone for Disk Drill to succesfully recover deleted videos from iPhone. If you don’t have enough space on your internal hard drive, then you can use an external one.
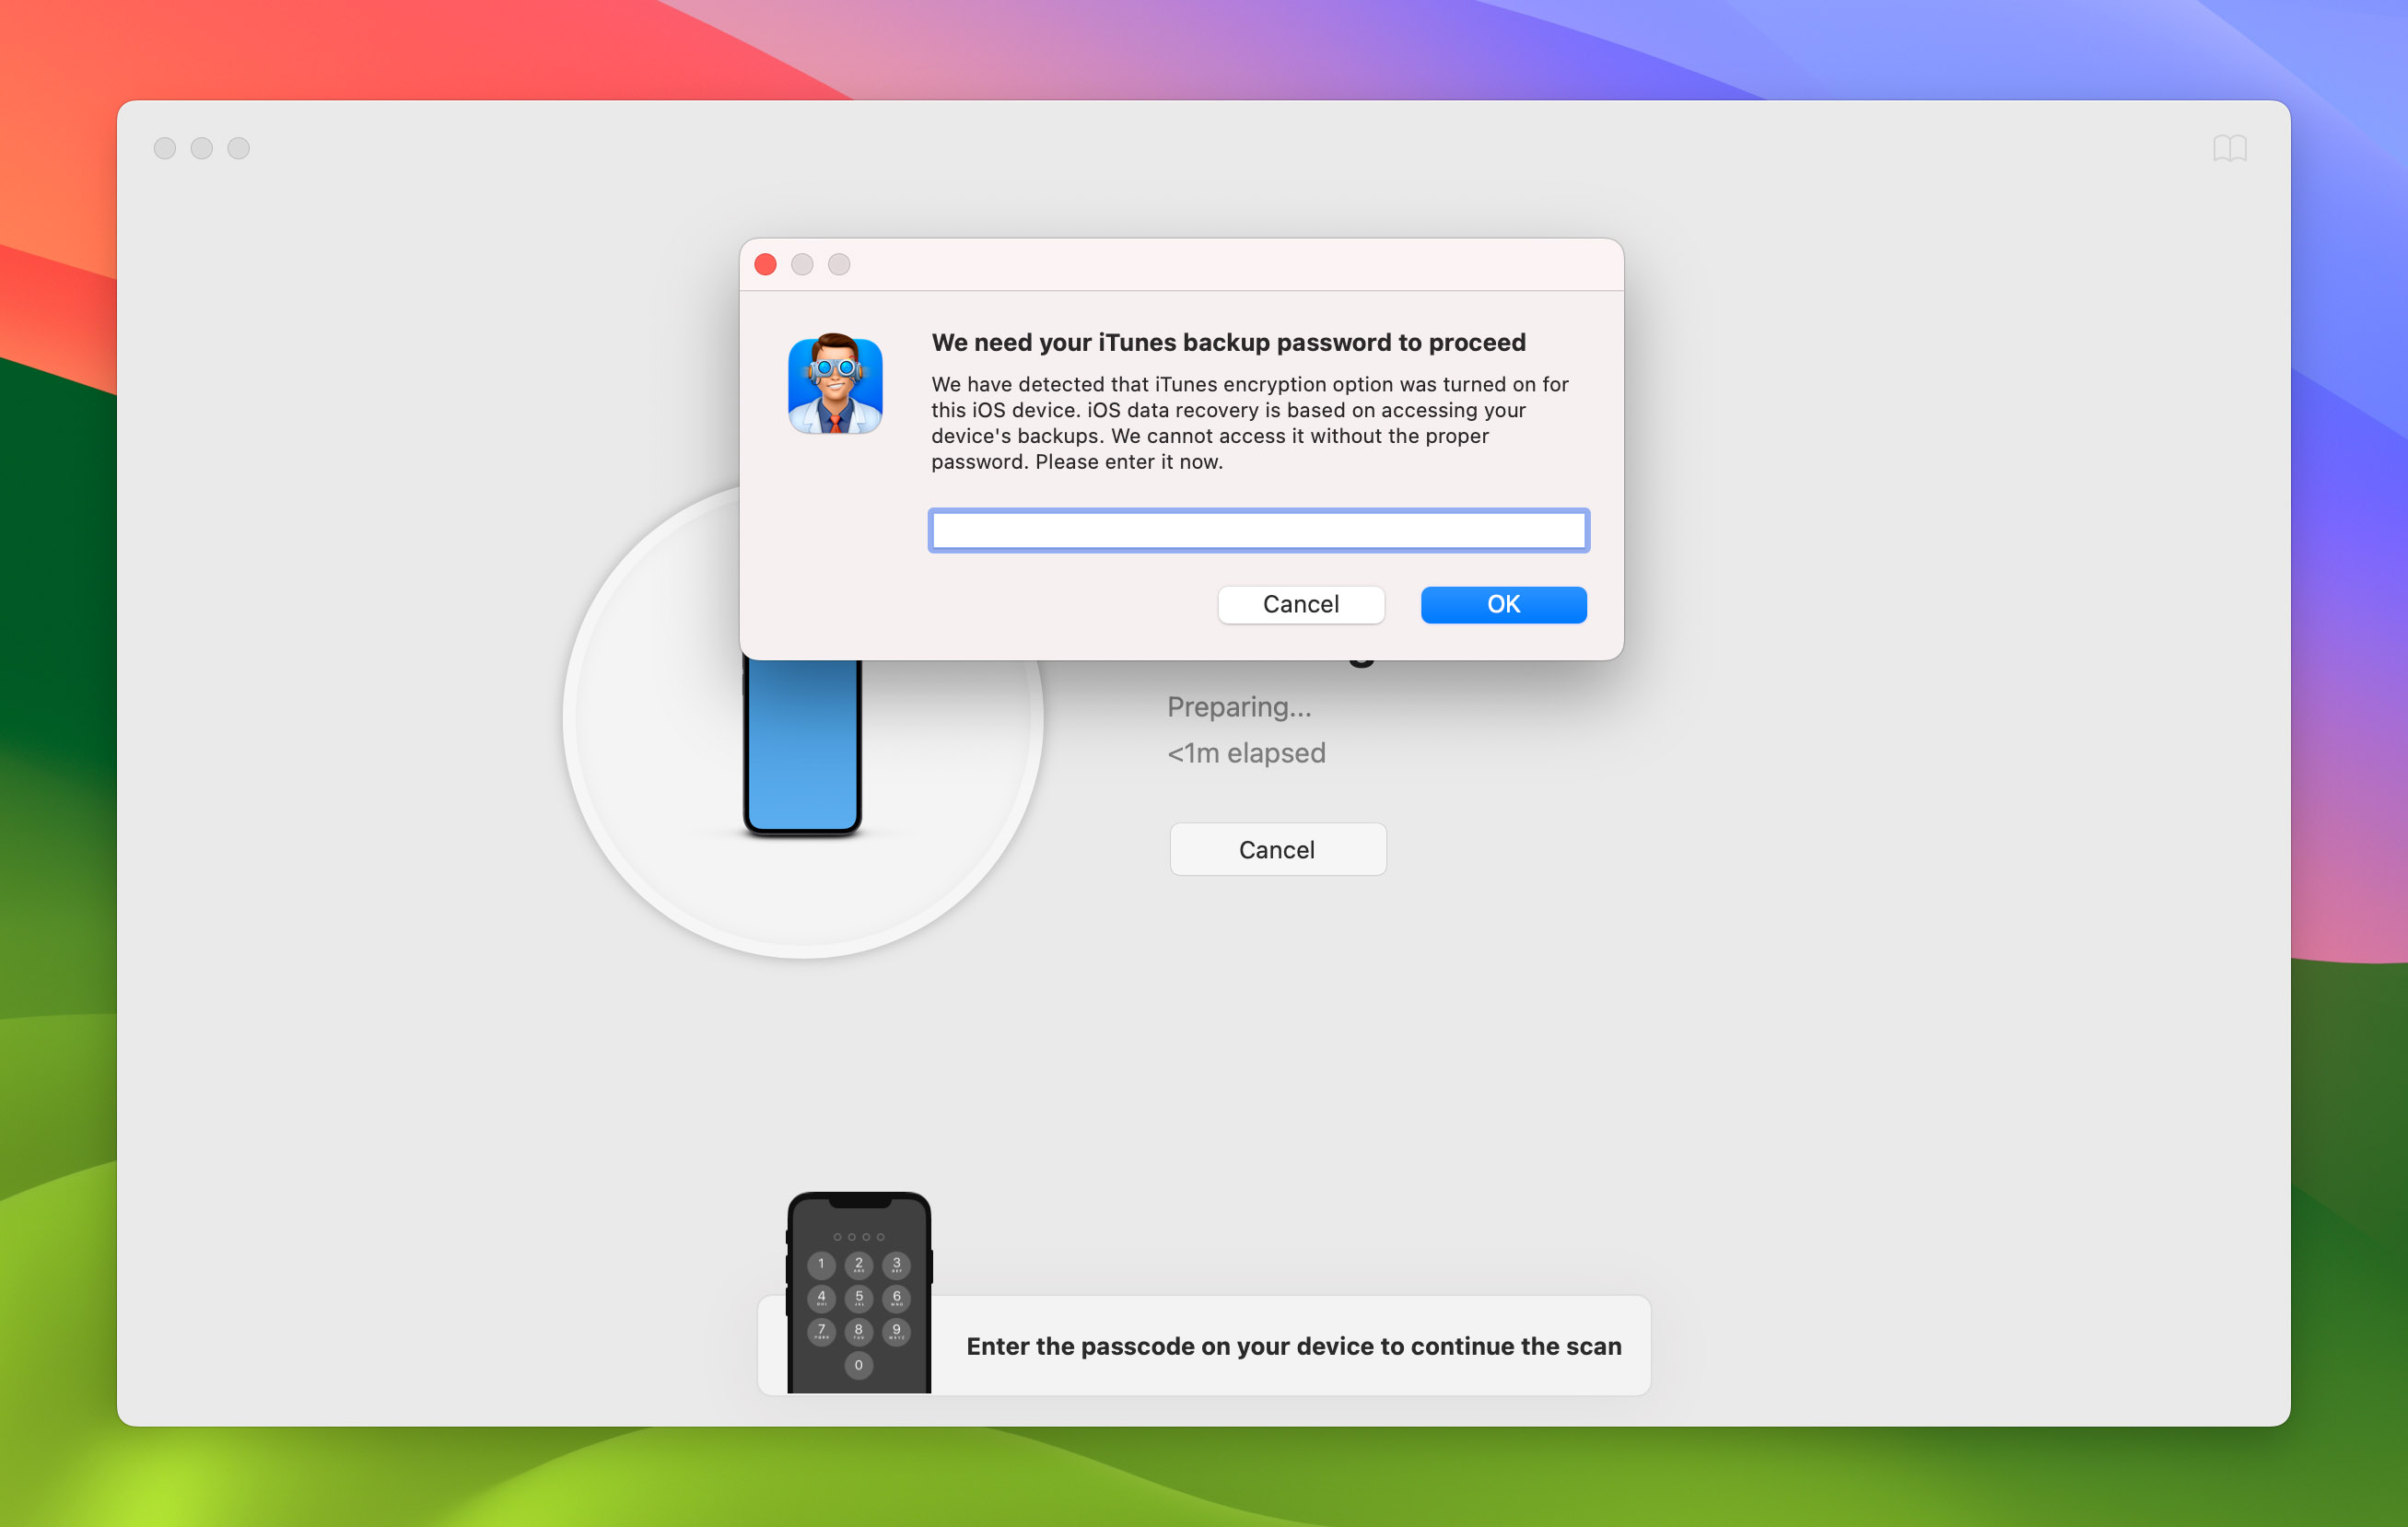
- Enter your iTunes backup password to make it possible for Disk Drill to find your lost videos. If your backups aren’t encrypted, then you won’t need to enter a password, but attempts to recover data from unencrypted backups typically yield worse results.
- Wait for the scan process to complete. The process is compeletly automated, so you can go grab a cup of coffee and come back later. The total duration of scanning will depend predominantly on how much storace space is occupied on your iPhone.
- Select the videos that you would like to recover. You can enable the Videos file filter in the left pane to hide all other file types. If the video thumbnails generated by Disk Drill are not enough for you to know what individual videos are about, then you can right-click them and select the Preview option.
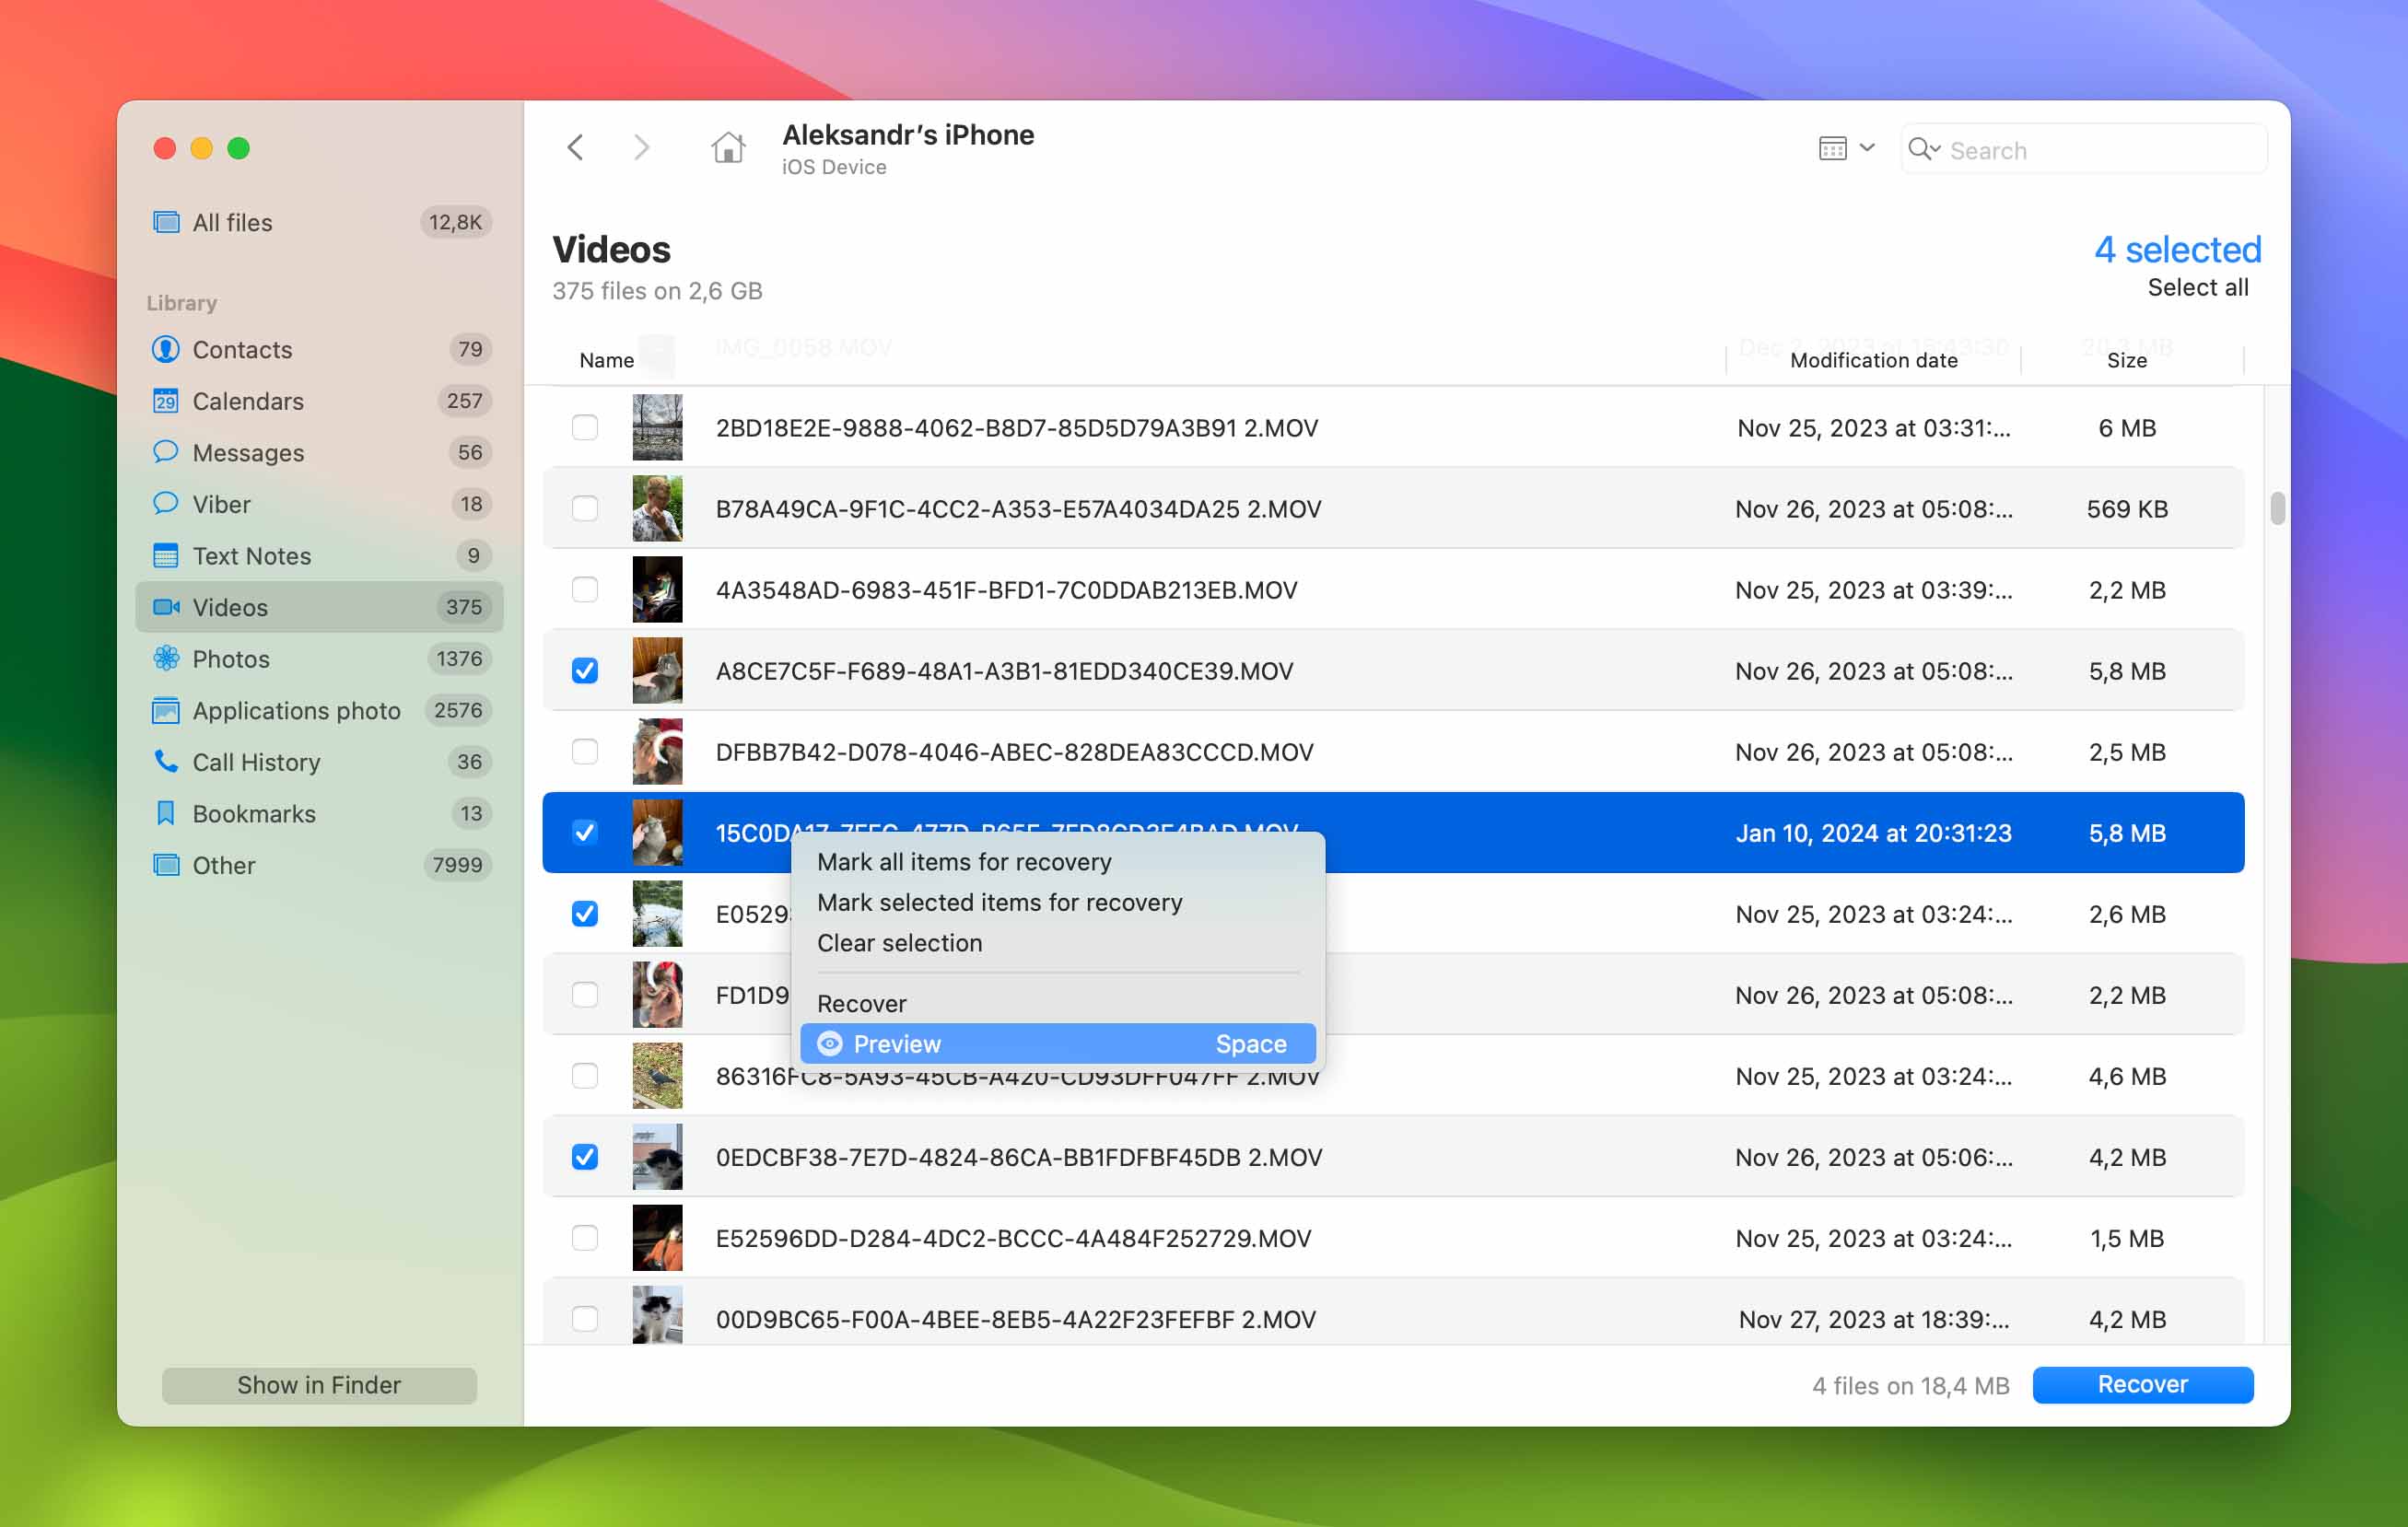
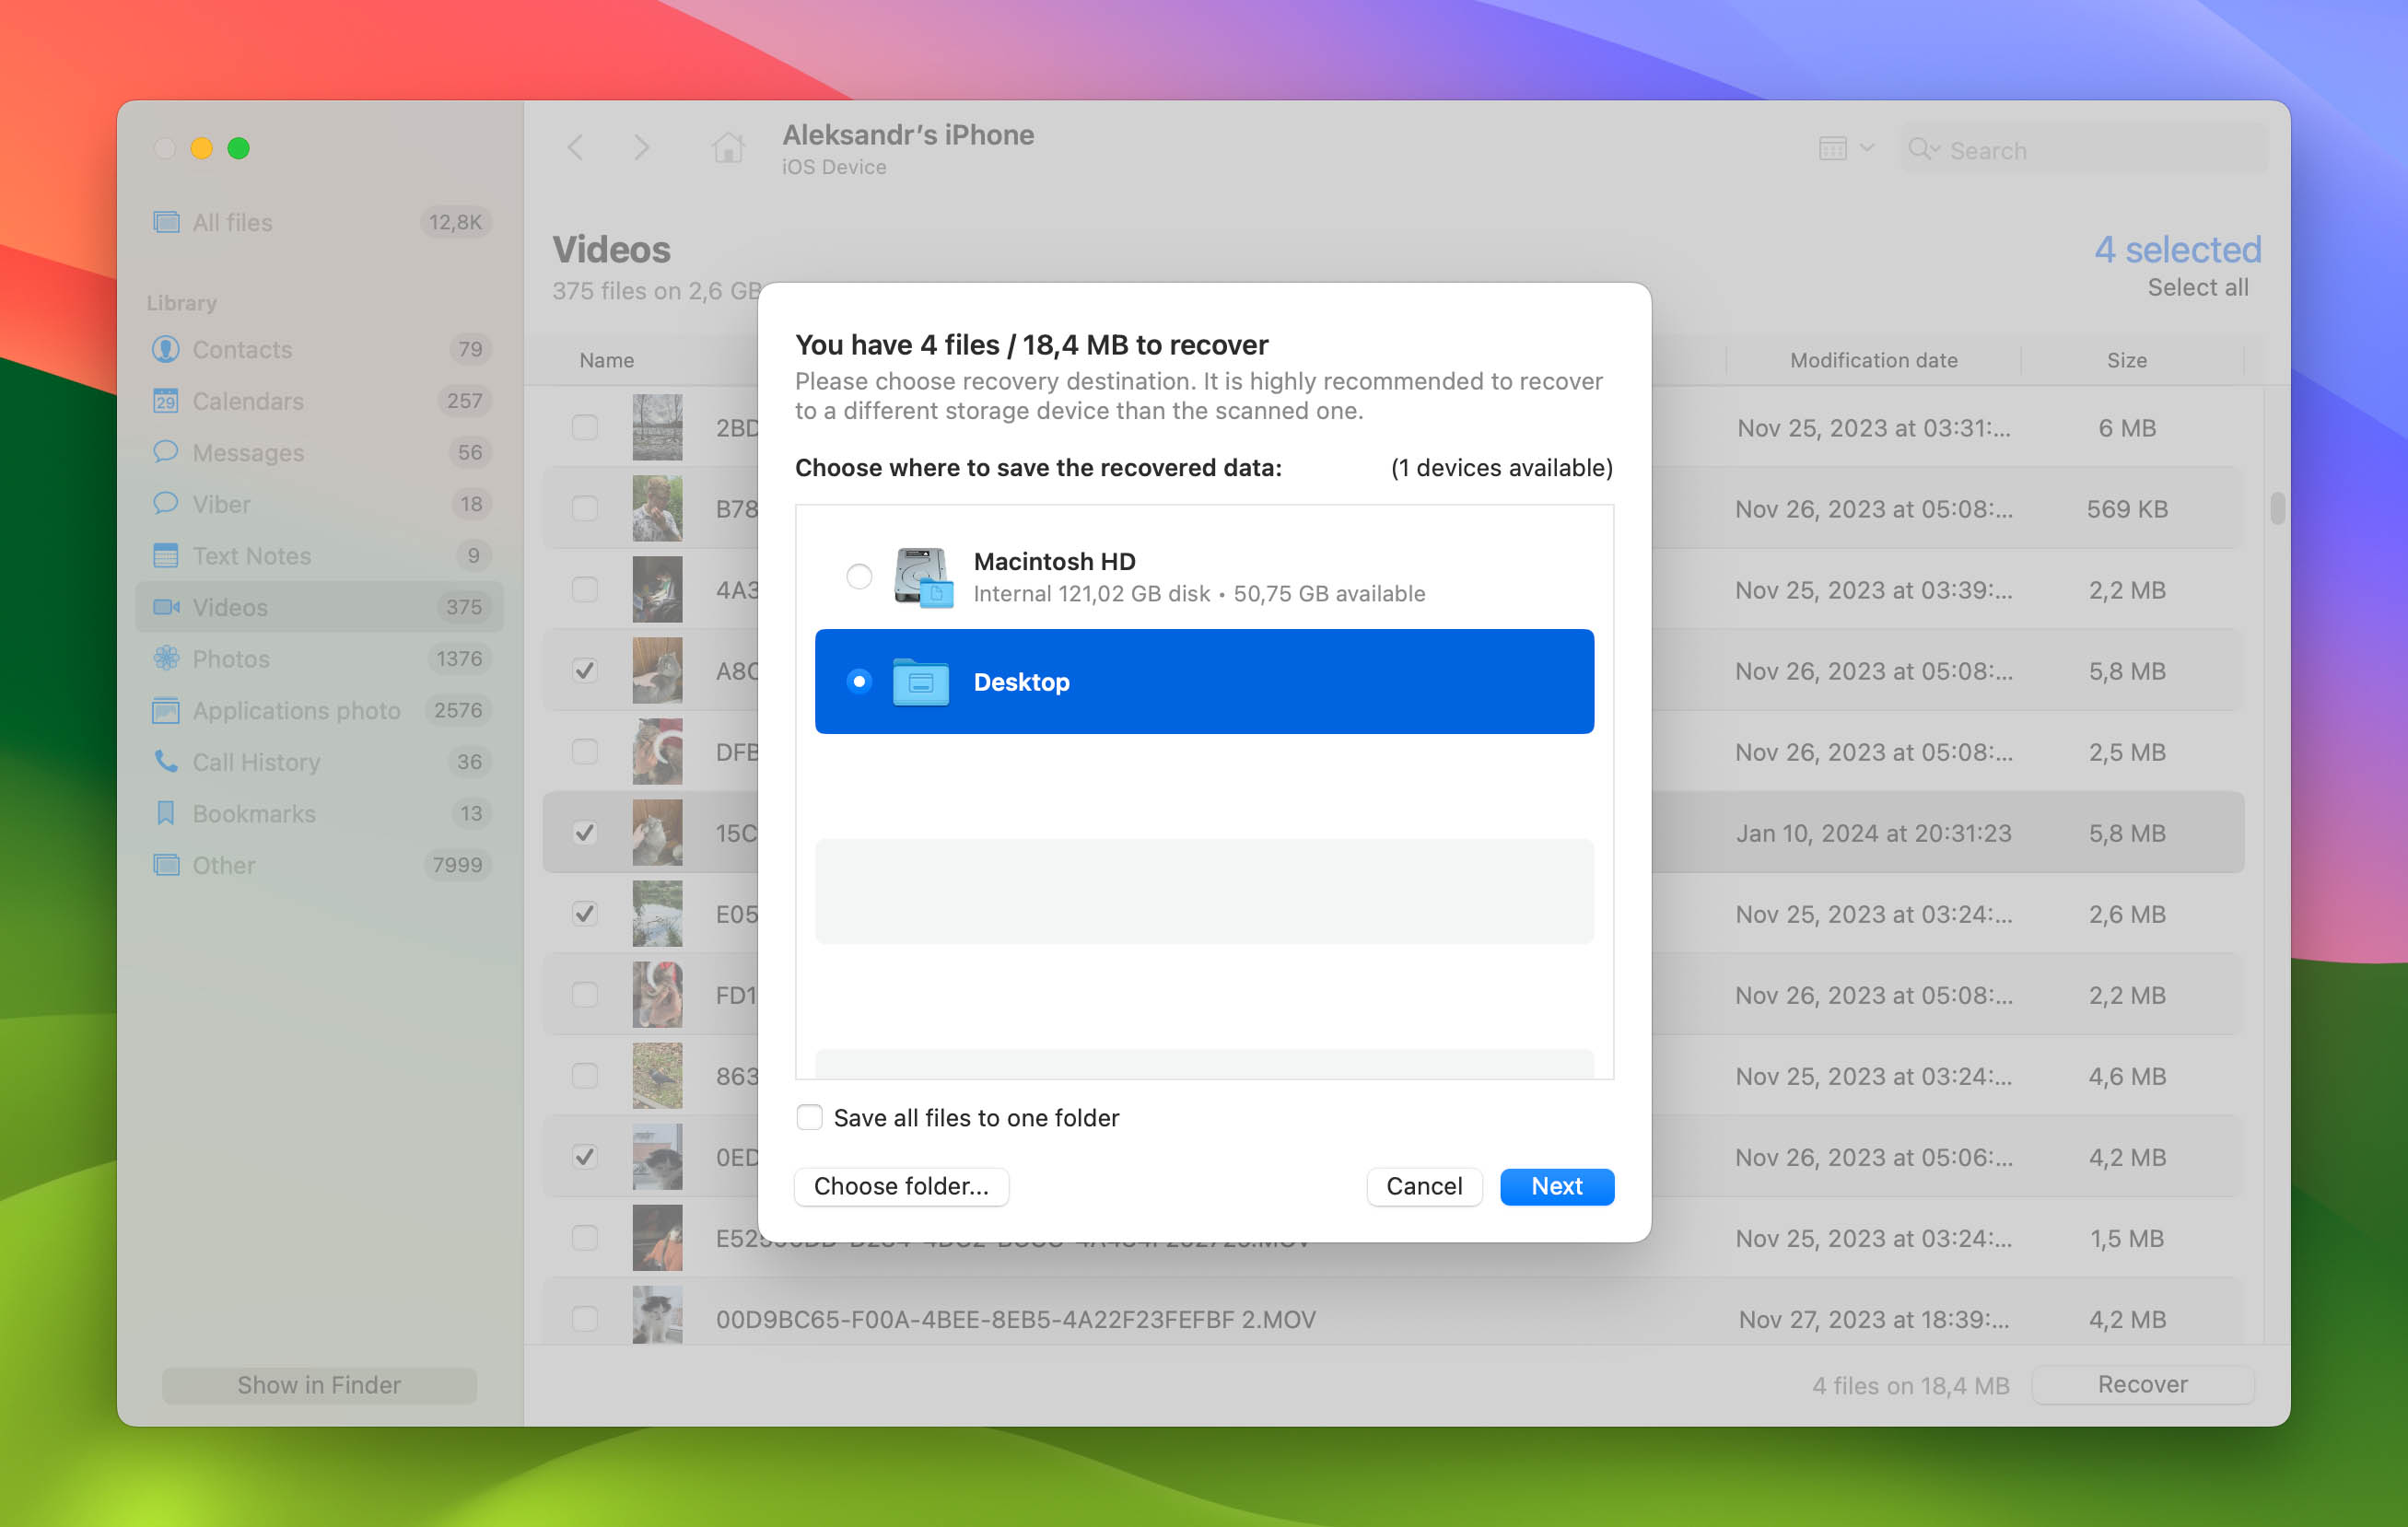
- Click on the blue Recover button in the lower right-hand corner to recover all selected videos. Disk Drill will ask you to specify a recovery destination, and you can choose any internal or external drive with enough storage space.
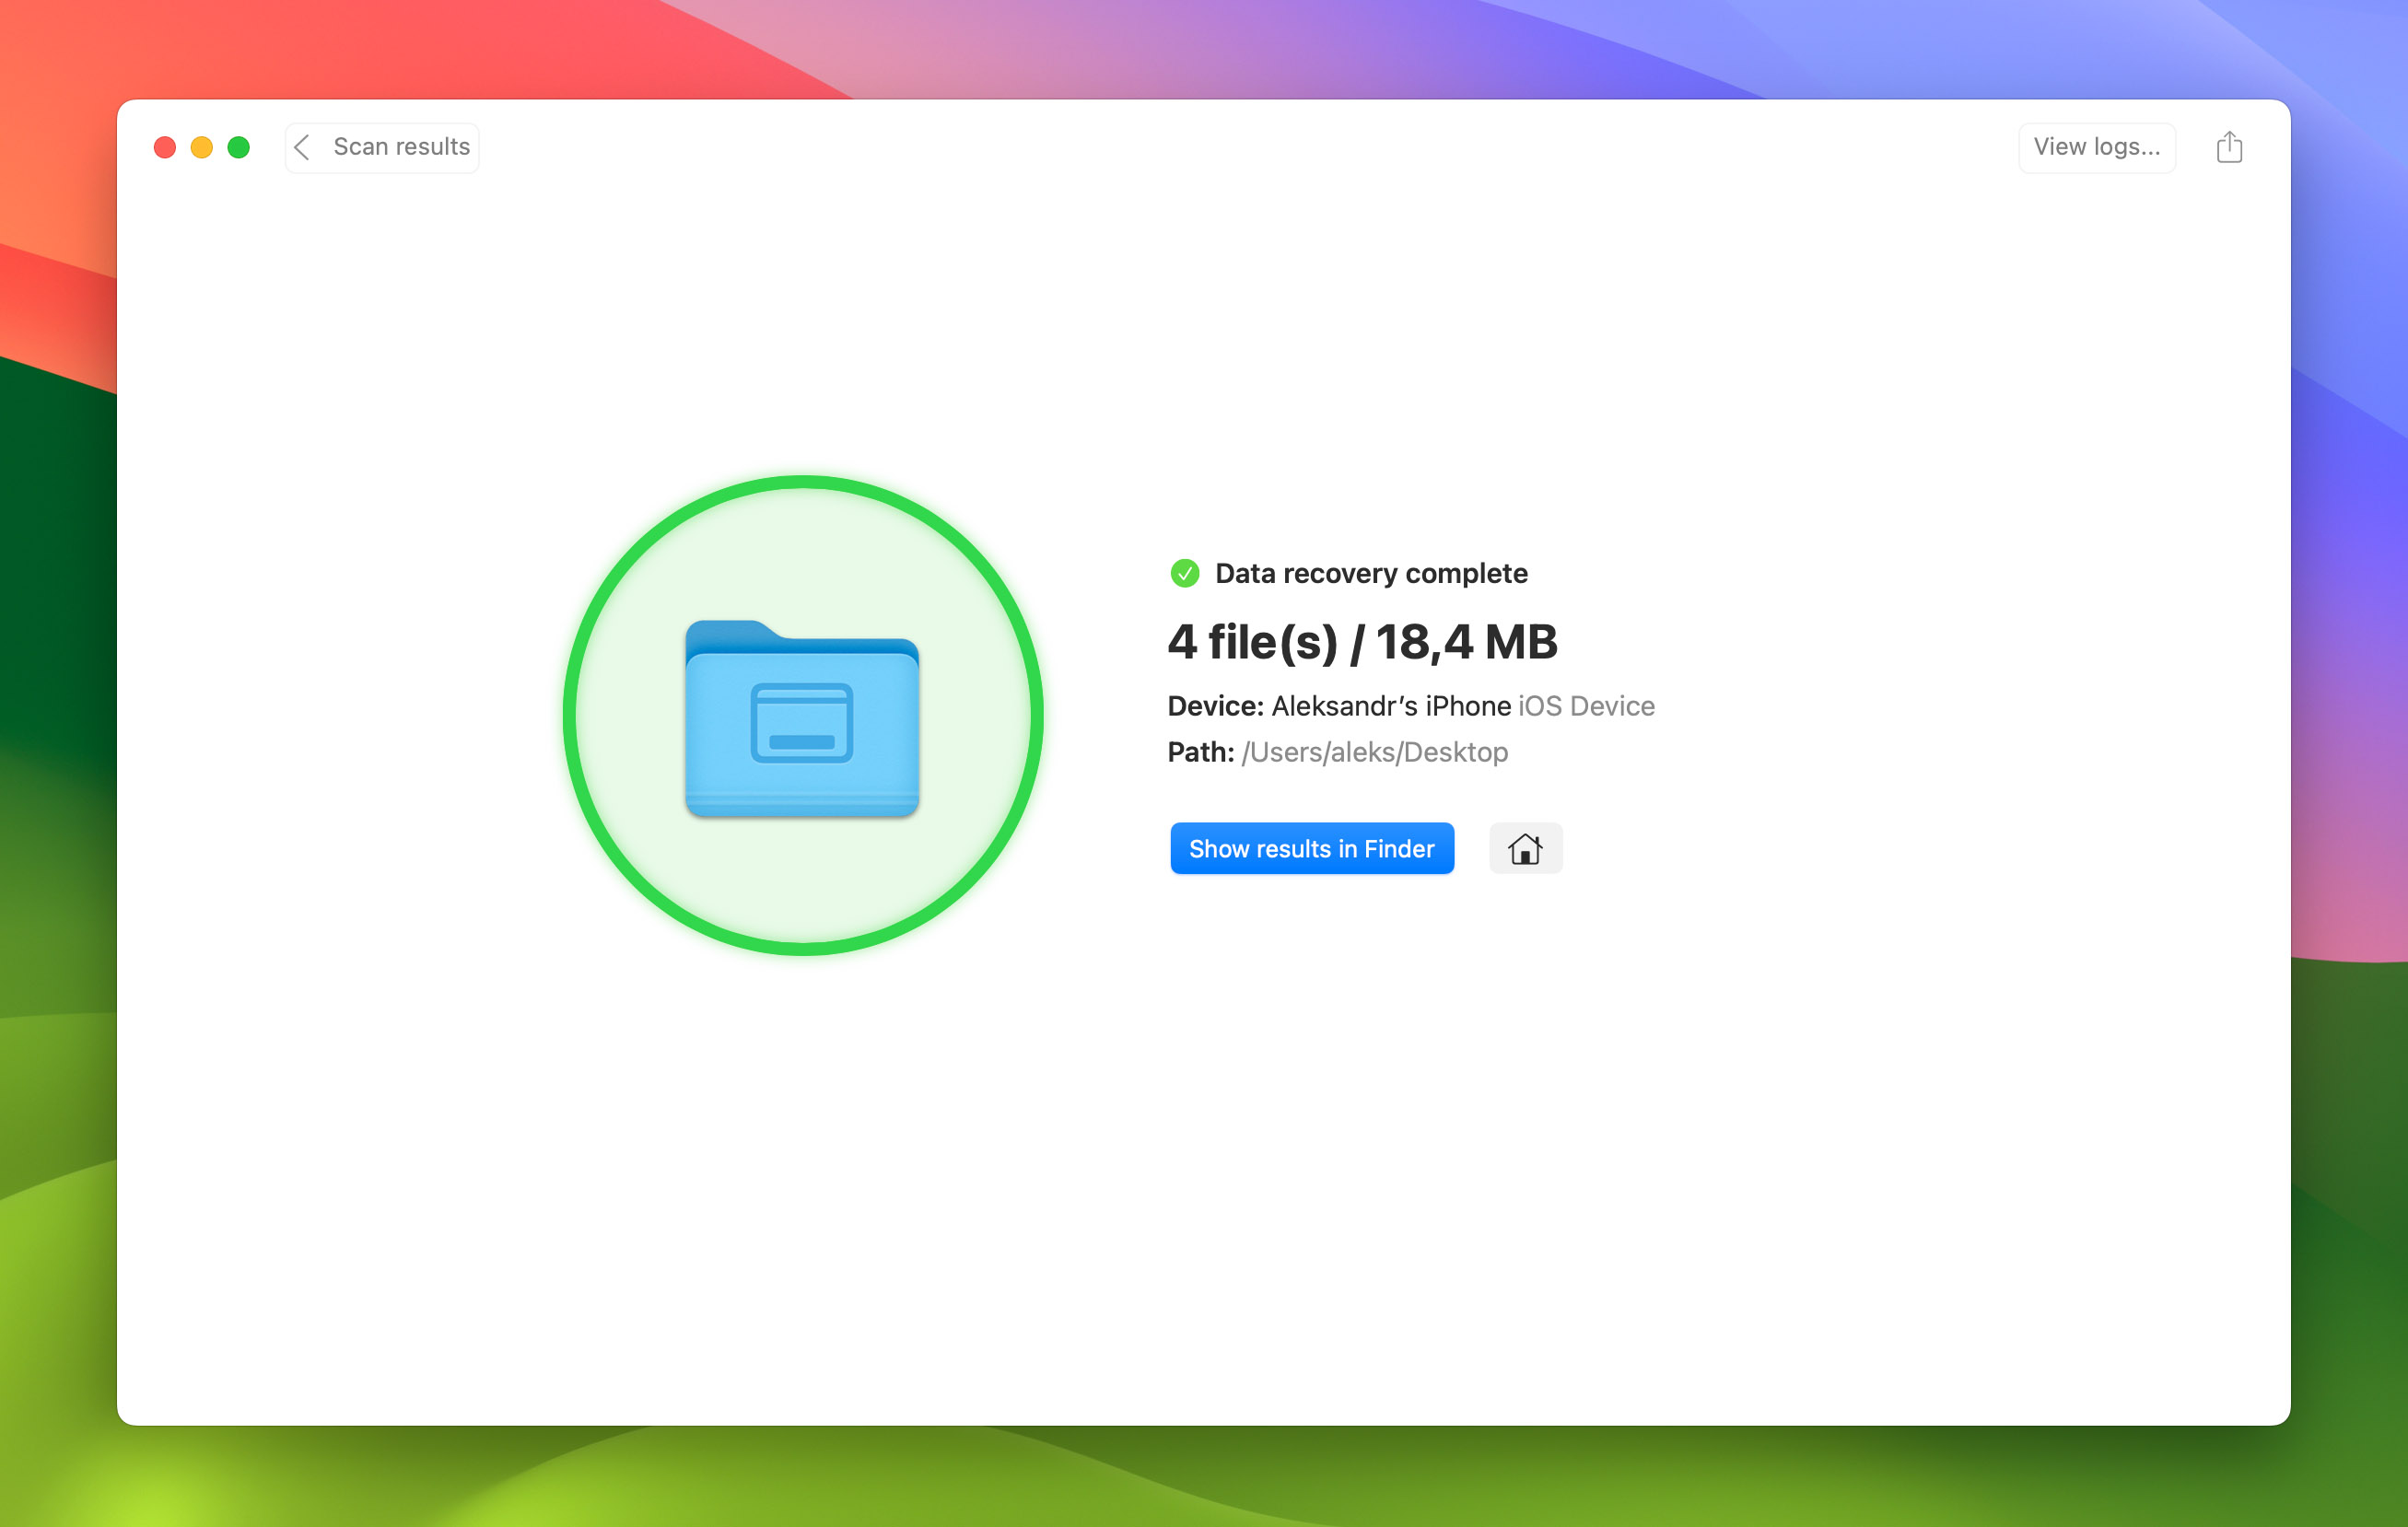
- Finish the recovery process and click the Show results in Finder button to see your recovered videos. Good job!

As you can see, Disk Drill is an iPhone video recovery tool that can not only recover lost data for you, but it can do so with the same focus on user experience and intuitive design that Apple embeds in its products.
Method 3. Restore Videos from an iCloud Backup
iCloud is a powerful backup and syncing feature that is built into Apple devices. If you’ve turned it on. then you can restore your iPhone to a previous backup containg the deleted videos.
This method works best if you were cleaning out a lot of videos, deleted them, and then realized that you want them back as iCloud backups. If there are videos from weeks ago, Disk Drill will be a better option as it can scan your iPhone and find videos that you deleted a while ago.
These are the steps you need to follow:
- Once you’ve created a backup by following the link above, go to Settings on your iPhone and then tap on your name at the top of the screen.
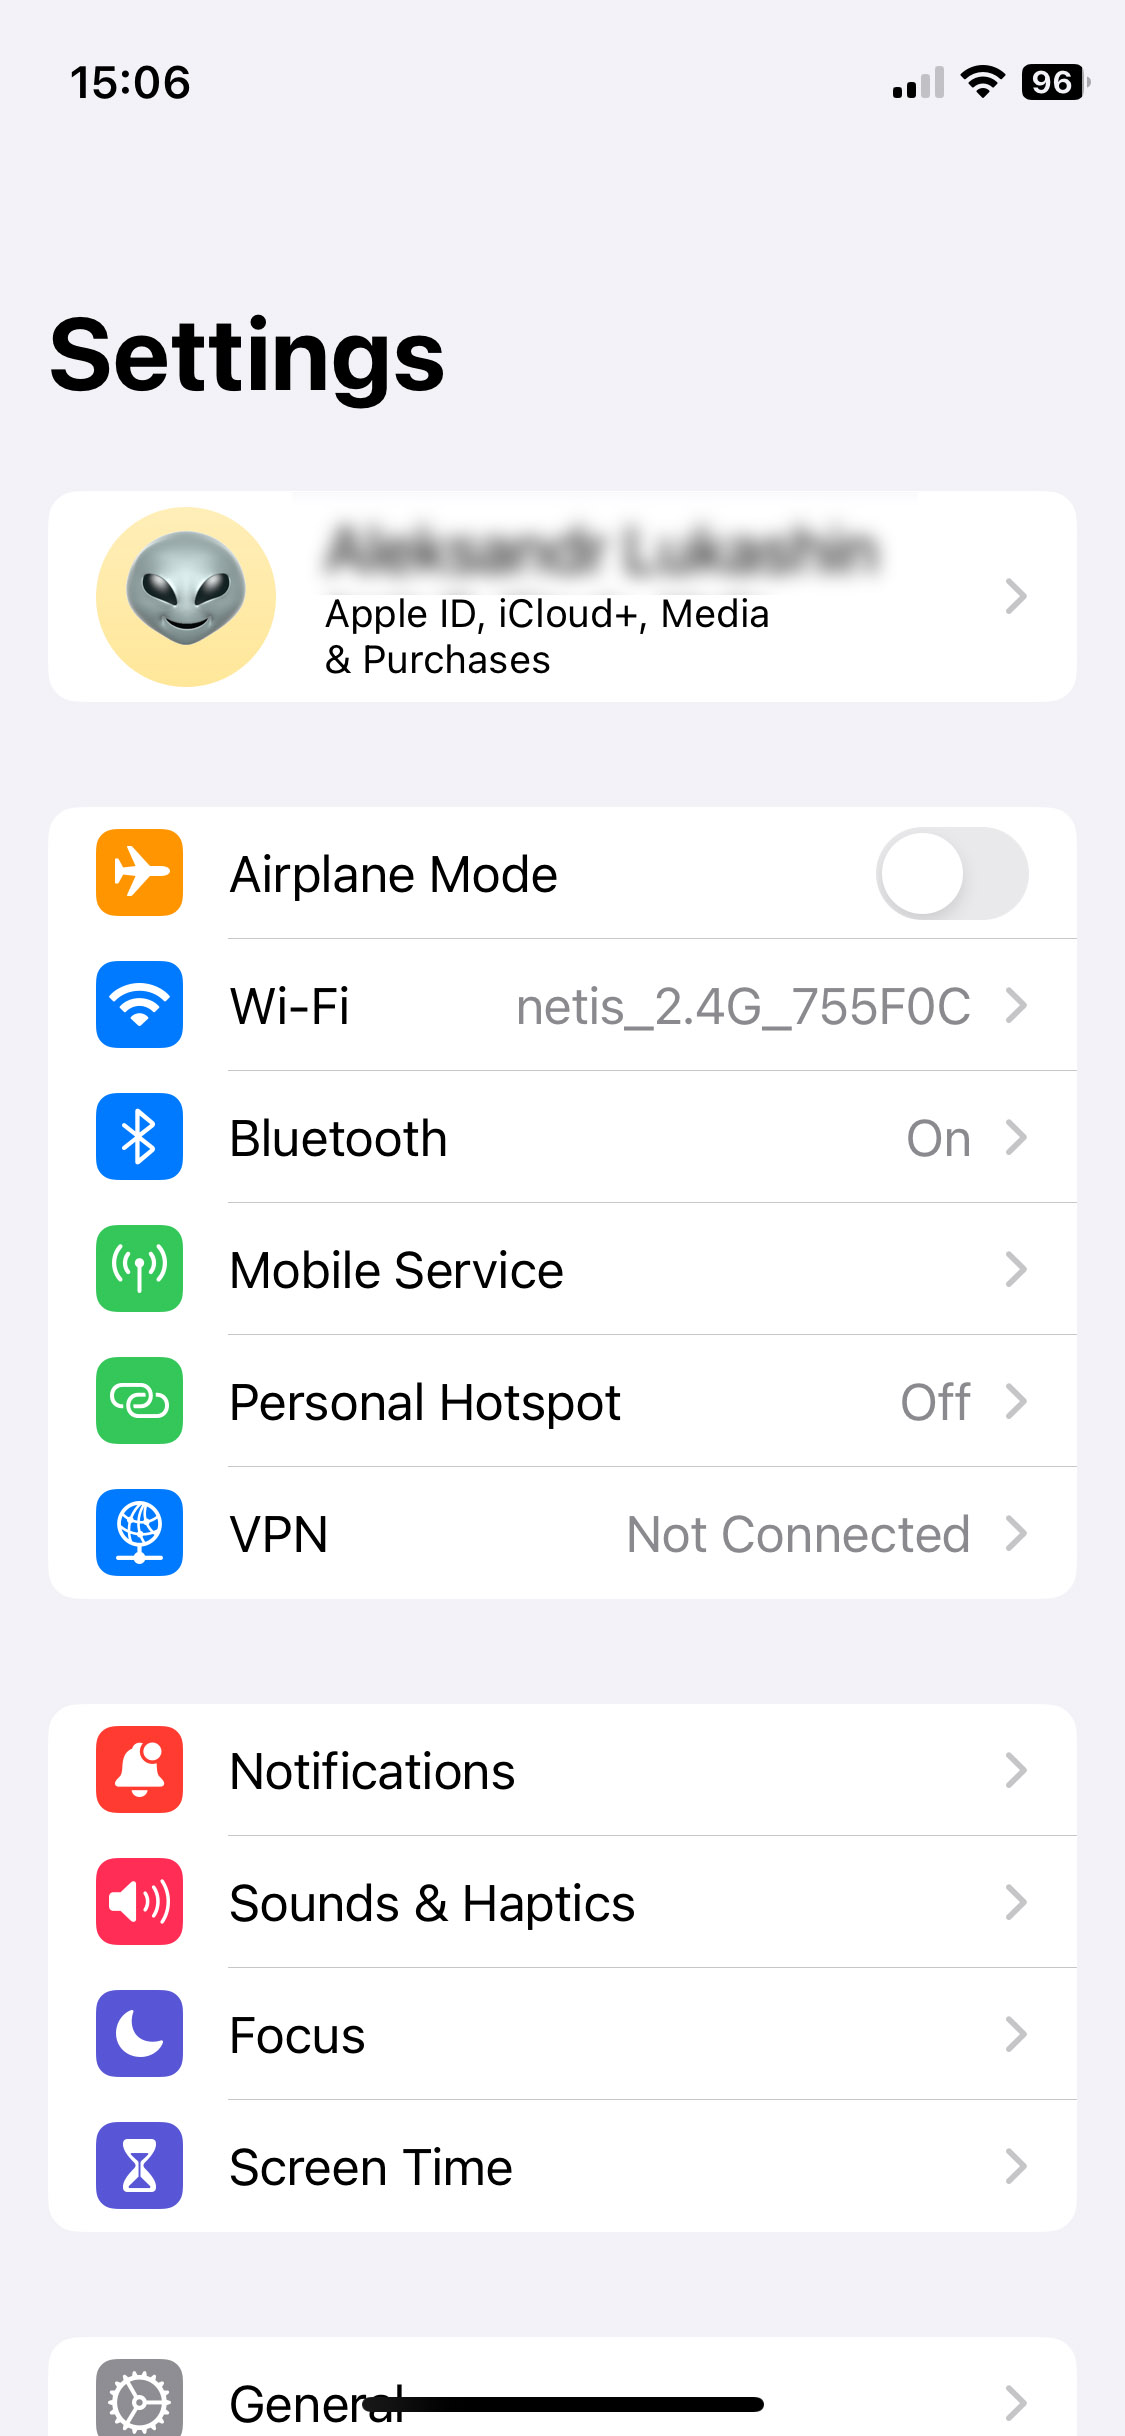
- Select iCloud from the list of options.
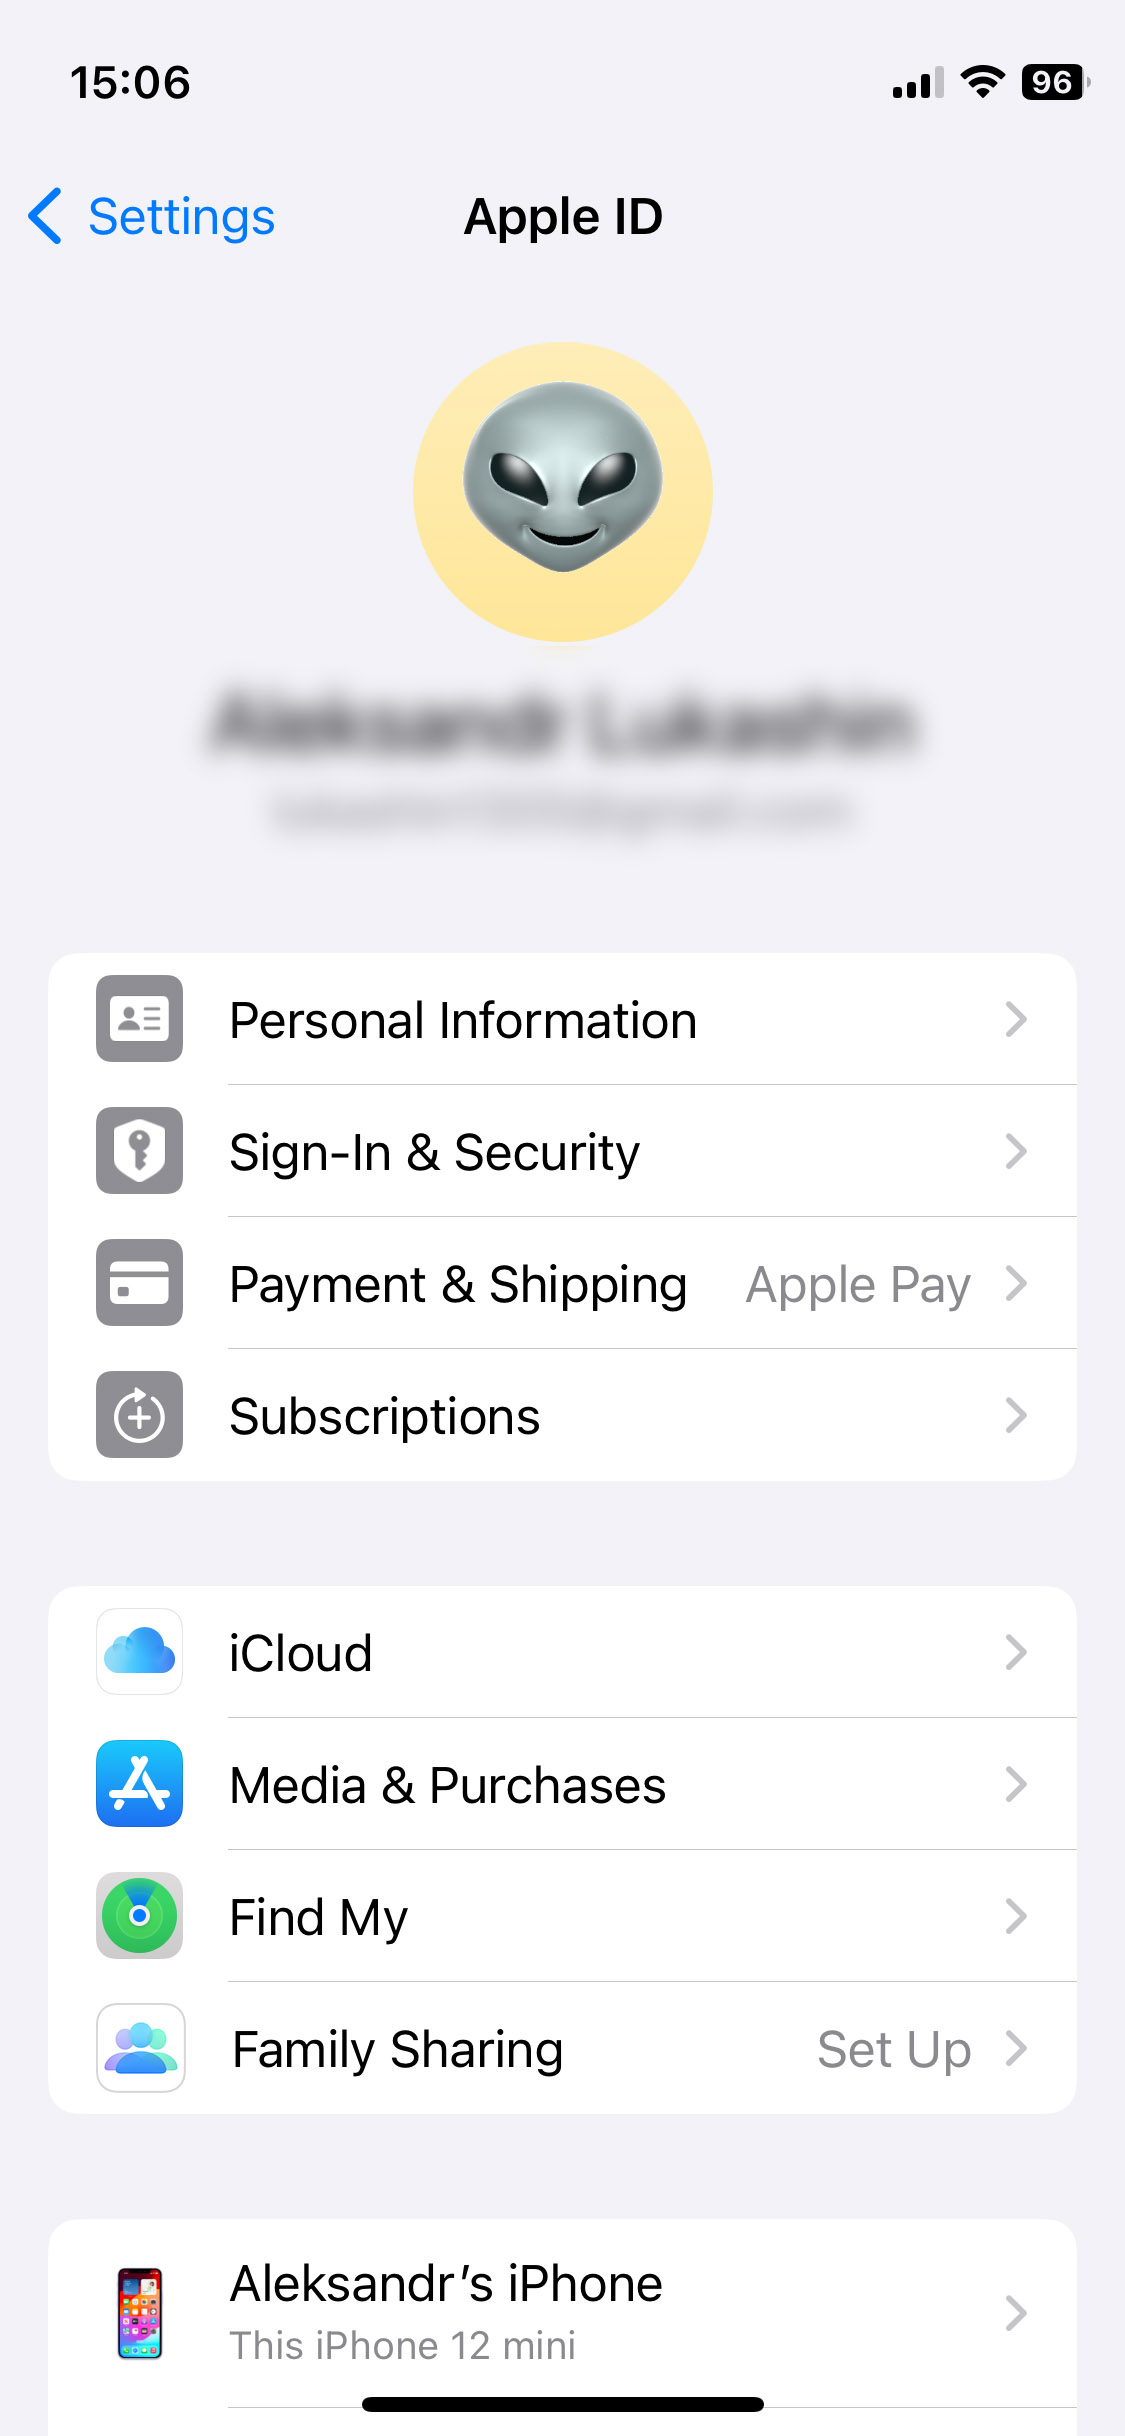
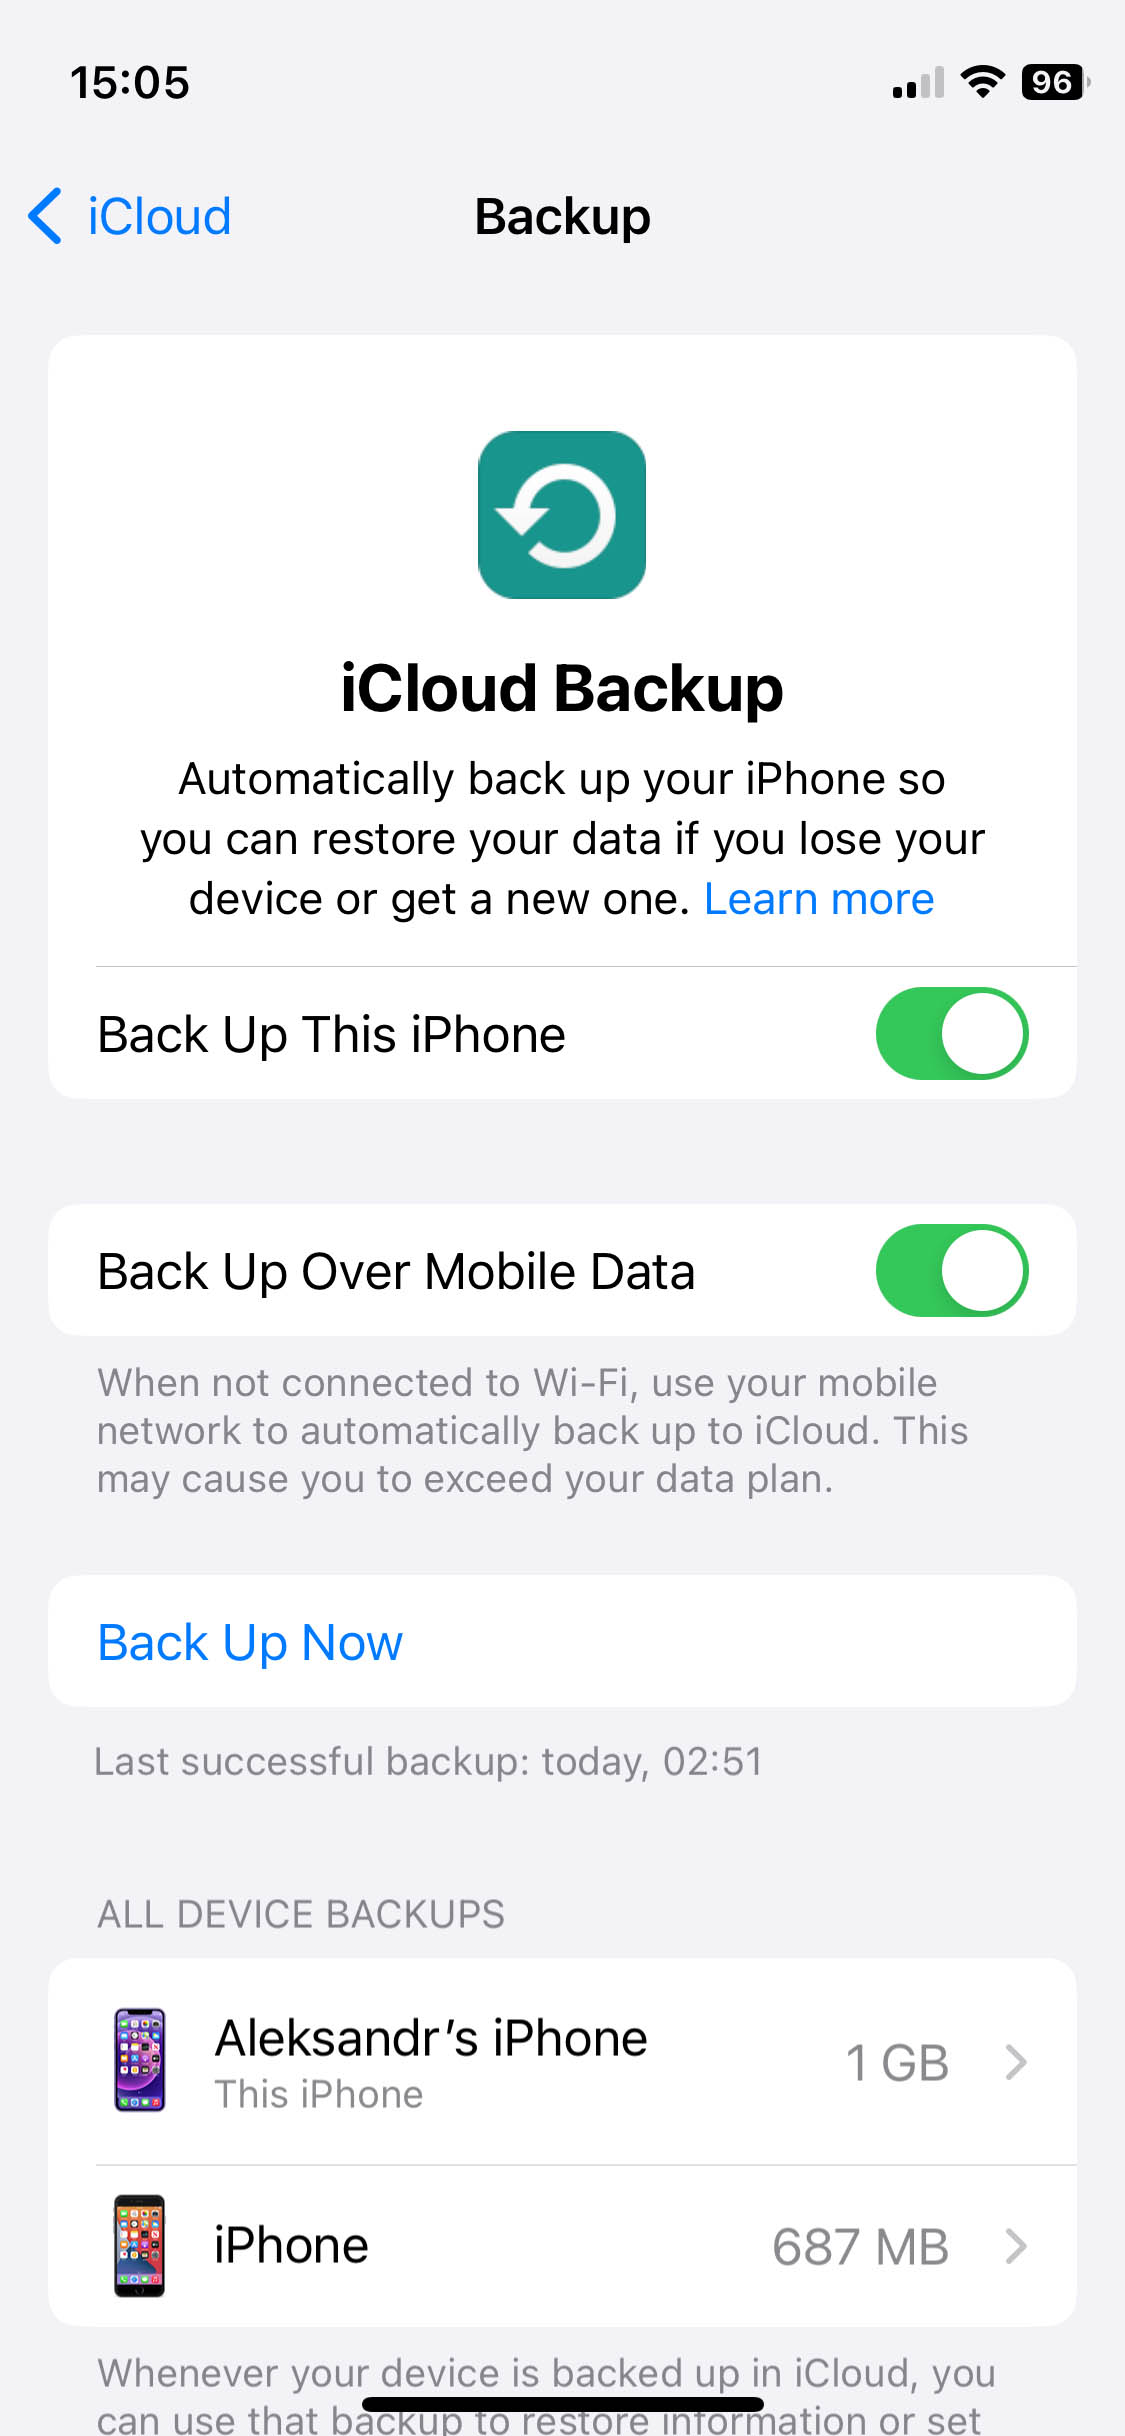
- Select Manage Storage. We can check and see if there are any older iCloud backups for our iPhone. These could have deleted videos on them.

- After clicking on the Manage Storage option, then click on Backups to see if your iPhone has a backup. You can see that mine is taking up 1.7 GB, which is a good sign. That means that there is a backup there.
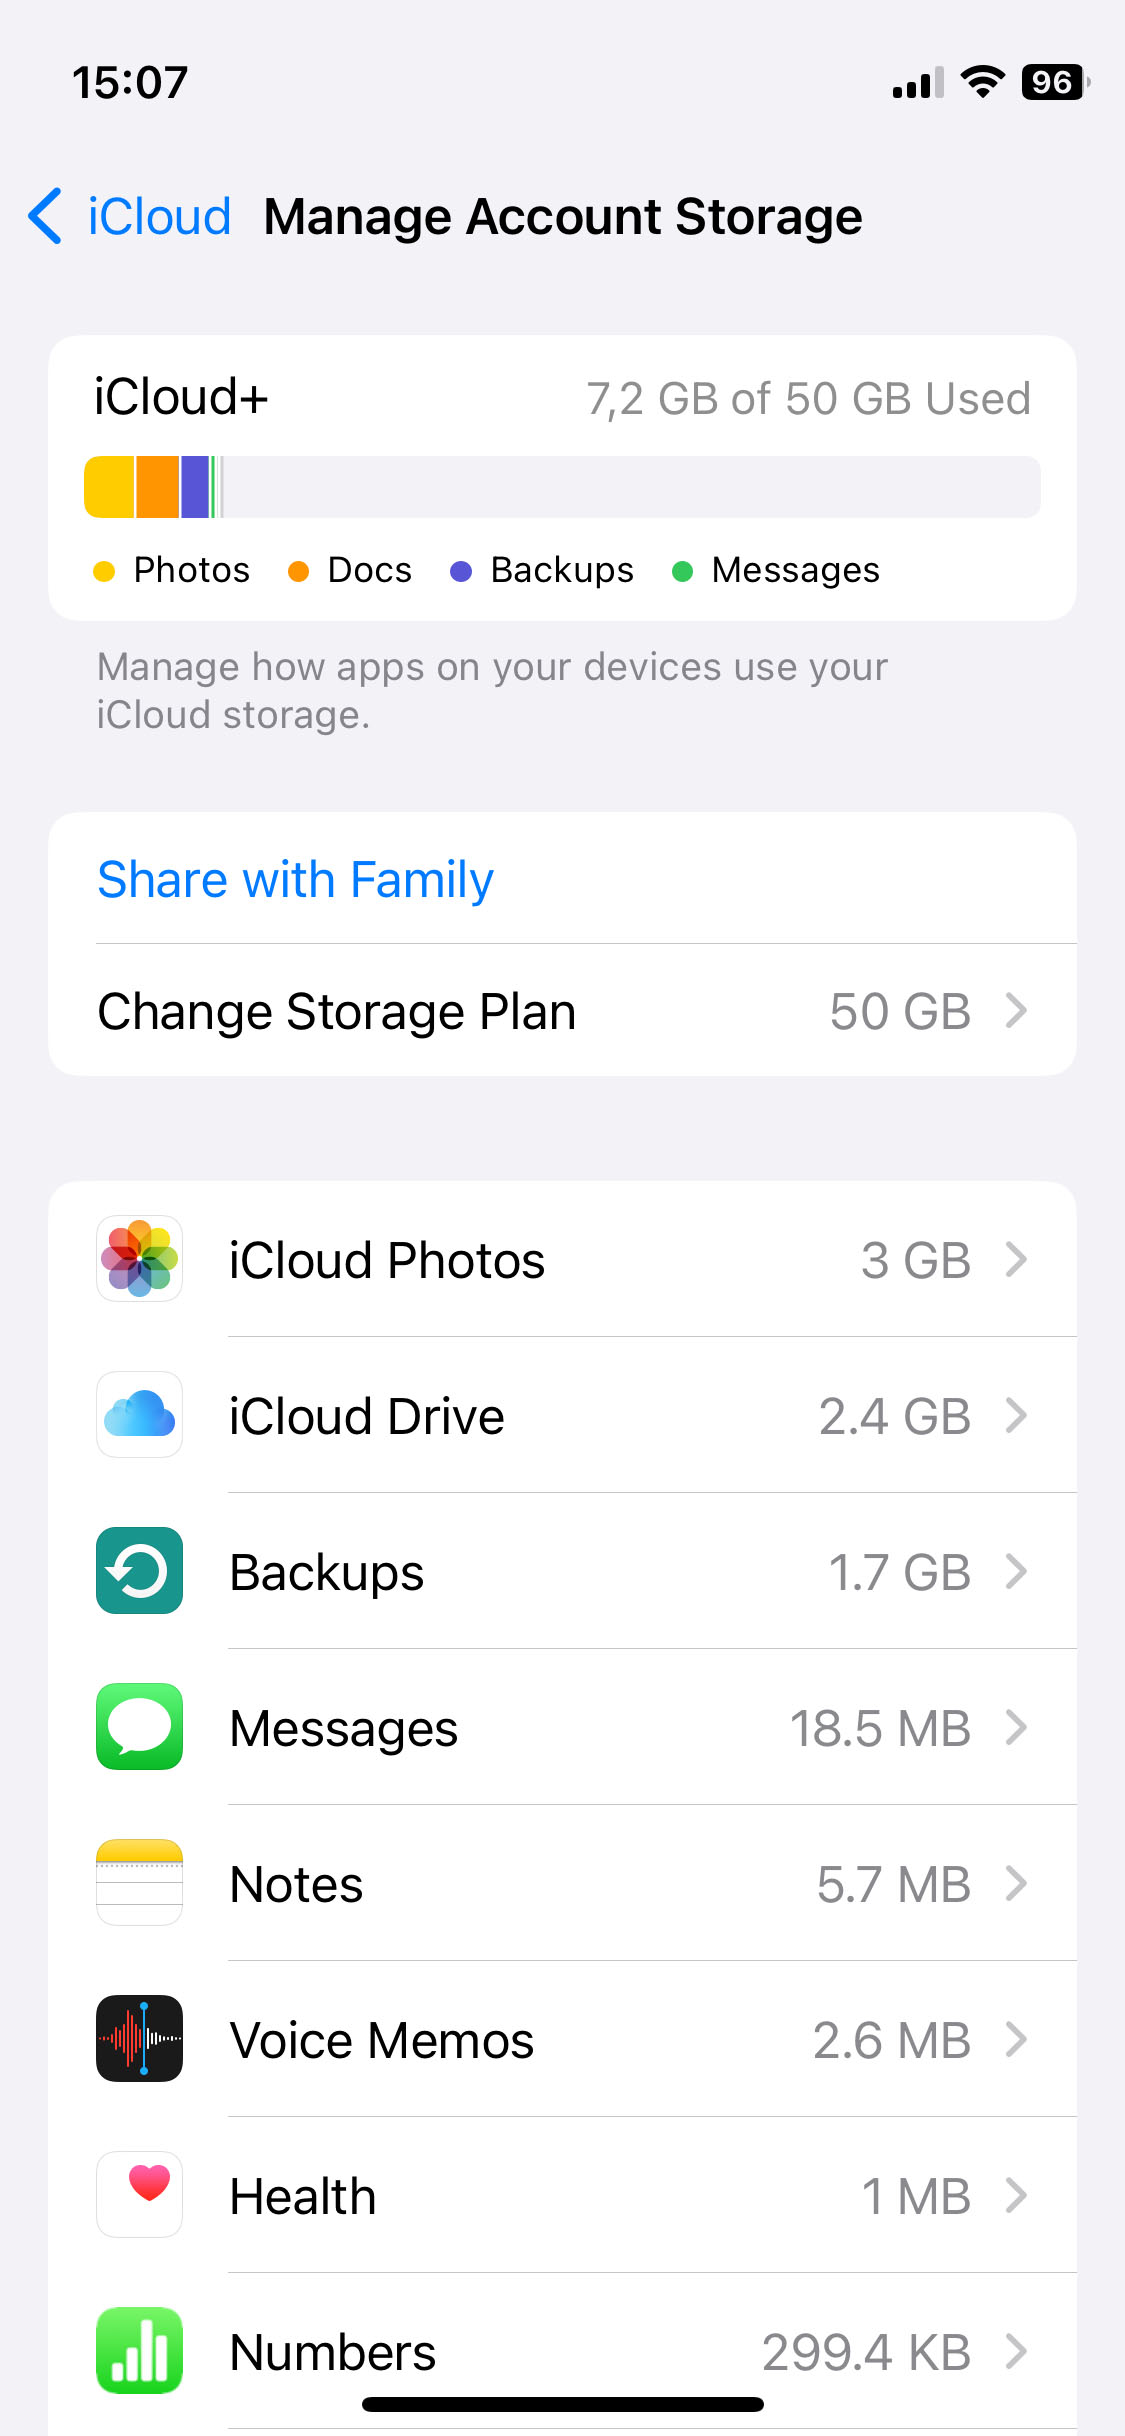
- Now, I’m able to see more details about what is taking up the 1.7GBs. I have an iPhone backup and another backup of my other iPhone.
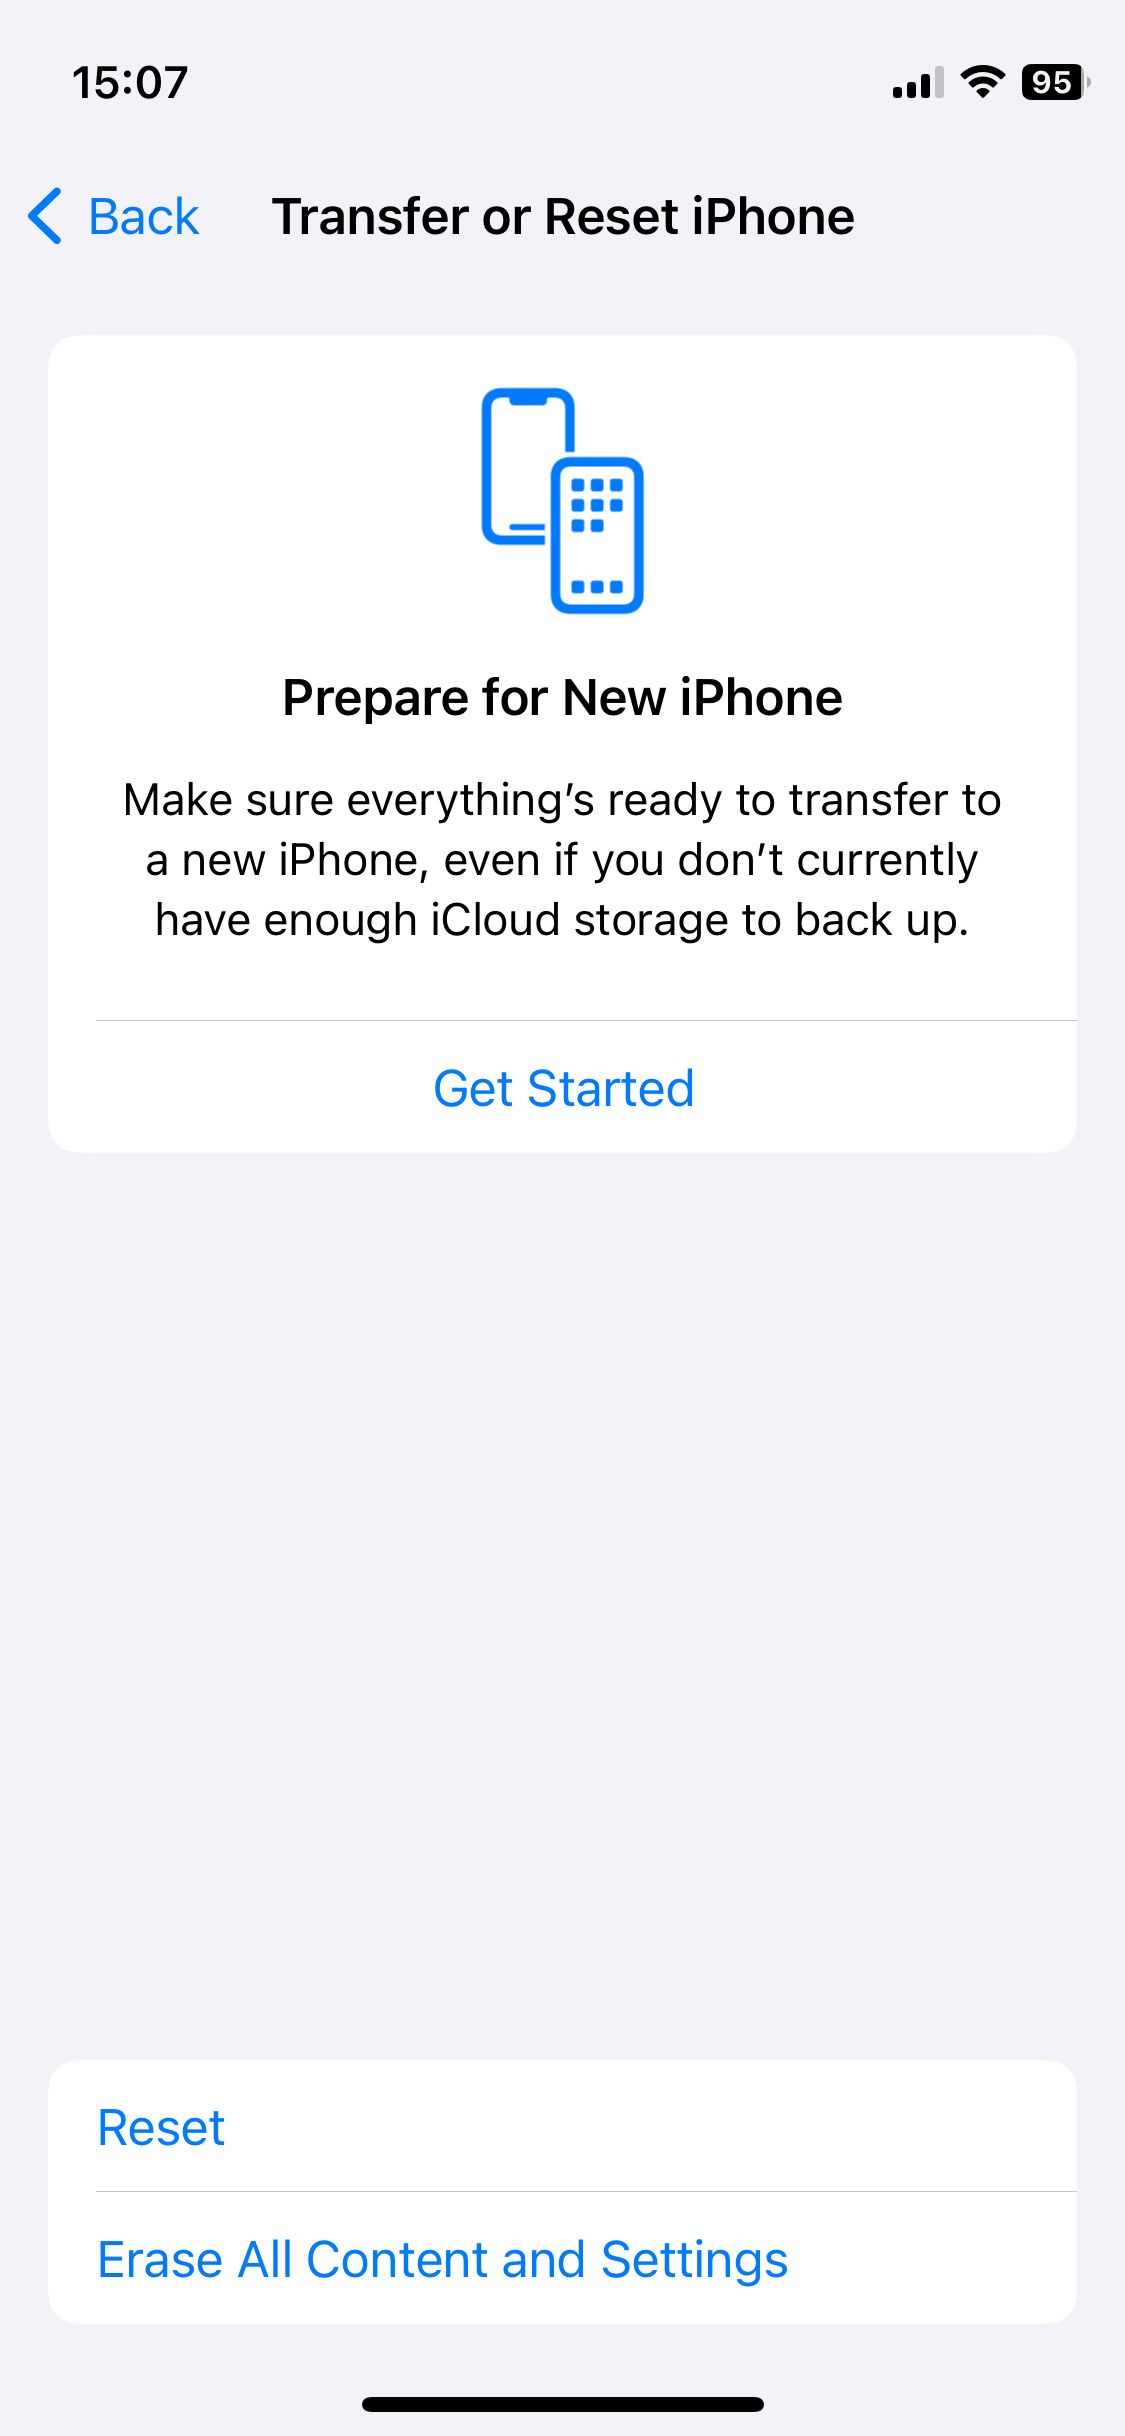
- We now need to reset our iPhone and wipe everything on it to set it up as a new phone which will then allow us to restore from the older iCloud backup.
- To initiate the reset, go to Settings > General > Transfer or Reset iPhone > Erase All Content and Settings. Your iPhone will then reset and you will be greeted by the setup screen once the process has finished.
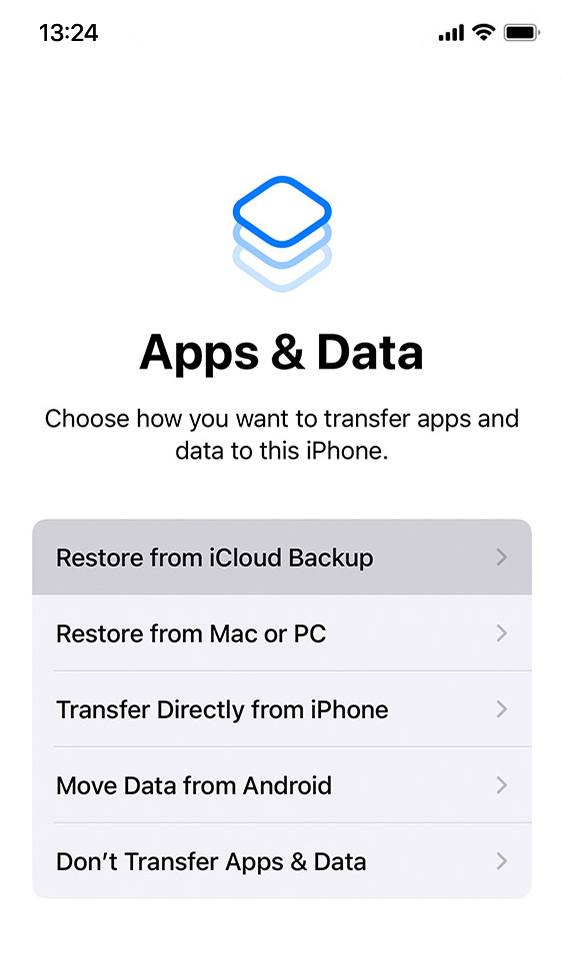
- Go through the setup and choose to restore from an iCloud backup. Make sure to choose the older backup so that your videos will appear.
- Wait for the backup to finish, and that’s it!
If you’re not seeing the deleted videos on your iPhone after restoring from the backup, erase your iPhone again and then restore to the backup that you created before going through the steps above. Your iPhone will then look how it did before the process started.
If none of the above works, we can contact a data recovery center.
Method 4: Search Through Your Messages
Most of the time when we capture videos that are special to us we share that captured moment with our family and friends through the Messages app.
If you weren’t able to find any of the videos using the methods above, then it could be possible that you’ve shared them via the Messages app on your iPhone.
We can go into our Messages, find the videos, and then save them to our iPhone. To do so:
- Launch the Messages app.
- Scroll through and look for a family member or friend that you think you could have shared the videos with.
- Look through your conversation, and, if you find the videos, then long press on them and save them to your iPhone.

Method 5. Contact a Data Recovery Center
If nothing above has worked, then it might be a good idea to contact a data recovery center as you can send your iPhone to them and they can try and recover the deleted videos from the device.
CleverFiles offers a data recovery service where you can send in your iPhone for a free quote, and they can look at your device and try to get the data off of it. They have a 98% success rate, and this is the real deal!
While this option might be expensive, you can’t put a price on your data.
How to Protect Your iPhone Videos
Knowing how to protect your iPhone videos is super important as no one thinks that data loss is going to happen to them and if it does, and you have a backup in place, then it’s much easier to recover from it.
Back Up to iCloud
Backing up to iCloud is super easy, and it only takes a few steps to do so. Not to mention, backing up to iCloud is free as long as you don’t exceed the 5GBs that Apple gives you. If you do use more than that, purchasing iCloud storage is super cheap.
- Go to Settings on your iPhone.
- Tap your name at the top of the screen.
- Then tap on iCloud.
- From there, go to iCloud backup and make sure that it is turned on. You can also manually start a backup from this screen.
I can’t recommend enough that you use iCloud to protect the data on your iPhone. I pay extra to back up all of my devices since more than one device shares my iCloud account.
Back Up Using Finder
We can also create a backup of our iPhone on our Mac by using the Finder. This option works well, but in my opinion not as well as using iCloud.
With iCloud, it will back up automatically for you whenever your device is charging, connected to Wi-Fi, and the screen is locked. With Finder, you have to remember to back up manually.
To back up using Finder, follow the steps below.
- Plug your iPhone into your Mac.
- Launch Finder and then find your iPhone from the side column on the left-hand side.
- After selecting your iPhone, then choose Back Up Now.

- Wait for the backup to complete.
As I mentioned above, the only problem with this method is that you have to remember to back up your iPhone.
If anything ever happens to your Mac, then you also would lose the backup of your iPhone. Whereas with iCloud, your backup is stored automatically and is in another location.
Back Up Using Google Photos
Having your videos in more than one place is a good idea as it will create a backup if something happened to them on your iPhone or your iCloud account.
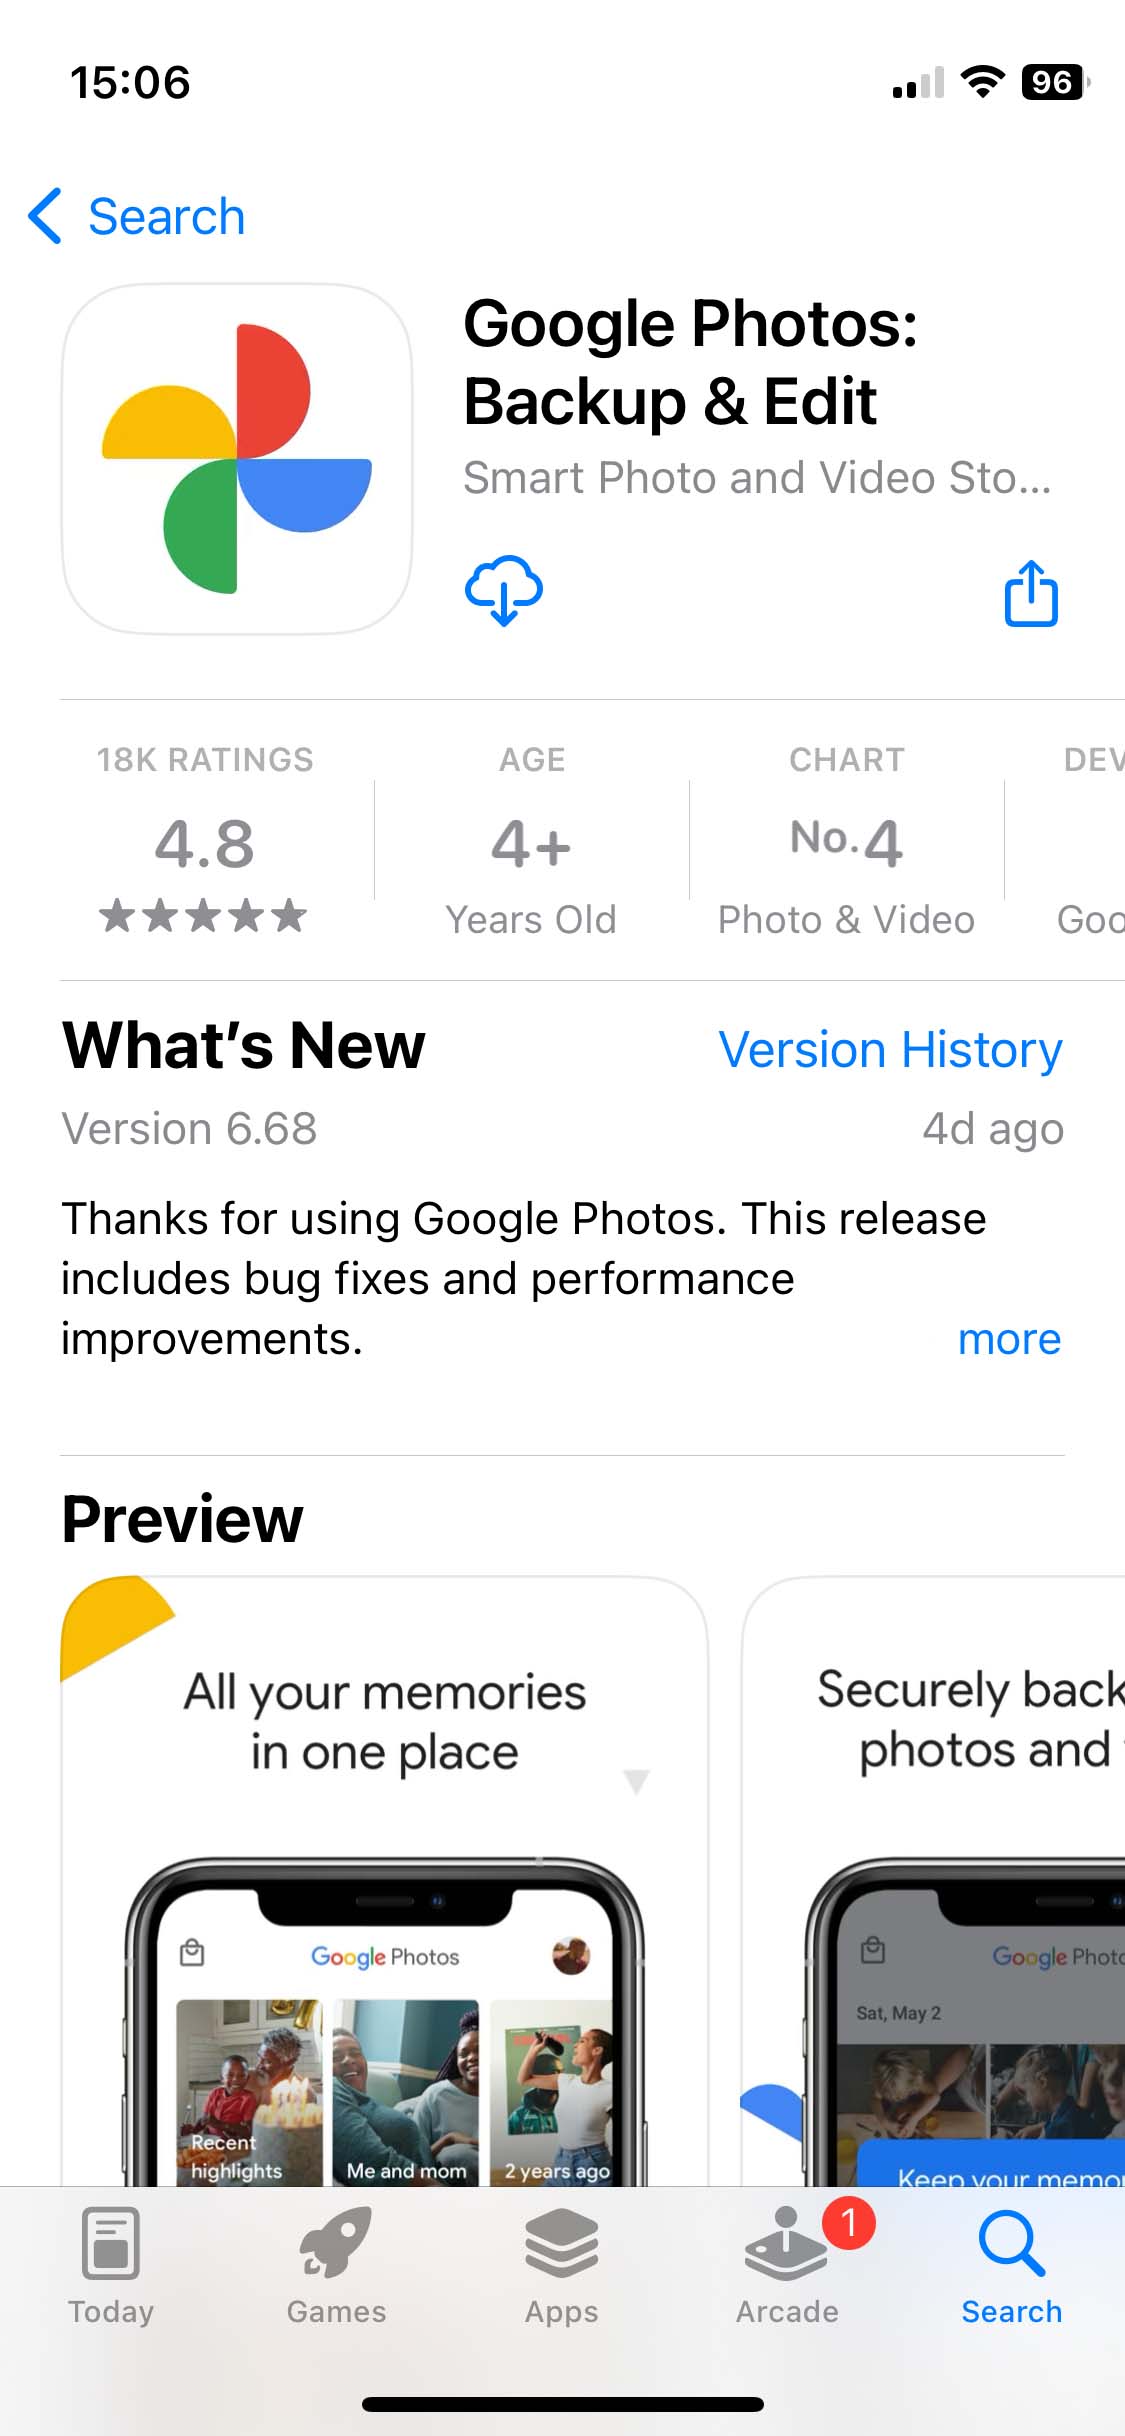
You can download and use Google Photos to back up your videos. Once you download and install the app they will back up all on their own.
Purchase a Lightning USB drive
You can purchase a lightning USB drive that plugs directly into your iPhone and this will allow you to copy or store your videos on the USB drive.
This solution is great because it’s affordable and reliable. USB drives don’t have moving parts, which makes them very dependable.
Conclusion
Knowing how to recover deleted videos from an iPhone and then also prevent them from being lost in the future, can help you feel at ease. If you accidentally delete a video on your iPhone, you now know how to get it back.
Hopefully, that doesn’t happen to you since you now know how to prevent data loss when it comes to the videos on your iPhone.


FAQ
When you delete a video on your iPhone, it is moved to the Recently Deleted Folder. Once it’s in the Recently Deleted Folder, it will sit here for 30 days before it is then permanently deleted from your iPhone. The only way to get the videos back at this point would be to use either Disk Drill, restore from an iCloud backup, or you could restore from a Finder backup that is stored on your Mac.
The best way to recover deleted videos from your iPhone would be to use third-party data recovery software. Disk Drill allows us to recover videos from our iPhone even after they’ve been deleted and I like this option due to its reliability, ease of use, and how many useful results it returns to me.
- Download and install Disk Drill onto your Mac.
- Launch Disk Drill and then go to iPhone & iPads, select your iPhone from the list of devices listed there.
- Then click on the blue Start scan button in the lower right-hand corner.
- Wait for the scan process to complete.
- Review the videos that Disk Drill was able to recover for you.
- Select the ones that you would like to recover and then click on the blue Recover button.
If you don’t have a backup, then your best bet would be to use Disk Drill to recover the deleted iPhone videos. It can find videos even after you’ve deleted them from your Photos app and if they’re gone from the Recently Deleted Folder.
- Download and install Disk Drill on your Mac.
- Launch Disk Drill and then go to iPhone & iPads, select your iPhone from the list of devices listed there.
- Then click on the blue Start scan button in the lower right-hand corner.
- Wait for the scan process to complete.
- Review the videos that Disk Drill was able to recover for you.
- Select the ones that you would like to recover and then click on the blue Recover button.
After 30 days have gone by, the Recently Deleted Folder will empty and all of your videos will be deleted from it. Disk Drill would be the easiest way for you to recover them and get them back onto your iPhone as it can find files even when they’re no longer in your Photos library or in the Recently Deleted Folder. Follow the steps below to recover them.
- Download and install Disk Drill onto your Mac.
- Launch Disk Drill and then go to iPhone & iPads, select your iPhone from the list of devices listed there.
- Then click on the blue Start scan button in the lower right-hand corner.
- Wait for the scan process to complete.
- Review the videos that Disk Drill was able to recover for you.
- Select the ones that you would like to recover and then click on the blue Recover button.
If your videos have been deleted from iCloud, such as only your library specifically, we have a couple of options.
The first would be to restore to an older iCloud backup and then you would have them back on your iPhone which would then cause them to sync with the cloud. iCloud Photo Library and iCloud backups are separate so if you restored to a backup that had the videos, they would then sync with iCloud Photo Library again.