Finder on Mac offers us powerful features when it comes to organization and the ability to search for our files. We accumulate a ton of files on our Mac over time, and using folders is a great way to keep things organized and tame the chaos.
Keeping your Mac organized means getting rid of stuff when you don’t need it and making sure that everything is neatly in its place.
In this article, we’re going to talk about how to recover deleted folders on Mac in case you’ve deleted some when you wish that you would have saved them.
Is It Possible to Recover Deleted Folders on Mac?
Yes, there are multiple ways to recover deleted folders on Mac. Some of the methods we can use are macOS built-in features while others require us to download and use third-party data recovery software.
How to Recover Deleted Folders on Mac
We will go over some of the best and most proven ways to recover deleted folders on our Mac below. I recommend that you follow them in order. If you’ve already attempted a method, simply skip to the next one.
First, let’s look at how we can recover deleted folders by using the Trash.
Method 1: Recover Deleted Folders Using the Trash
The Trash is where everything that is deleted on our Mac goes and is saved until we either manually empty it or it’s set to automatically empty itself.
I love this feature as sometimes we delete something and then wish that we had kept it. The Trash will allow us to recover it and put the folder back onto our Mac.
You don’t need to download anything to use the Trash and this feature is free.
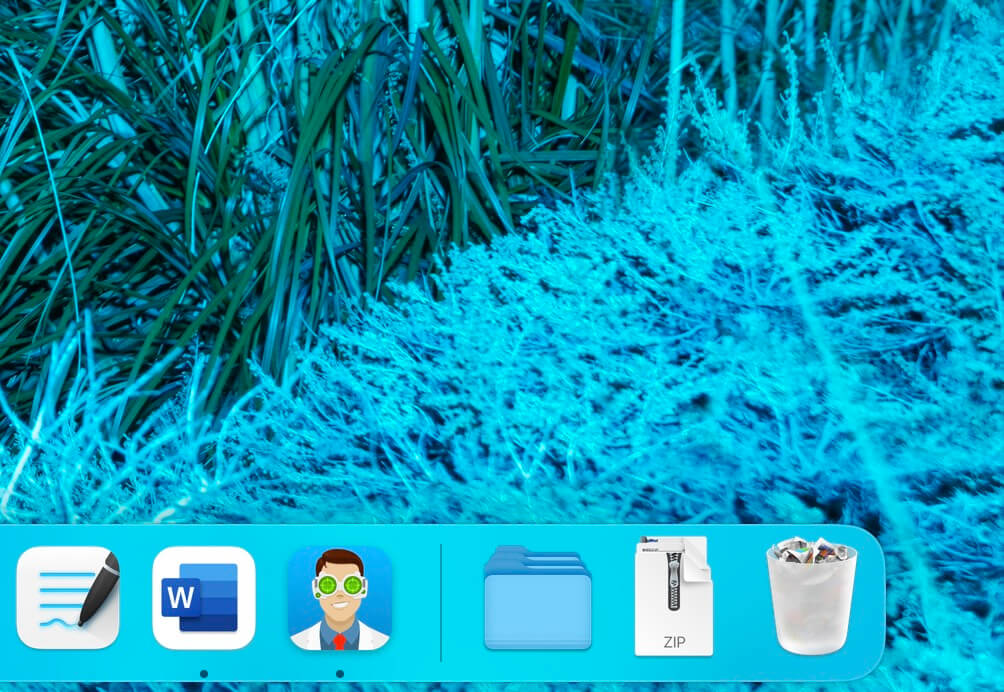
- Click on the Trash icon to open the Trash. It’s the one that looks like a Trash can.
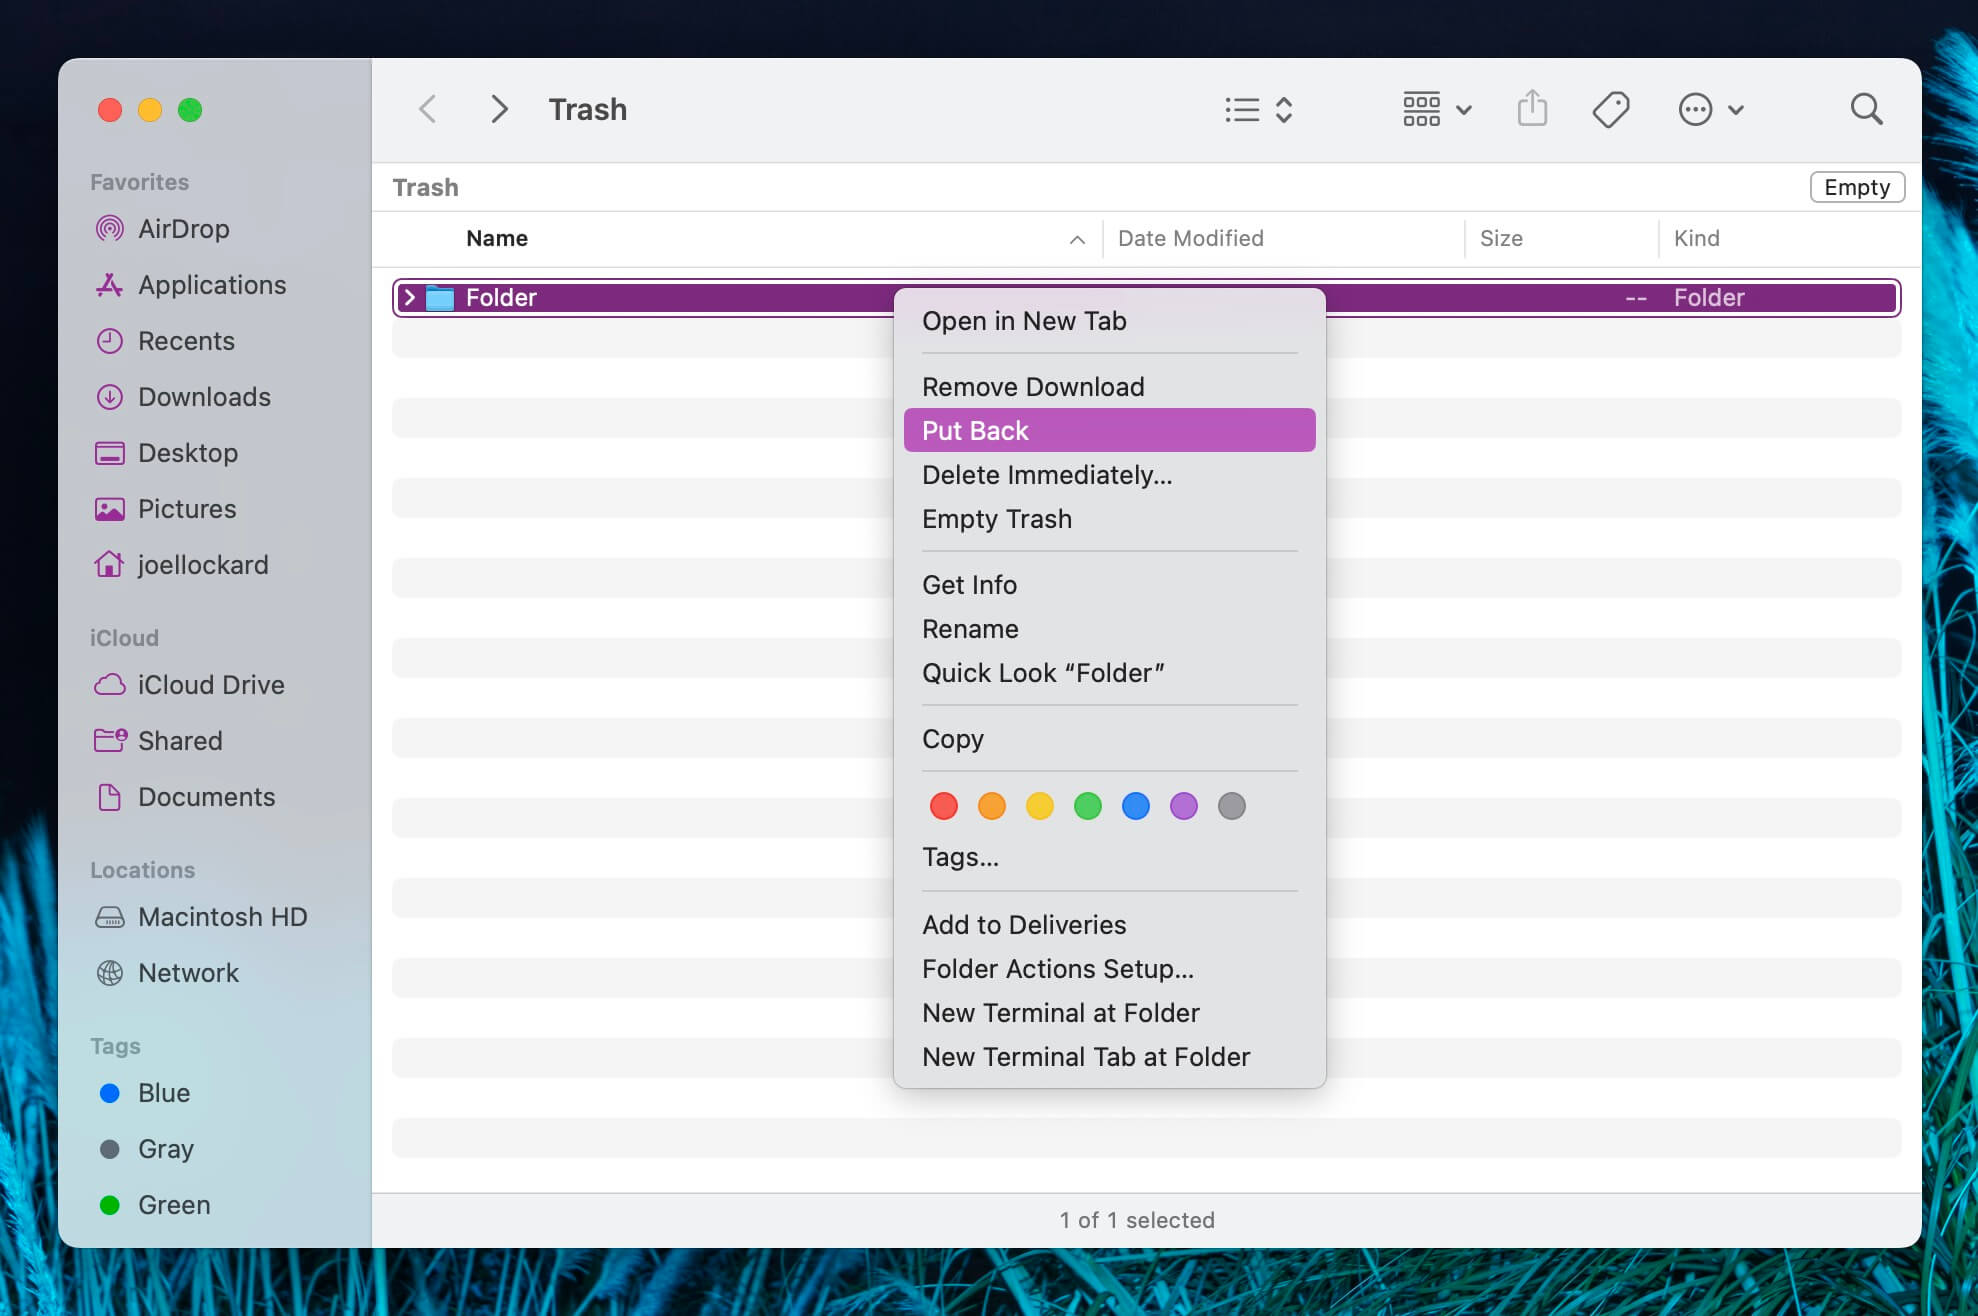
- Look for the folder that you want to recover.
- Right-click on the folder and then choose Put Back. This will recover the deleted folder and put it back where you had it before. You can also click and drag the folder to where you want it restored on your Mac.
If you’re not seeing your folder in the Trash, then it’s possible that you’ve already emptied the Trash, or your Trash is set to automatically empty on its own.
Let’s move on to what we can do if your Trash has already been emptied.
If you think that your Trash empties itself on its own, we go over how to change that setting later in the article in the section “How to Protect Folders on Your Mac”.
Method 2: Recover From a Time Machine Backup
Time Machine is a free built-in macOS backup tool that will automatically back up your folders, personal data, apps, photos, documents, music, and everything else that you have on your Mac.
If you’ve been backing up with Time Machine, we can go into our backup and recover the folders that have been deleted even if our Trash has been emptied.
- Plug in your Time Machine backup.
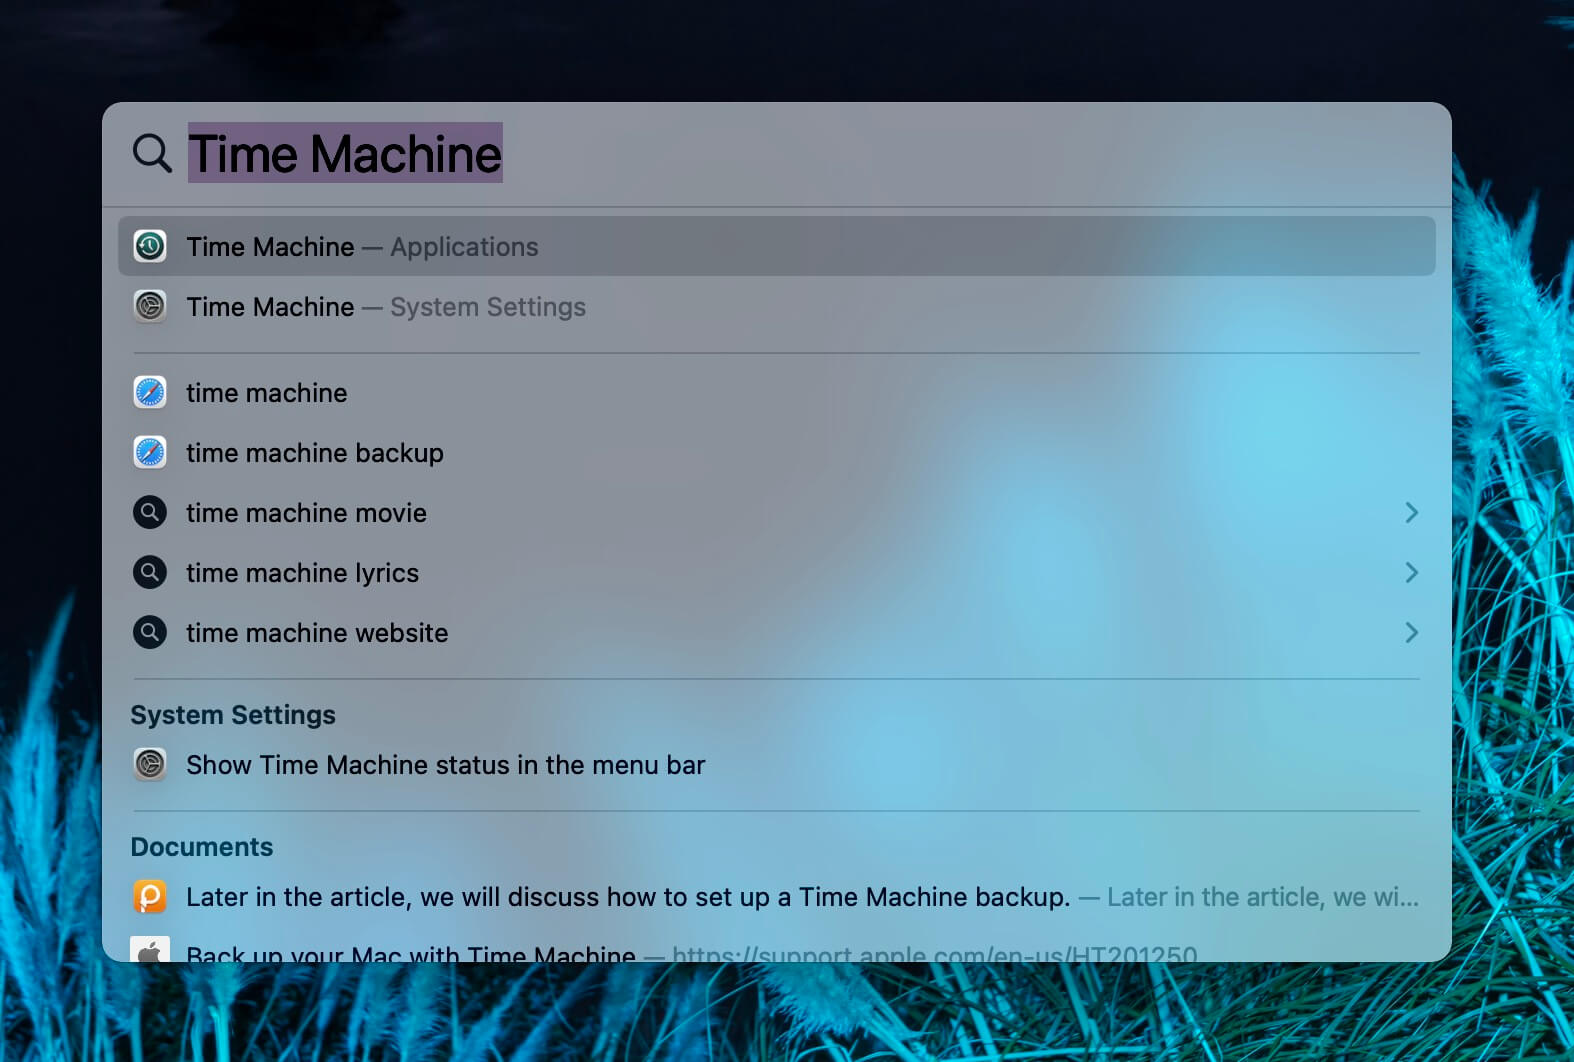
- Enter Time Machine. By pressing the keys COMMAND + SPACE we can launch Spotlight search which then allows us to search for an app on our Mac. Type in Time Machine and then on your keyboard click on return.
- Find the folder that you want to recover. You can go through different backup dates by using the date slider on the right-hand side.
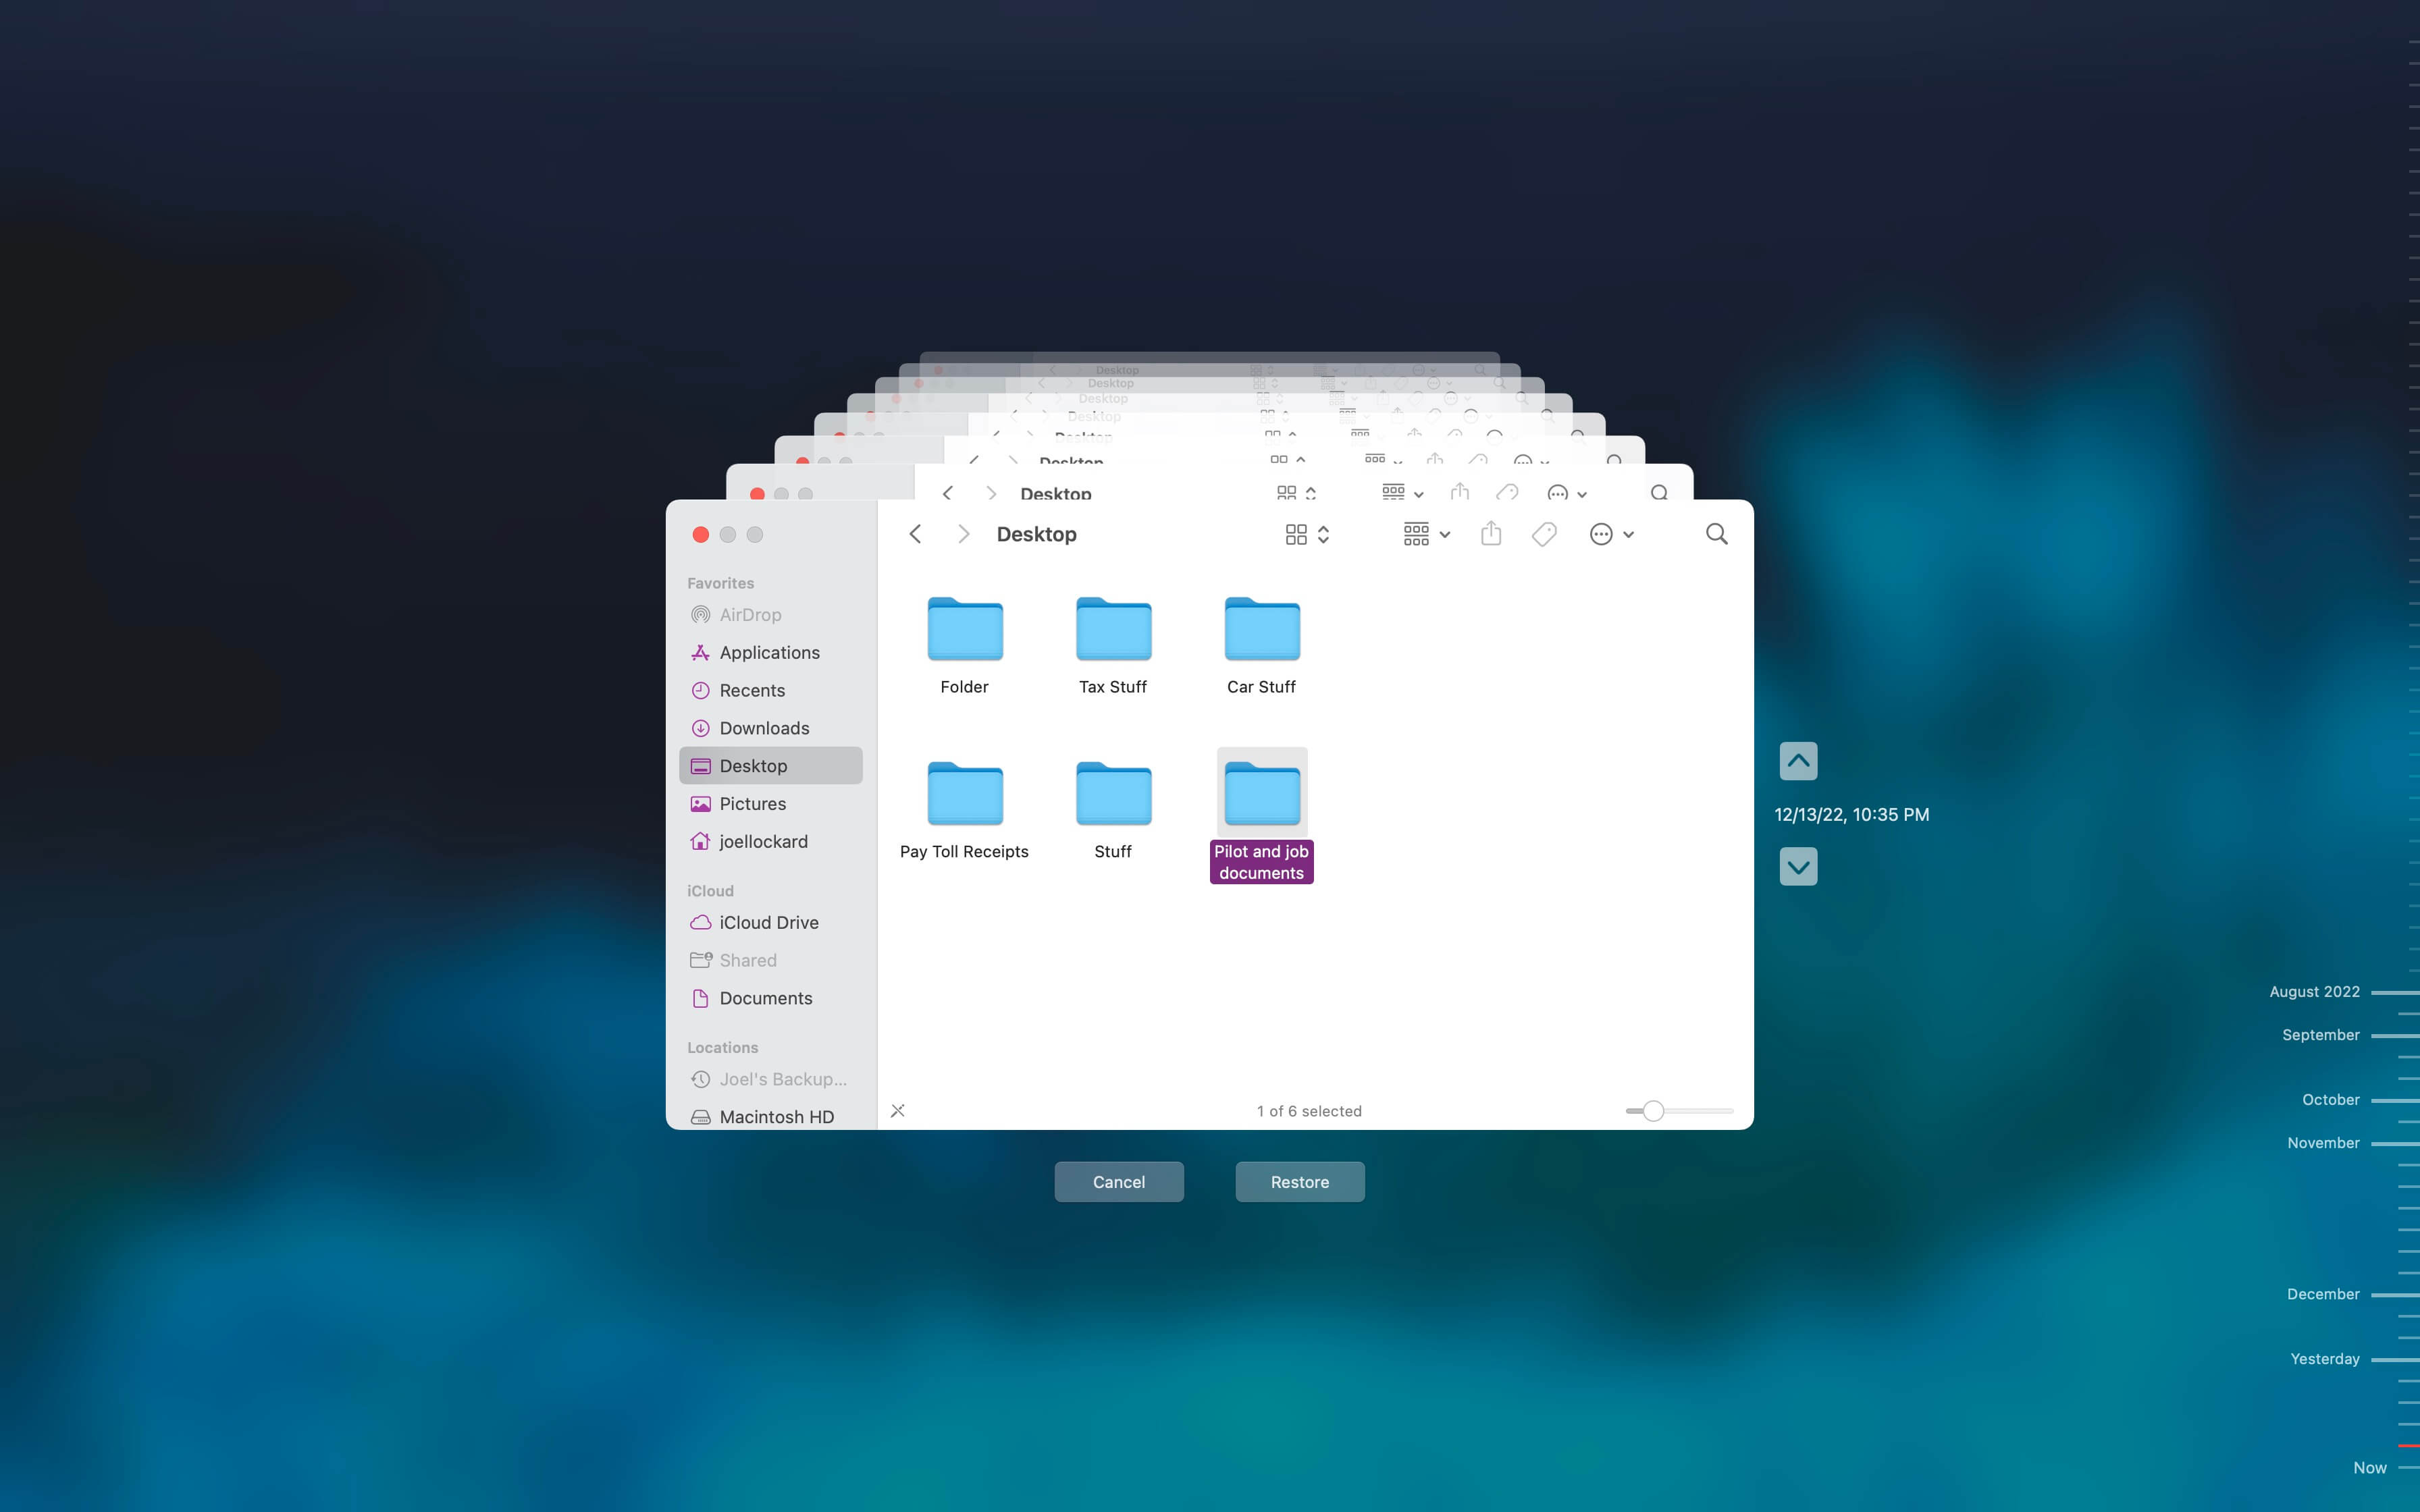
- Click on Restore.
Later in the article, we will discuss how to set up a Time Machine backup under the section “How to Protect Your Folders on Mac”.
Method 3: Recover Deleted Folders Using Disk Drill
Disk Drill allows us to scan our Mac for deleted folders and any other type of data that you’ve lost. You can download and scan your Mac for your deleted folders all for free.
There is a large selection of data recovery software on the market these days, and I want to point out why I like using Disk Drill the most out of all the other options.
- Support for macOS 13 Ventura and it also works on Apple Silicon.
- The ability to use the Preview feature to view the file before deciding to recover it.
- Disk Drill seems to find more data than other data recovery apps that I’ve used before.
- I enjoy using the interface. It’s simple and easy to use.
- Download and install Disk Drill onto your Mac.
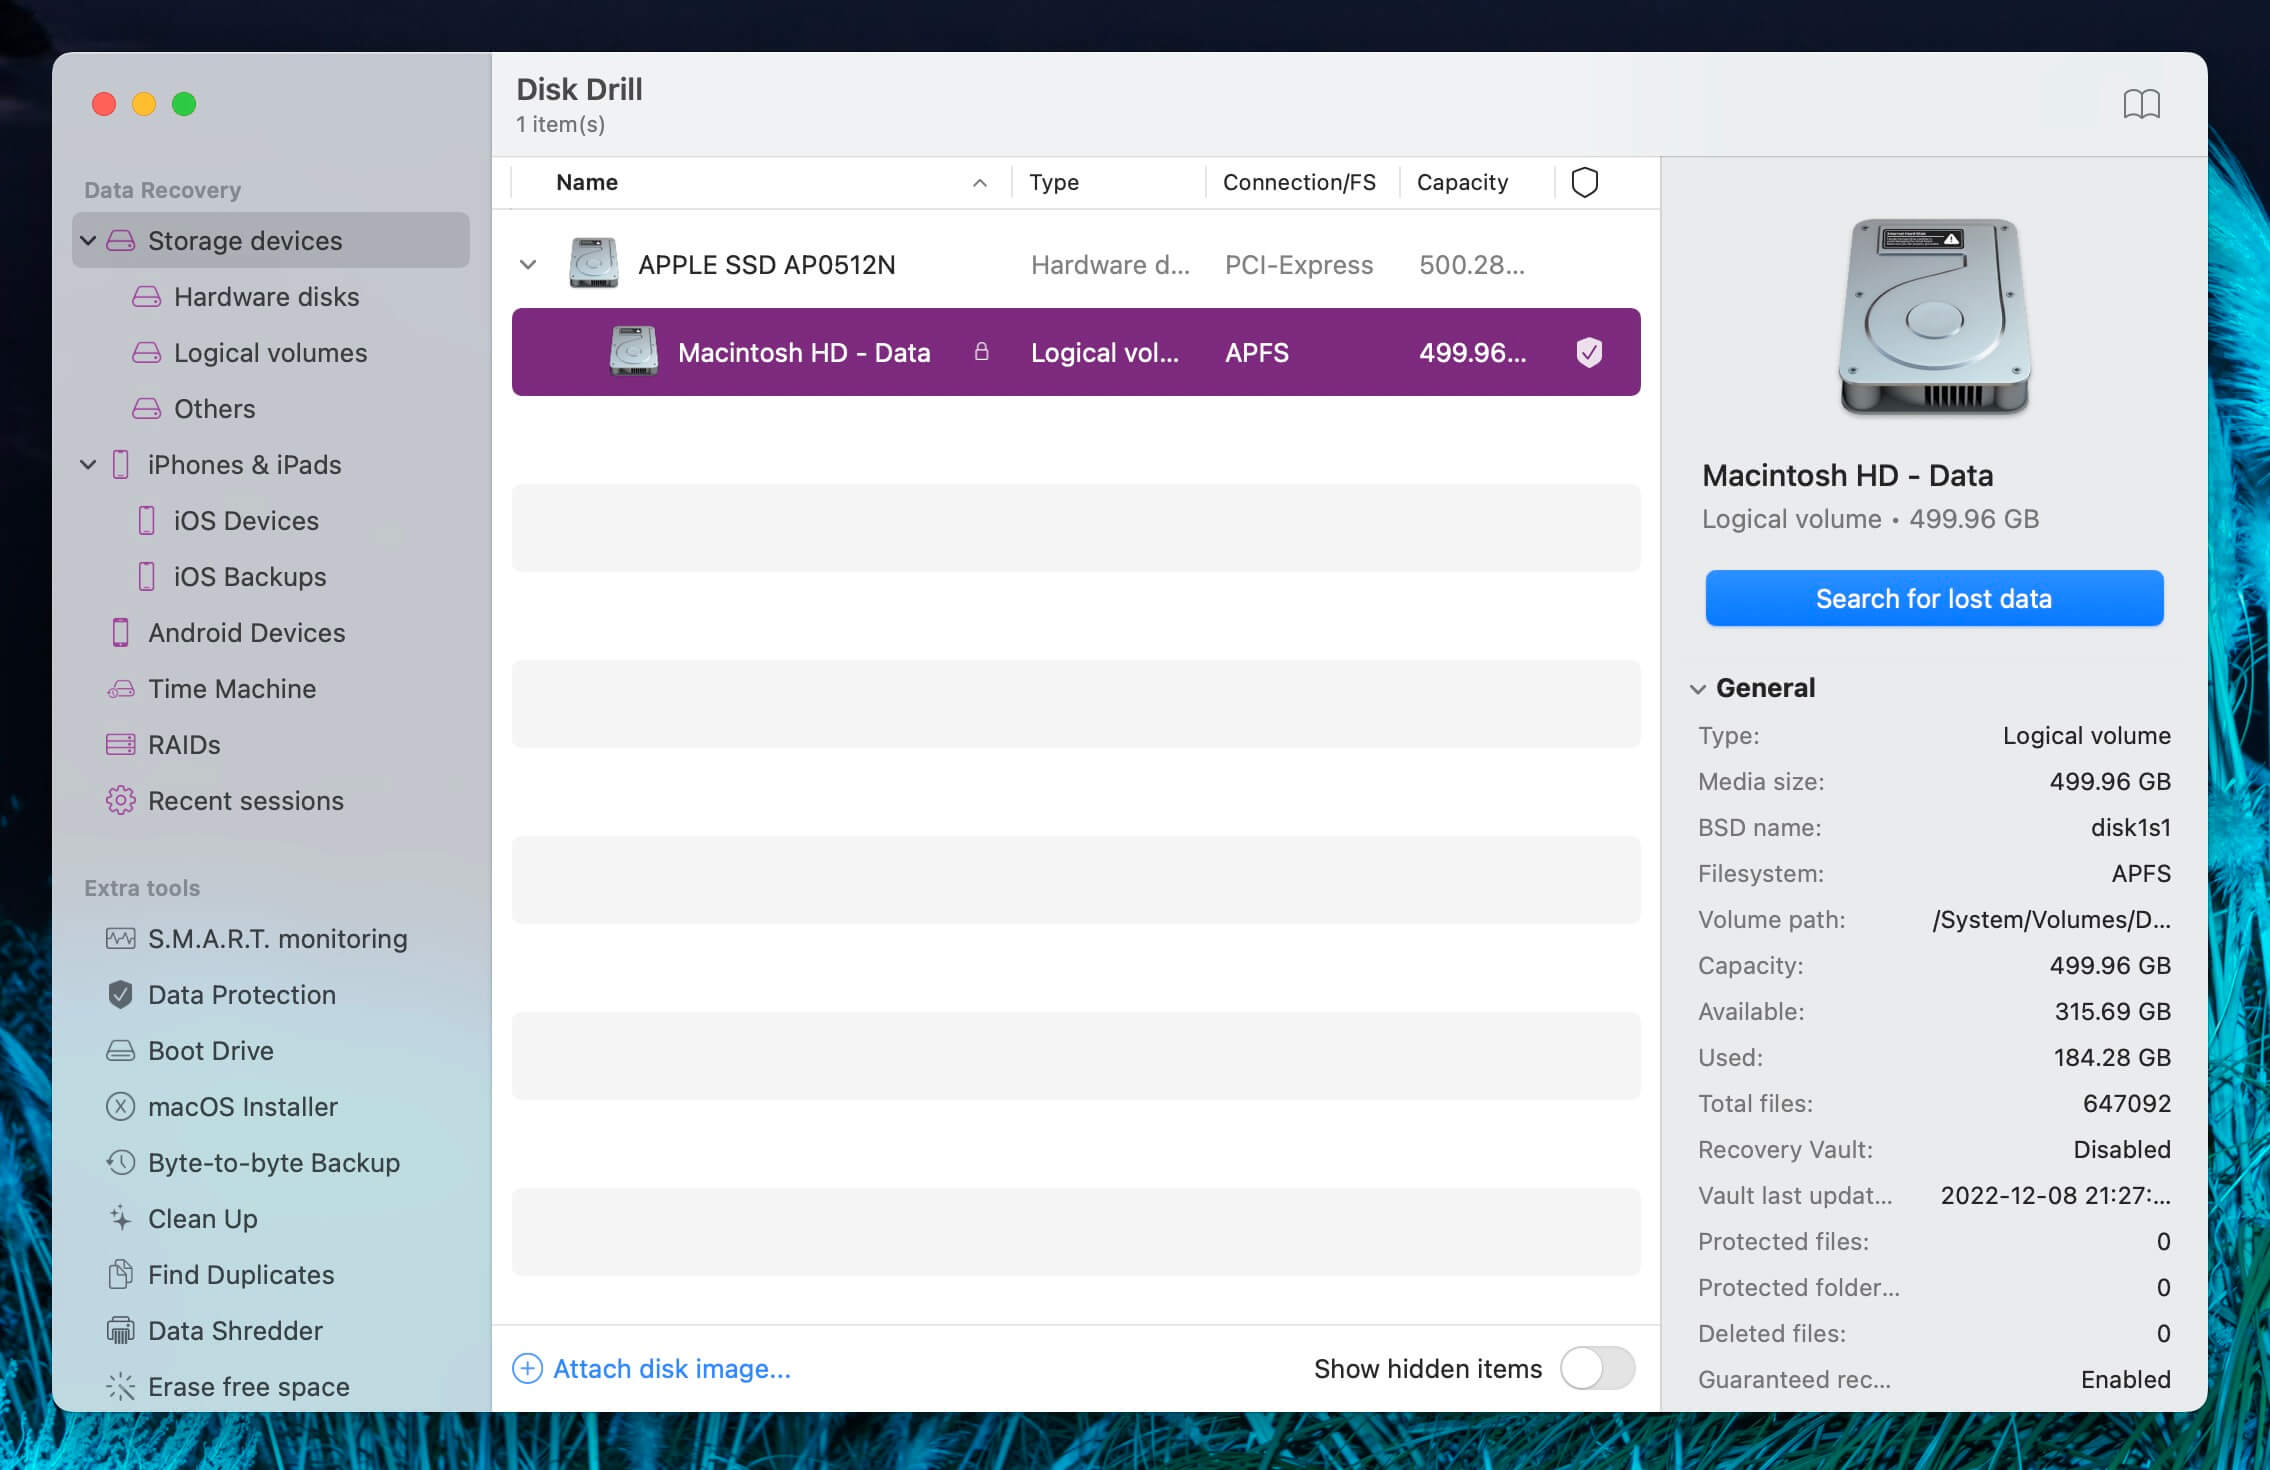
- Launch Disk Drill and then scan the storage device that you would like to recover your deleted folders from. You can scan any internal or external storage device. In this example, I’m going to scan my internal Mac hard drive for lost folders. Click on Search for lost data.
- Wait for the scan to complete.
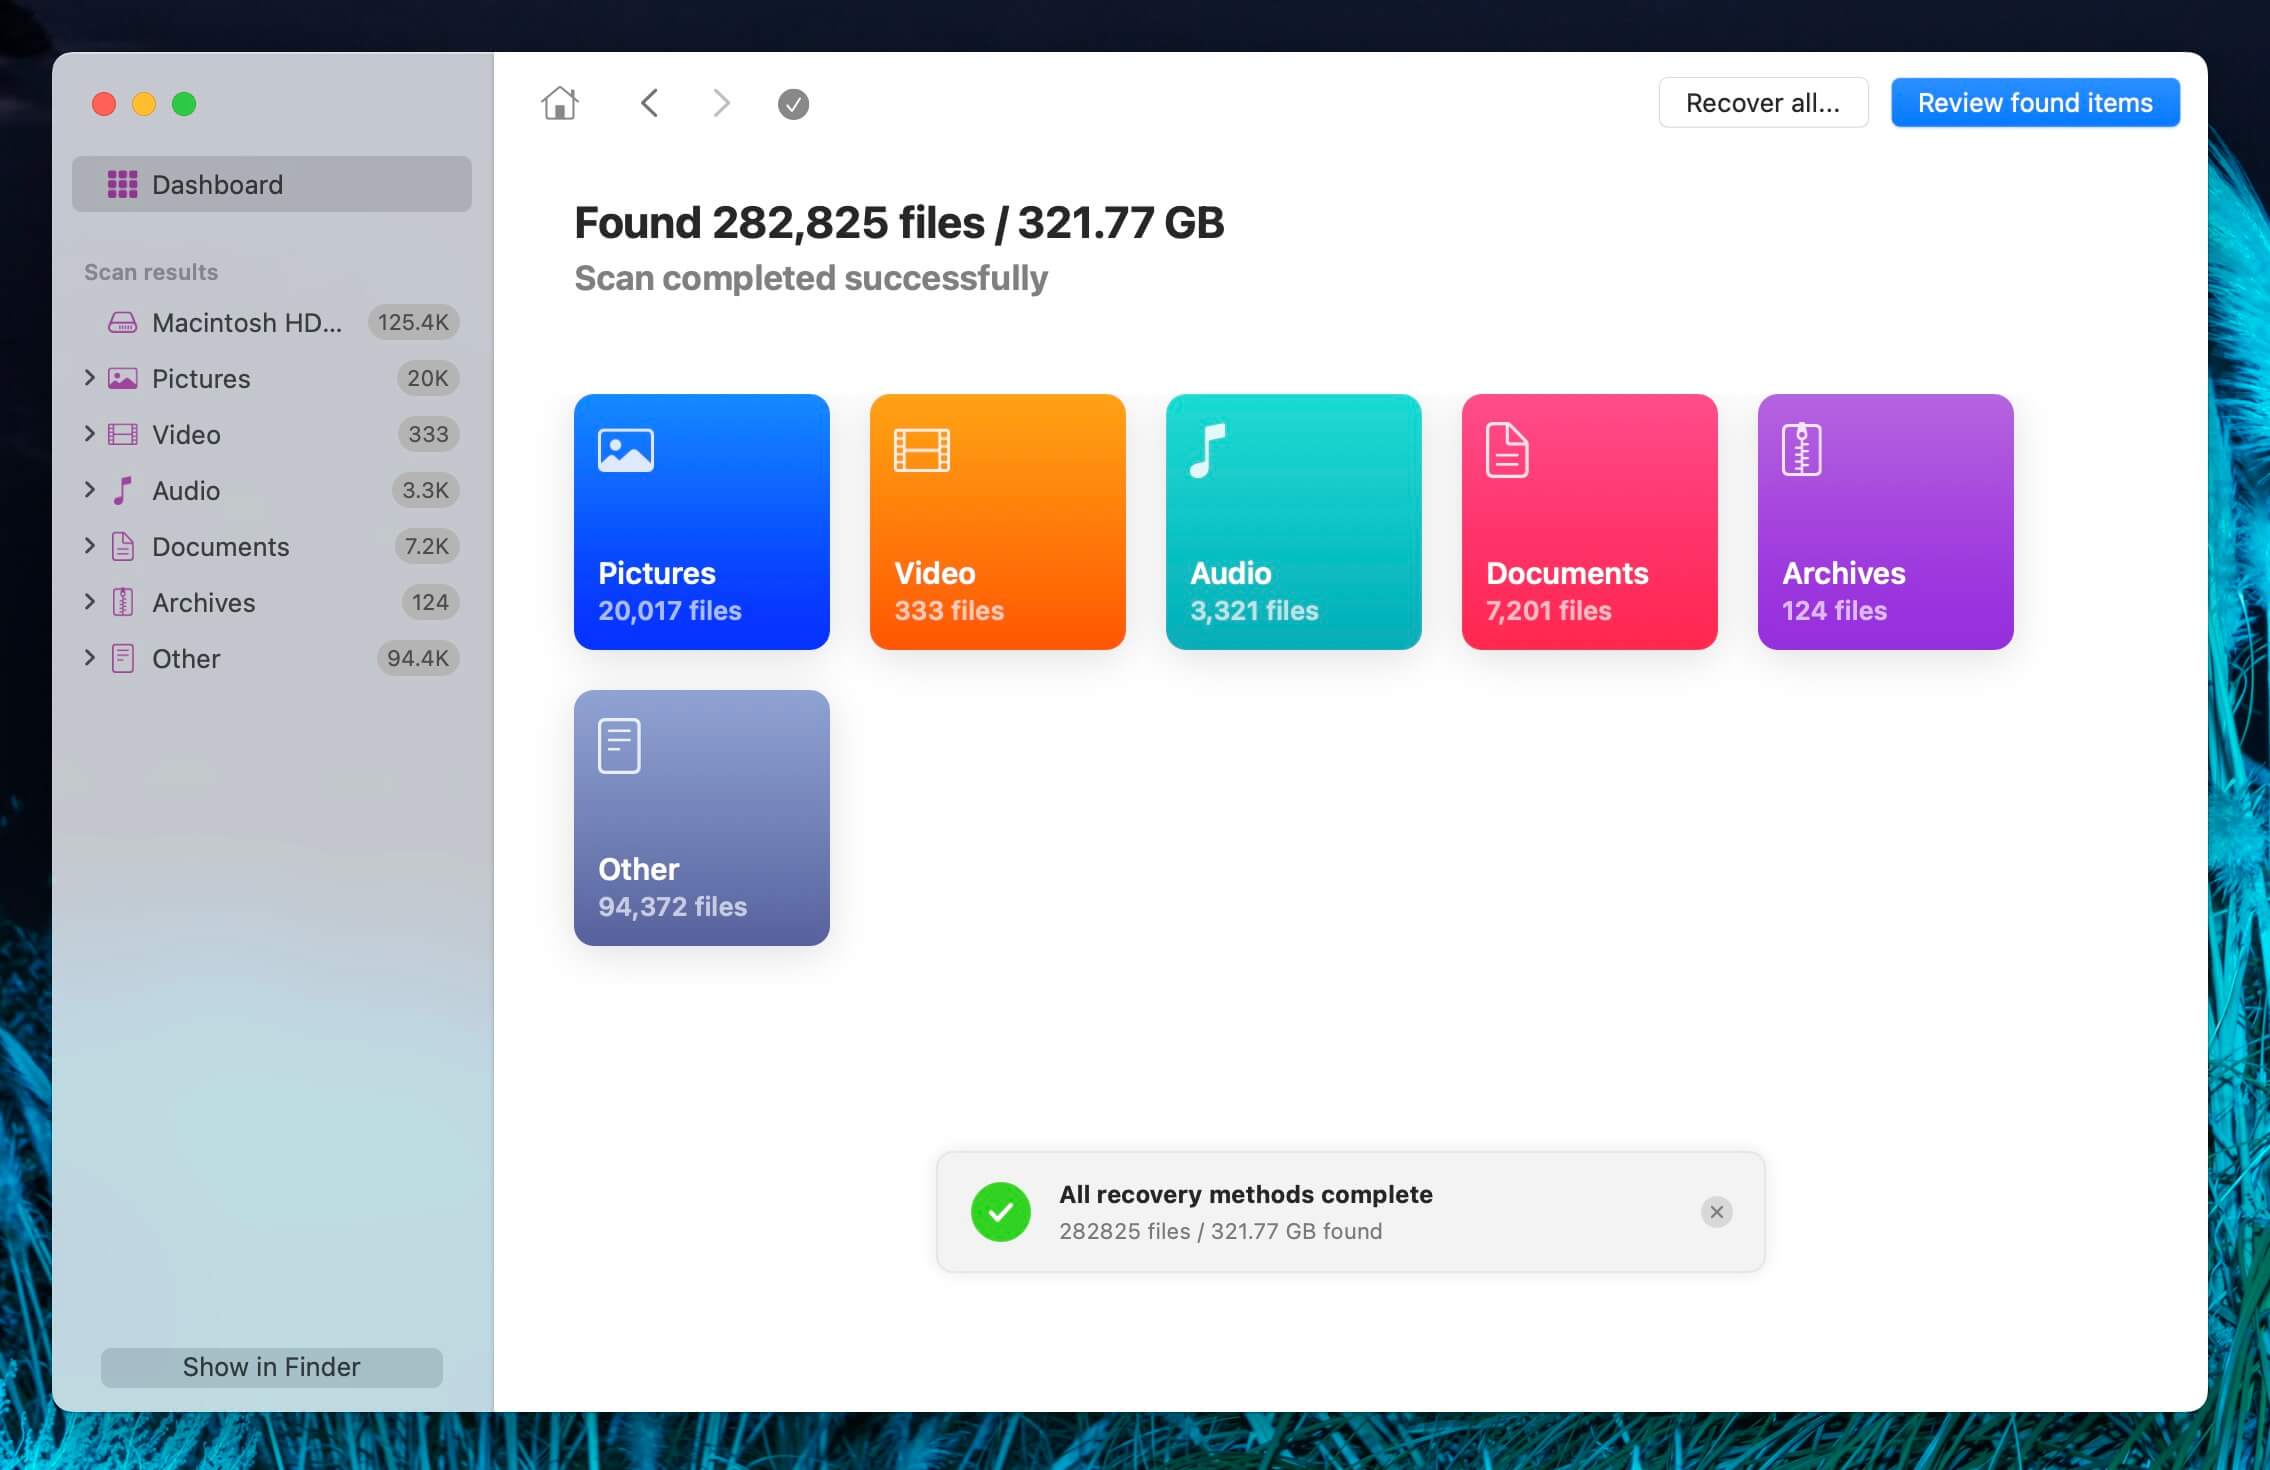
- Review the recoverable data that Disk Drill was able to find. Don’t forget to use the powerful Preview feature so that you can identify a file before choosing to recover it. Simply click on the eye icon and you can view the file.
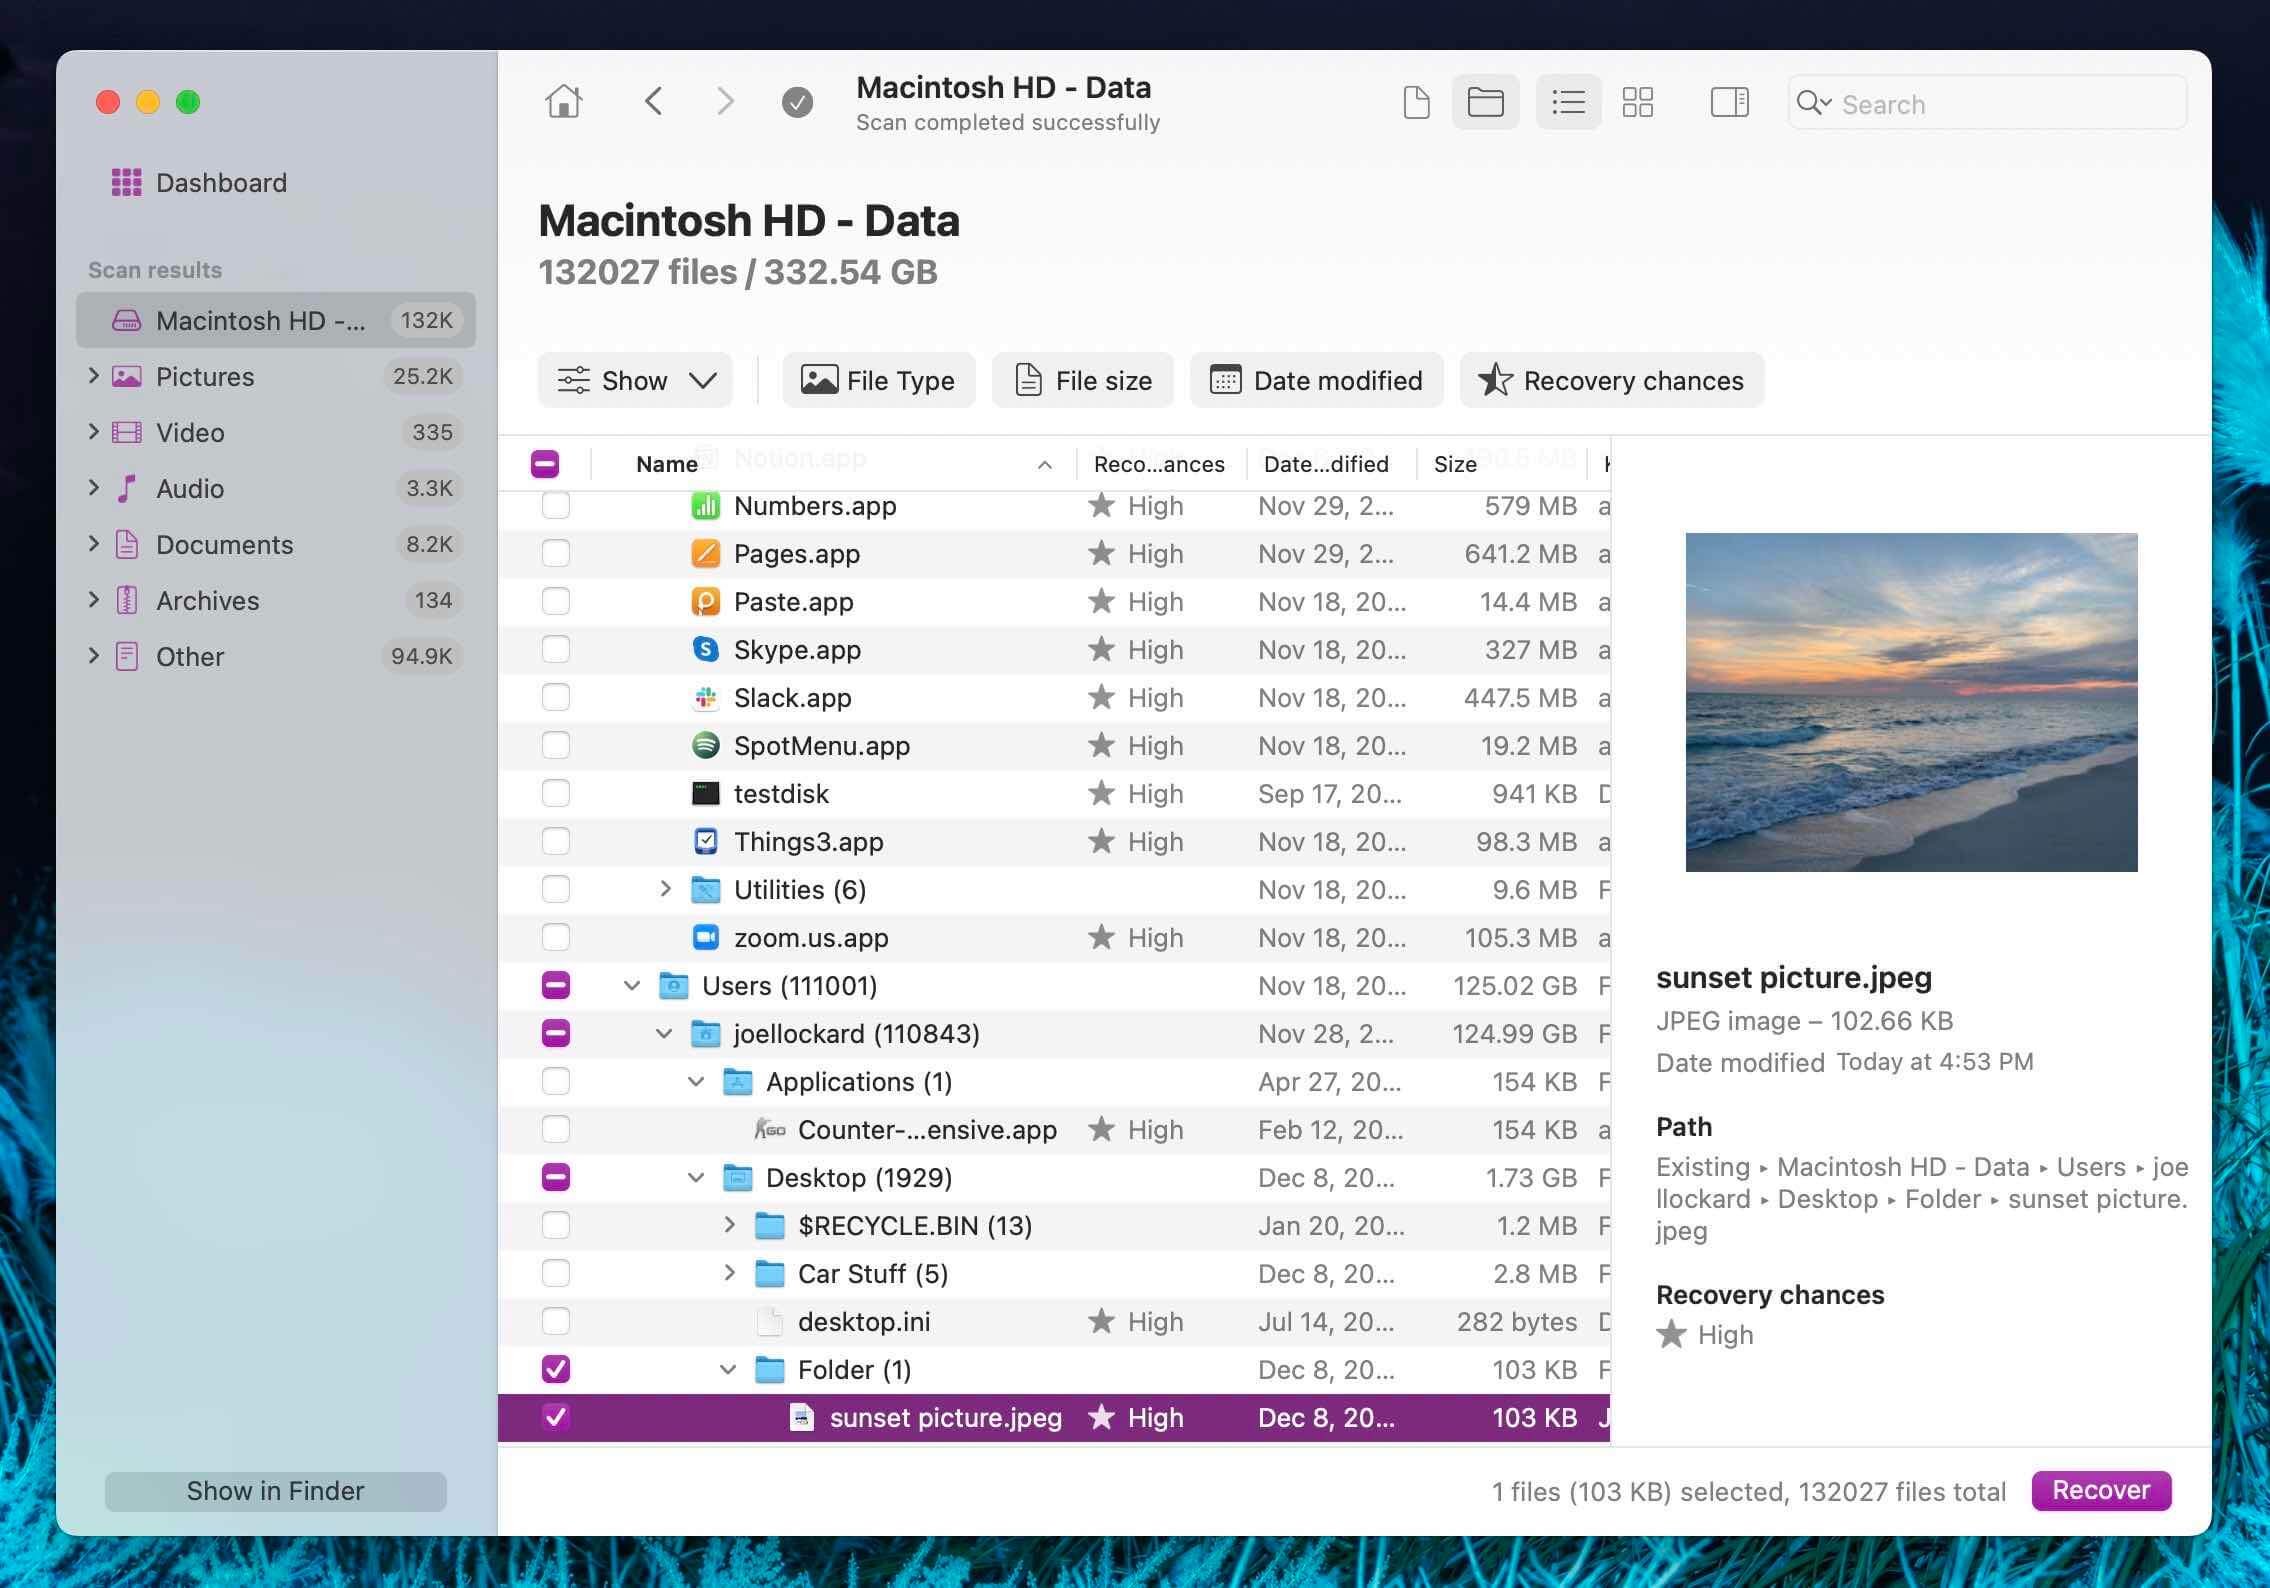
- Select the folders or files that you would like to recover and then click on the Recover button.
- Choose a recovery destination for the folders that you would like to recover.

That’s all that there is to it. You have now recovered your folders and any other files that were located within them.
Now, let’s talk about what we can do to protect our folders from here on out.
How to Protect Your Folders on Mac
Protecting your data is an important practice that you can implement to ensure that in the future if you recognize that you’ve deleted a folder, you can easily get it back.
These methods below are easy to implement and should take you no time to set up and have ready.
Tip 1: Turn off Automatic Trash Deletion and Turn on Emptying Confirmation
Within your Finder preferences, there is an option to have your Trash empty automatically which could cause you to not have the chance to recover a deleted folder.
There is also another option that can allow you to empty your Trash without confirming that you want to empty it. This means that there wouldn’t be a warning message.
I would recommend that you turn off automatic deletion and turn on the confirmation message. Both settings can be changed easily.
- Launch Finder by clicking on the Finder icon. This can be found on your dock normally on the very far left-hand side and it’s the one that looks like a happy smiling face.

- Head up to the nav bar on the top left corner of the screen and then click on Finder. Then, click on Settings….

- Then, click on advanced and ensure that the following options are set as listed below.
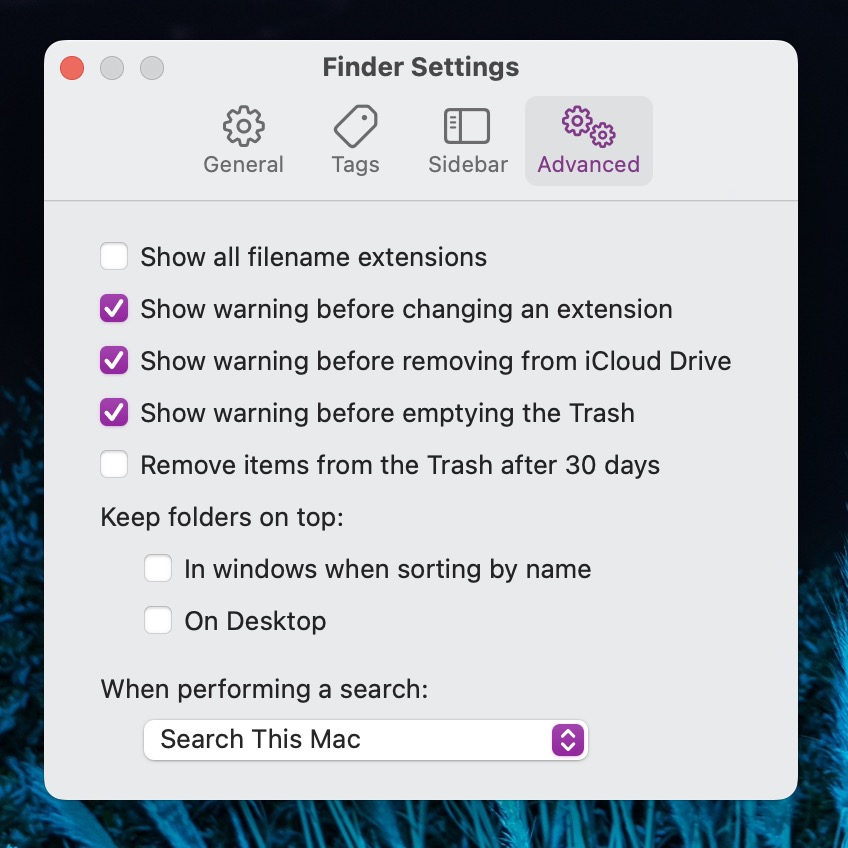
Now you will have a chance to recover your data from the Trash as now it will stay there until you decide to empty it.
If you do decide to empty your Trash, you will also now receive a confirmation message to ensure that you want to empty the Trash.
Tip 2: Back Up Using Time Machine
I never thought that data loss was going to happen to me, but I’ve had a couple of occasions when my external hard drive backup saved my data. I’m happy that I was backing up using Time Machine because if I wasn’t, I might not have been able to recover my data.
Time Machine is a free built-in free backup utility provided by Apple that you can use to back up all of the data on your Mac.
Using Time Machine is quite easy to set up and use too.
- Plug in an external hard drive to your Mac. You can purchase one of these online or at an electronics store and they’re usually affordable these days.
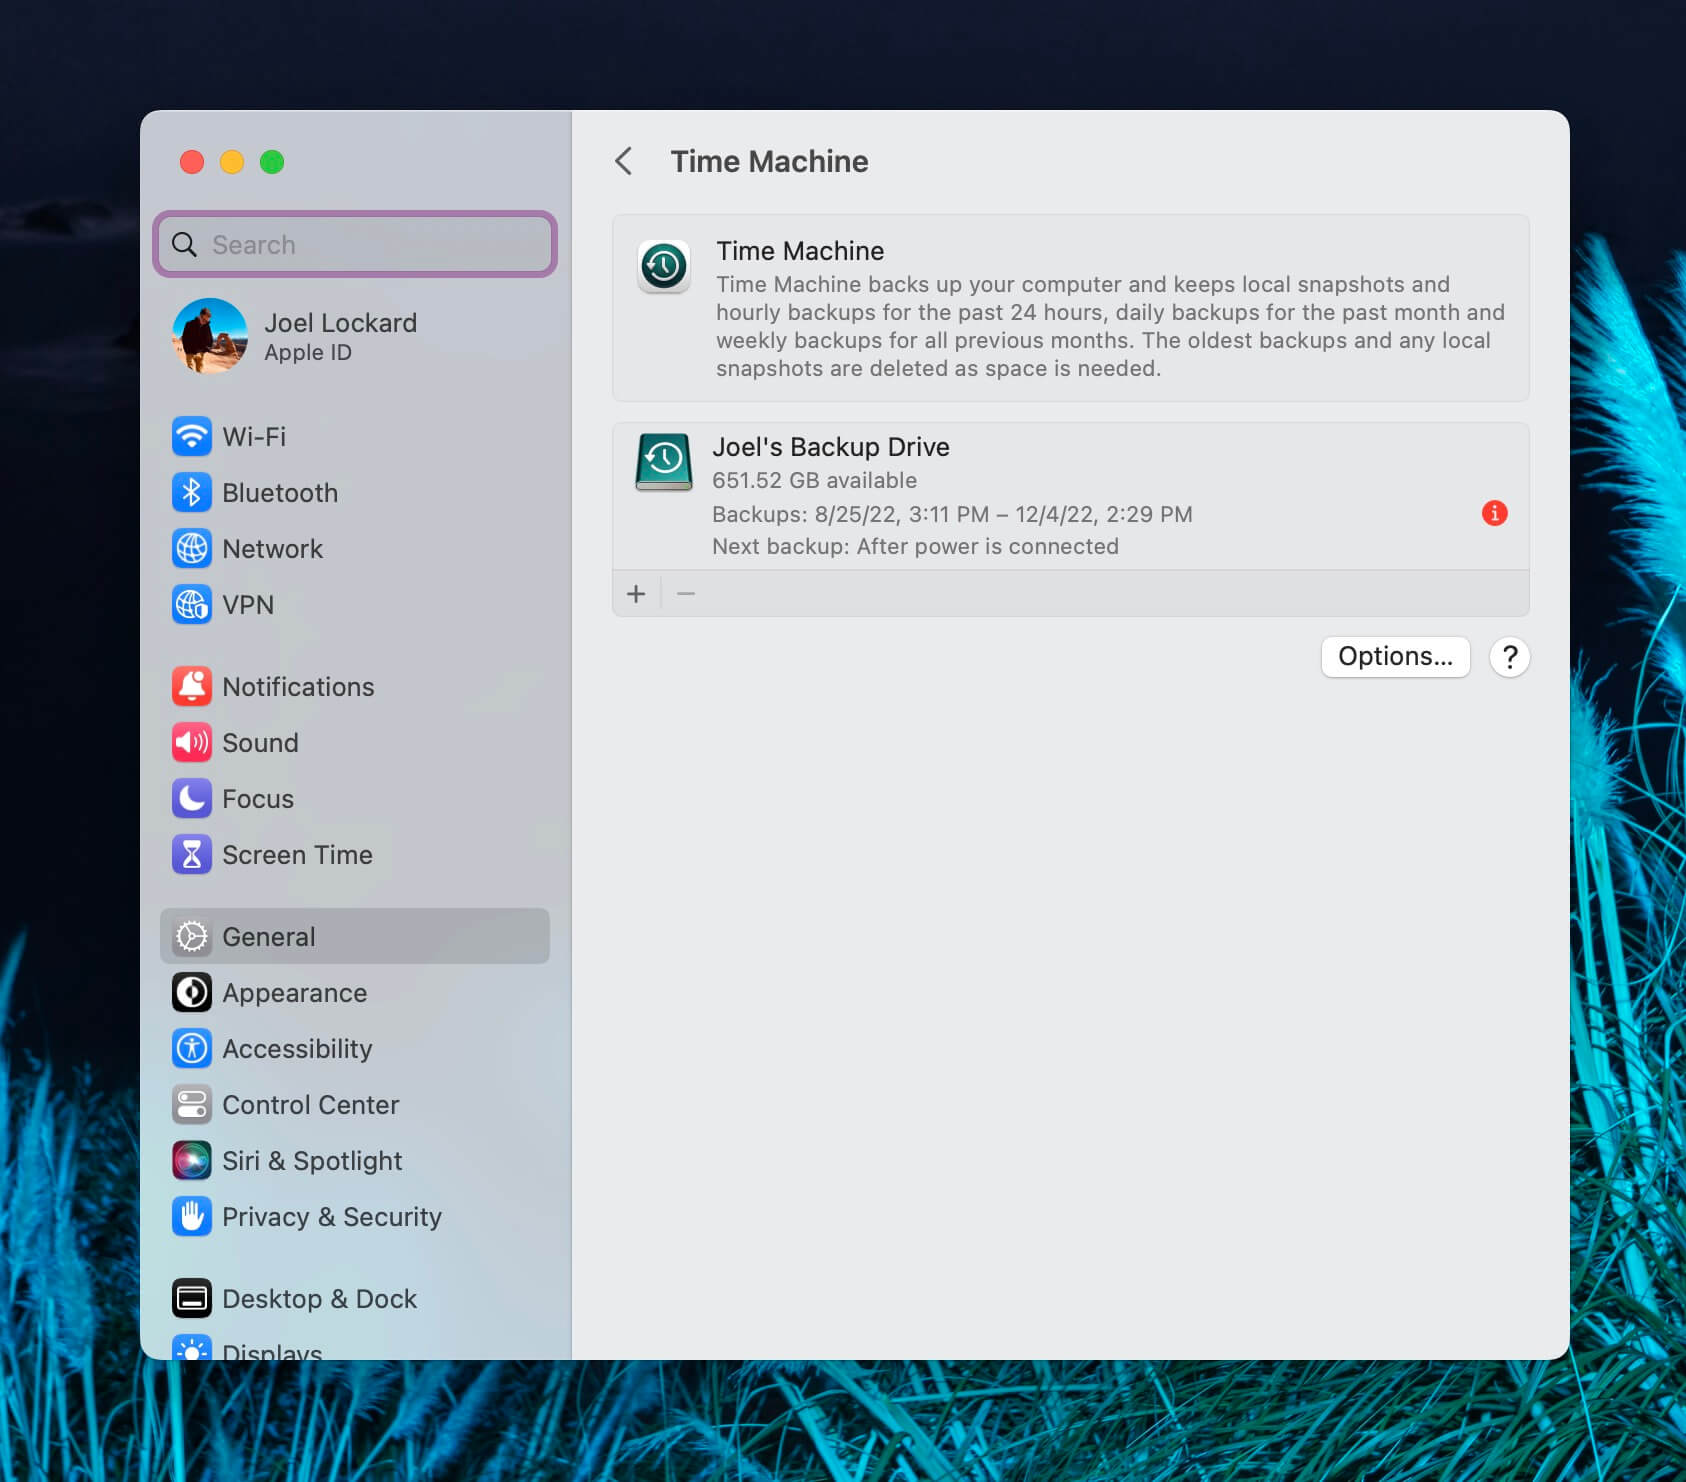
- Open your System Settings. Go to General and then click on Time Machine.
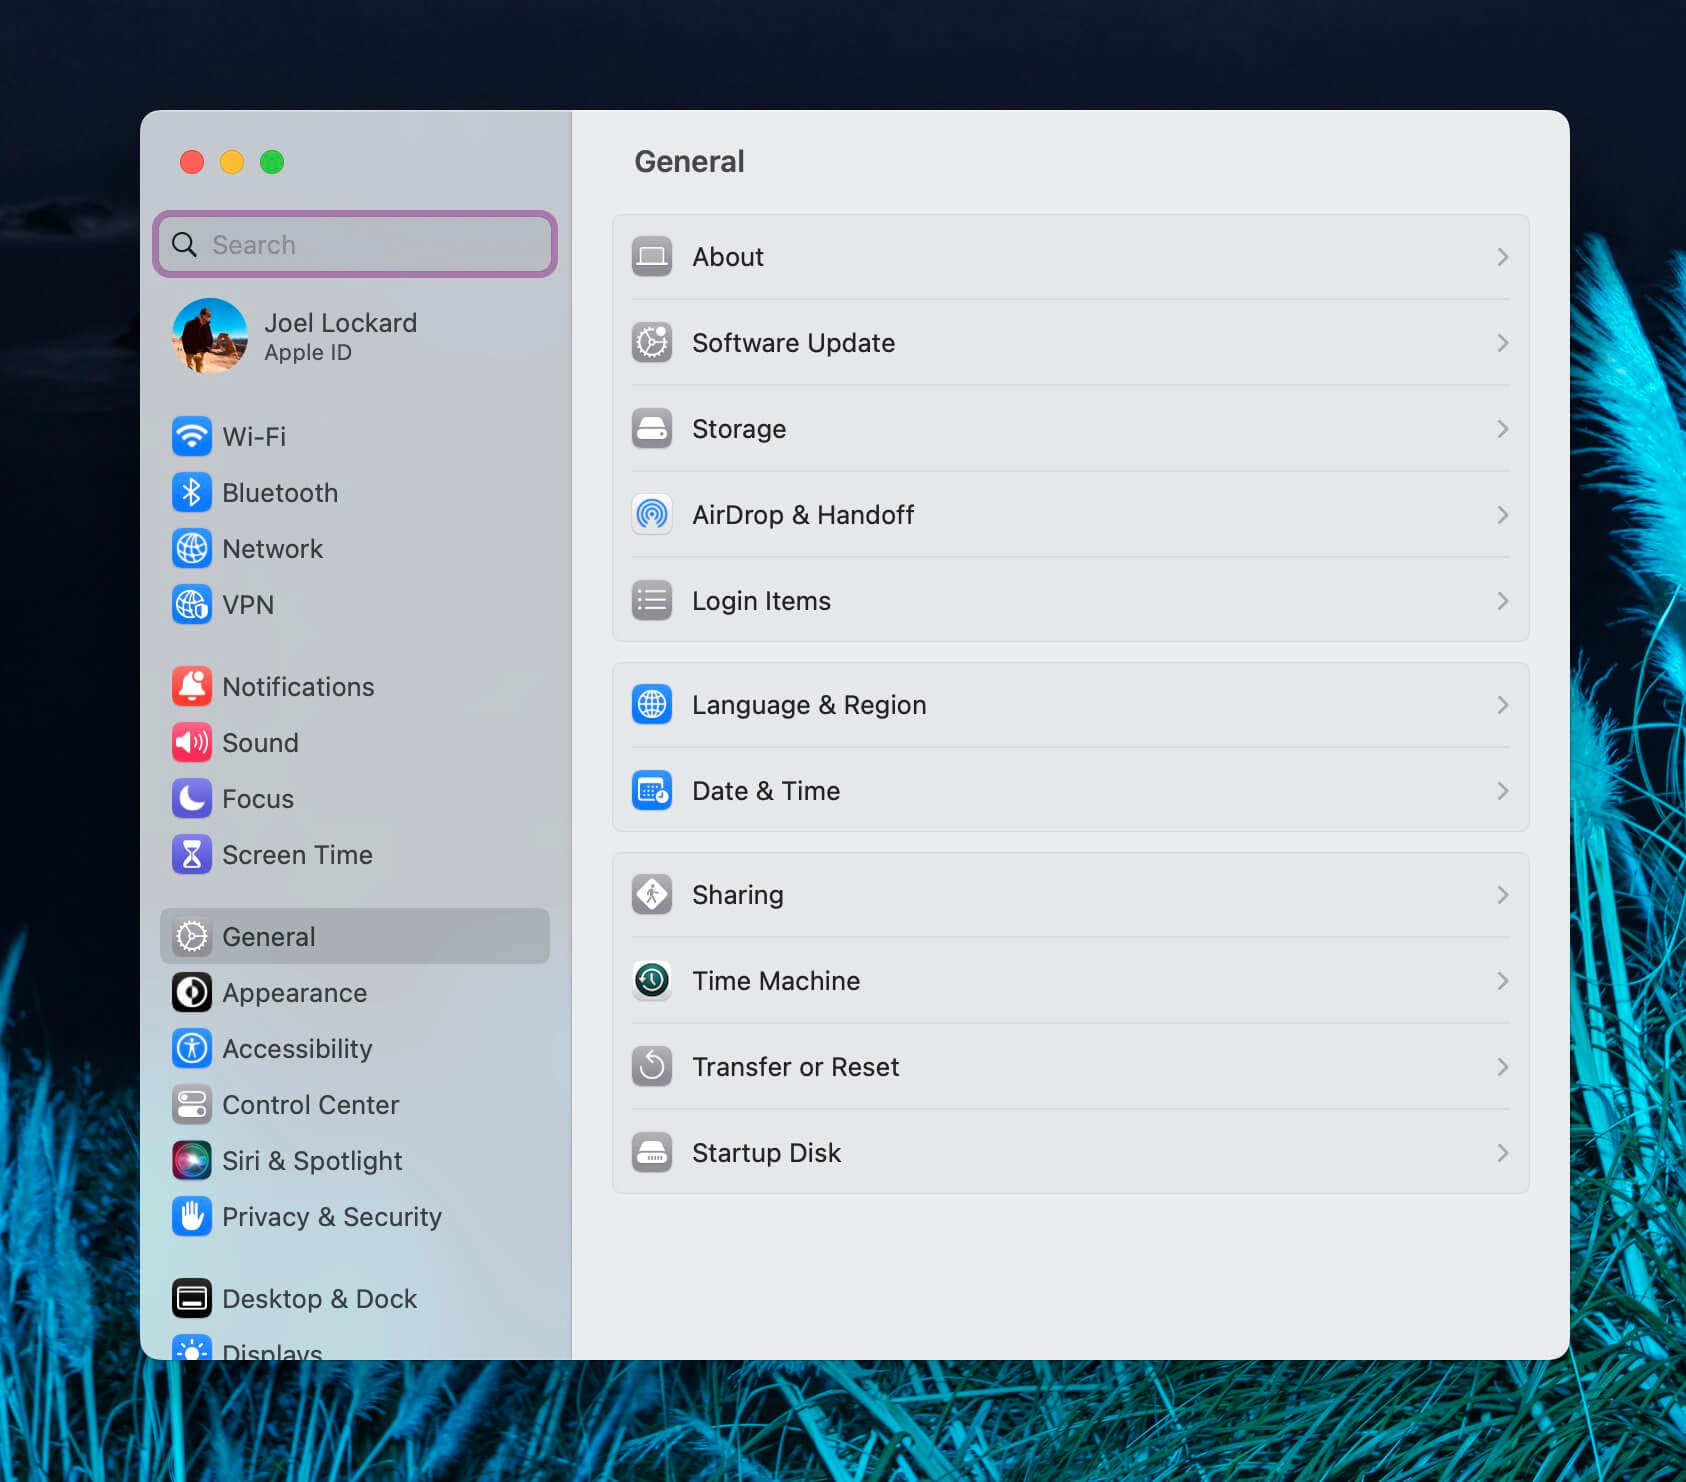
- Select your external hard drive as the device that you want to back up your Mac to. Mine is already set up but you will have the option to select a new hard drive from here.
- Wait for the backup process to complete.
I would recommend that you plug in and back up to your external hard drive once a week or whenever you make big changes to the data on our Mac.
If you’re using a desktop Mac, you can just leave the external hard drive plugged into your Mac and it can back up all on its own.
Conclusion
We accumulate and delete data all the time. The Trash and Disk Drill are both powerful ways to save our data and get it back onto our Mac if need be.
Protecting our data is just as important as being able to recover it. Implementing extra steps in the Trash to ensure we want to delete our data and backing up using Time Machine will help us keep our data safe.


FAQ
If the folders have already been deleted from the Trash, then we will want to use Disk Drill to recover them.
- Download and install Disk Drill onto your Mac.
- Launch Disk Drill.
- Select the storage device that you would like to scan for the deleted folders.
- Wait for the scanning process to complete.
- Review what Disk Drill was able to recover. Use the Preview feature to verify your data before you recover it.
- Select the data that you want to recover and then click on the Recover button.
The Recently Deleted Folder has to do with photos rather than folders. If you want to access your Recently Deleted Folder to recover some photos, then follow the steps below.
- Launch the Photos app.
- On the left-hand column, select Recently Deleted.
- Go through and choose what you would like to recover.
- Click on Recover.