Modern iPhones take amazing-looking pictures, but there’s a price to pay for their visual quality: storage space. Indeed, even just a handful of high-quality photos can take up a considerable number of megabytes, and that can be a problem if you have a base model iPhone with limited storage, have a lot of other stuff on your device, or frequently share the memories you capture with others using limited cellular data or slow Wi-Fi.
Having experienced many of these problems myself, I’ve spent a lot of time and effort trying different methods to compress photos on iPhone without severely degrading their quality. In this comprehensive guide, I’ll explain how to reduce photo file size on your iPhone using several different approaches while highlighting the pros and cons of each so you can use the one that’s best for you.
How to Decrease Photo Size on iPhone

Original Photo by Michael Schlierf from Pexels
While there are numerous solutions available to reduce photo file size on iPhone, they all fundamentally work by applying one or more of these core techniques:
- Reduce resolution: Crop or resize the image dimensions to reduce pixel count. This method maintains the quality of the remaining image area and uses built-in iOS features, though it changes composition and can’t be fully reversed.
- Apply compression: Compression works by finding redundant visual information in your pictures and representing it more efficiently. Sometimes, compression can be applied without any visual quality degradation whatsoever (lossless compression), but more space-saving compression settings typically lead to some degree of quality loss. The good news is that most photo compression apps offer a slider or settings to balance file size reduction against visual quality.
- Change file format: All photos are saved in specific image file formats. Some formats that are still commonly used today are quite old and inefficient (JPEG is a good example), especially when compared with their modern counterparts, such as HEIF (High Efficiency Image Format). However, newer formats like HEIF are not as widely supported, so that’s something you also need to take into consideration.
These techniques can be applied through your iPhone’s built-in features, but you can also turn to specialized compression apps that provide more options for lowering the quality of the pictures on the iPhone, such as batch processing or precise quality control. The trade-off is that you’ll need to download and potentially pay for these apps, and some may require uploading your photos to external servers.
In the following sections, I’ll start with the simplest built-in iOS solutions that don’t require any additional downloads or setup. Then, I’ll also cover third-party applications and online services so you have more options to choose from based on your needs and technical abilities.
Method 1: Use iOS Built-In Functionality
- ✅ Pros: Free, privacy-friendly, no additional apps needed, built directly into iOS
- ⛔️ Cons: Limited customization options, manual work required, fewer batch processing features
The simplest way to reduce the MB size of photos on your iPhone is by cropping out unnecessary portions, which reduces both resolution and file size by removing pixels you don’t need. The number of pixels you give up is then directly proportional to the size reduction you achieve.
Here’s how to crop your photos:
- Open the Photos app and select the image you want to crop.
- Tap the Edit button in the top-right corner.
- Tap the Crop icon at the bottom of the screen.
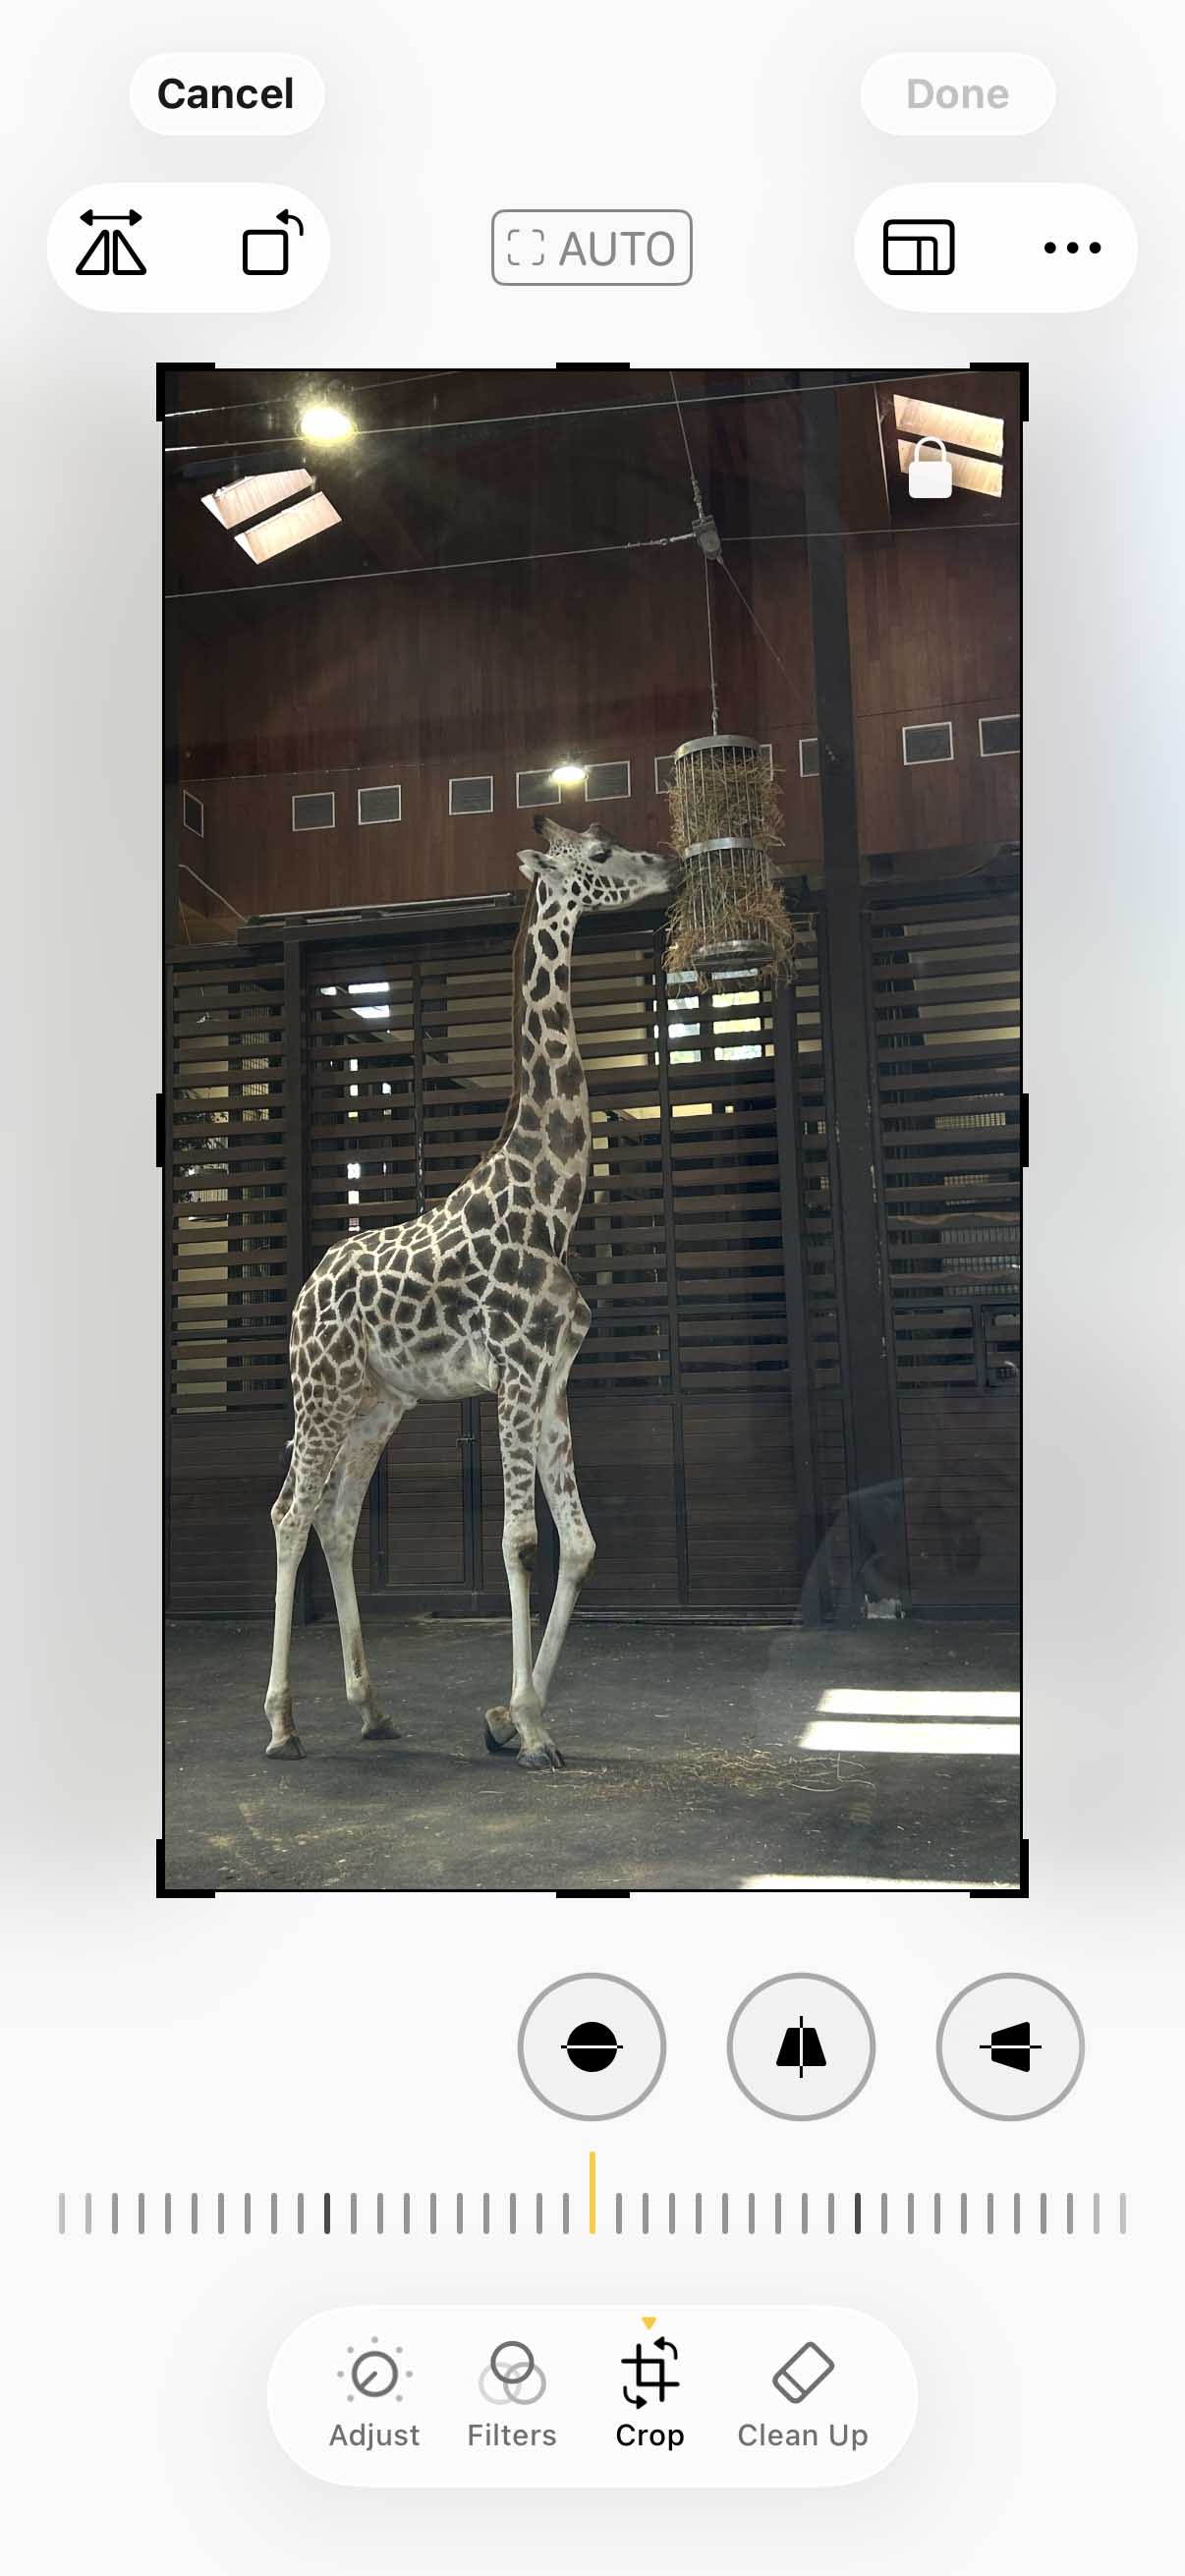
- Drag the corners to remove unwanted portions of the image.
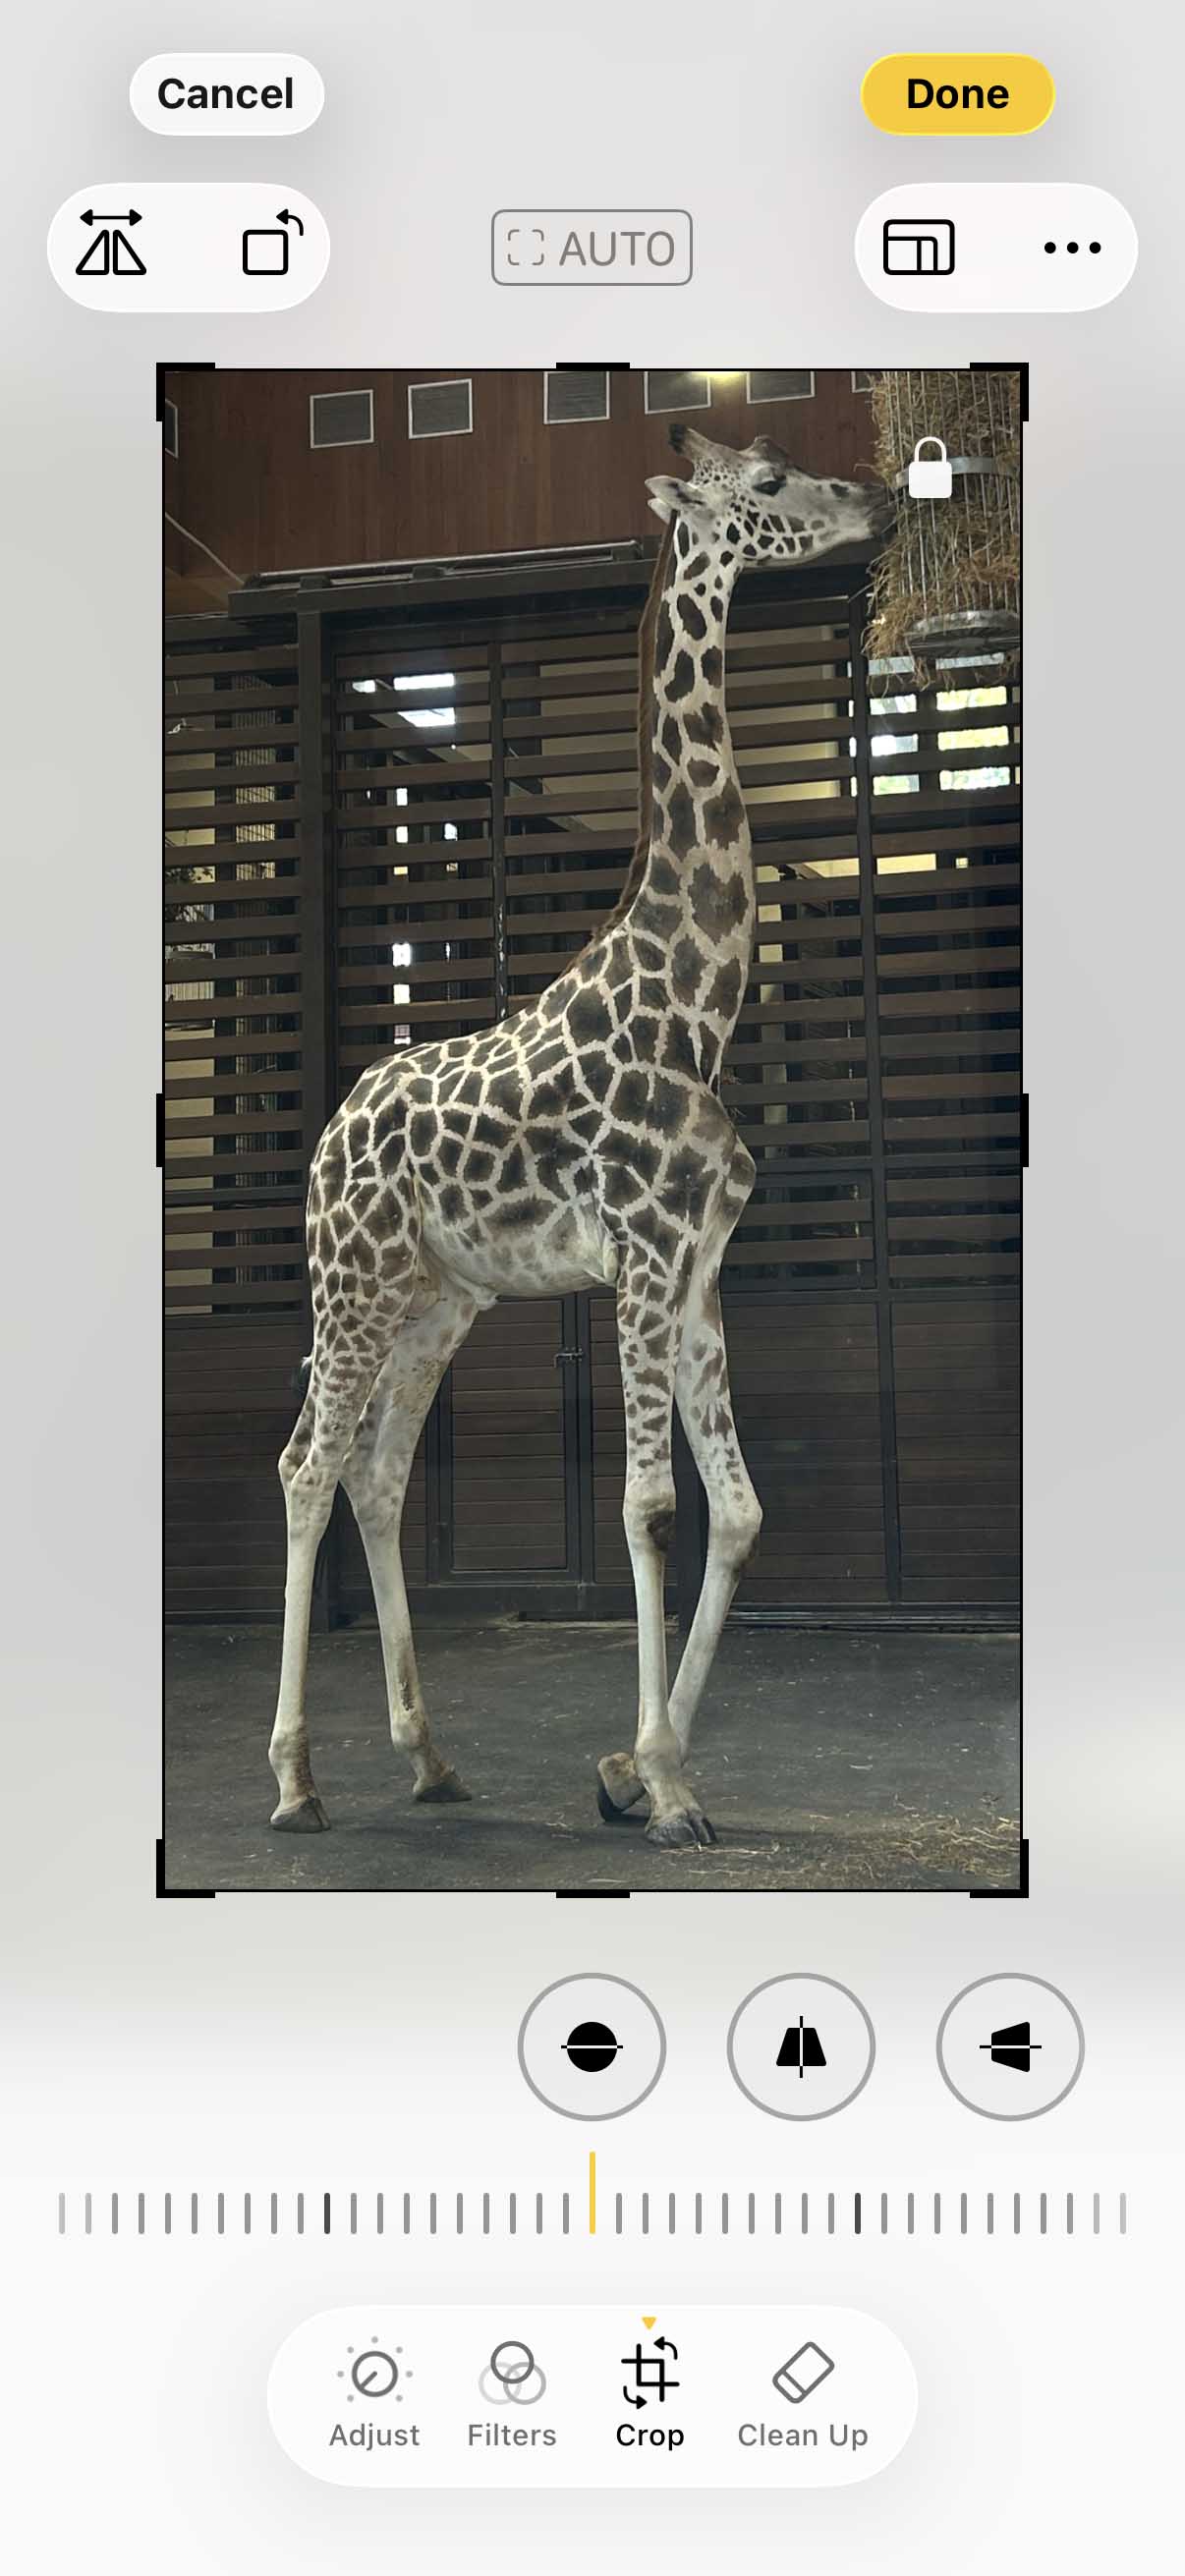
- Tap Done to save your changes (you can go back by opening the same image, tapping the three horizontal dots in the top-right corner and choosing the Revert to Original option.
Since this method uses the built-in Photos app, no extra tools are needed, but you do need to say goodbye to portions of your image. This can alter your photo’s composition, so it works best for images where the main subject doesn’t fill the entire frame. Also, it can be really time-consuming to manually crop multiple images.
Fortunately, there’s another iOS built-in functionality that you can use to shrink photo size on your iPhone with slightly less effort. I’m talking about the Shortcuts app, which makes it possible to perform a whole bunch of actions with a single tap on a shortcut you create yourself from scratch or download from someone else.
If you’d rather create your own shortcut to compress photos on iPhone, then you need to:
- Download the Shortcuts app if you don’t already have it.
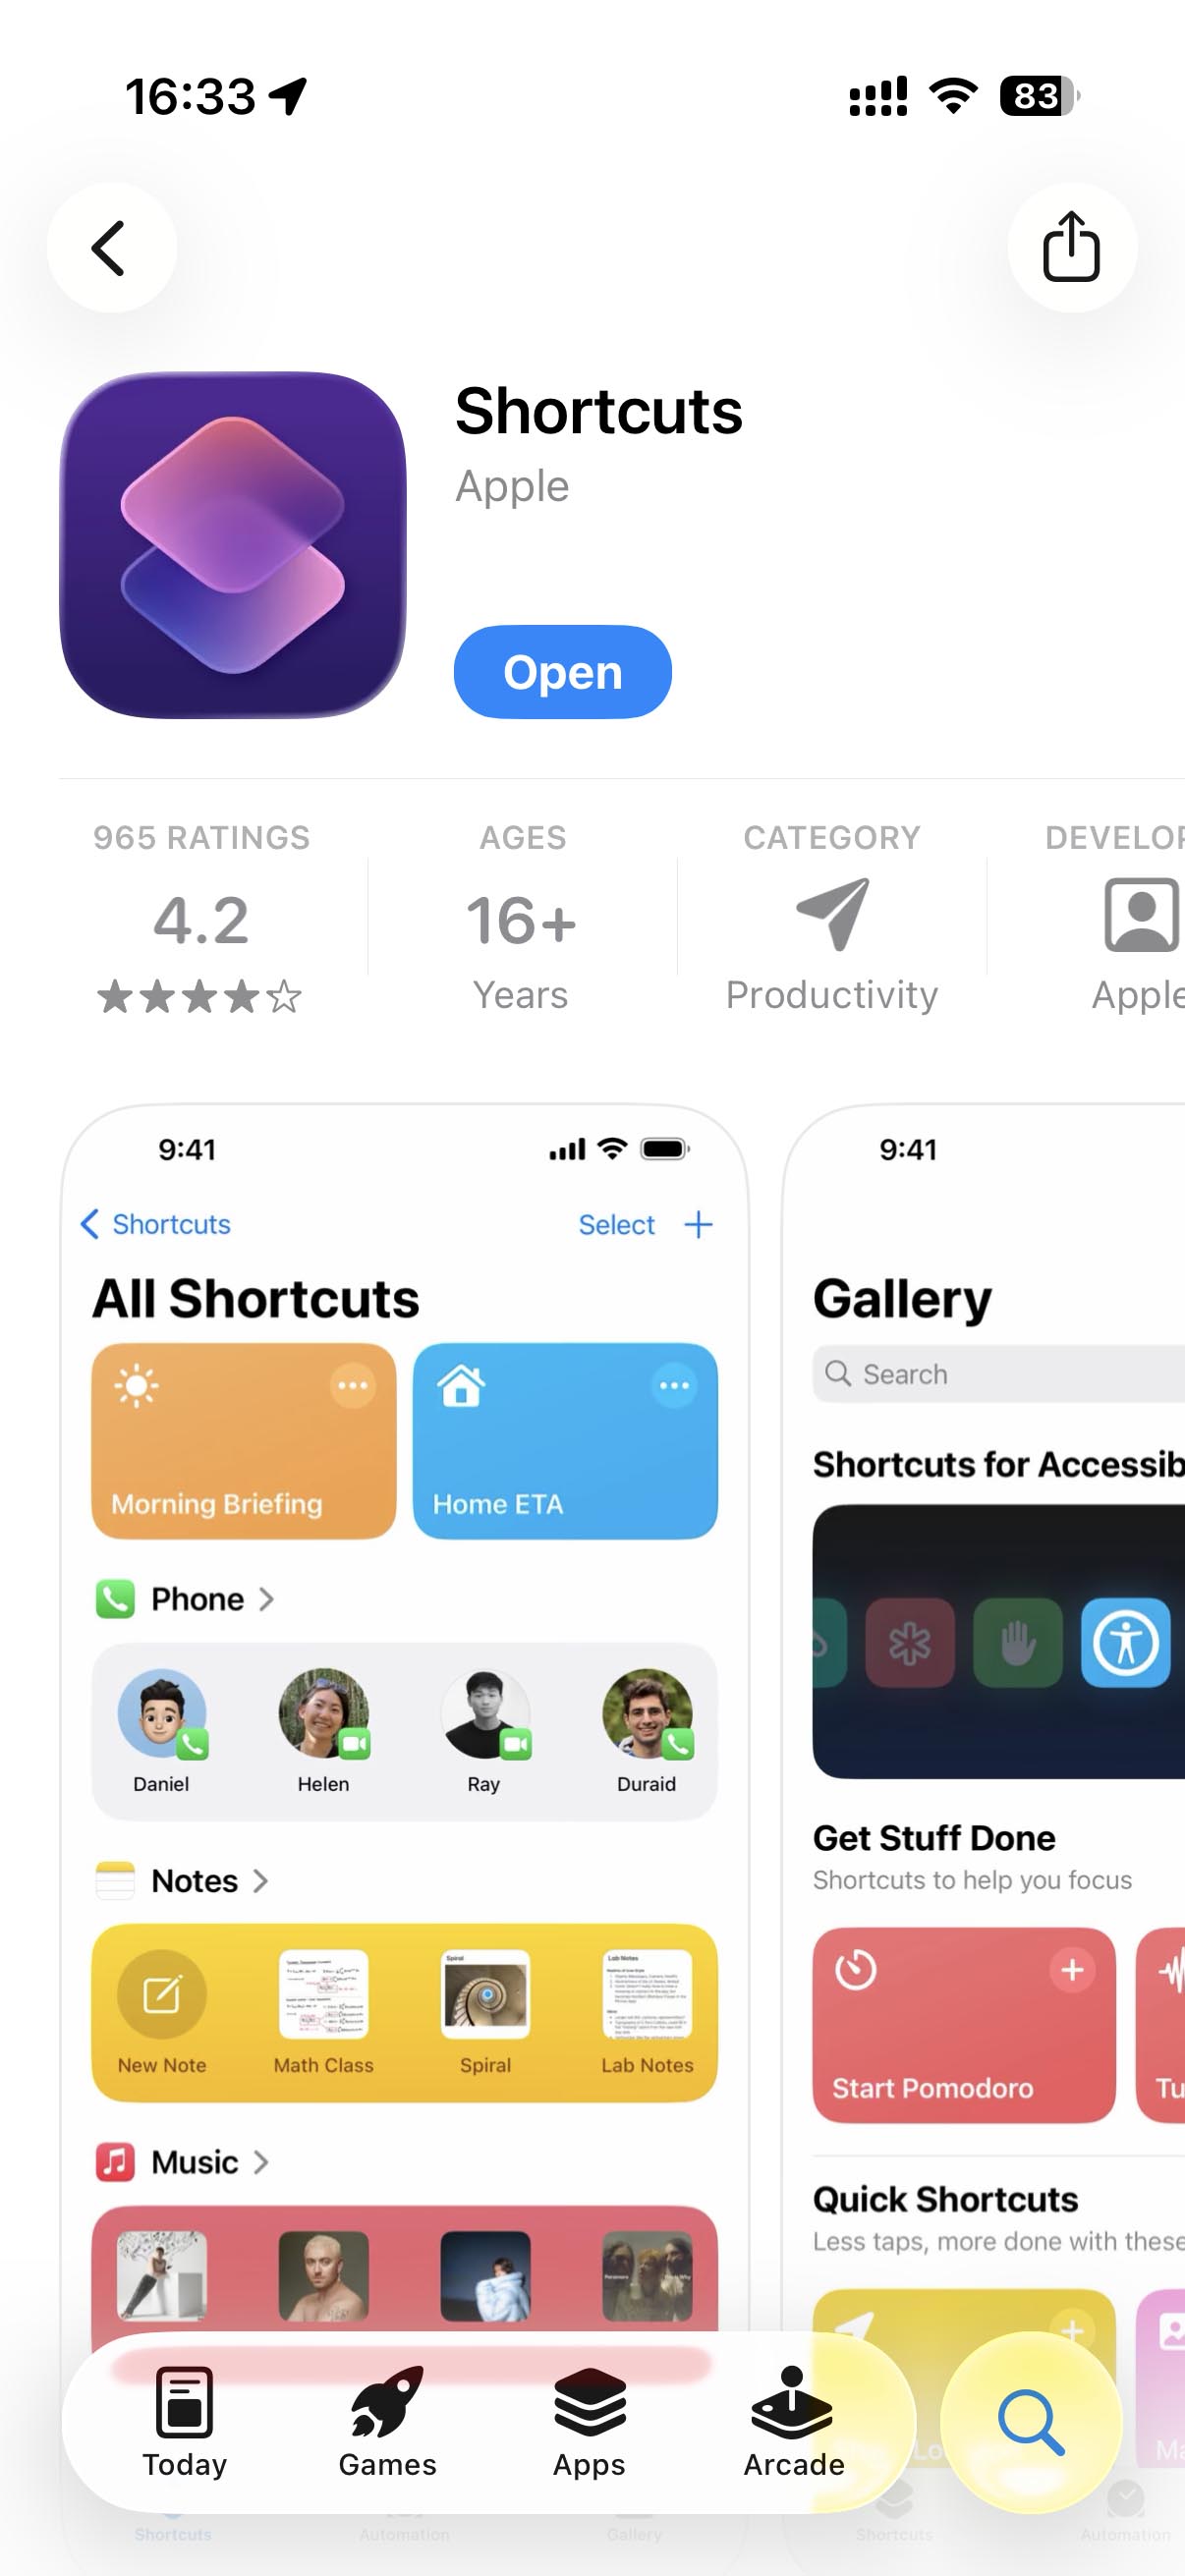
- Open the Shortcuts app and tap the “+” button to create a new shortcut.

- Tap Add Action and search for Select Photos.
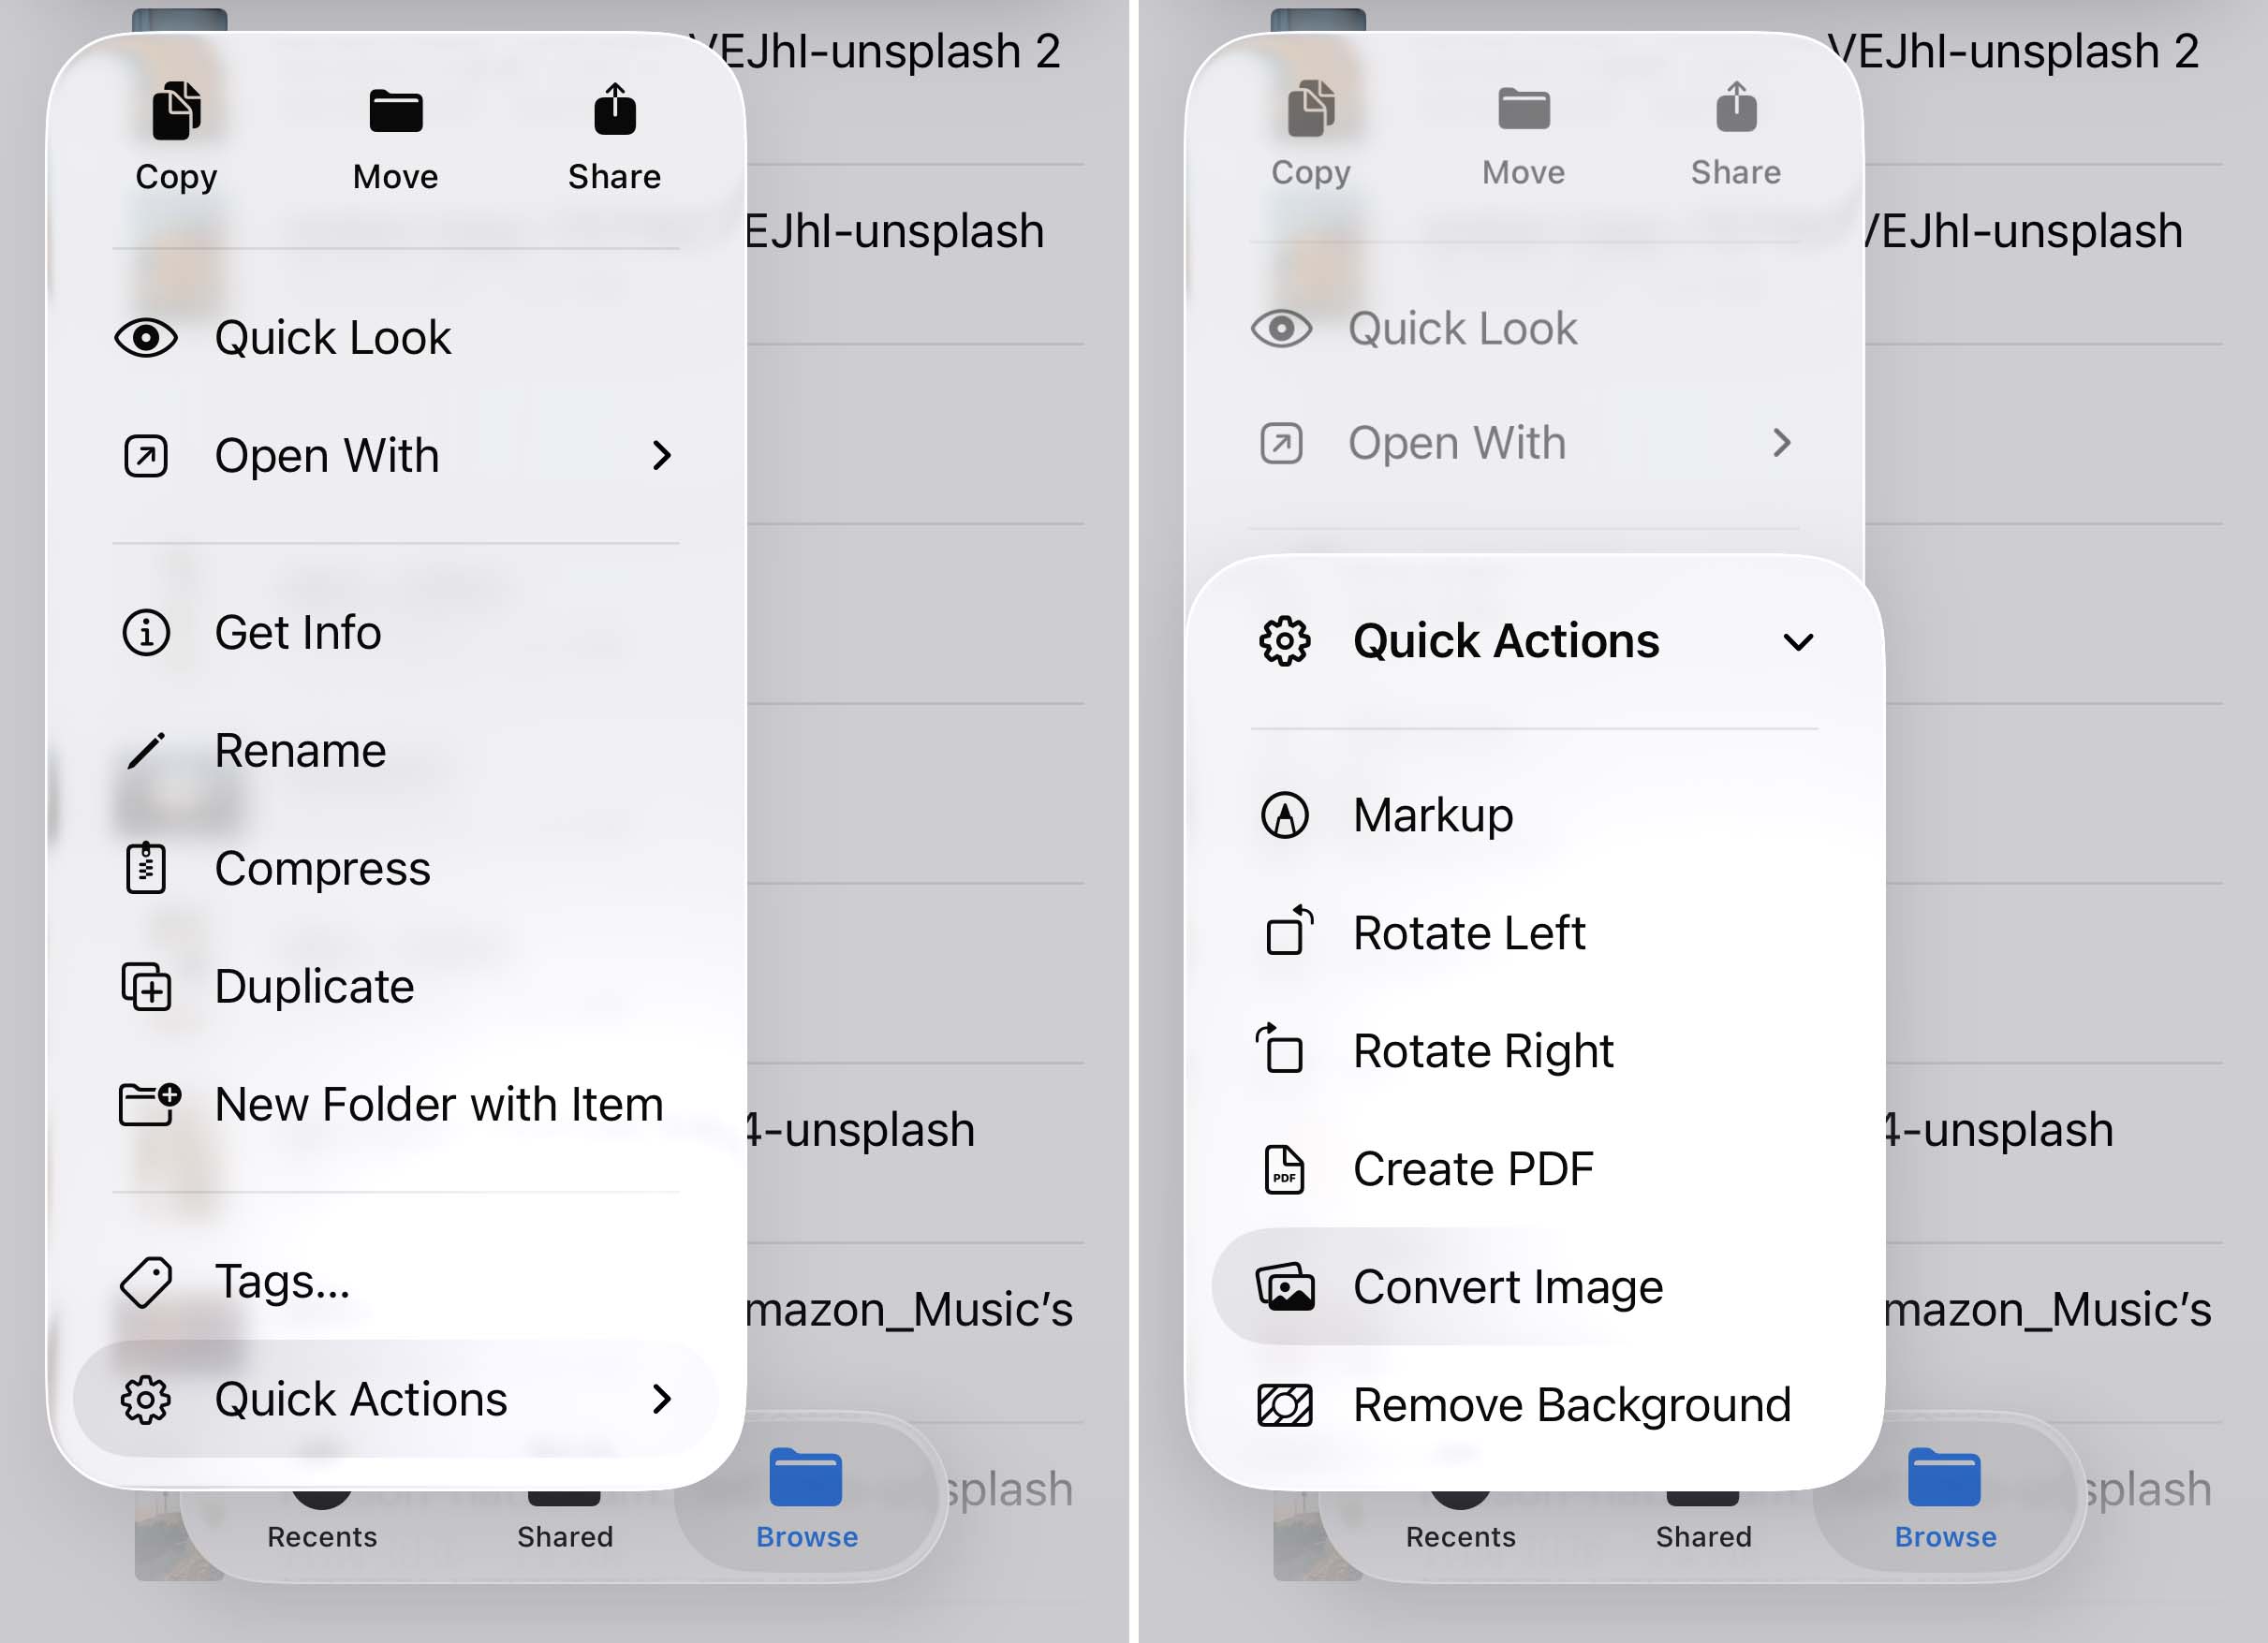
- Add the Convert Image action. In the Convert Image action, tap Show More and adjust the quality slider to your preferred level.
- Add Save to Photo Album as the final action.
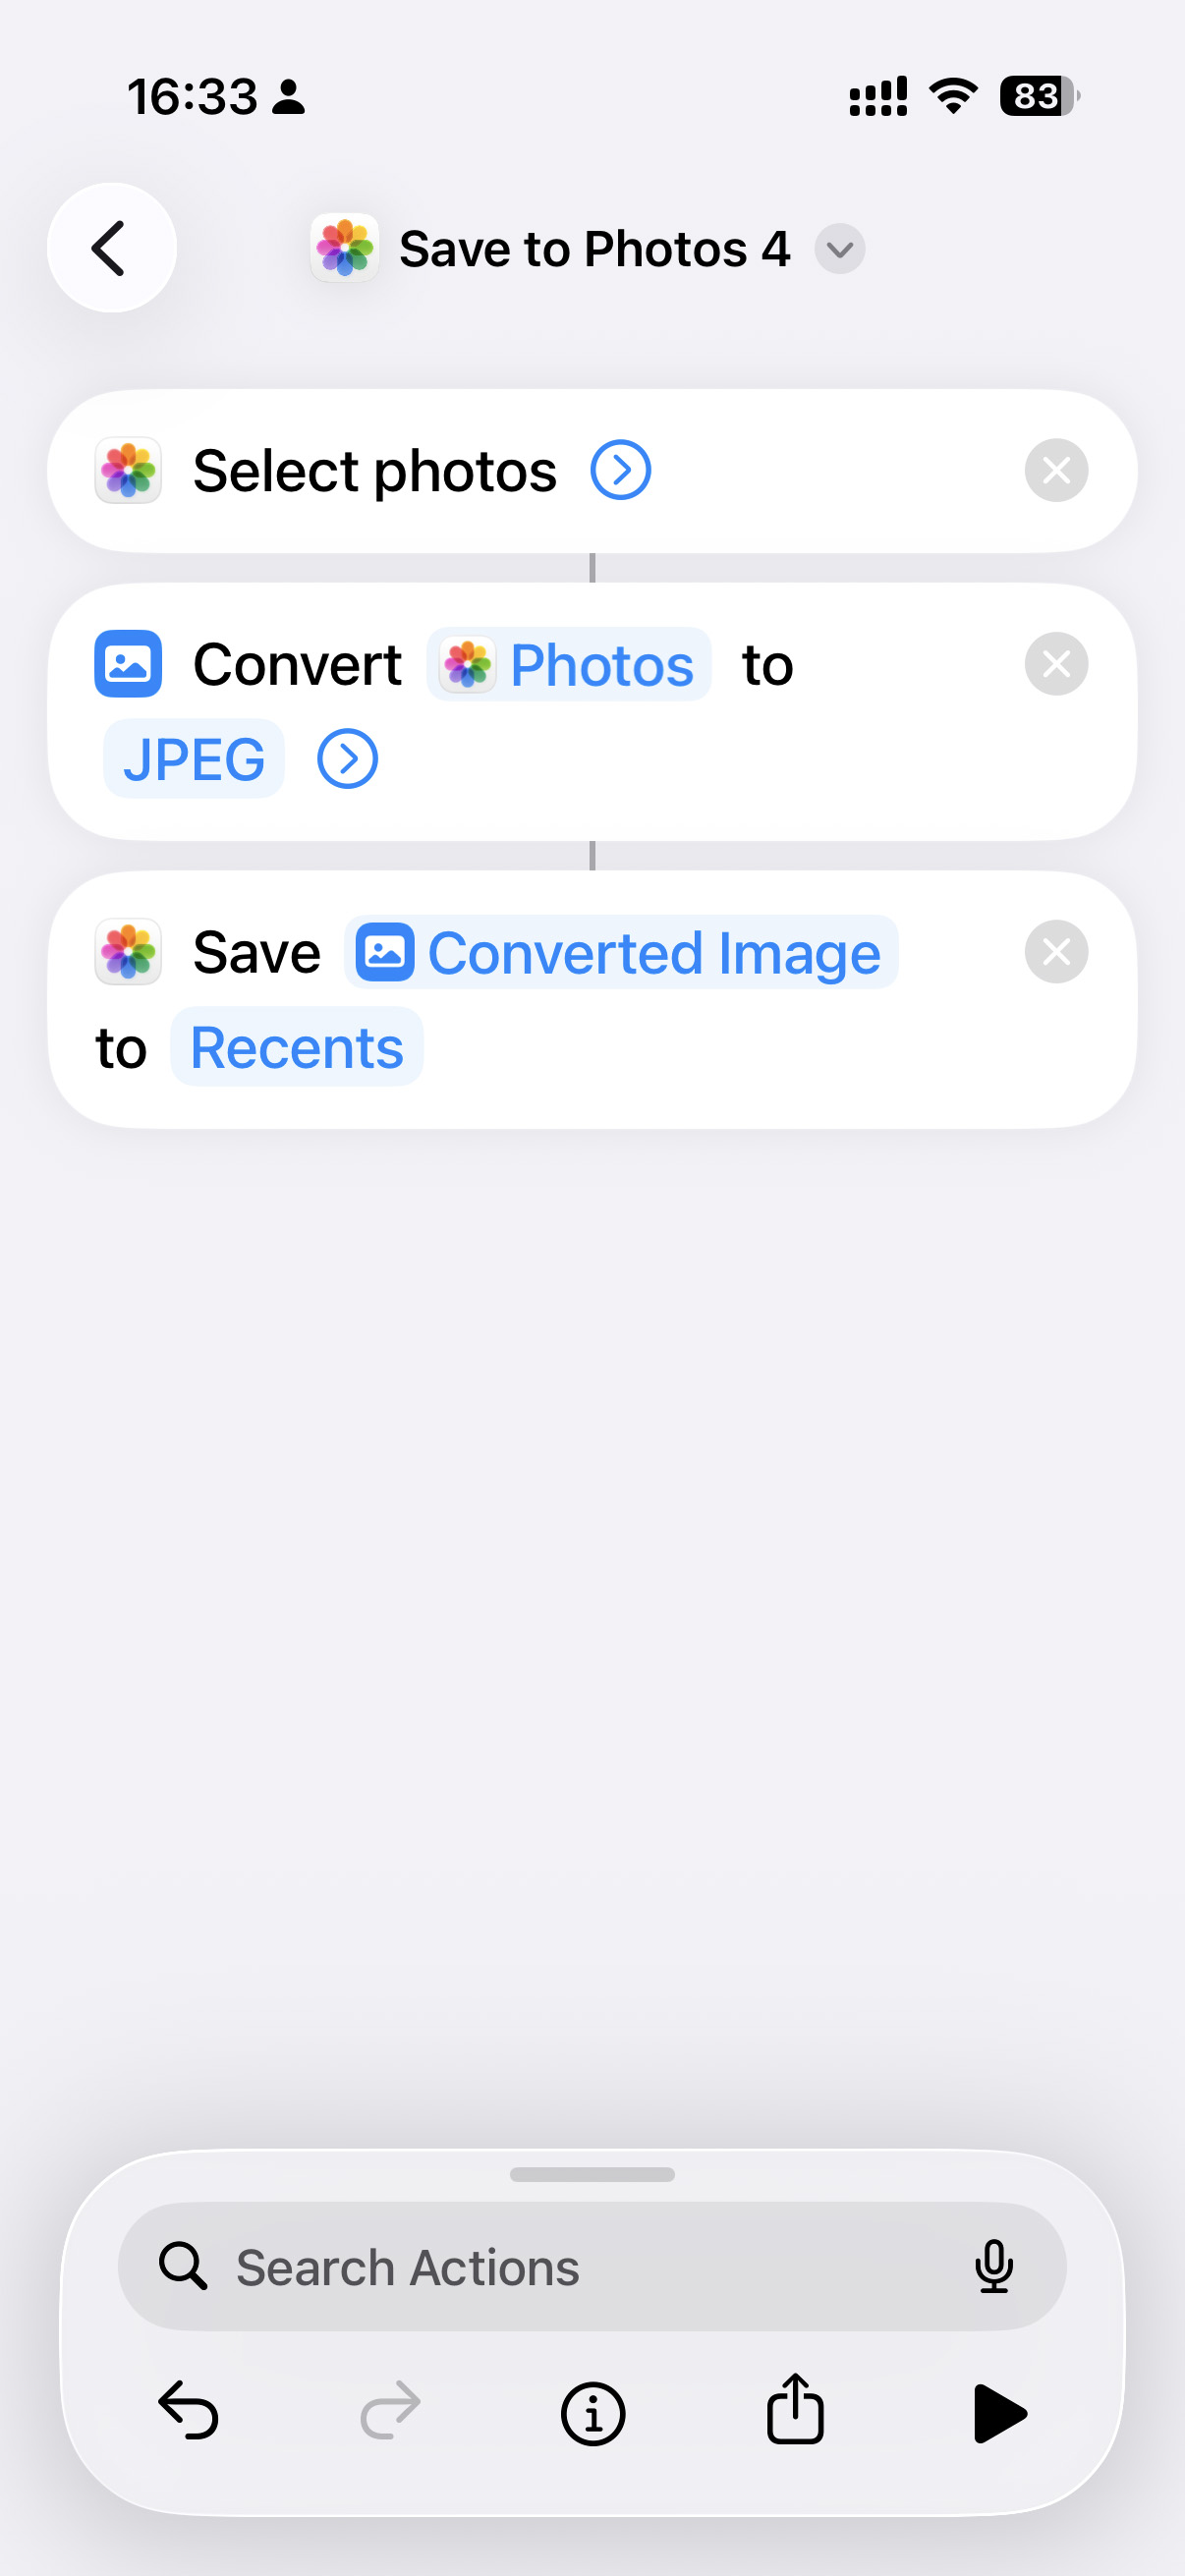
- Tap Next, give your shortcut a name like Photo Compressor, and tap Done.
I’ve used shortcuts to prepare photos for everything from website uploads to email attachments, each with different quality requirements. However, creating effective shortcuts requires a slight learning curve, and the compression options aren’t as sophisticated as dedicated apps.
Method 2: Use Compression Apps
- ✅ Pros: Batch processing capabilities; more control over compression settings; designed for photo optimization
- ⛔️ Cons: Requires downloading additional apps; some may include in-app purchases or subscriptions;
Dedicated photo compression apps outperform built-in iOS features in three major ways:
- They can process multiple photos simultaneously
- They offer more precise control over compression quality and resolution
- They provide advanced features like format conversion and metadata removal
Needless to say, not all photo compression apps offer all of these capabilities in one package, so you should familiarize yourself with some of the best options available and pick those that can help you the most. I’ve tested more iOS compression apps than I probably remember, and the following three have earned my recommendation.
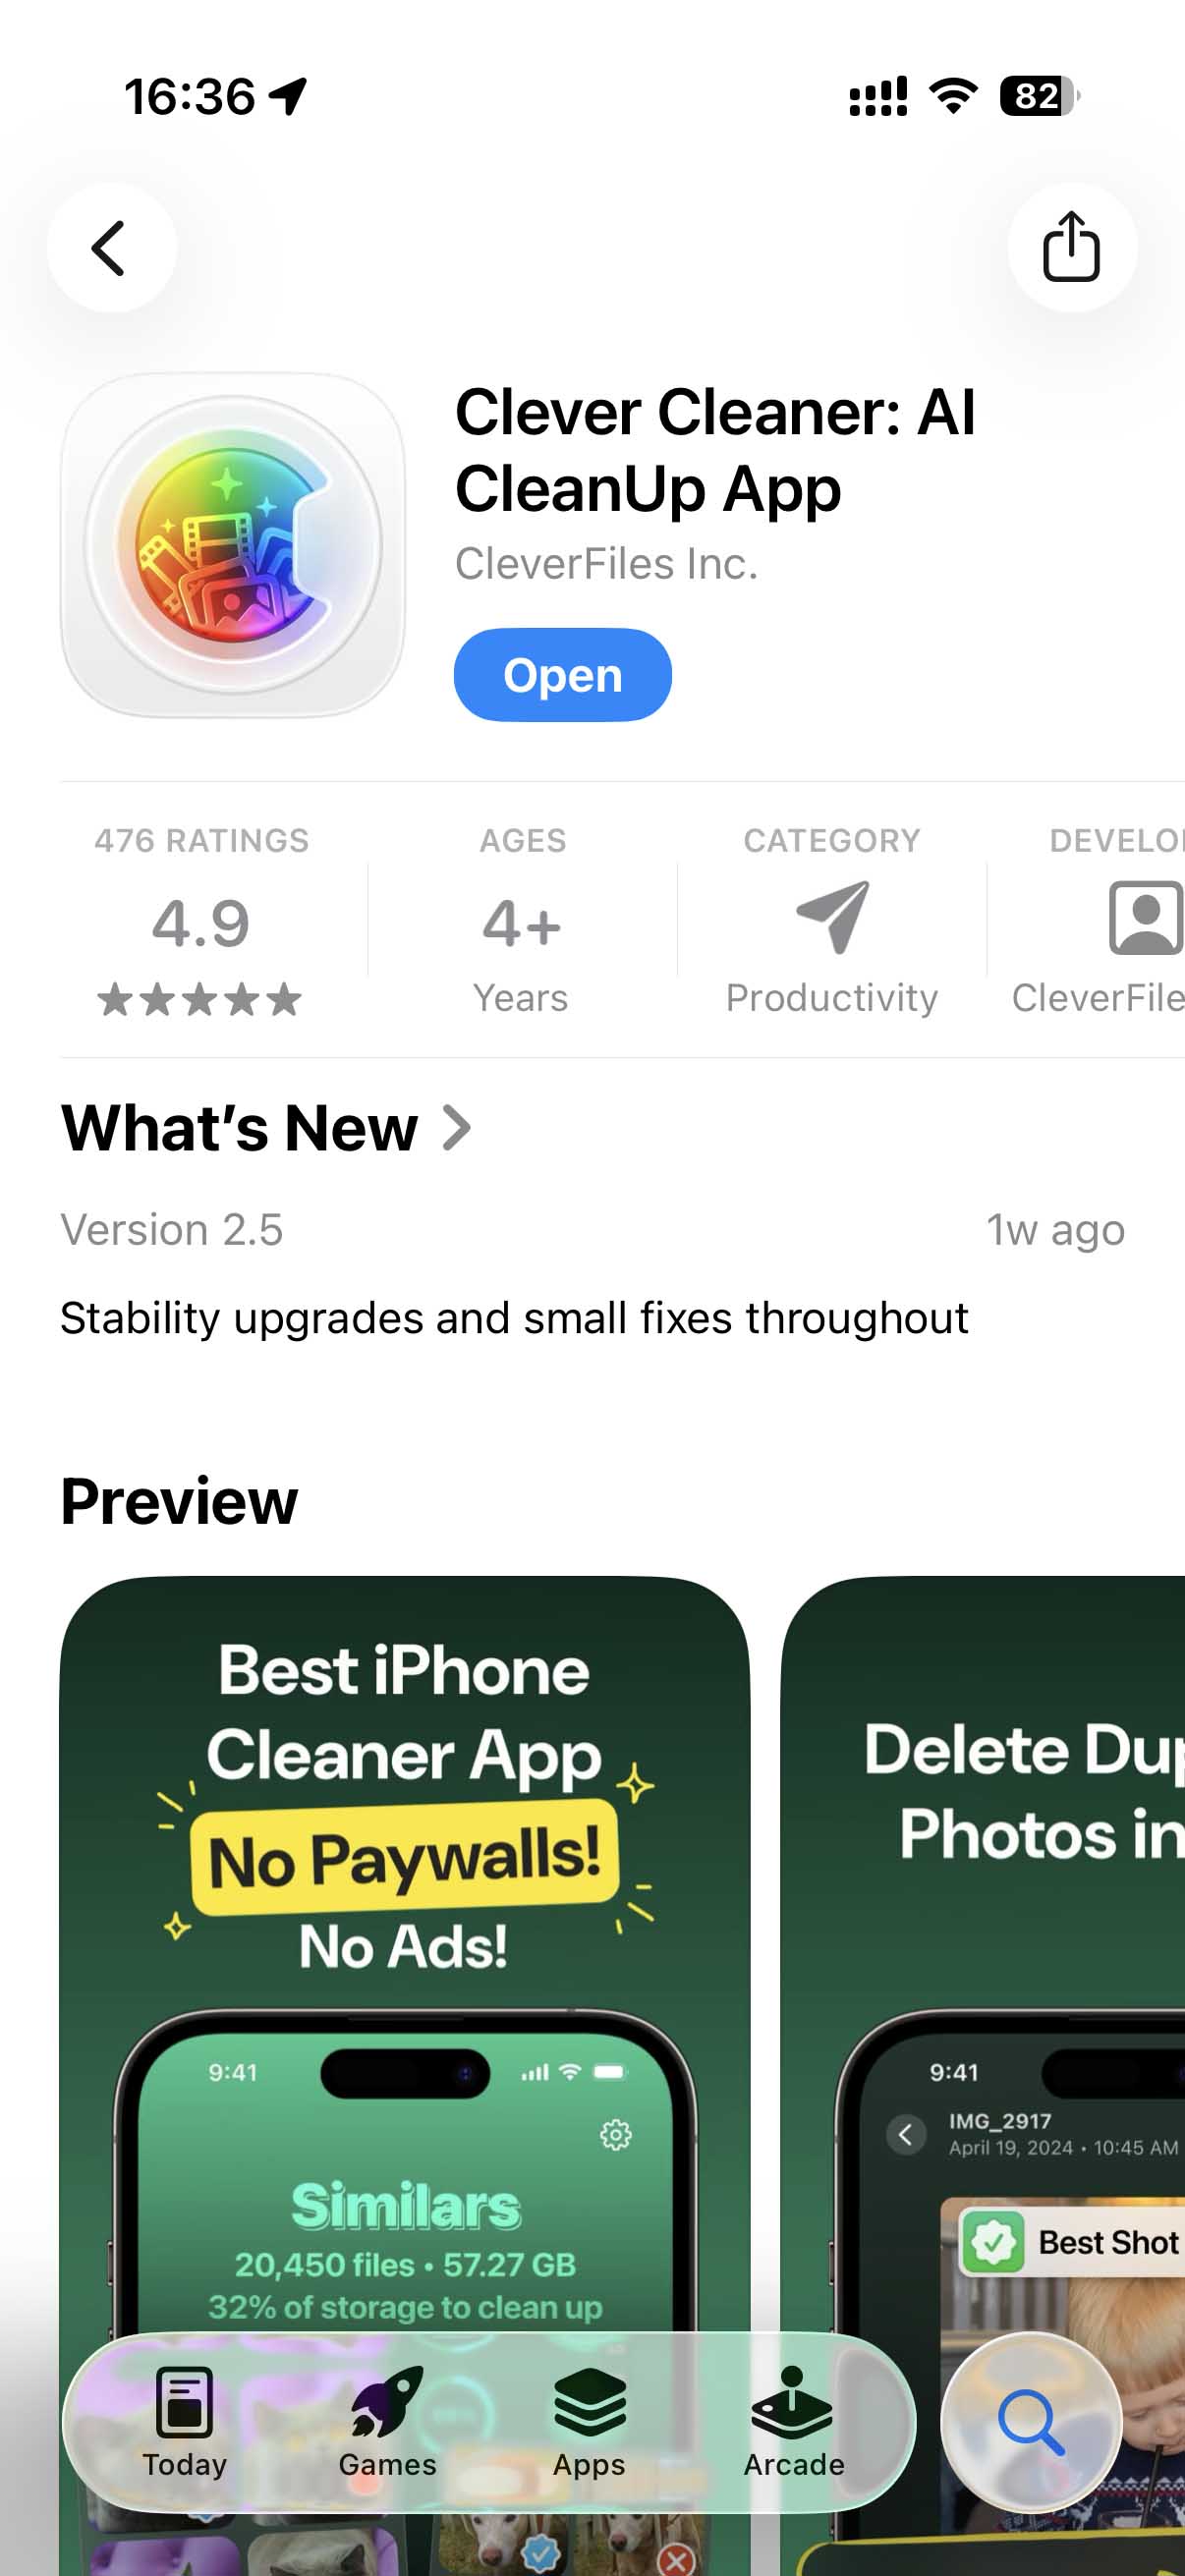
Clever Cleaner
- Price: Completely free
- App Store rating: 4.8 stars out of 5
- URL: https://apps.apple.com/us/app/clever-cleaner-ai-cleanup-app/id1666645584
The main thing that makes Clever Cleaner one of the best iPhone cleaner apps is its ability to process a huge number of pictures in bulk.
First, it has a unique function that can compress Live Photos by removing the video portion, which significantly reduces their size (Live Photos can be 2-3 times larger than standard photos).
To reduce Live Photo size by removing the video component:
- Download and open the Clever Cleaner app from the App Store.
- Grant the app permission to access your photos when prompted.
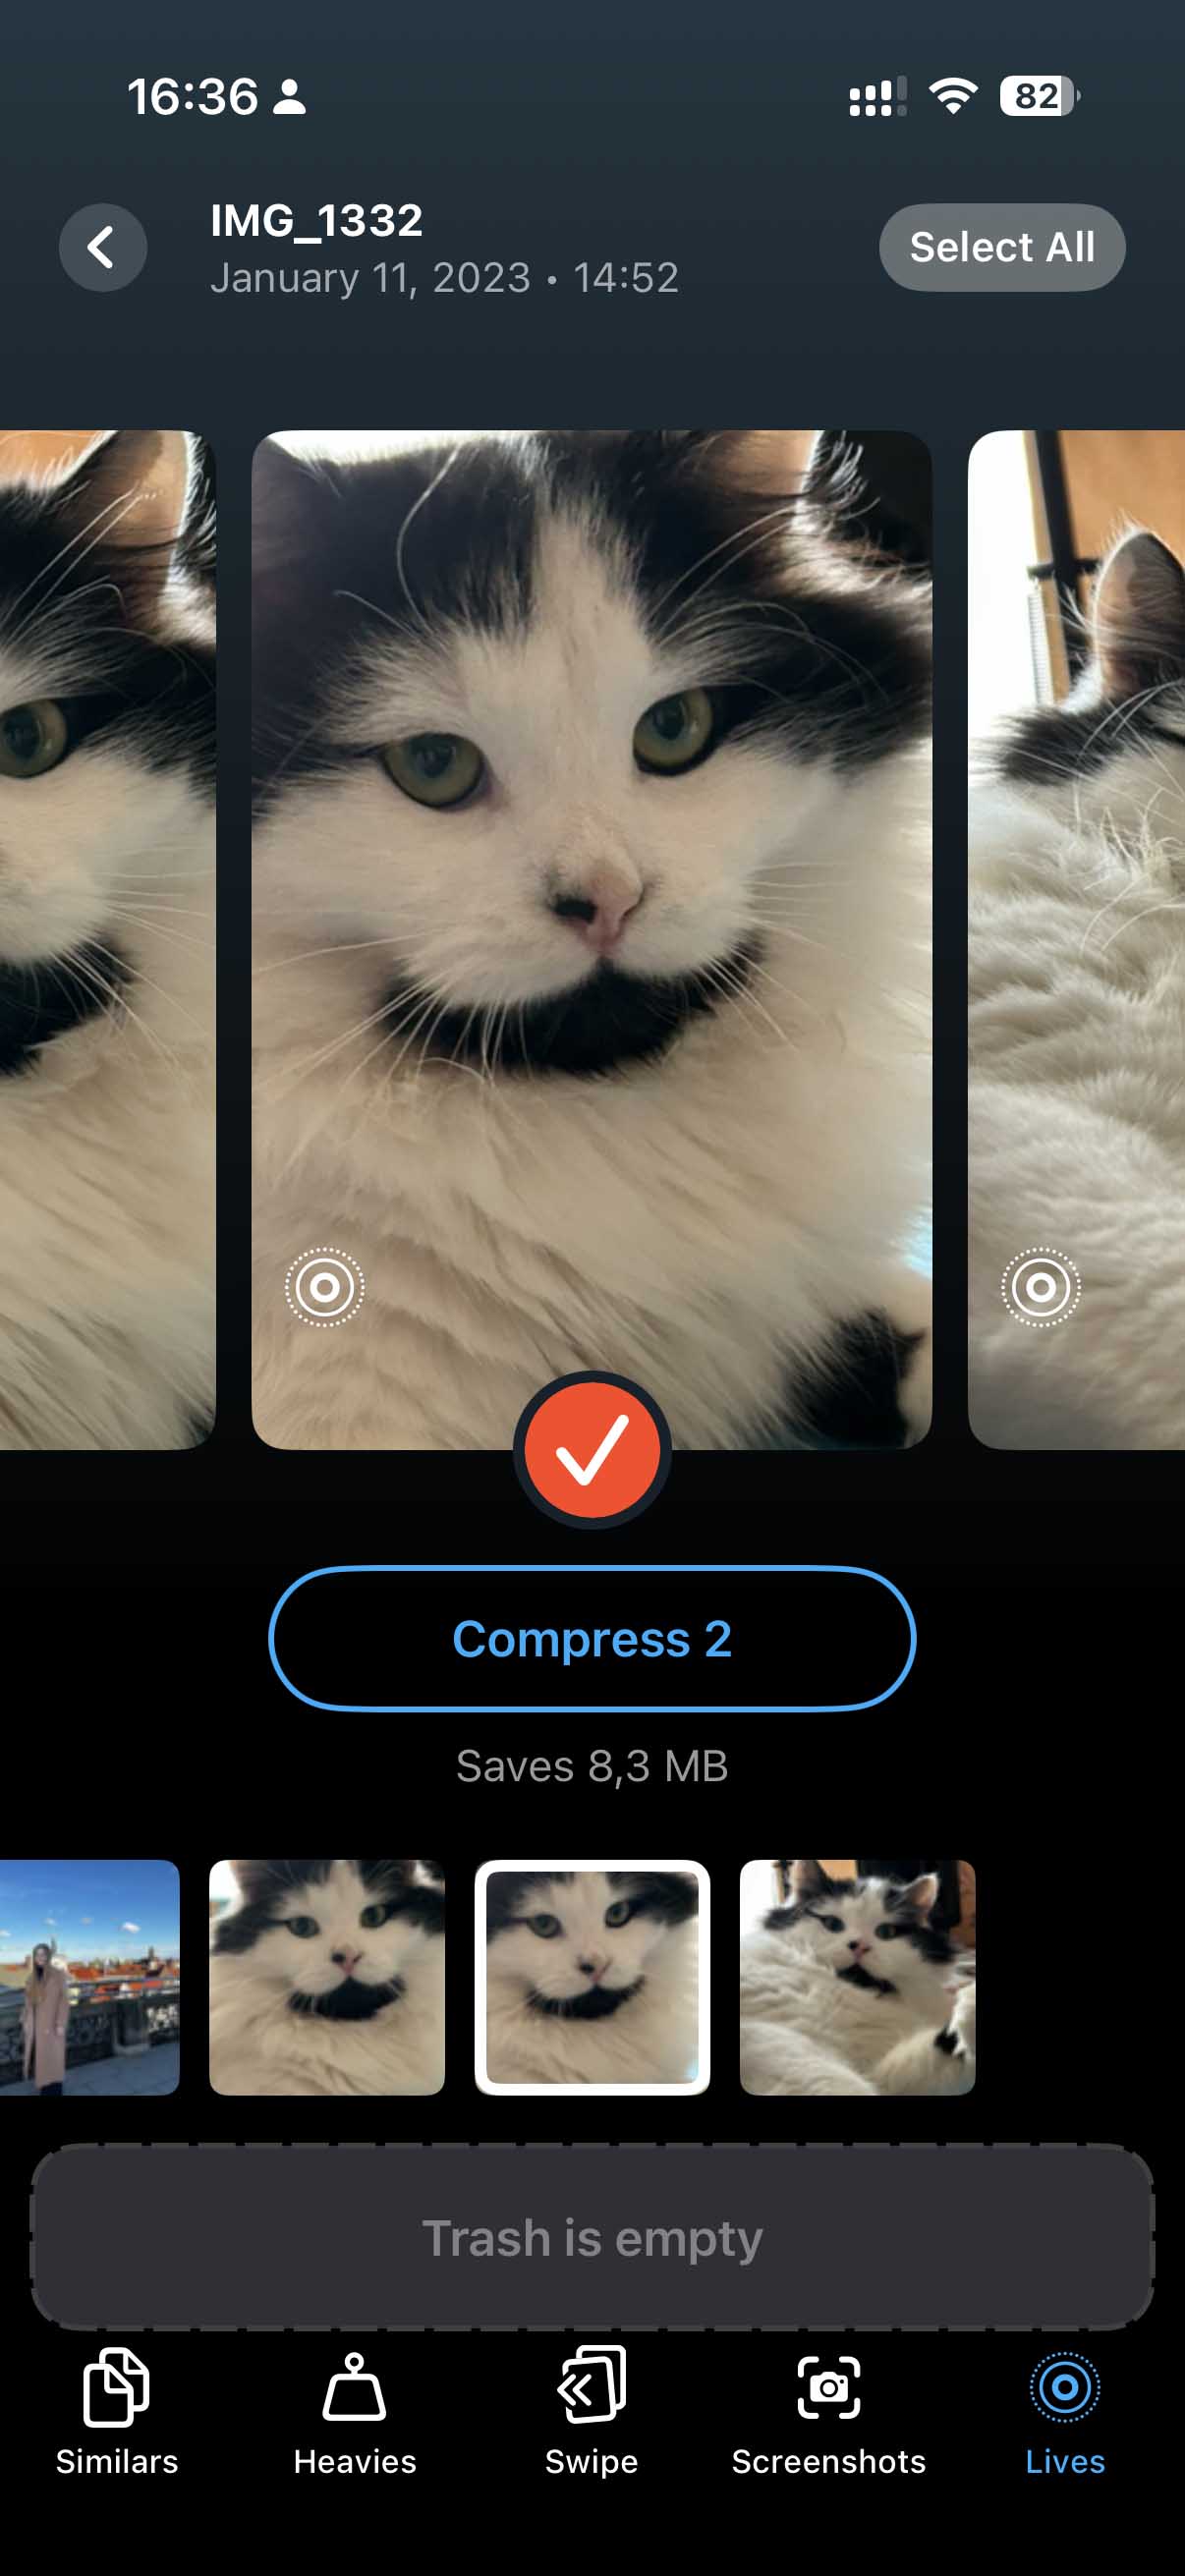
- Tap on the Lives tab at the bottom of the screen.
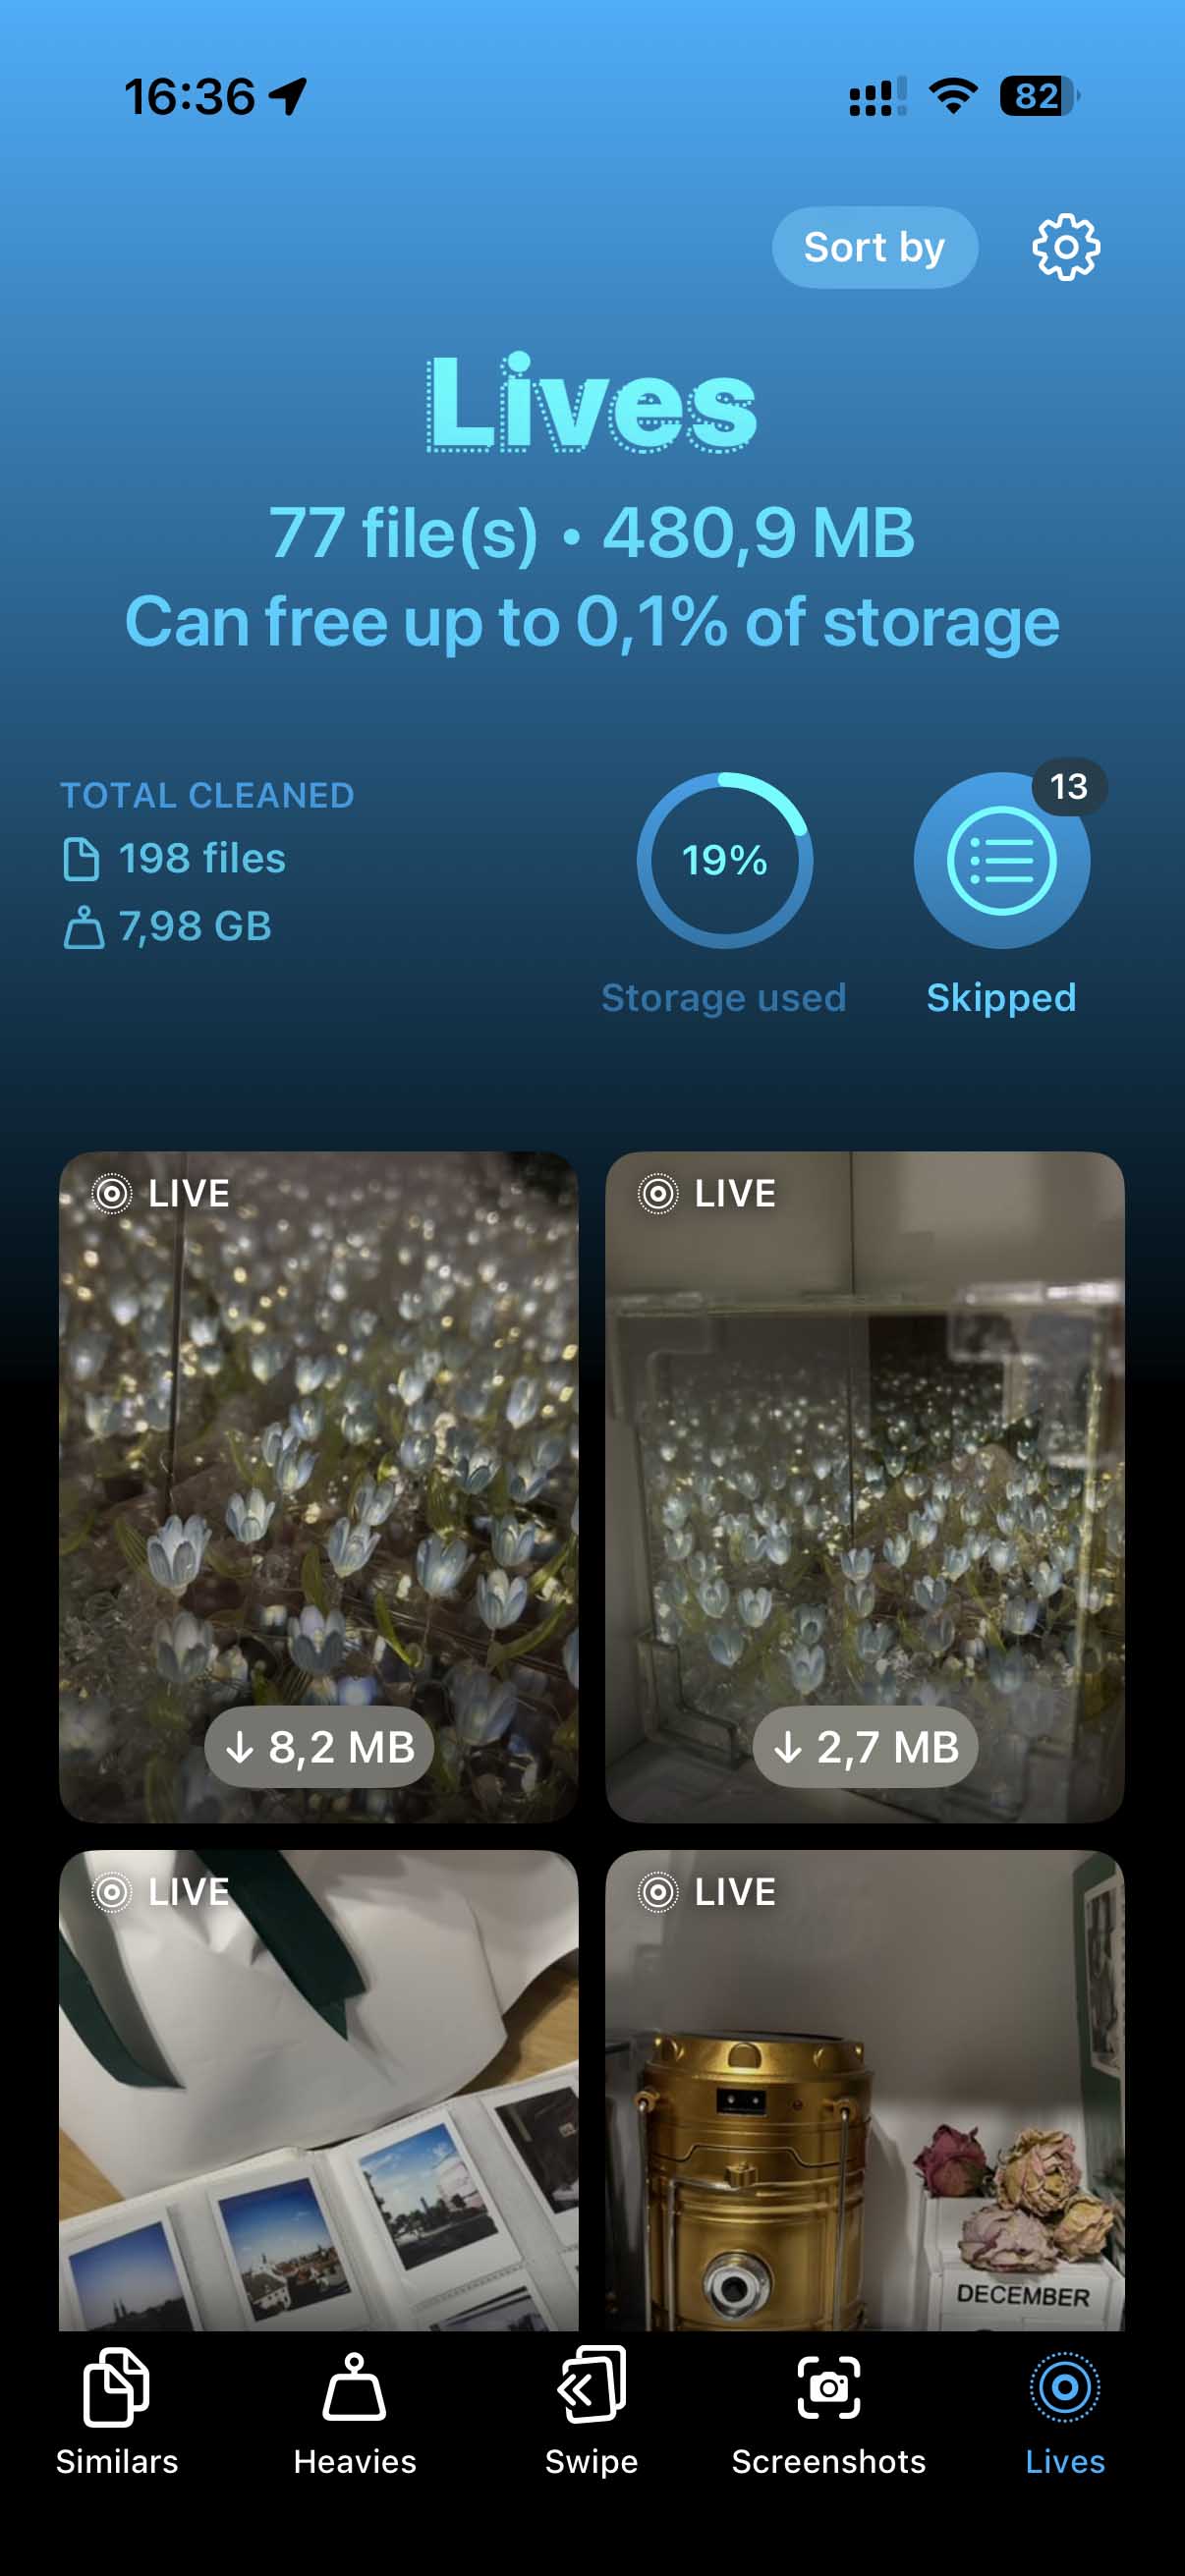
- You’ll see all your Live Photos displayed with their file sizes. Open the first one.
- Select the Live Photos you want to compress (or tap Select All).
- Tap the Compress button and choose if you want to keep the original in Trash or delete it permanently.
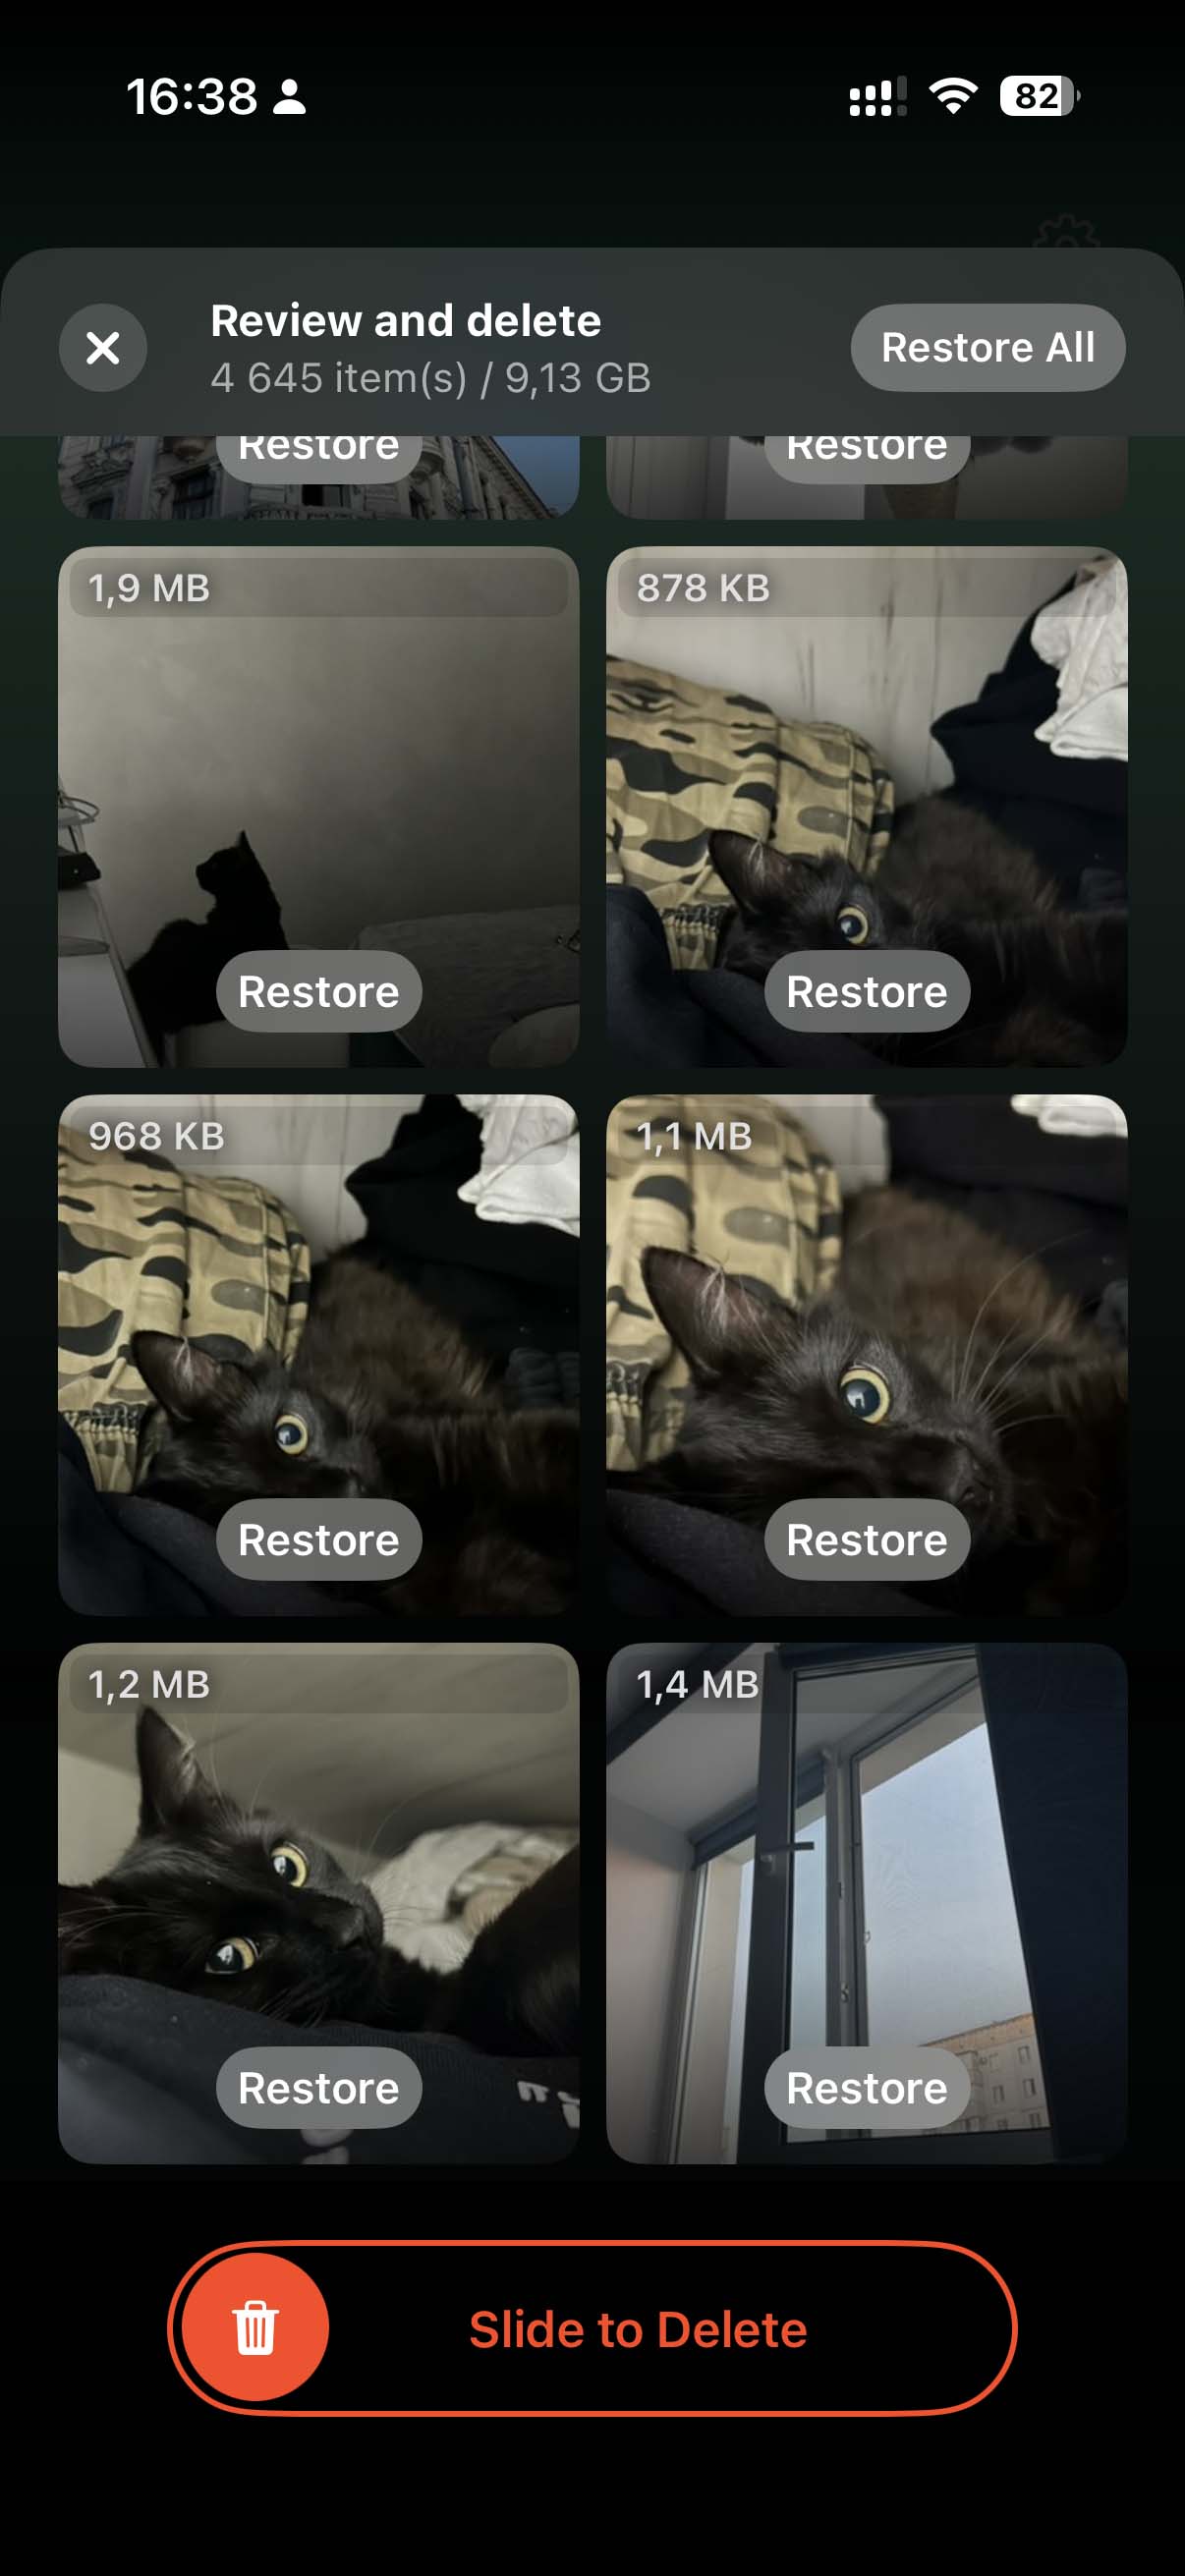
Second, Clever Cleaner helps solve a common problem that occurs when making photo files smaller on iPhone – the proliferation of duplicate photos. After compressing photos multiple times, you might end up with several versions of the same picture. The app’s duplicate and similar image finder feature identifies these duplicates and helps you quickly remove them, further freeing up storage space.
To identify and remove duplicate photos from your library:
- Open Clever Cleaner and tap on the Similars tab.
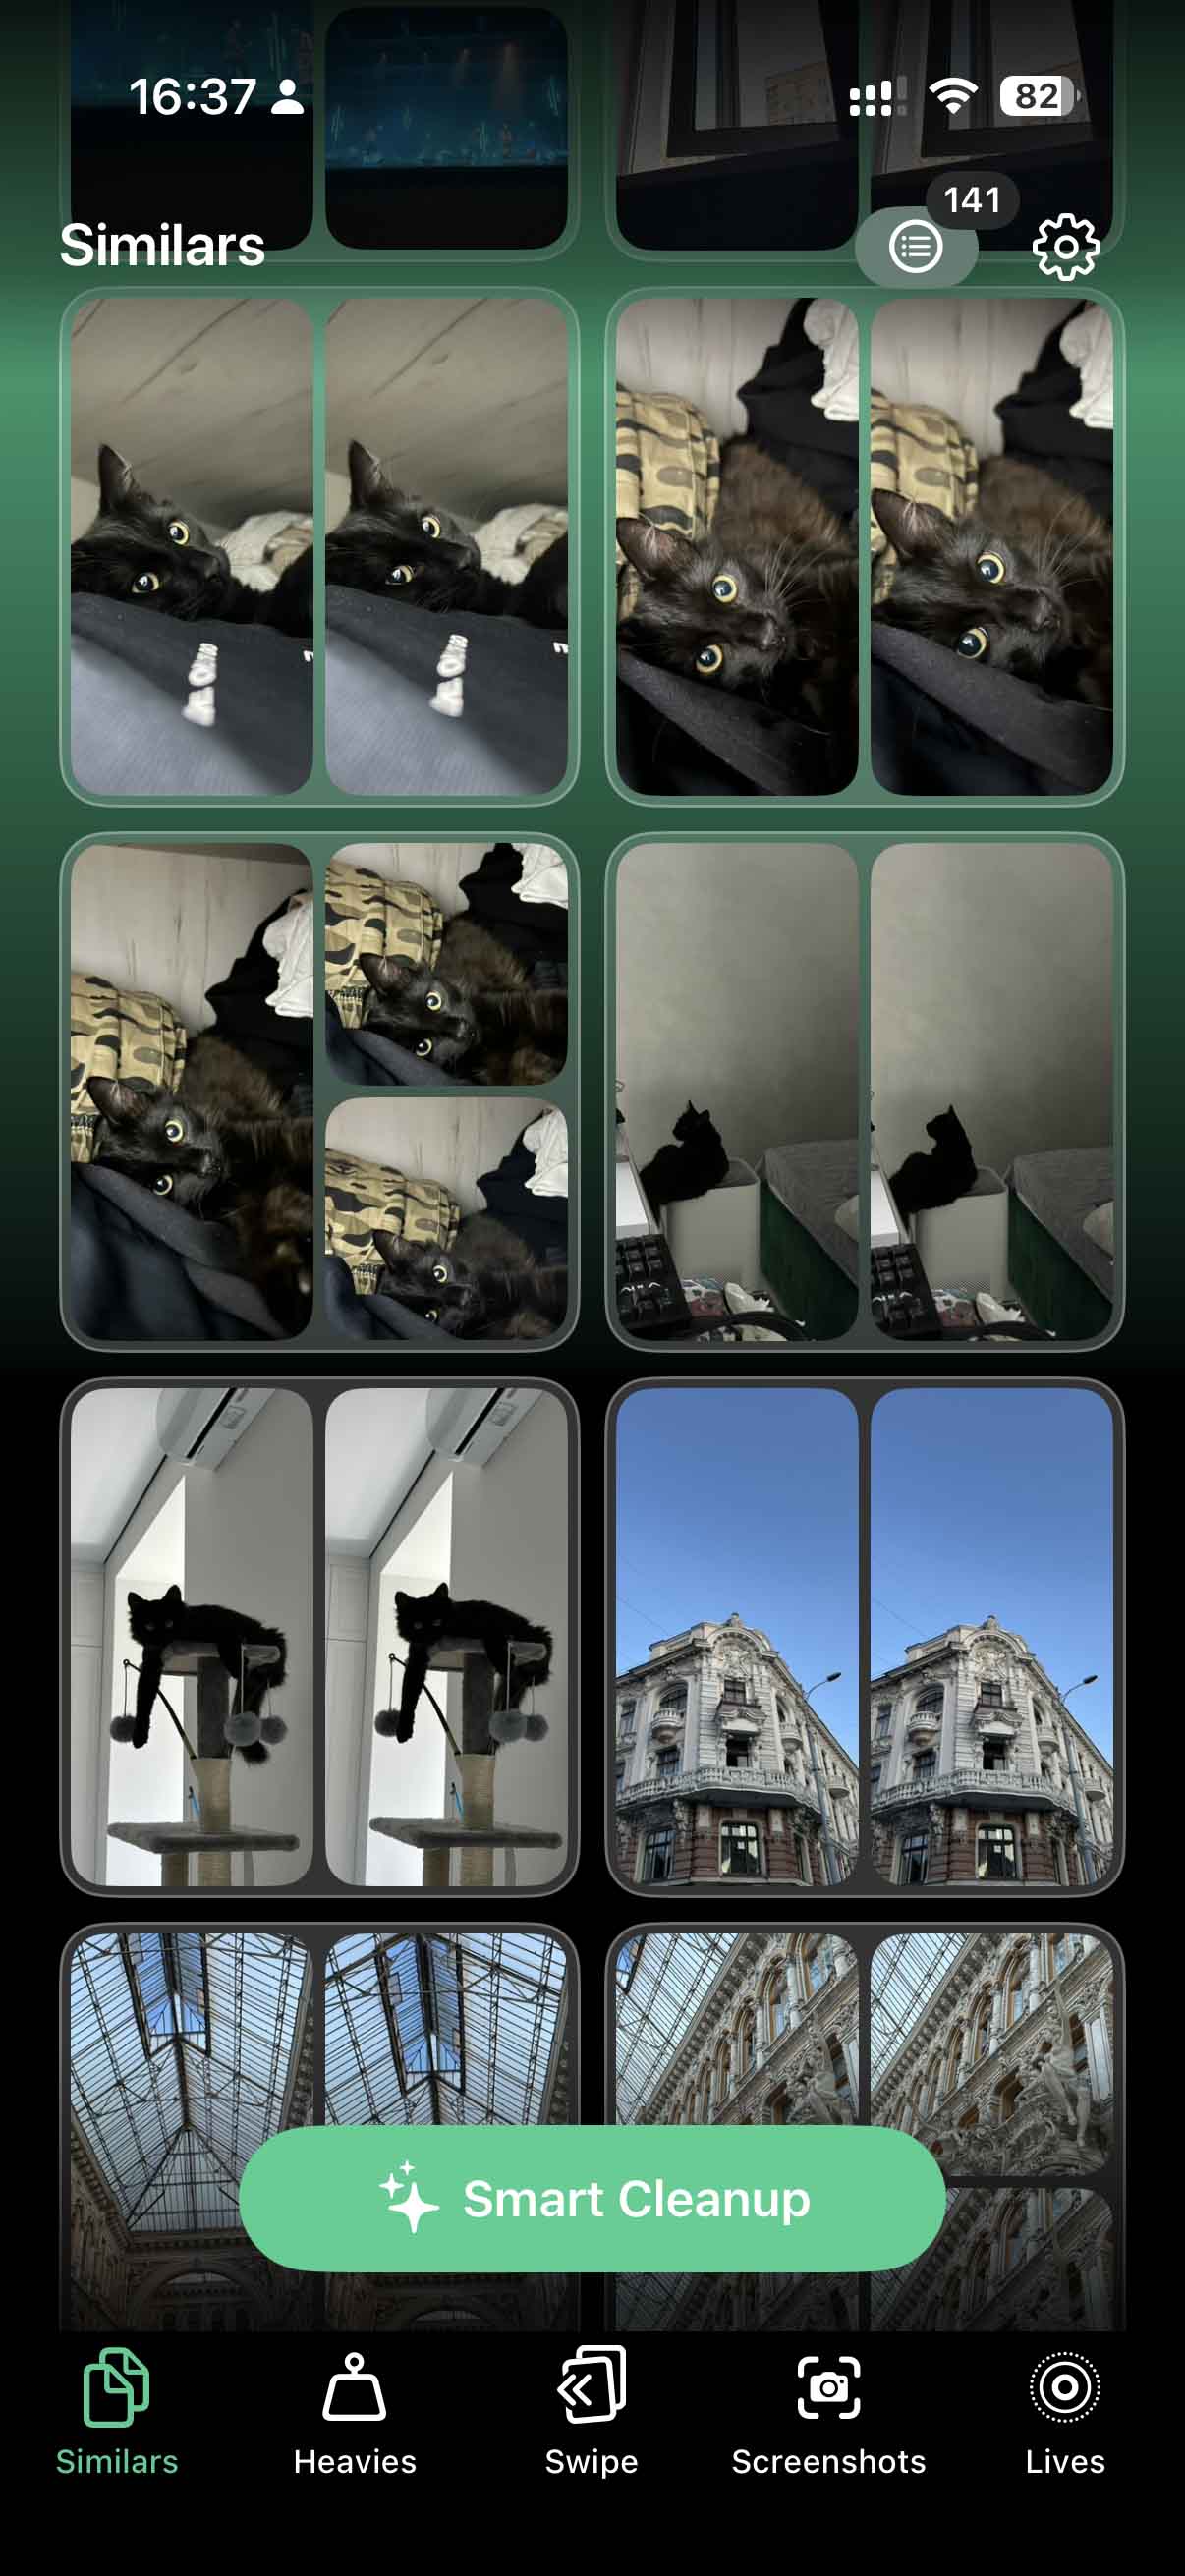
- For automatic cleanup, tap Smart Cleanup – the app will select what it determines to be the best photo in each group and mark the rest for deletion. Alternatively, you can process individual groups of similar images one at a time.
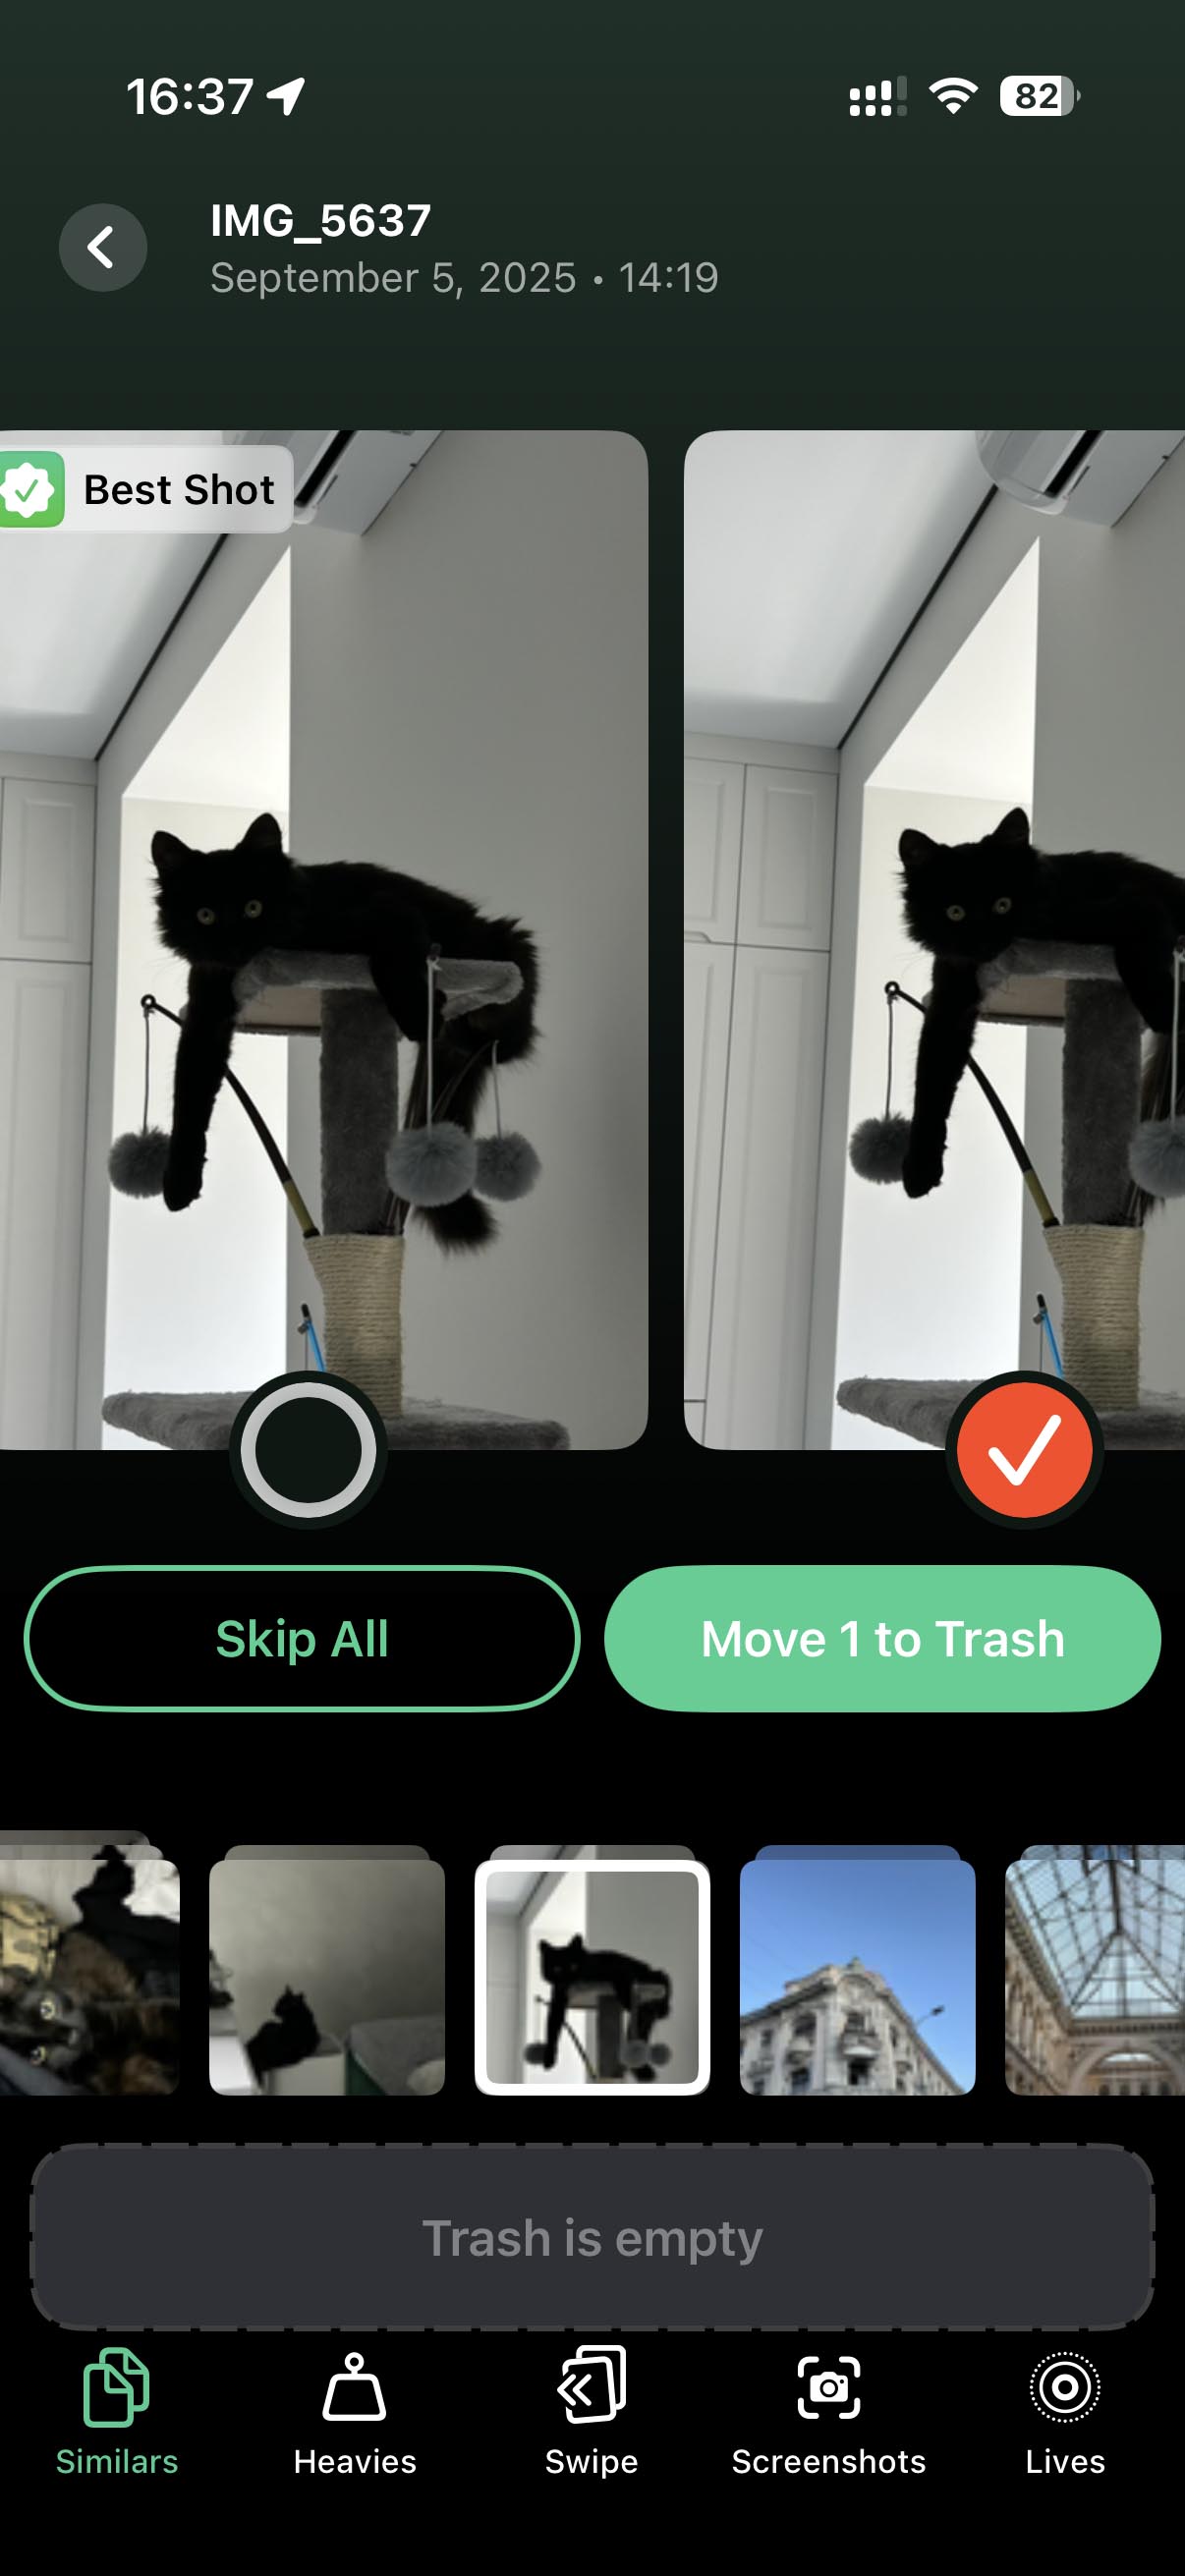
- Wait a very short while for the cleanup process to finish.
- Use the Slide to Delete button to delete the automatically selected similar photos.
Finally, it’s worth mentioning that Clever Cleaner can additionally instantly locate the largest media files on your device and simplify the removal of unwanted screenshots. All processing in the app happens locally on your device, and all functionality is currently offered for free.
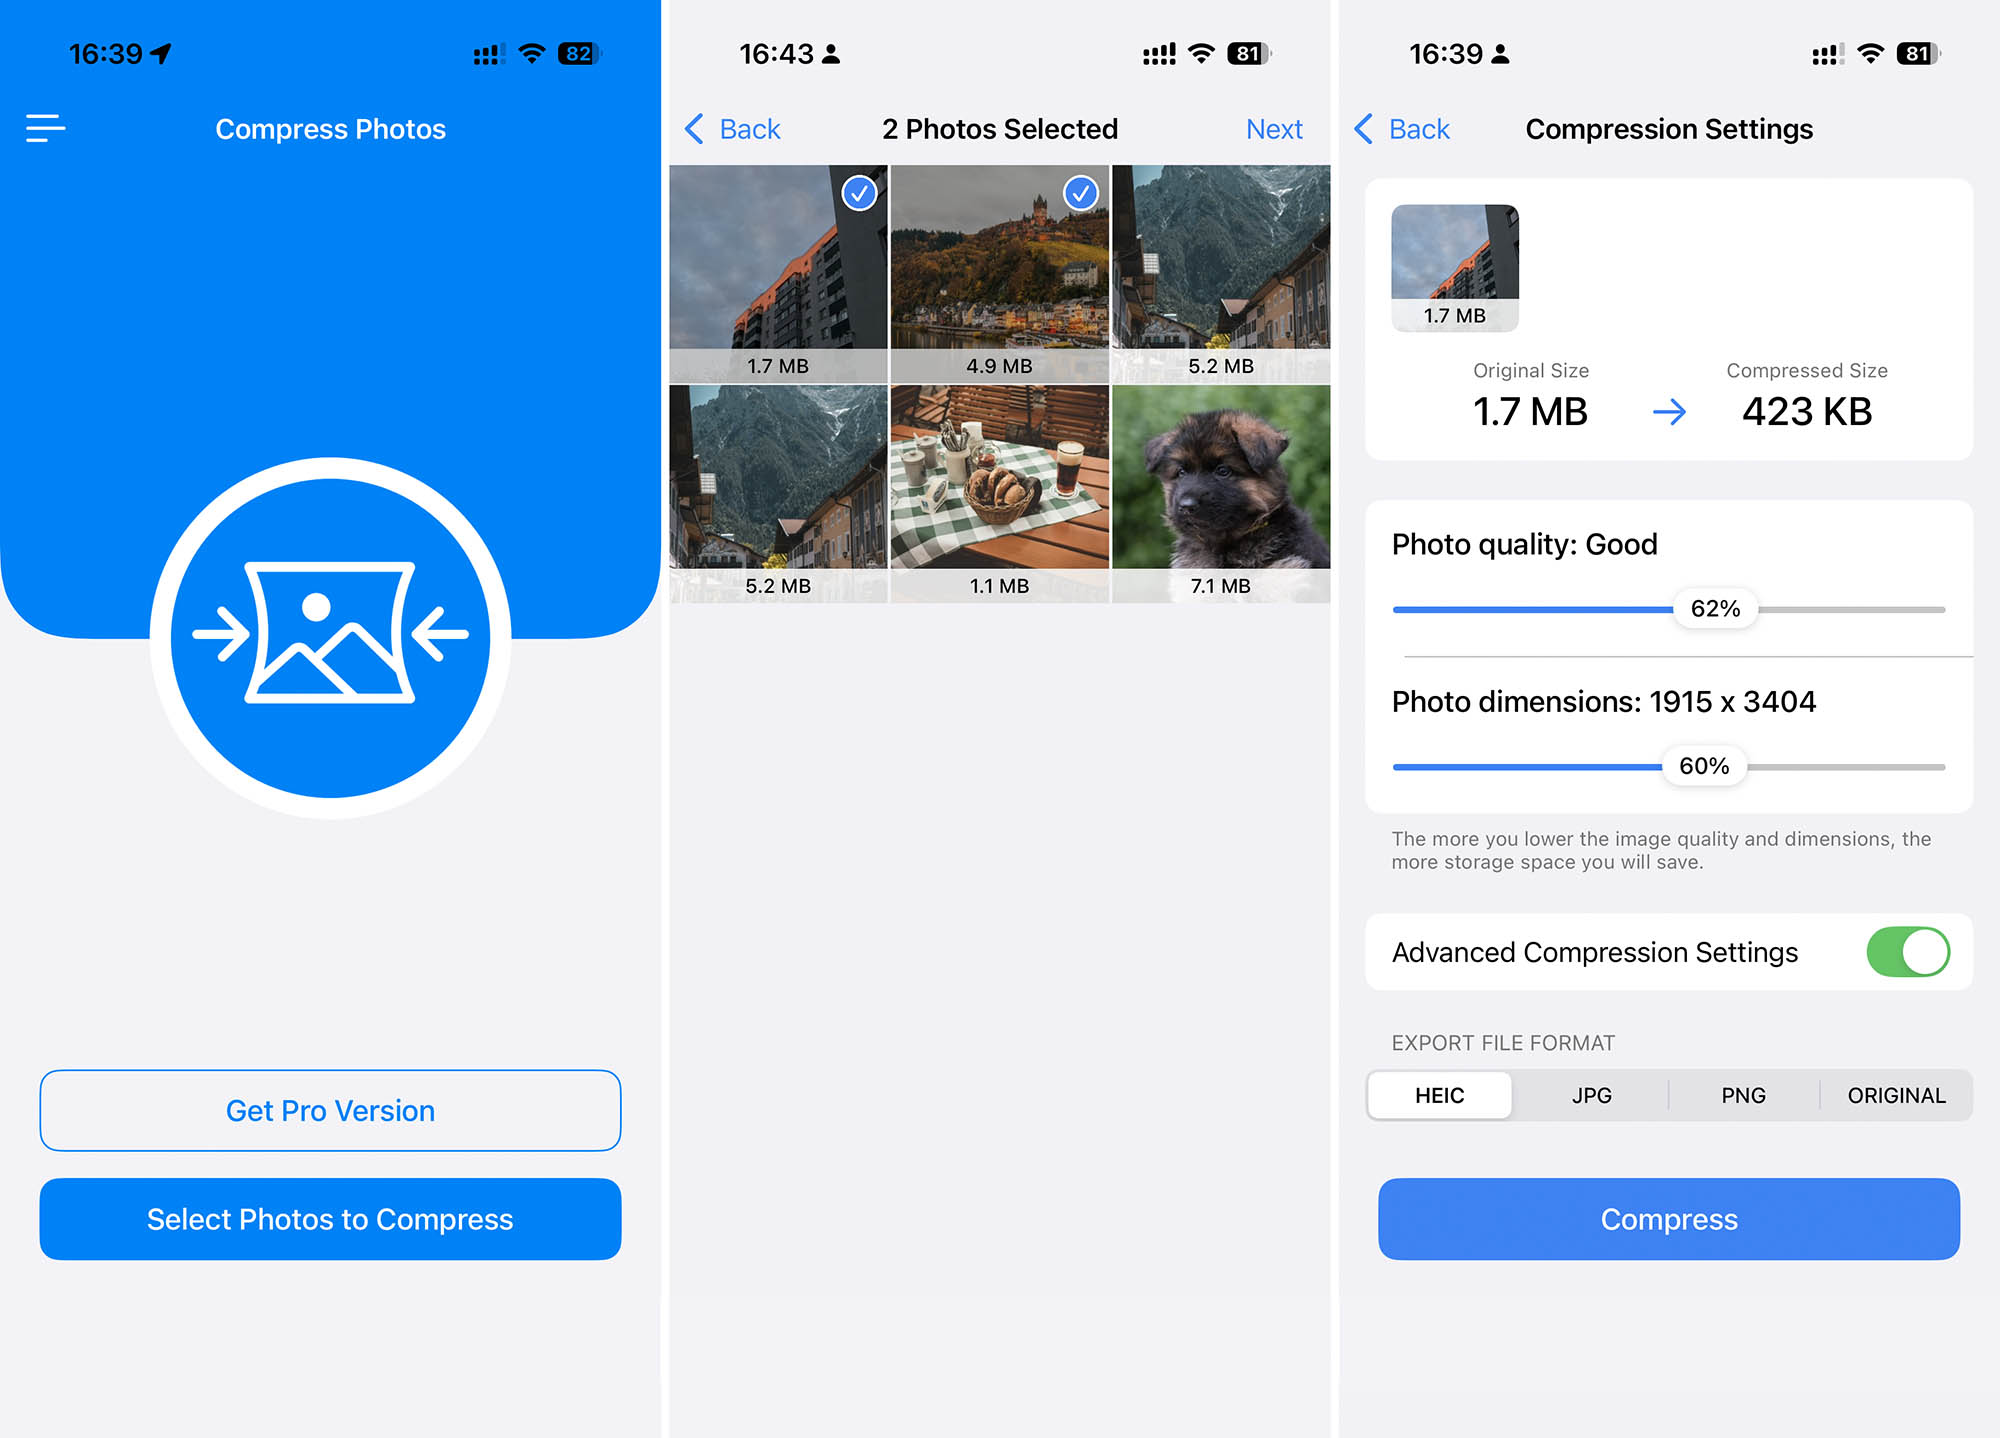
Compress Photos & Pictures
- Price: Freemium (Pro version starts at $5.99 a month)
- App Store rating: 4.7 stars out of 5
- URL: https://apps.apple.com/us/app/compress-photos-pictures/id1449007043
If you’re looking to reduce photo file size on iPhone while maintaining quality, then Compress Photos & Pictures can deliver great results thanks to its intelligent compression engine that promises to shrink images by up to 90% with minimal quality loss.
You can choose between two compression settings, with the developer recommending 80% as the sweet spot for most users. In my testing on my iPhone 13, this setting consistently produced files that were significantly smaller while remaining visually indistinguishable from the originals.
The free version allows you to compress up to three photos at once, which is sufficient for occasional use. However, if you’re serious about making photo files smaller on iPhone in bulk, the Pro version removes this limitation and gets rid of ads.
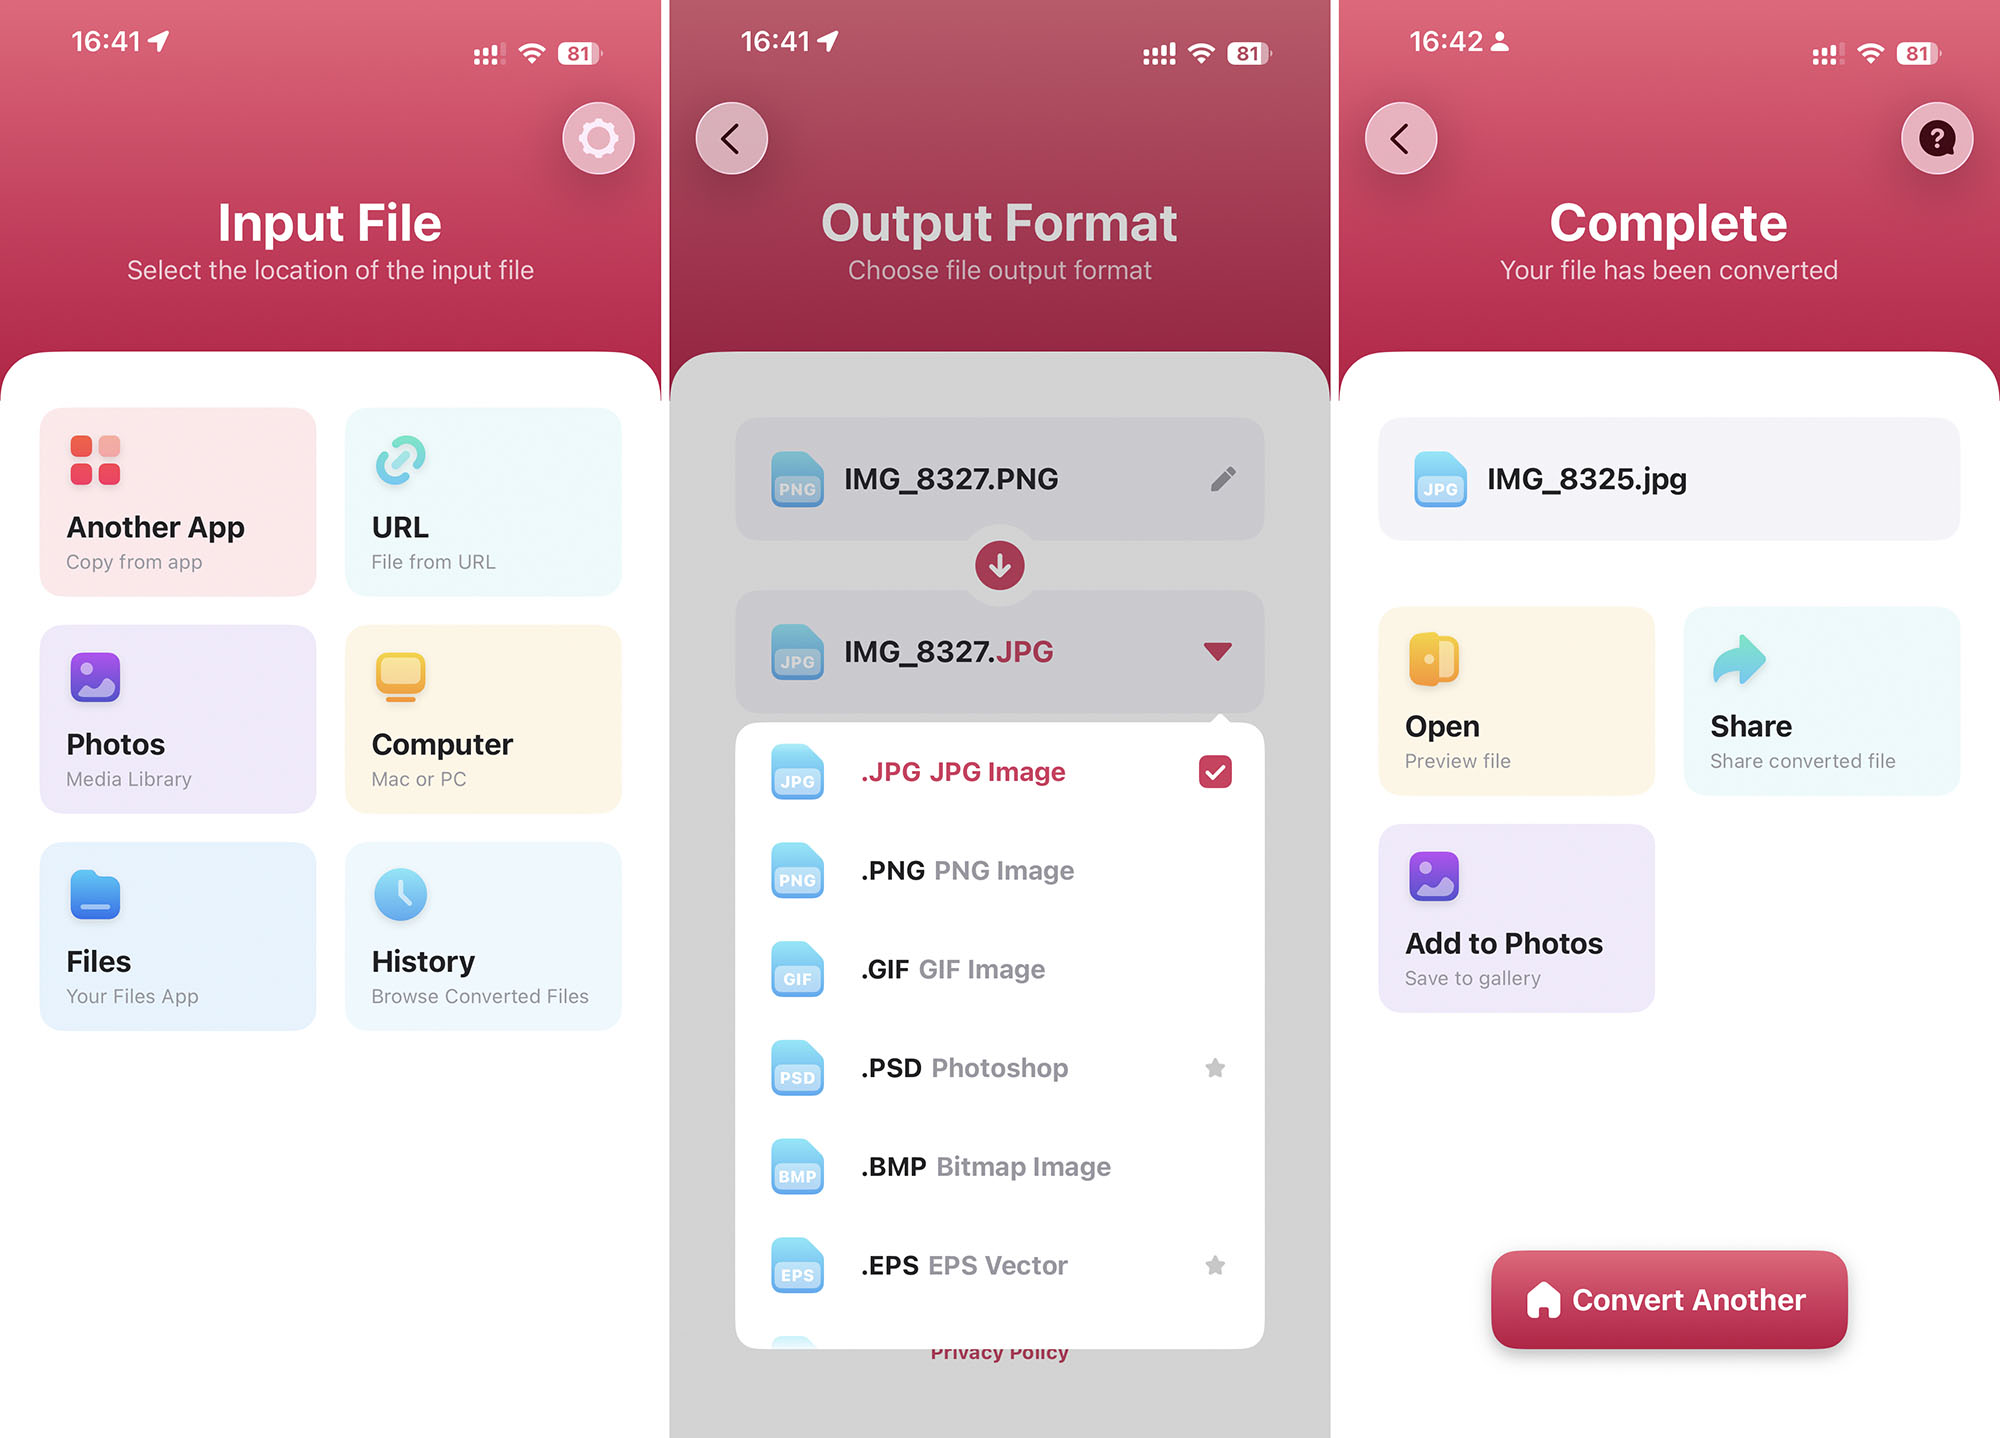
The Image Converter
- Price: Freemium (Pro version starts at $2.99 a month)
- App Store rating: 4.6 stars out of 5
- URL: https://apps.apple.com/us/app/the-image-converter/id860858310
The Image Converter supports an extensive range of file formats – from common ones like JPG and PNG to more specialized formats like SVG, PSD, and even WEBP.
The workflow is straightforward: select your photo, choose your desired output format, and convert. Most conversions are nearly instant, and you can immediately save, share via AirDrop, or open the converted image in another app. The built-in file browser also lets you access your previously converted files without digging through your photo library.
Just know that most conversions happen on secure cloud servers (requiring an internet connection), so this isn’t a privacy-friendly solution. That said, the developers are working on adding local processing options, so future versions of this app might do better in this regard.
Method 3: Use Online Services for Image Compression
- ✅ Pros: Free options available; some can process multiple files simultaneously; no need to install apps
- ⛔️ Cons: Requires internet connection; potential privacy concerns with uploading personal photos to external servers
If you prefer not to install third-party apps but still want more control than iOS’s built-in options provide, online image compression services can be an excellent middle ground to lower quality and sometimes even resolution of photos on iPhone.
My personal favorite among these services is Squoosh.app because it’s easy to use, makes photos significantly smaller, and processes them locally on my own device rather than an external server (the app’s code does live on a remote server, though, so internet connection is required).
Using Squoosh on your iPhone is straightforward:
- Open Safari or your preferred browser and navigate to Squoosh.app.
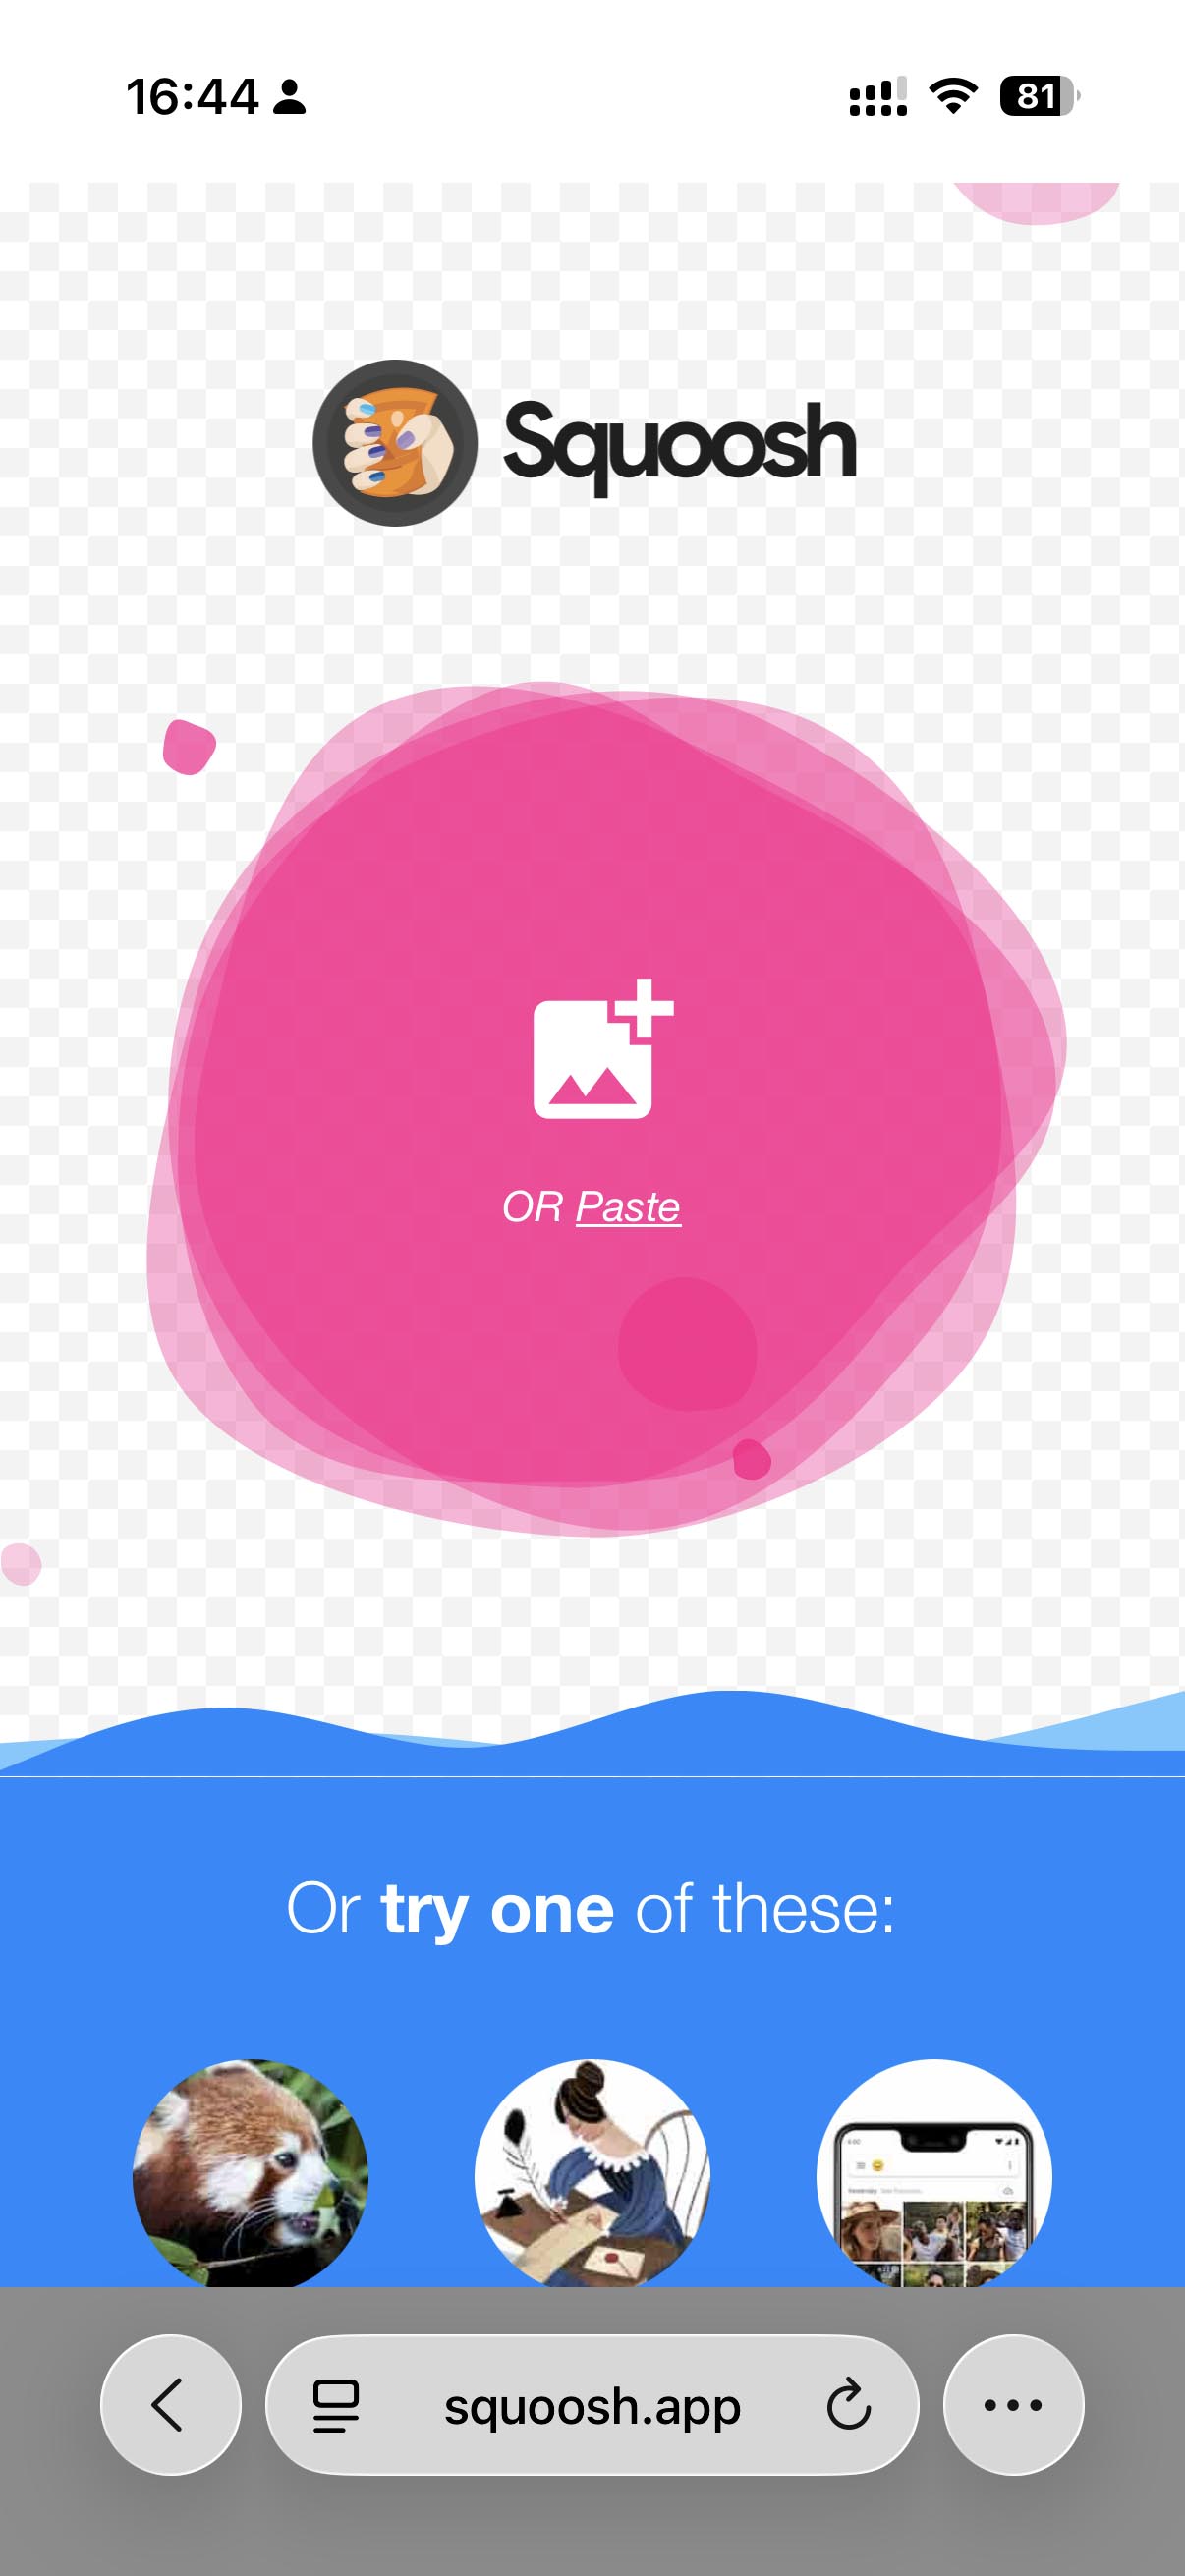
- Tap the image icon and select the photo you want to compress.
- Choose your preferred compression method (MozJPEG works well for photos).
- Adjust the quality slider – you’ll see a real-time preview showing the original vs. compressed version.
- Optionally, you can also resize the image or reduce the color palette for even smaller file sizes.

- Tap the Save button to download the compressed photo to your device.
There are other reliable online compression services too, such as TinyPNG and Compressor.io, but in my experience, none match Squoosh’s combination of local processing (for privacy) and advanced compression settings.
Method 4: Compress Photos With the Mail App
- ✅ Pros: Easy to use, built into iOS, no need for additional tools
- ⛔️ Cons: Limited compression options; requires extra steps to save compressed versions back to your Photos library
One app that comes pre-installed on every Apple device and can be used to lower the quality of pictures is the Mail app and its option to compress images when you attach them to an email message. On iPhone, the Mail app doesn’t always offer image size adjustment and may send the photo in its original size, so I suggest you use the macOS version.
Here’s what you need to do to make photos smaller using the Mail app:
- Open the Mail app and create a new email (you can address it to yourself).
- Tap in the body of the email to bring up the formatting menu.
- Tap the attachment icon (it looks like a paperclip).

- Select the photo(s) you want to compress.
- If you want to, you can click the Image Size dropdown and resize the image.
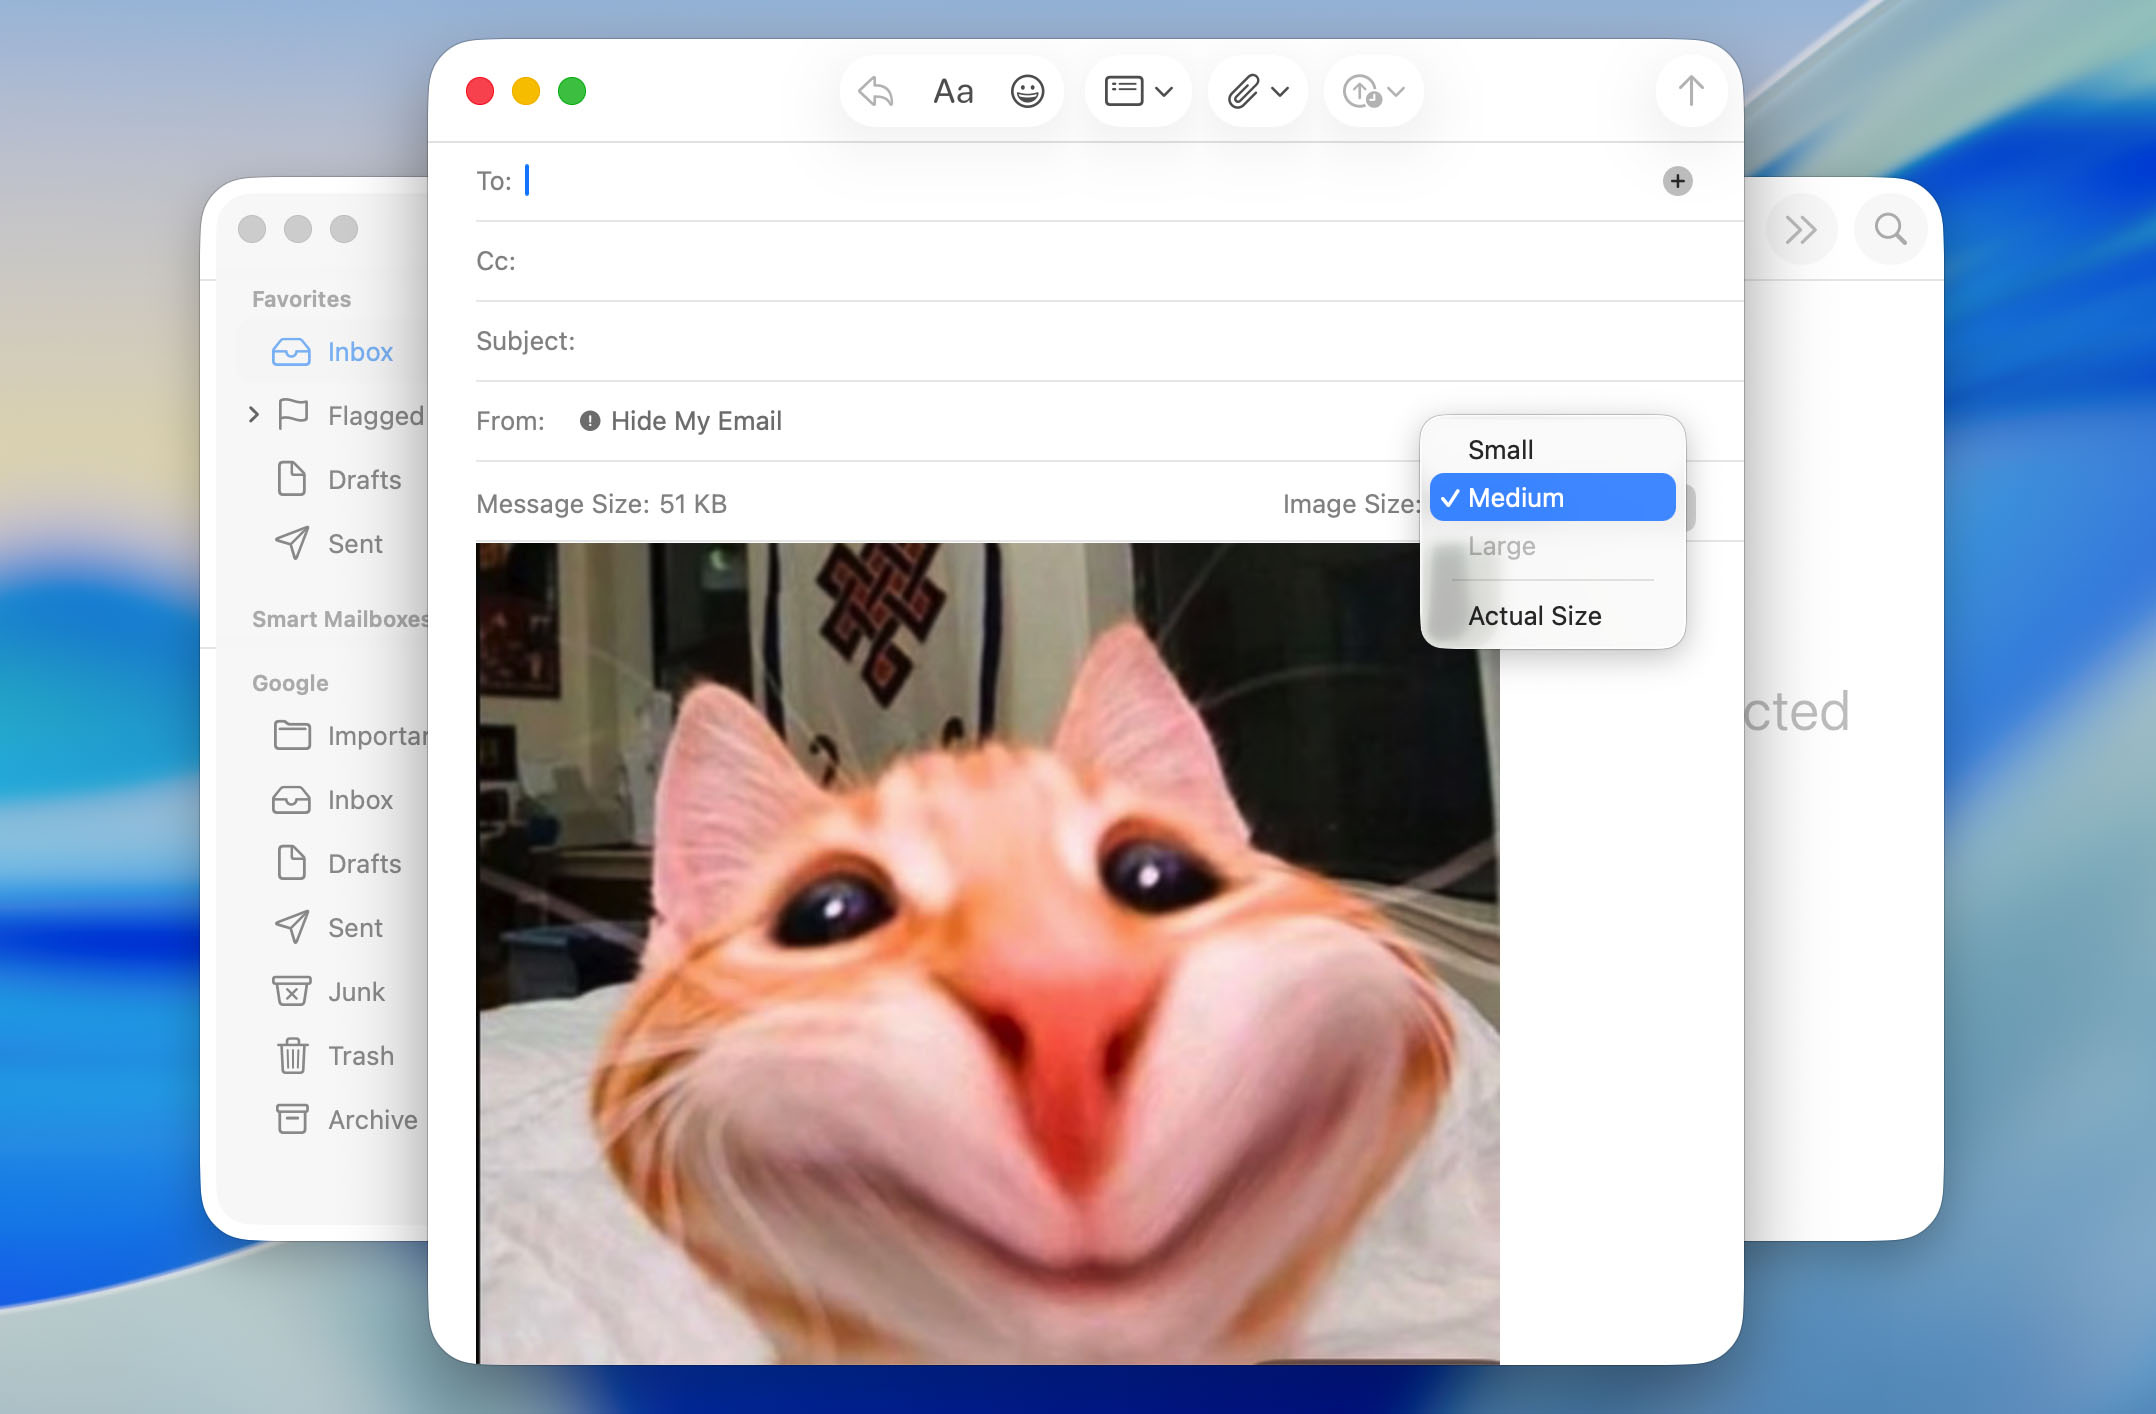
- Send the email to yourself.
- Open the received image, tap and hold on the compressed image, and save it back to your Photos.
While this isn’t the most efficient way to change the file size of a photo on an iPhone, it’s the sort of power-user hack that’s good to know about because you never know when you might need it.
Method 5: Compress Photos via Instant Messaging (WhatsApp, Telegram, etc.)
- ✅ Pros: Quick and convenient; no additional apps needed if you already use messaging apps
- ⛔️ Cons: Unpredictable compression levels; potentially significant quality loss
One hack to quickly reduce photo file size on iPhone that many people don’t think of is to use the automatic compression built into popular messaging apps, such as WhatsApp, Telegram, and Facebook Messenger (apps you probably already have installed on your device anyway).
The steps you need to follow to compress photos via an instant messaging app are more or less the same regardless of which app you decide to use:
- Open your preferred messaging app.
- Create a chat with yourself or use an existing one (Telegram has the Saved Messages chat, for example).
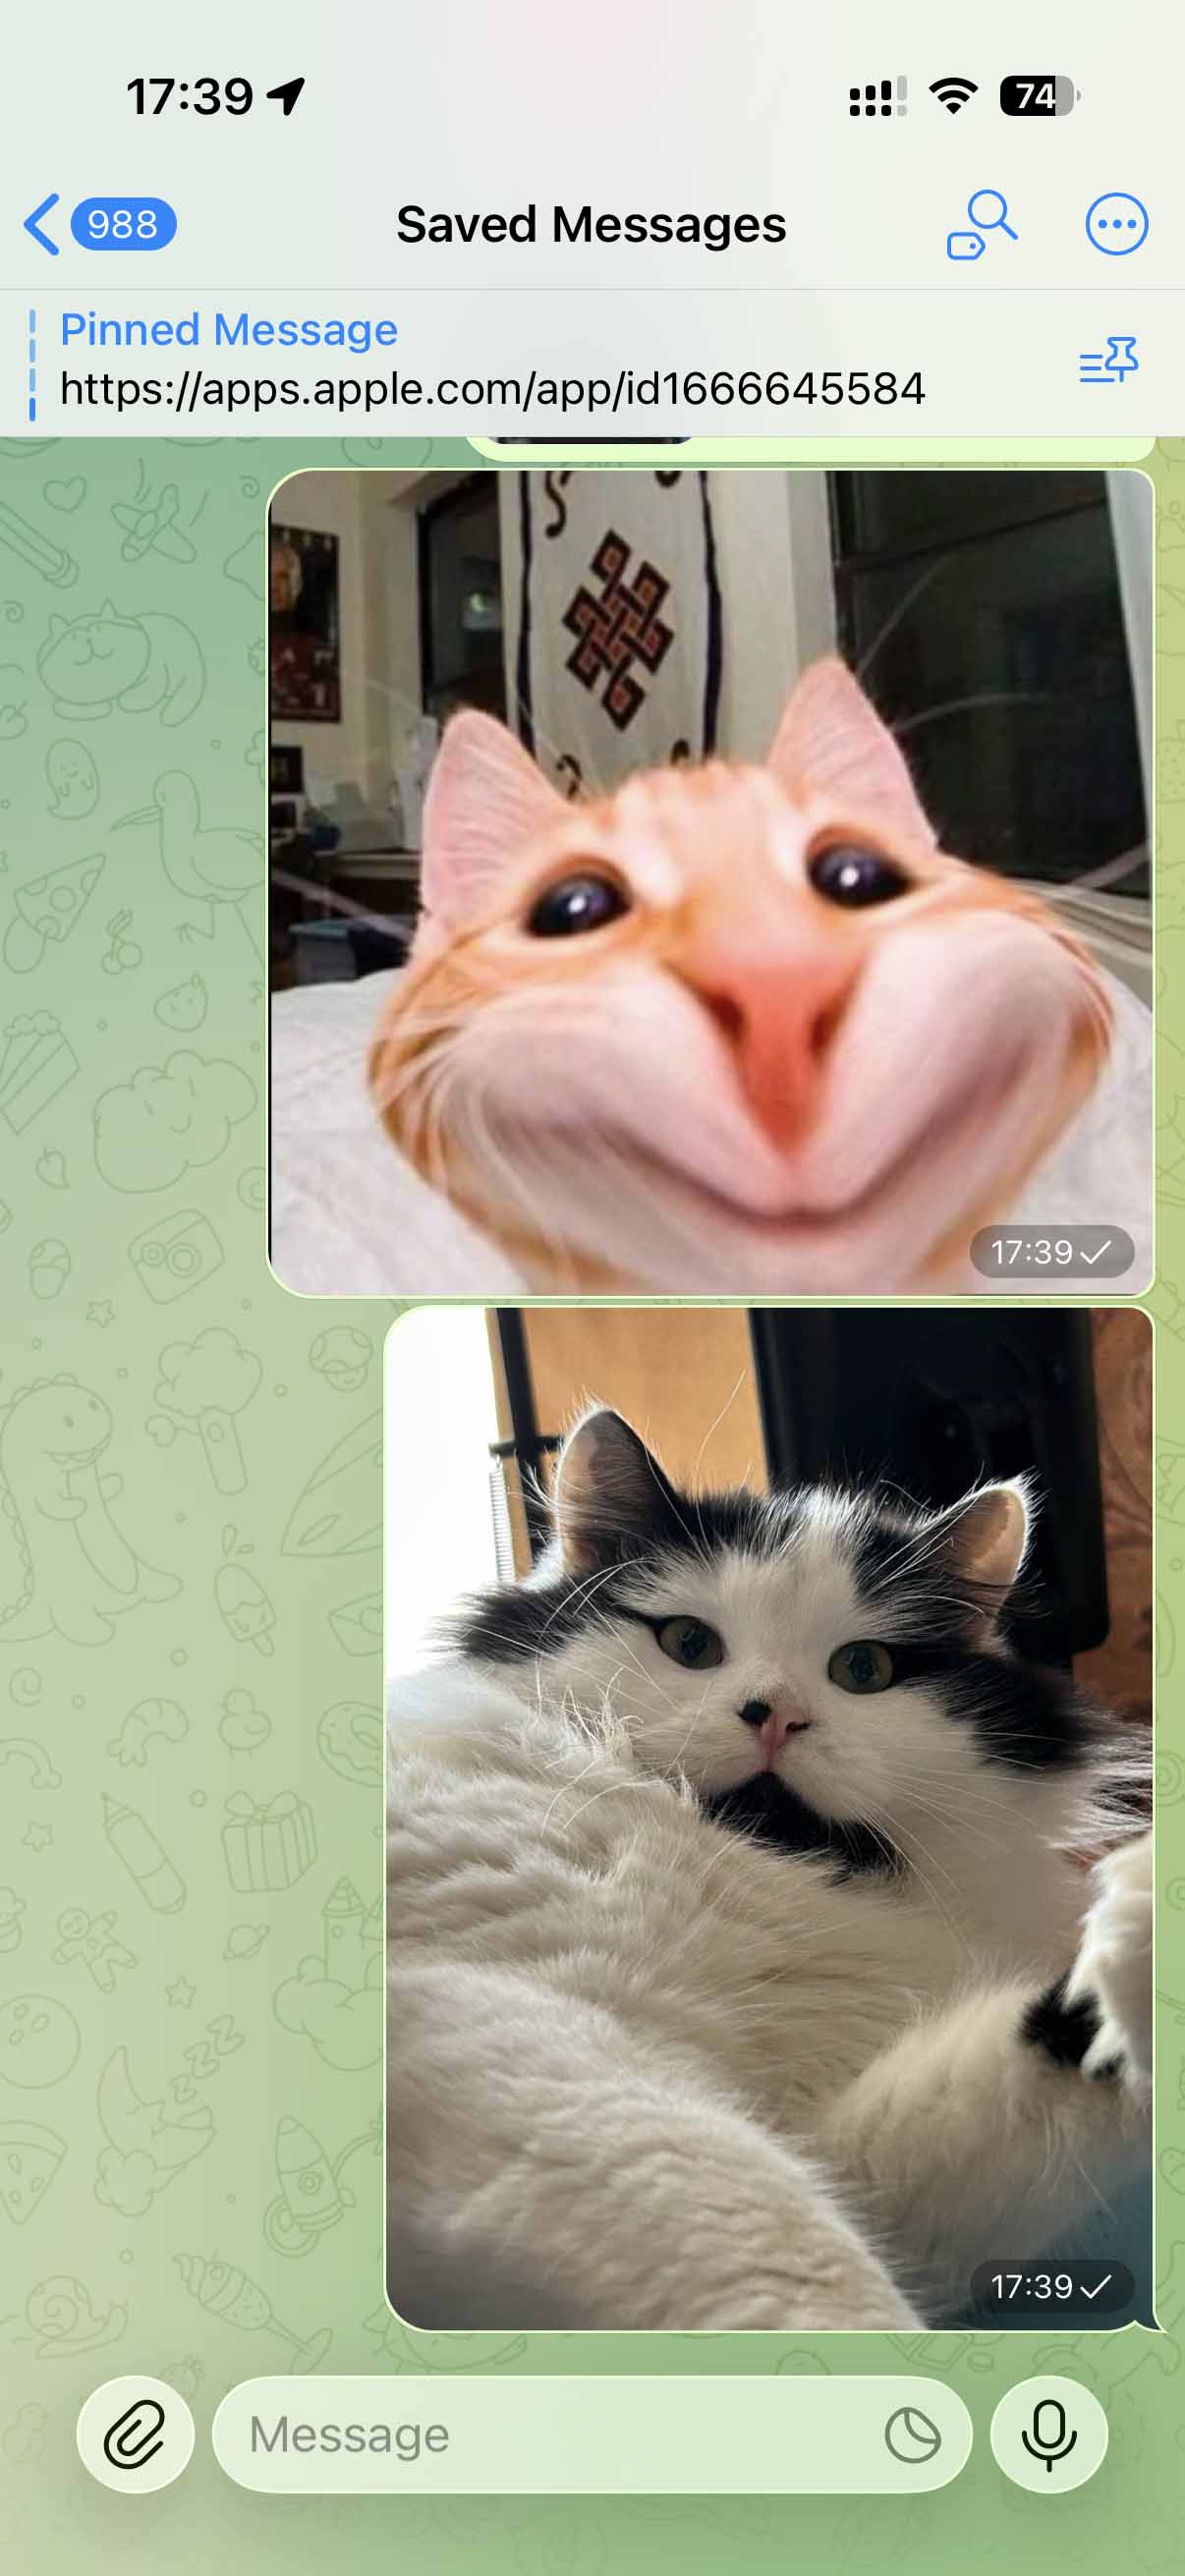
- Select the photos you want to compress and send them to yourself.
You can then download the compressed versions to your Photos library or share them directly from inside the instant messenger. Just know that different messaging platforms apply different levels of compression. For example, WhatsApp tends to be more aggressive with compression, while Telegram avoids making images look too bad.
How to Prevent or Manage Large Photos Going Forward
The methods I’ve described so far help you reduce photo file size on iPhone after you’ve already taken them, but wouldn’t it be better to prevent storage issues from happening in the first place? The following techniques help you manage your device storage more efficiently so that future photos take up less space from the moment you capture them.
Method 1: Change Photo Type from JPEG to HEIF
- ✅ Pros: Reduces file size by up to 50% with minimal quality loss; natively supported by Apple
- ⛔️ Cons: Compatibility issues with some non-Apple devices; might require conversion when sharing
One of the simplest but also most effective ways to reduce photo file size on iPhone without any visible quality loss is to switch from the traditional JPEG format to HEIF (High Efficiency Image Format).
The HEIF format was developed by the Moving Picture Experts Group (MPEG), and Apple became its first major adopter with the release of iOS 11 in 2017. On modern iPhones, HEIF is actually the default photo file format, but it’s still best to check if you’re taking advantage of it just so you’re certain.
Here’s how to check if your iPhone is using the HEIF format:
- Open the Settings app on your iPhone.
- Scroll down and tap on Camera.
- Tap on Formats at the top of the screen.
- Select High Efficiency instead of Most Compatible.

From now on, all new photos you take will be saved in the HEIF format (your existing photos won’t be converted), which will make photo files smaller on iPhone automatically.
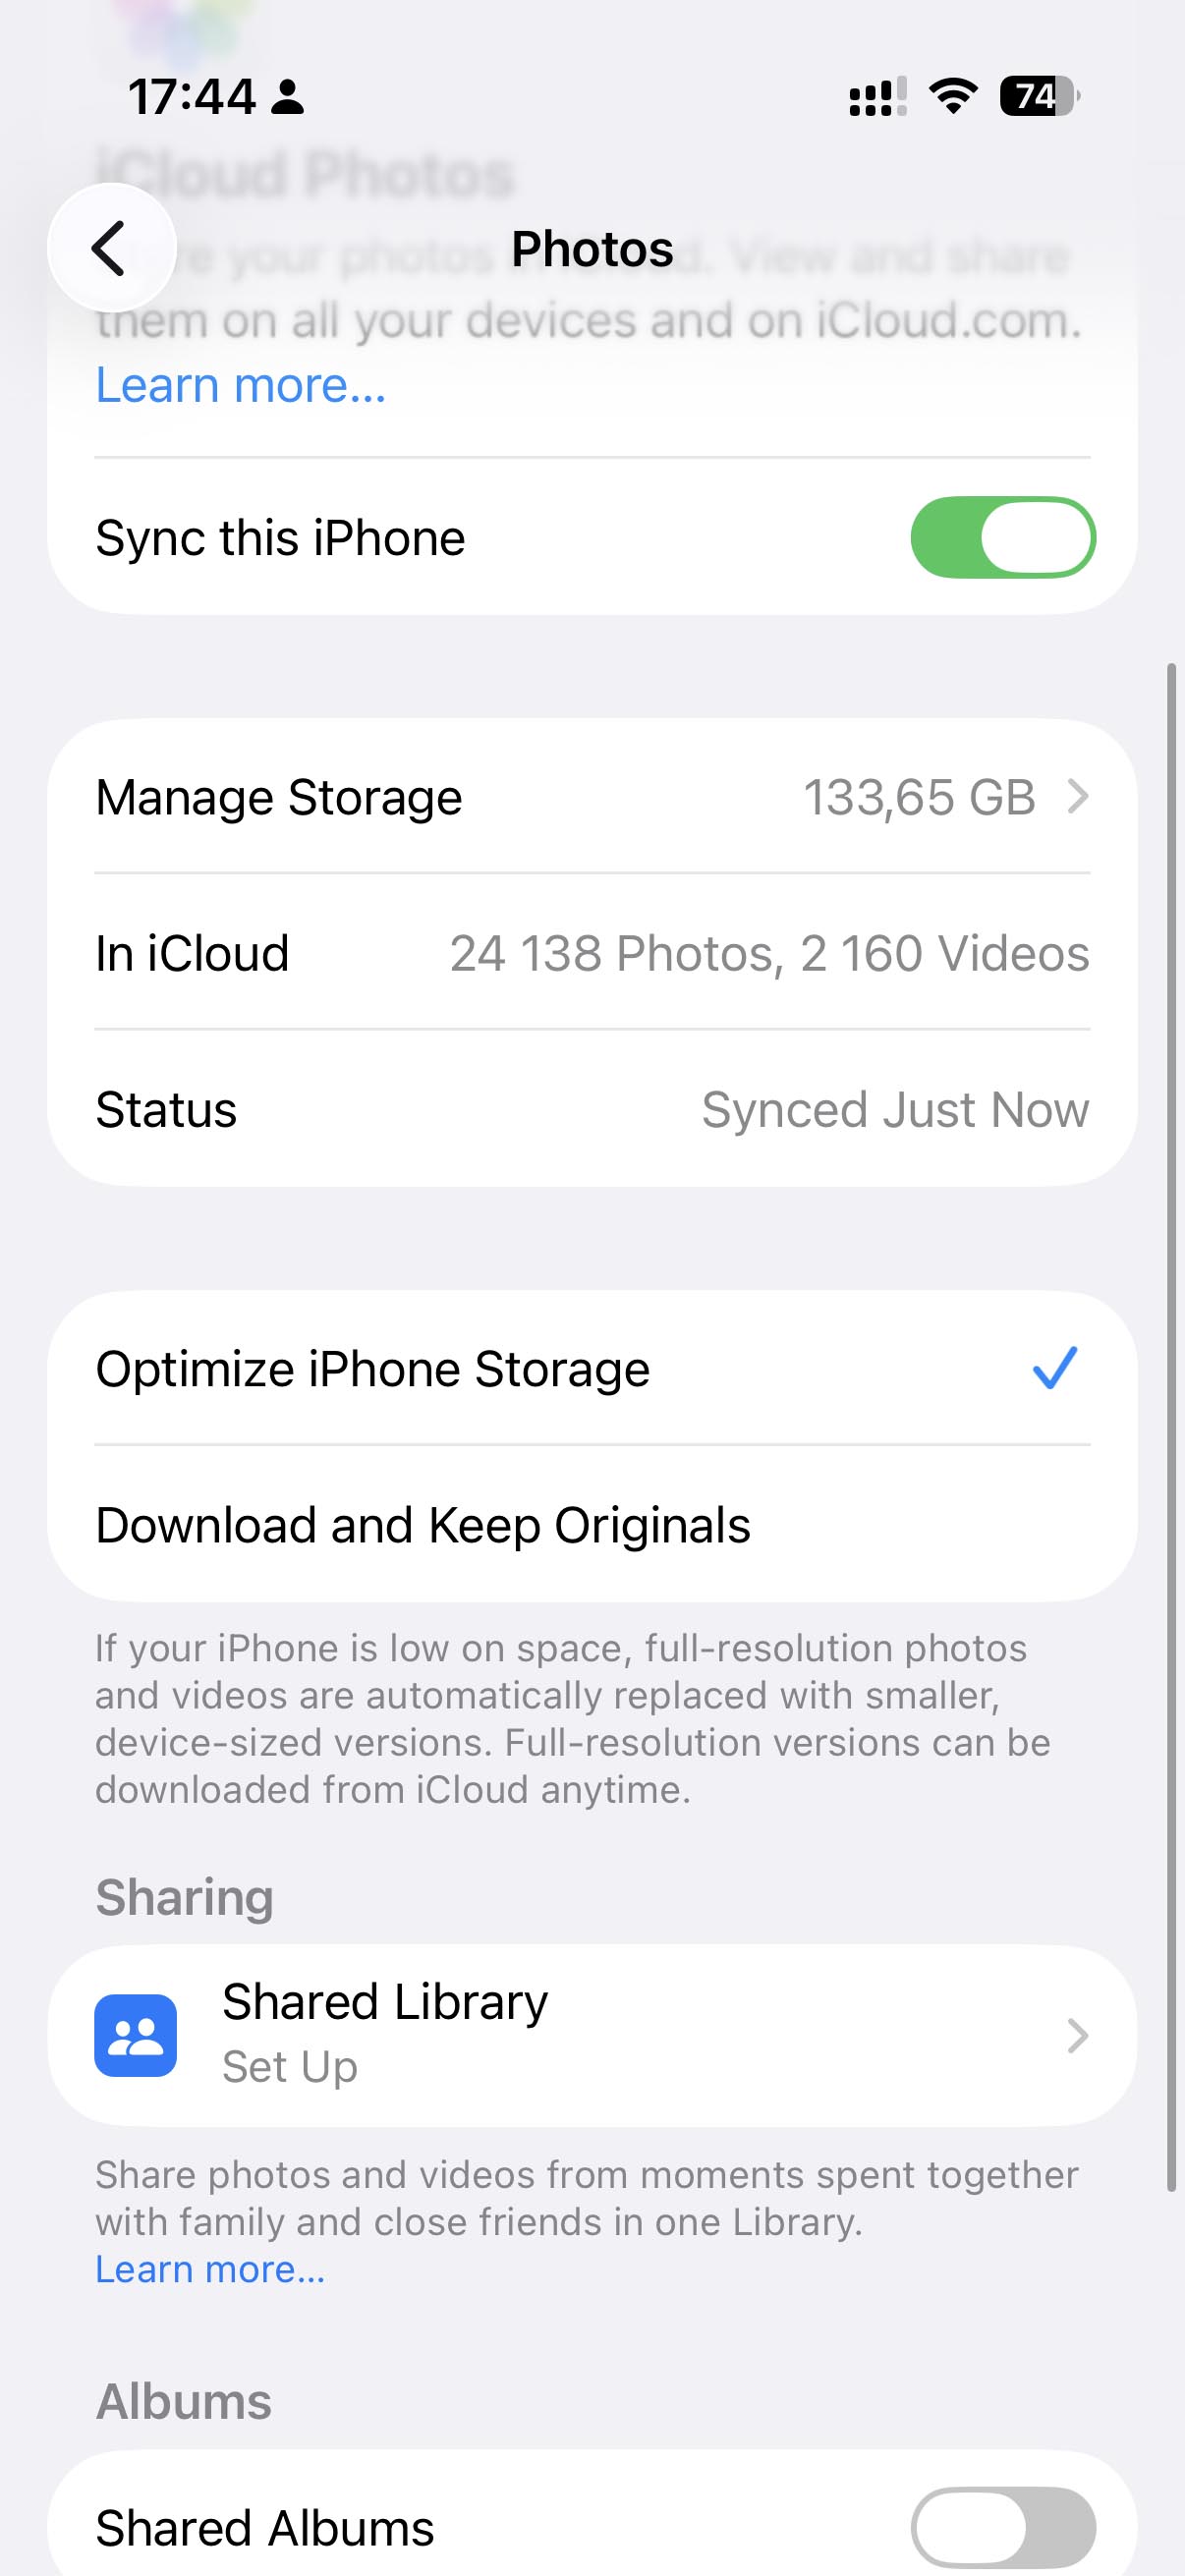
Method 2: Use the “Optimize iPhone Storage” Feature
- ✅ Pros: Significantly cuts on-device space usage; maintains access to full library
- ⛔️ Cons: Requires iCloud subscription for larger libraries; original-quality photos not fully available offline
If you’re looking for a way to reduce MB size of a photo on your iPhone without actually compressing or modifying your original images, the “Optimize iPhone Storage” feature is arguably the most elegant solution there is, but it’s not necessarily the cheapest one because it relies on iCloud (and Apple customers get only 5 GB of iCloud storage for free).
When you enable the Optimize iPhone Storage feature on your device, your iPhone automatically manages your photo storage by keeping full-resolution photos and videos in iCloud while storing smaller, space-saving versions on your device. Whenever you want to view, edit, or share a photo at its original quality, your iPhone downloads it from iCloud temporarily. This happens seamlessly in the background – you’ll only notice a slight delay when accessing photos that aren’t stored at full resolution on your device.
Here’s how to enable the Optimize iPhone Storage feature:
- Go to Settings > Your Name > iCloud.
- Navigate to the Photos category.
- Turn on Sync this iPhone if it isn’t already enabled.
- Select Optimize iPhone Storage (instead of Download and Keep Originals).
I’ve been relying on the Optimize iPhone Storage feature since the day I purchased my aging iPhone 13, and it has allowed me to live happily with iPhone’s limited storage space. Of course, it does require me to pay for iCloud, but I would be an iCloud subscriber anyway, so it doesn’t bother me at all.
Method 3: Adjust Camera Settings
- ✅ Pros: Prevents large photos from being created in the first place; no post-processing needed
- ⛔️ Cons: What you gain in storage space savings you sacrifice in quality and/or post-processing options
Another preventive approach to reducing photo file size on iPhone is to adjust your camera settings so that you essentially capture less information.
This strategy has become increasingly relevant with newer iPhone models like the iPhone 14, 15, and 16, which take incredibly detailed (and storage-hungry) images by default. For example, the resolution of the main camera sensor on the iPhone 16 is 48 MP, which is twice as much as what the extremely popular Canon EOS 5D Mark II from 2008 offered, and that DSLR was used to take many famous pictures from that era.
If you’re not planning to print billboard-sized versions of your casual shots, you can lower the resolution of photos on iPhone without any noticeable difference when viewing on screens.
Follow these steps to reduce the default camera resolution:
- Go to Settings > Camera > Formats > Photo Mode.
- Choose 12 MP instead of 24 MP or 48 MP.
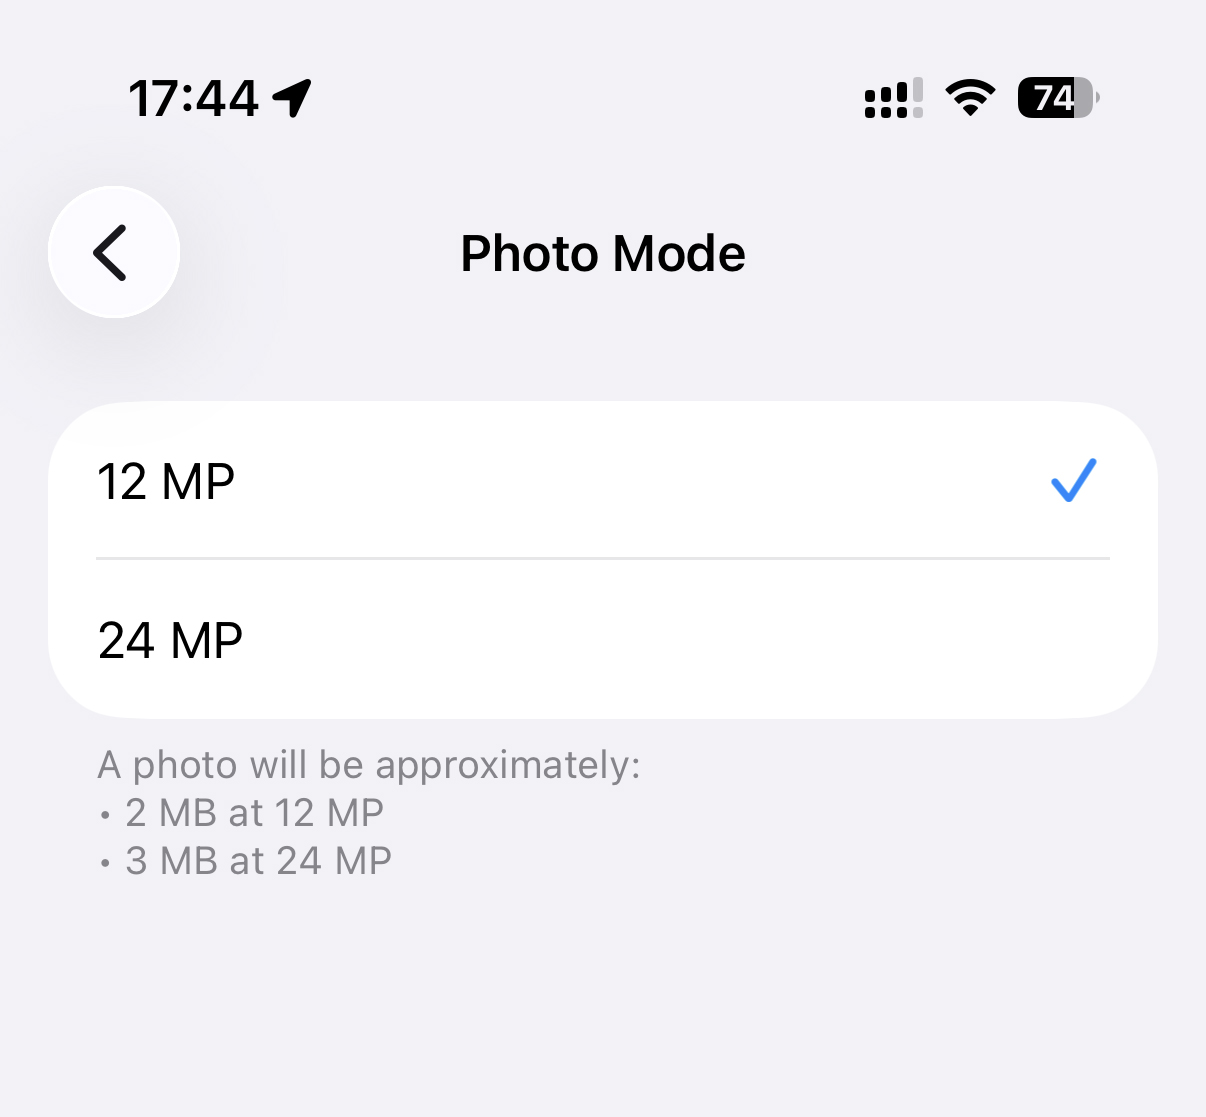
You can think of the 12 MP setting as a low-quality image mode on iPhone that actually doesn’t look low quality at all because 12 MP is a respectable resolution for most use cases, even in this day and age.
The owners of Pro models, such as the iPhone 16 Pro, should also consider if they need to capture ProRAW photos. The ProRAW format combines the benefits of RAW photography with Apple’s computational photography features, but the pictures saved with it can be 10–12 times larger than standard photos, so it’s best to avoid it unless you’re a photography enthusiast who plans to extensively edit your photos in apps like Lightroom or Photoshop.
To Sum It Up
Some options to reduce photo file size on iPhone are baked right into iOS 26 and older, some involve clever shortcuts, and others rely on third-party tools or apps. Personally, I combine them based on my current needs, and I believe you should do the same.
For example, you can:
- Crop an image whose composition allows it using the Photos app to reduce the resolution.
- Use an online compressor like Squoosh to apply the highest acceptable level of image compression.
- Let Clever Cleaner compress Live Photos and remove duplicate images in bulk to save a lot of storage space in a few simple steps.
If storage is still tight even after applying several photo size reduction techniques, then you should check out this guide on how to get more storage on iPhone. It offers great strategies for freeing up space without losing your favorite content.
FAQ
You can reduce photo file size on iPhone without third-party apps in several ways:
- Use the Photos app to crop images, removing unnecessary portions to reduce pixel count
- Create a photo compression shortcut in the Shortcuts app
- Send photos to yourself via the Mail app, which automatically compresses attachments
- Switch your camera settings to HEIF format via Settings > Camera > Formats > High Efficiency
- Enable Optimize iPhone Storage in iCloud settings to keep smaller versions of photos on your device
- Lower your camera resolution to 12MP in Settings > Camera > Formats > Photo Mode
Based on my extensive testing, the best apps to compress photos on iPhone are:
- Clever Cleaner: Completely free, processes images in bulk, compresses Live Photos effectively, and can find and remove duplicate images.
- Compress Photos & Pictures: Offers an intelligent compression engine that can reduce file size by up to 90% with minimal quality loss, with a free version that allows compressing up to three photos at once.
- The Image Converter: Supports numerous file formats including JPG, PNG, SVG, PSD, and WEBP with a straightforward workflow.
For occasional use, the free versions of these apps are sufficient, but frequent users might consider premium versions for batch processing and additional features.
To reduce photo size for email attachments on iPhone:
- The simplest way is to use the Mail app directly – when you attach photos to an email, iOS automatically compresses them.
- For more control, use the Reduce Photo File Size shortcut, which balances quality and file size reduction.
- For email attachments specifically, aim for 1-2MB per image (instead of the typical 5-8MB) to stay under Gmail’s 25MB limit.
- Use an app like Compress Photos & Pictures with the 80% quality setting, which typically produces files that look good but are much smaller.
- Online services like Squoosh.app let you adjust compression levels with real-time previews before sending.
Remember that most email recipients will view your photos on screens rather than print them, so slight quality reductions are usually imperceptible.
To compress multiple photos simultaneously on iPhone:
- Use the Clever Cleaner app – it’s completely free and can process many photos in bulk, including Live Photos.
- The premium version of Compress Photos & Pictures removes the three-photo limit of the free version, allowing for unlimited batch processing.
- Create and use a custom Shortcuts automation that can select and process multiple images at once.
- Some online services like Squoosh.app allow uploading and processing multiple photos in one session.
- For automatic but less controllable compression, send multiple photos to yourself via messaging apps like WhatsApp or Telegram.
Batch processing is significantly more efficient than compressing photos individually, especially if you have hundreds of images to optimize.
Whether compressing photos on iPhone reduces their quality depends on the method used:
- Lossless compression: Some techniques reduce file size without any quality loss by reorganizing data more efficiently. Switching from JPEG to HEIF format is an example of this approach.
- Lossy compression: Most significant file size reductions involve some degree of quality loss by discarding visual information. However, the quality reduction is often imperceptible to the human eye at moderate compression levels.
- Resolution reduction: Cropping or resizing photos definitely removes pixels, but if the remaining resolution is sufficient for your needs (viewing on screens vs. large prints), the perceived quality may not suffer.
The key is finding the right balance: most compression apps offer quality sliders where settings around 80% typically produce files 50-70% smaller with minimal visible quality loss. For casual photos shared digitally, this trade-off is usually worthwhile, while for professional or sentimental photos, you might want to keep uncompressed originals as backups.