Recover lost data and files from a RAID on an Xserve

Data recovery from a RAID typically requires a lab worker but Disk Drill can scan and discover what data is recoverable on each individual hard drive in the RAID. macOS Sequoia Ready!

Xserve
Recover lost data and files from a RAID on an Xserve
?

If you have lost data or files from a RAID on an Xserve Apple Server, data recovery can be complicated and difficult. Apple Xserve usually runs RAID 5, still supporting RAID levels 0, 1, 3, and 0+1. Usually, if it's just one disk failing in a standard RAID 5 setup, the server may still continue to operate. Data recovery becomes essential when it's a second drive that fails. Additionally, data may be lost due to incomplete firmware upgrades, RAID controller failures, etc. If you have a drive from Apple Xserve and your files and folders, or even partitions, need to be recovered from it after a failure of any kind. Feel free to try our amazing do-it-yourself data recovery solution, Disk Drill. Read on to find out how exactly it can be done.

Complete Disk Drill Installation

As we are going to recover lost data from the external drive that used to be part of Xserve RAID array, you can save the downloaded Disk Drill application to your Mac's main system volume. Follow this link to download Disk Drill, double-click the disk image and then drag the Disk Drill icon to the Applications folder on your Mac.

  • Download Disk Drill
    1

    Download Disk Drill

  • Drag to Applications Folder
    2

    Drag to Applications Folder

  • Launch Disk Drill
    3

    Launch Disk Drill

Launch the App

After downloading and installing, open Disk Drill and select the enhancements you require. Once you have downloaded Disk Drill to your Mac, launch the app to get started. You may be asked what additional options you wish to install. Uncheck all the boxes, as you should not install anything additional data recovery enhancements at this time.

Get Ready to Scan Your RAID Drive

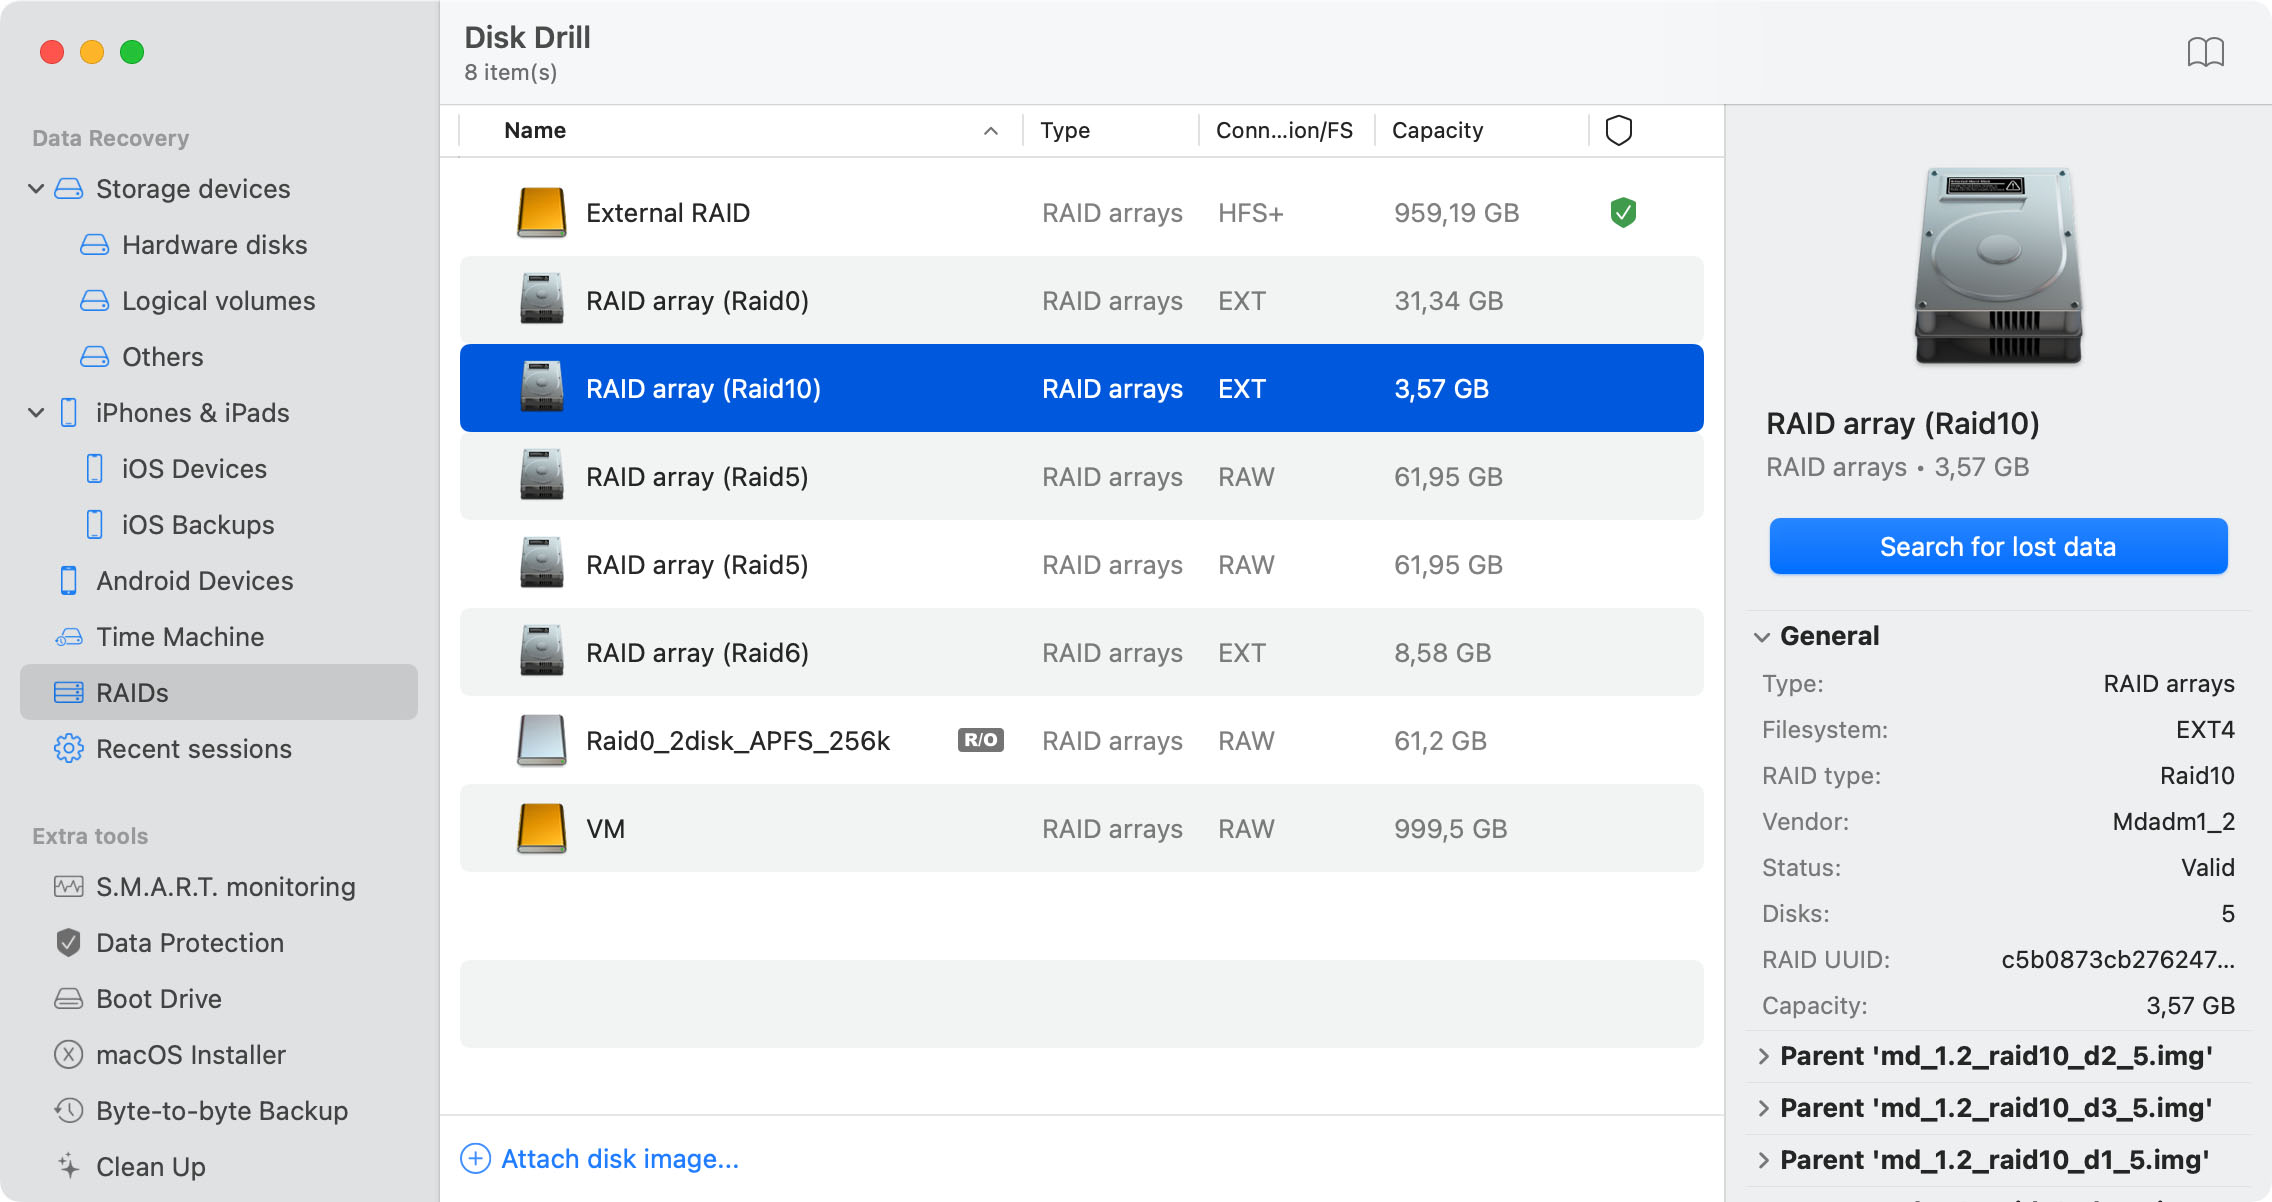
Once Disk Drill is open, you will see a list of drives (both internal and external). Click on the volume that used to be in your RAID to scan it. Remember, Disk Drill will look at each drive individually from the RAID. If you are looking to recover a lost partition, be sure to select the whole volume, not just an individual partition.

Scan the Volume

Next to the volume you wish to scan, click the “Recover” button. Disk Drill will do a complete scan of the Xserve RAID volume, proceeding with each relevant scanning algorithm one by one.

Recover Your Data from Xserve RAID

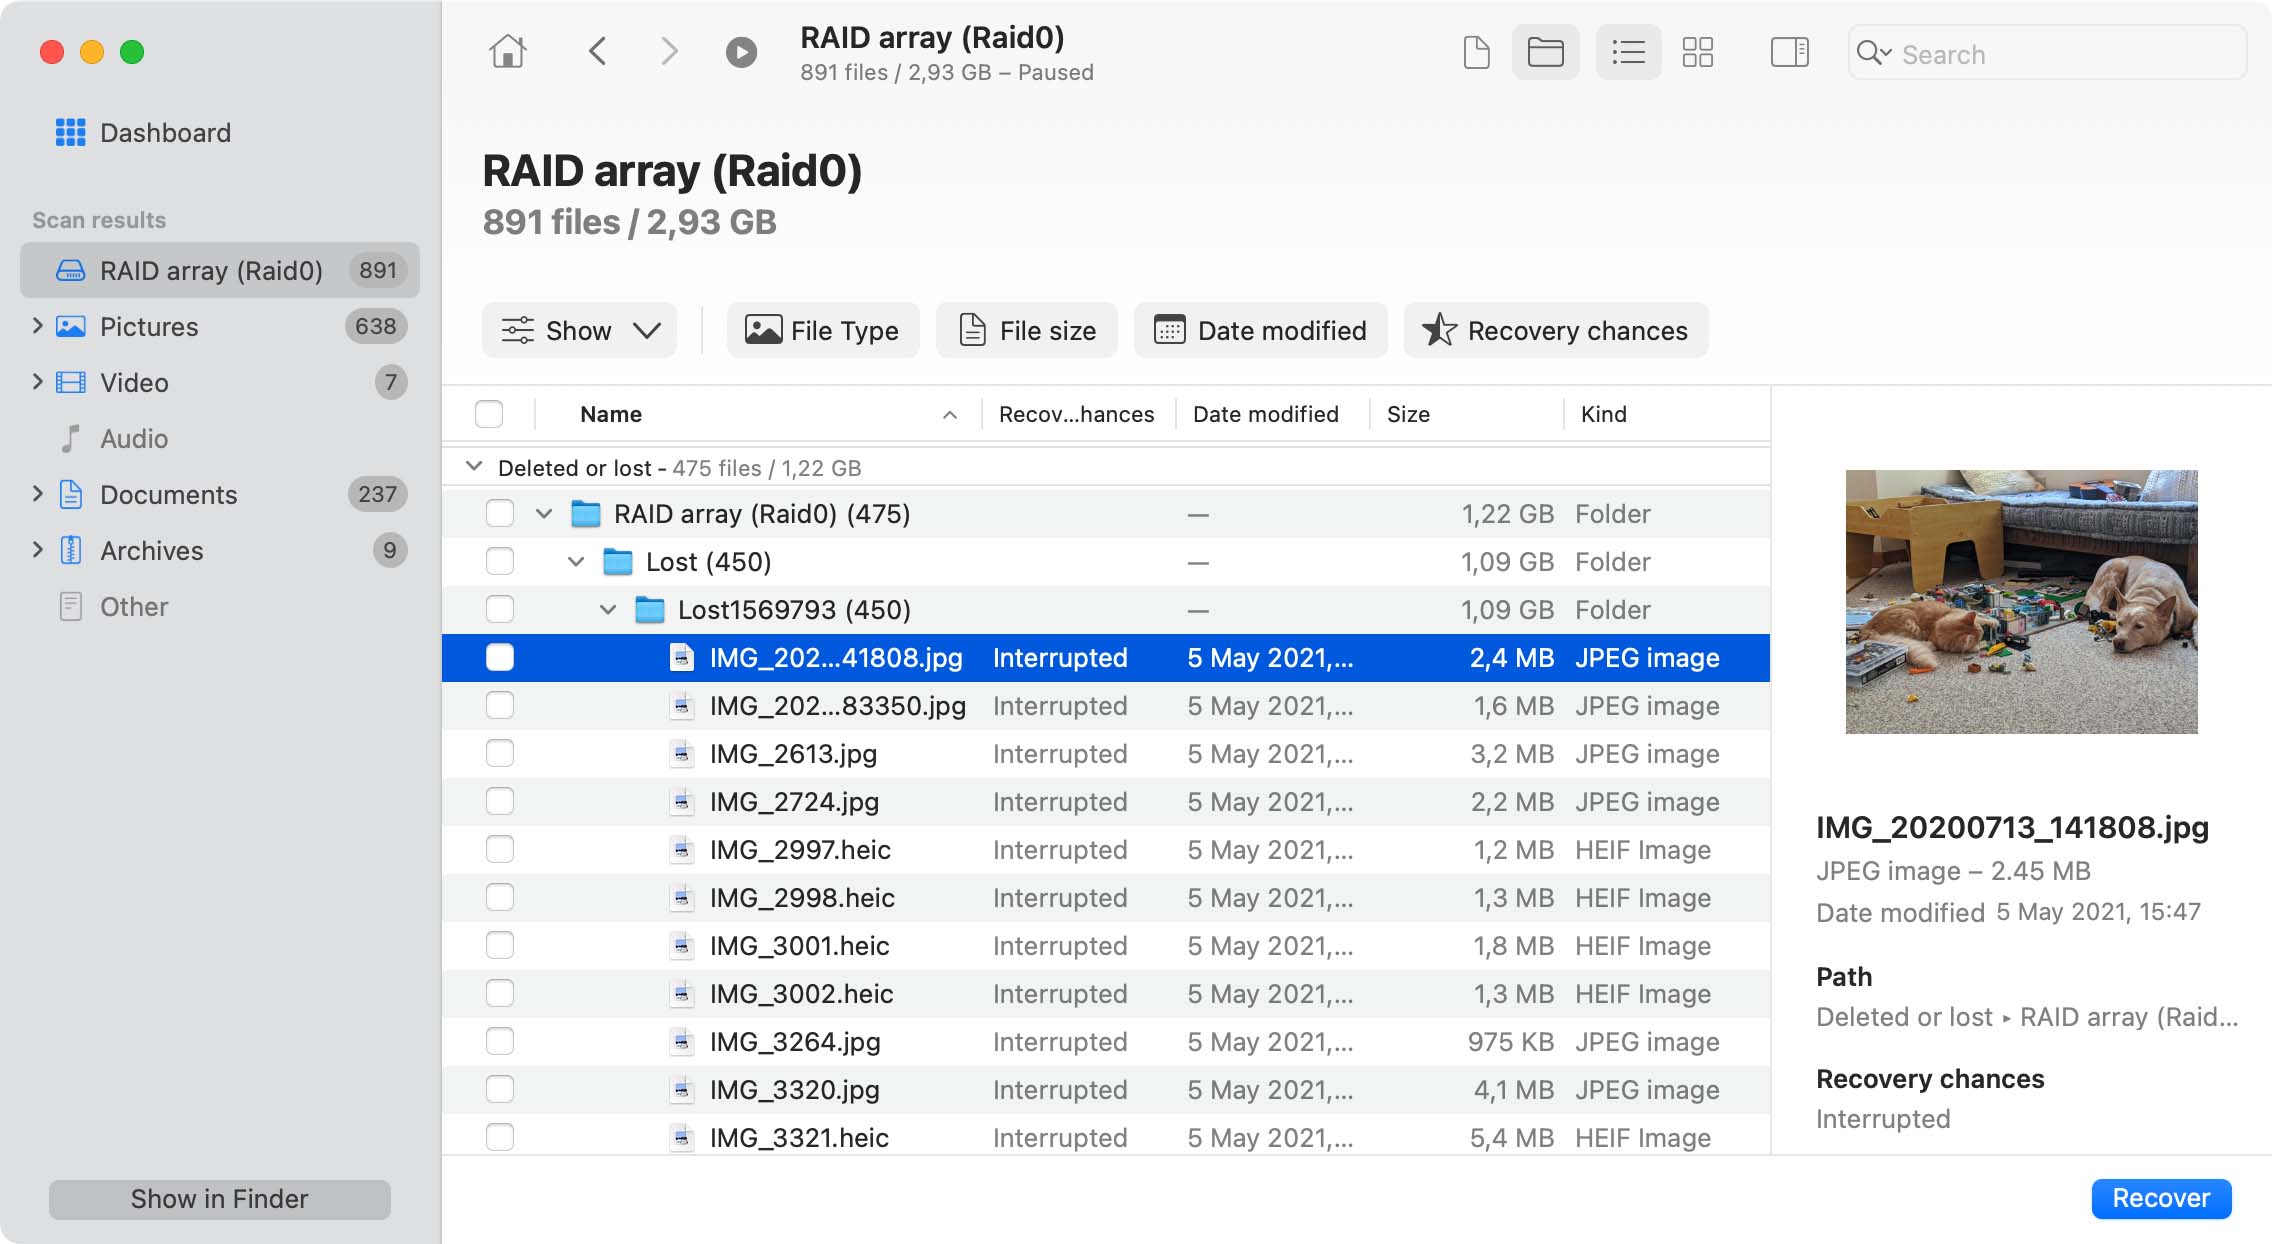
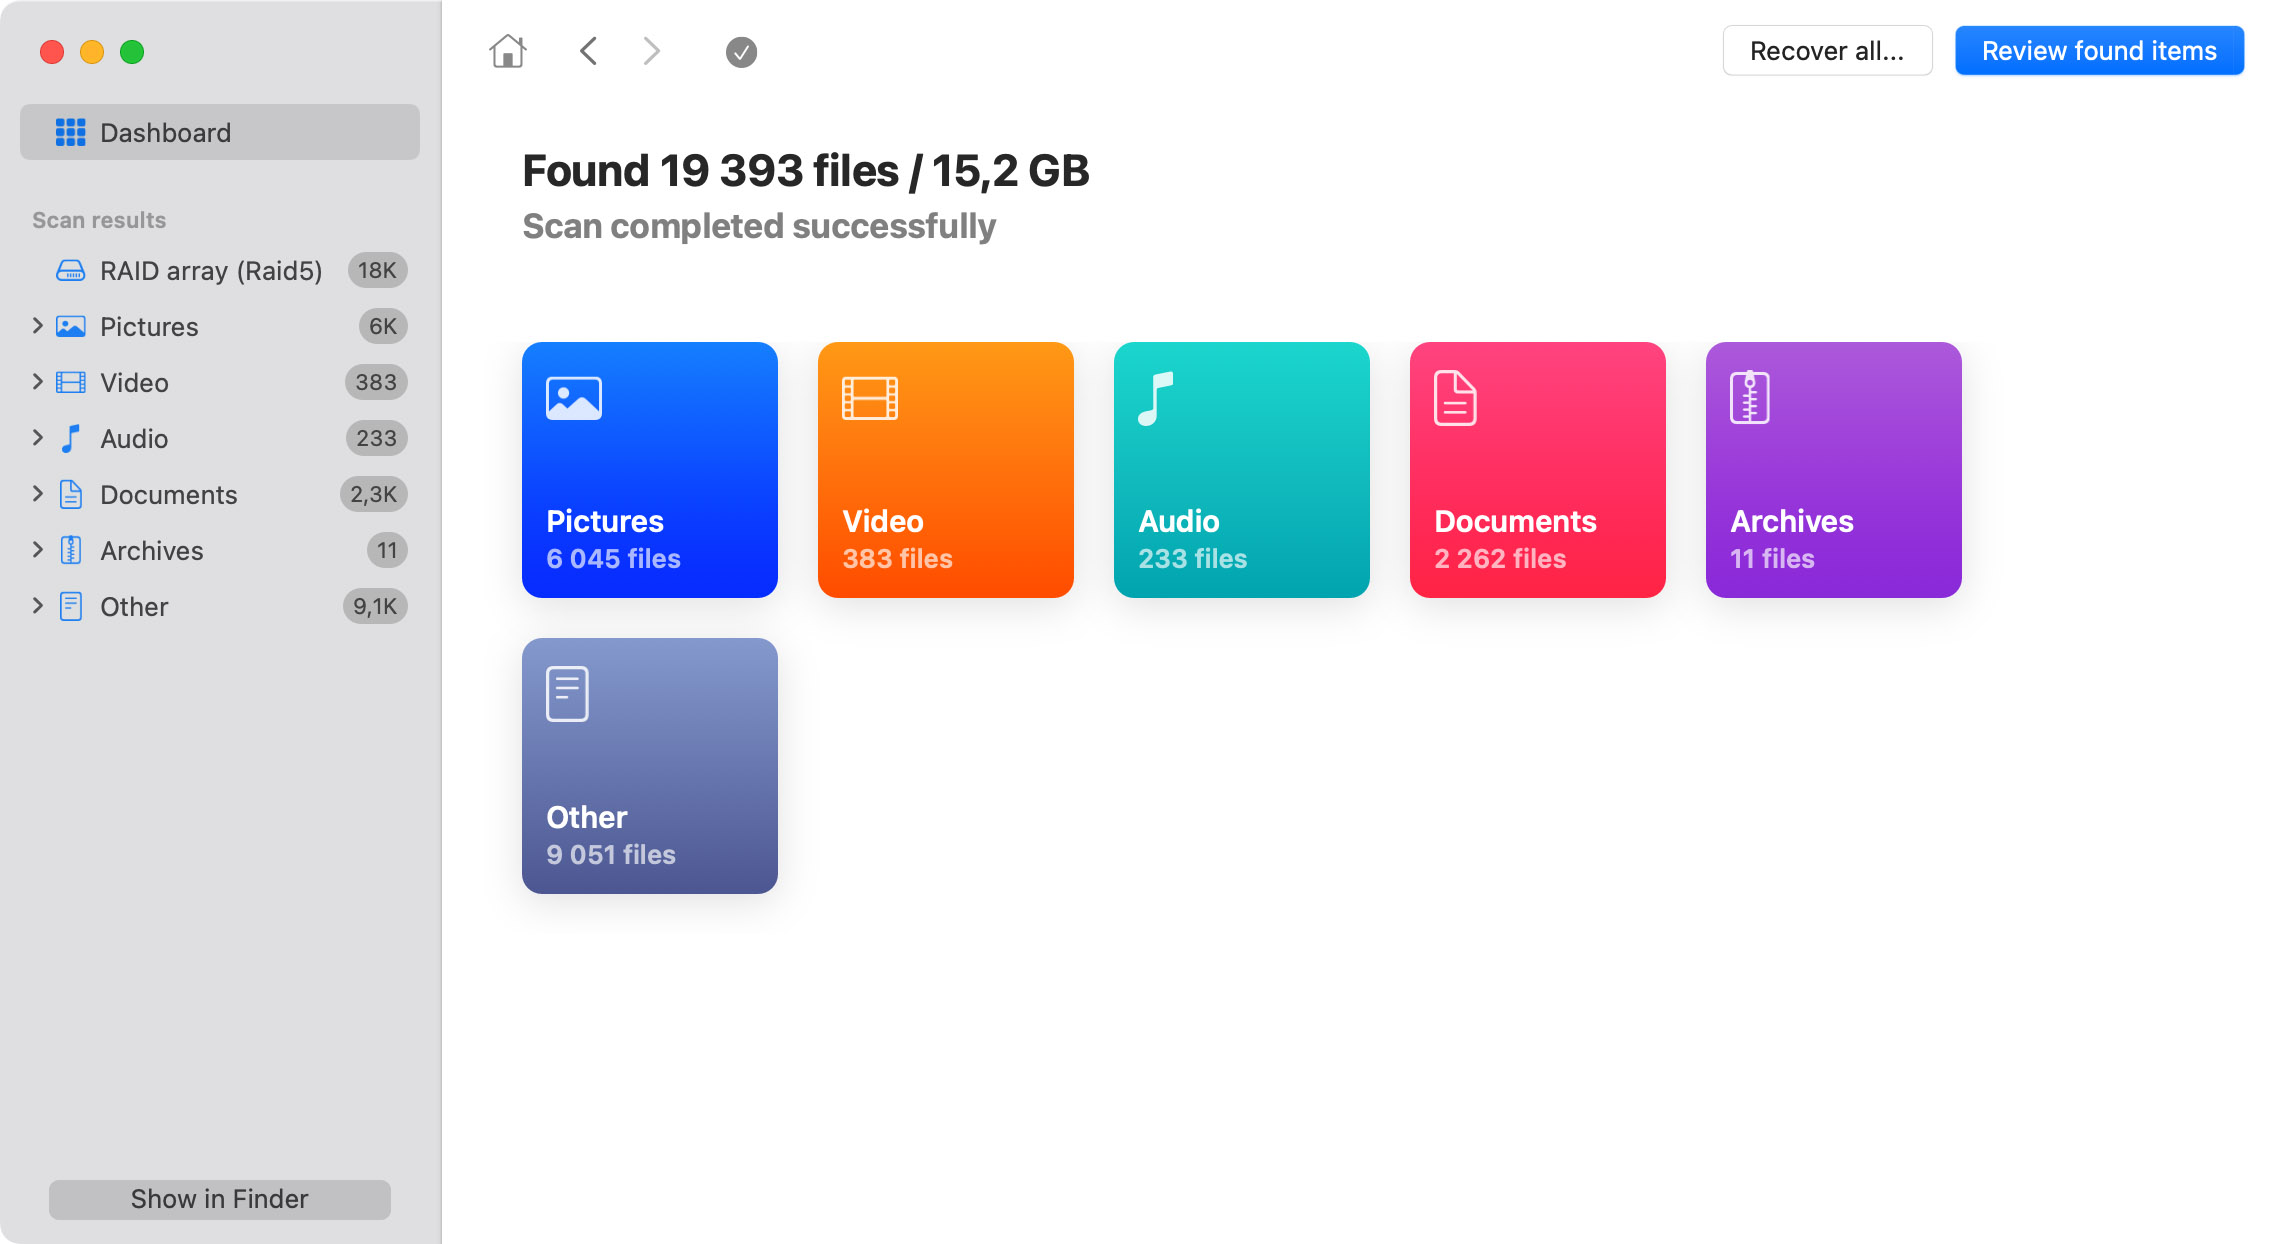
If Disk Drill finds any recoverable data on your RAID drive, you will see it listed in the scanning results, and you just need to choose a destination drive to recover your Xserve data to. To complete recovery, please follow the instructions to upgrade to Disk Drill PRO. Verify that found data is recoverable by previewing the items that represent your lost files and folders.

Recover Your Data from Xserve RAID

Recover Your Lost Xserve files

If you’re looking for files, not partitions, you can review the sorted and grouped list of files found on the scanned RAID drive. In case they don't have their correct filenames, you may need to preview each one by clicking the preview (eye) icon.

Deep Scan And Supported File Formats

When Deep Scan analyzes a drive for lost data, the actual file system the drive is formatted into is not important. In fact, the disk may have no file system or it may be completely lost.
Deep Scan reads the disk differently and tries to locate any scavengable data, no matter if it previously resided on FAT, NTFS, or other system.
Once a known data pattern is recognized, the files get reconstructed. Here are just a few samples of formats Deep Scan works with: .jpg, .doc, .psd, .pdf or .xls, etc.

Frequently Asked Questions

Updated on by Disk Drill Team

How do I reset RAID Xserve?

To reset RAID Xserve, you need to first unmount all volumes and then press the reset button on the back of the unit for approximately 10 seconds.
What is Apple RAID?

The term Apple RAID can refer to several different things, including RAID volumes set up on a computer with a Mac Pro RAID Card or Xserve RAID Card, as well as local and NAS RAID arrays.

Does Apple support RAID?

Yes, all versions of macOS from Sierra (10.12) come with native RAID support in the Apple Disk Utility, allowing you to create and administer RAID arrays with ease.

How do I use Apple RAID?

You can create and use Apple RAID storage systems with the help of Disk Utility:

  1. Launch Disk Utility.
  2. Open the File menu.
  3. Choose RAID Assistant.
  4. Select the type of RAID you want to create.
  5. Add the disks you would like to include in the RAID system.

What is a RAID set in Disk Utility?

A RAID set in Disk Utility is the collection of storage devices that together make up a RAID array.

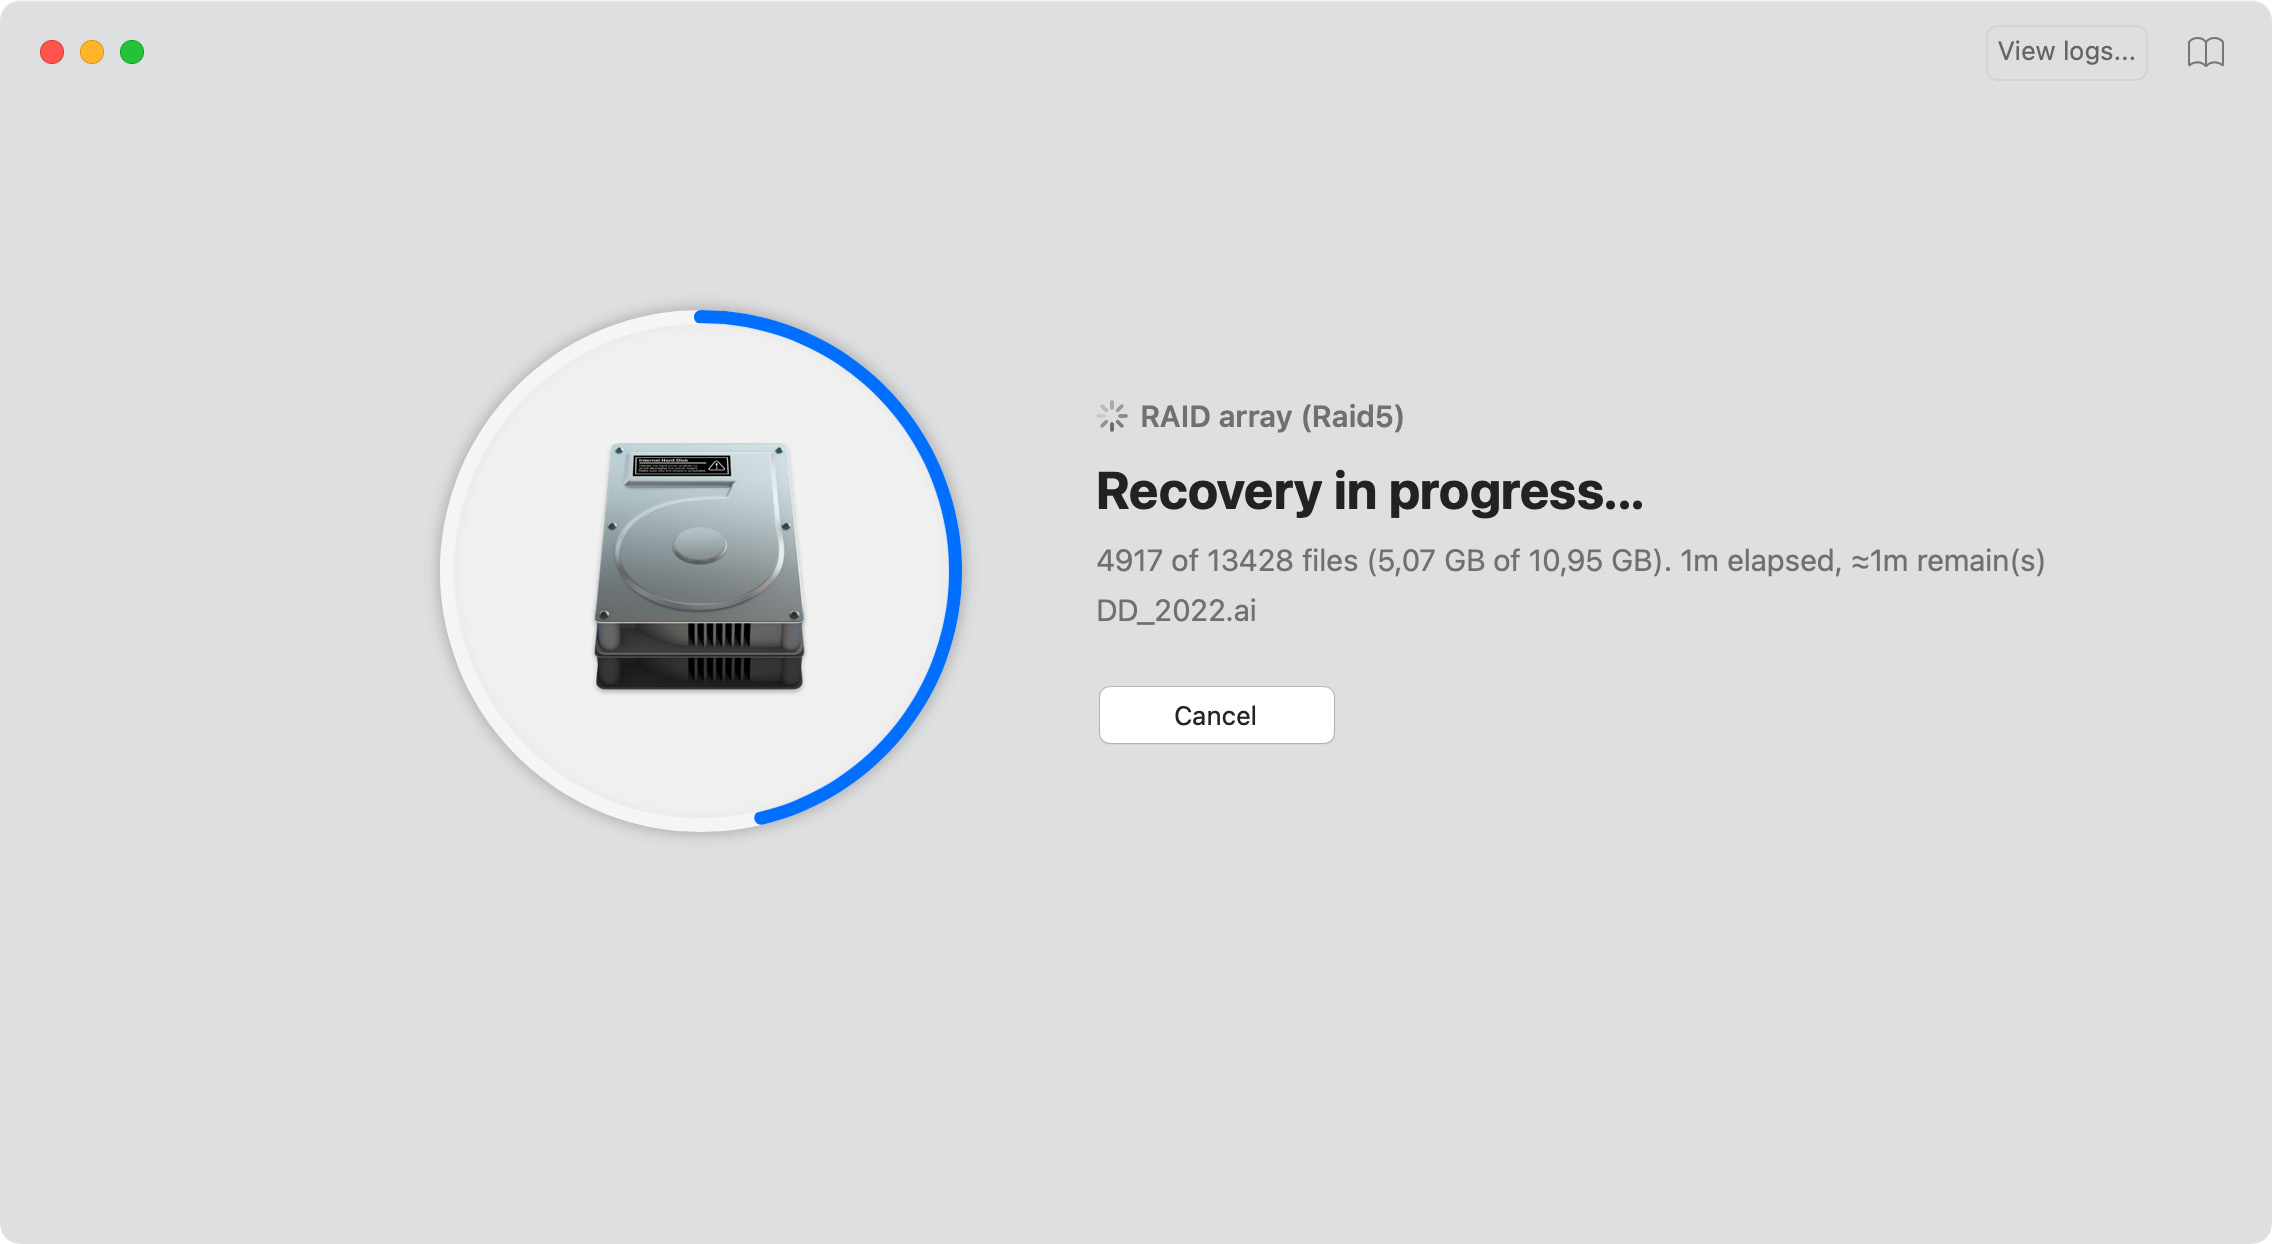
Disk Drill is ready to start the recovery

Need further instructions?

Other data recovery articles

Here's what our customers say

Used by world famous companies