Using an iMac can have many advantages over a PC, but it also requires some specific knowledge if you want to properly utilize what the platform has to offer. Most importantly, you need to understand what your options for recovery are and when to utilize specific approaches.
What is iMac?
iMac is Apple’s line of desktop computers under the Macintosh brand umbrella. They are designed to be easy and intuitive to use, with minimal setup required for even some more complex tasks. In addition, an iMac has its functionality packed into a single case, monitor included. This makes them great for office environments and other situations where portability is an important factor.

iMac G3 was the first iMac desktop computer to be manufactured by Apple. The desktop had an egg-shaped look and was quite heavy than other models. iMac G3 used a CRT monitor that was enclosed with a translucent plastic case. The second revision, iMac G4 came with a hemispherical shaped base and contained all the components of an LCD monitor. Over the years, other iMac versions have been released with the 7th major revision being released on Oct 2014.
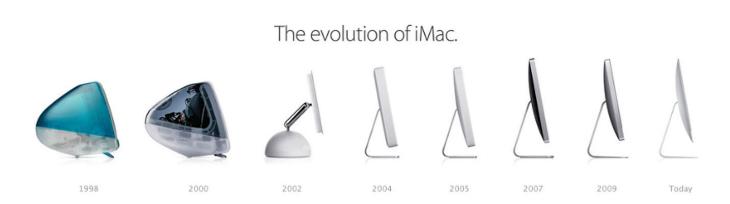
The 7th major revision of iMac features a “Retina 5K” display with a resolution of 2880 x 5120 pixels. This new model version also comes with a power Intel i7 processor, powerful graphics card and other amazing features.
How the Apple iMac Works
The iMac might seem simple on the outside, but it’s anything but that internally. Modern iMacs are designed around extensive research into their usability and internal layout, allowing them to take full advantage of the space inside the case. This results in a highly portable device that can still handle all tasks expected of a traditional desktop computer, while also being easy to transport and integrate into a busy, packed office.
What Are the Advantages of Using iMac?
Using an iMac brings many advantages to the table compared to a PC. The most notable one is the ease of portability. An iMac has everything integrated into one single case, meaning that users don’t have to lug around different components and connect them with messy wiring.
iMacs also have an advantage on the software front. The macOS operating system works very differently from Windows in some regards, and is great for users who want maximum usability and security without having to do any complex setups to accomplish that.
Many designers prefer to use an iMac due to its smoother workflow and reliable customer support. In addition, some popular applications on the market are either designed exclusively for Mac, or are heavily optimized for it. This is especially common with large designer suites. This means that designers who prefer to use Windows or Linux are often left behind when it comes to software availability and updates.
This, in turn, can factor into the overall security of the device. Regularly updated software has an inherent protection compared to programs that see few updates over time.
Ease of use is another major factor that plays into the popularity of the iMac line. Many users prefer to work with an iMac because it requires less setup and less fiddling with complex settings to achieve a certain result.
How to Recover Data from an iMac Hard Drive
If you need to recover data from an iMac hard drive, there are several approaches you can take. It’s important to understand that deleted data isn’t physically removed from your disk in most cases. Unless you’ve taken special precautions to properly wipe the drive (and you’ll know if you have), or the drive is physically damaged beyond repair, there’s a good chance that you can still get your data back.
Method #1: Restart Your iMac in Recovery Mode
When you restart your iMac in Recovery Mode, this will provide you with access to a number of useful tools that you can recover your data with. To do that, simply follow these steps:
- Hold down Command + R while your iMac is restarting. At one point, you’ll see a menu with several options.
- Choose Restore From Time Machine Backup.
- Click Continue.
- You will see a list of drives containing Time Machine backups. Select the one containing your target backup.
- Click Continue.
- You will see a list of backups stored on the drive. Select the one you want to restore.
- Click Continue.
The recovery process will now start. Keep in mind that it can take a while for the recovery to complete, depending on the speed of your iMac and the size of the files you want to recover.
Method #2: Use a Cloud Service
If you’ve been backing up your data to the cloud, you should be able to easily recover most of it in just a few steps.
- Go to iCloud.com and navigate to iCloud Drive.
- Select Recently Deleted in the bottom right.
- At this point, you can either select individual files for recovery, or simply click Recover All to recover everything.
This will only work for files that have been deleted directly from your iCloud Drive or iWork apps. If you want to recover data deleted from other apps, follow these steps instead.
- Go to iCloud.com, navigate to Settings, and click on Restore Files.
- Mark the files you want to recover. You can also click on Select All to directly recover everything.
- Once you’re done selecting files, click on Restore.
Method #3: Use Specialized Software
You can also use specialized programs to recover data from your iMac. Disk Drill is a good example of a program that can help you accomplish this with ease.
- Download and install Disk Drill.
- Launch Disk Drill. You will see a full list of your drives.
- Click on the drive you want to recover.
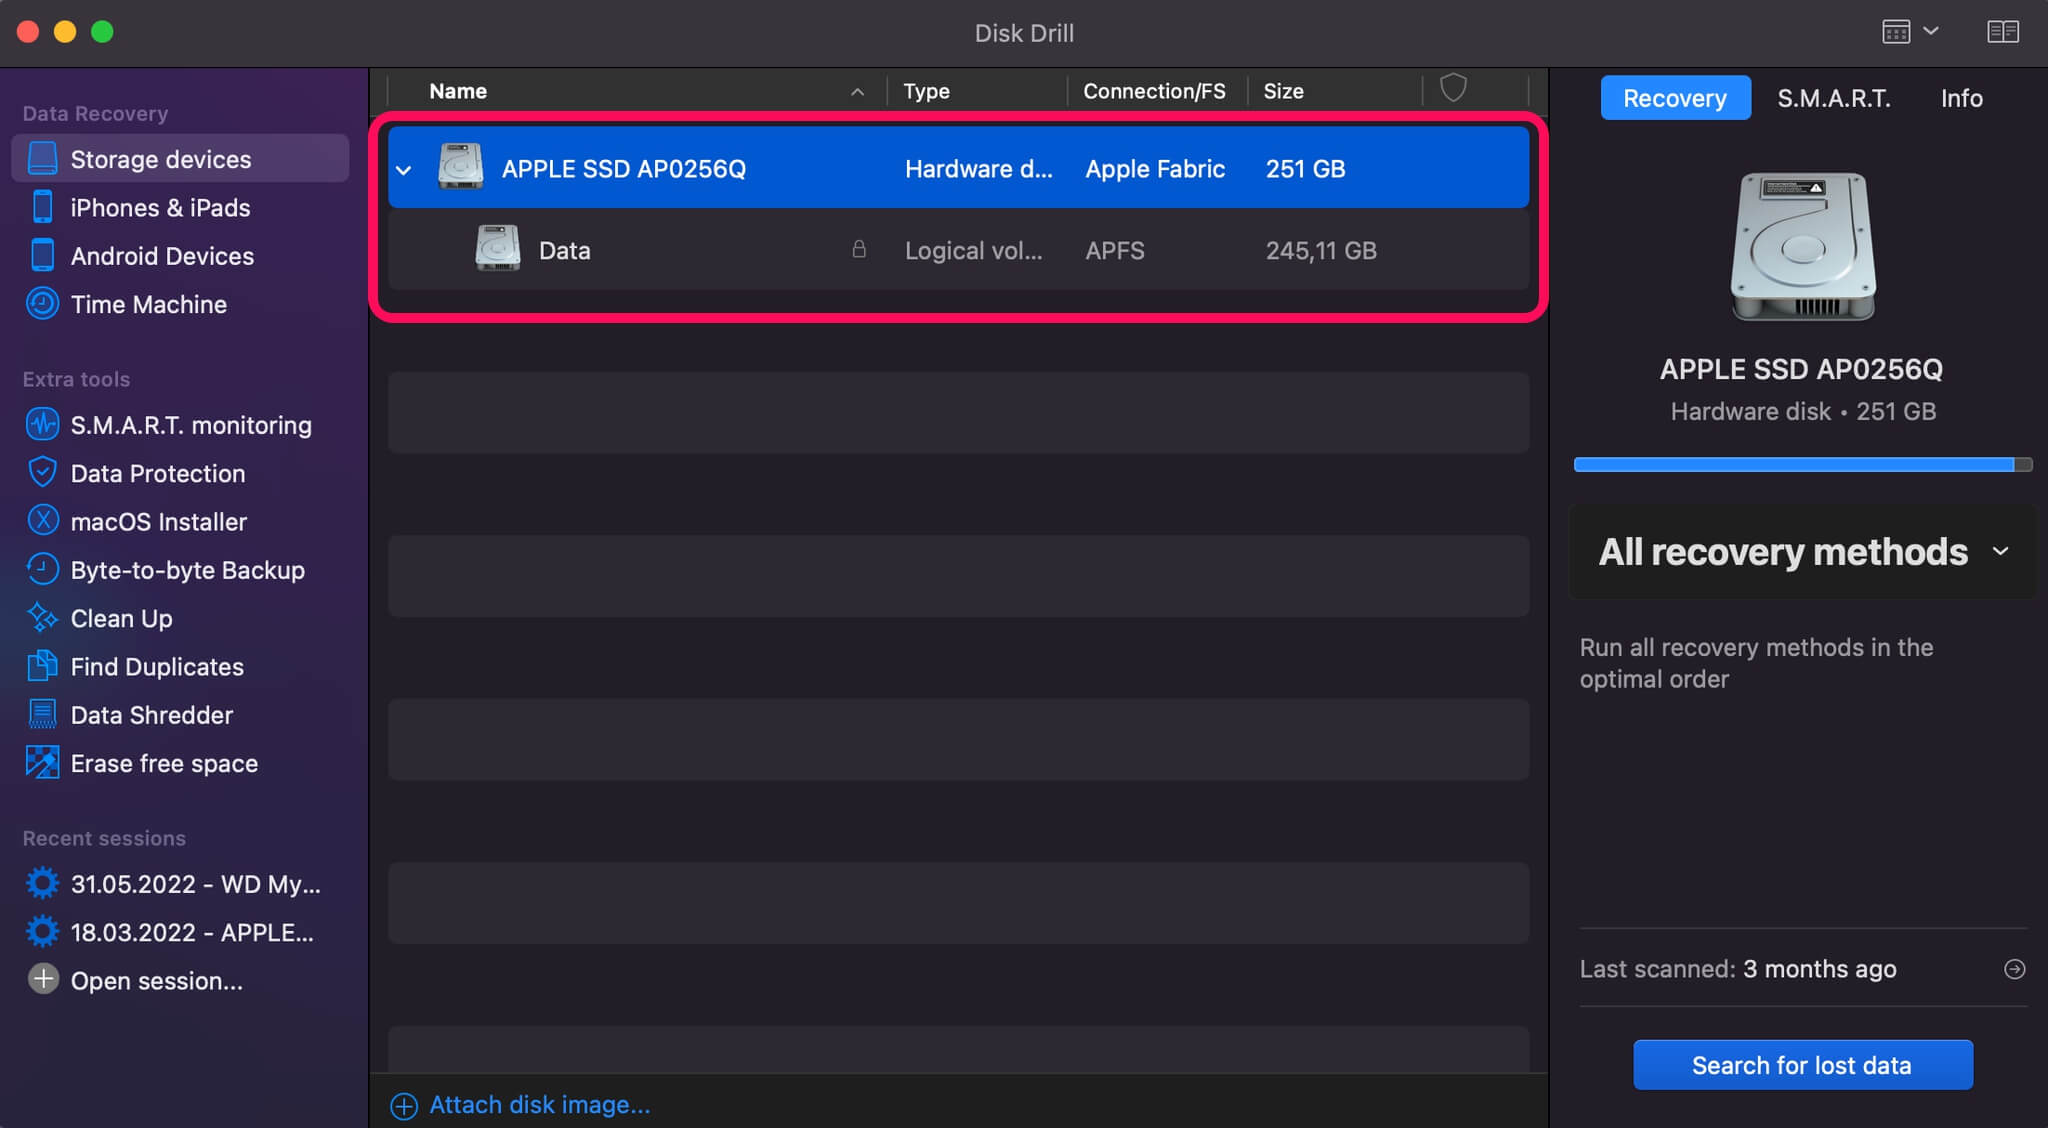
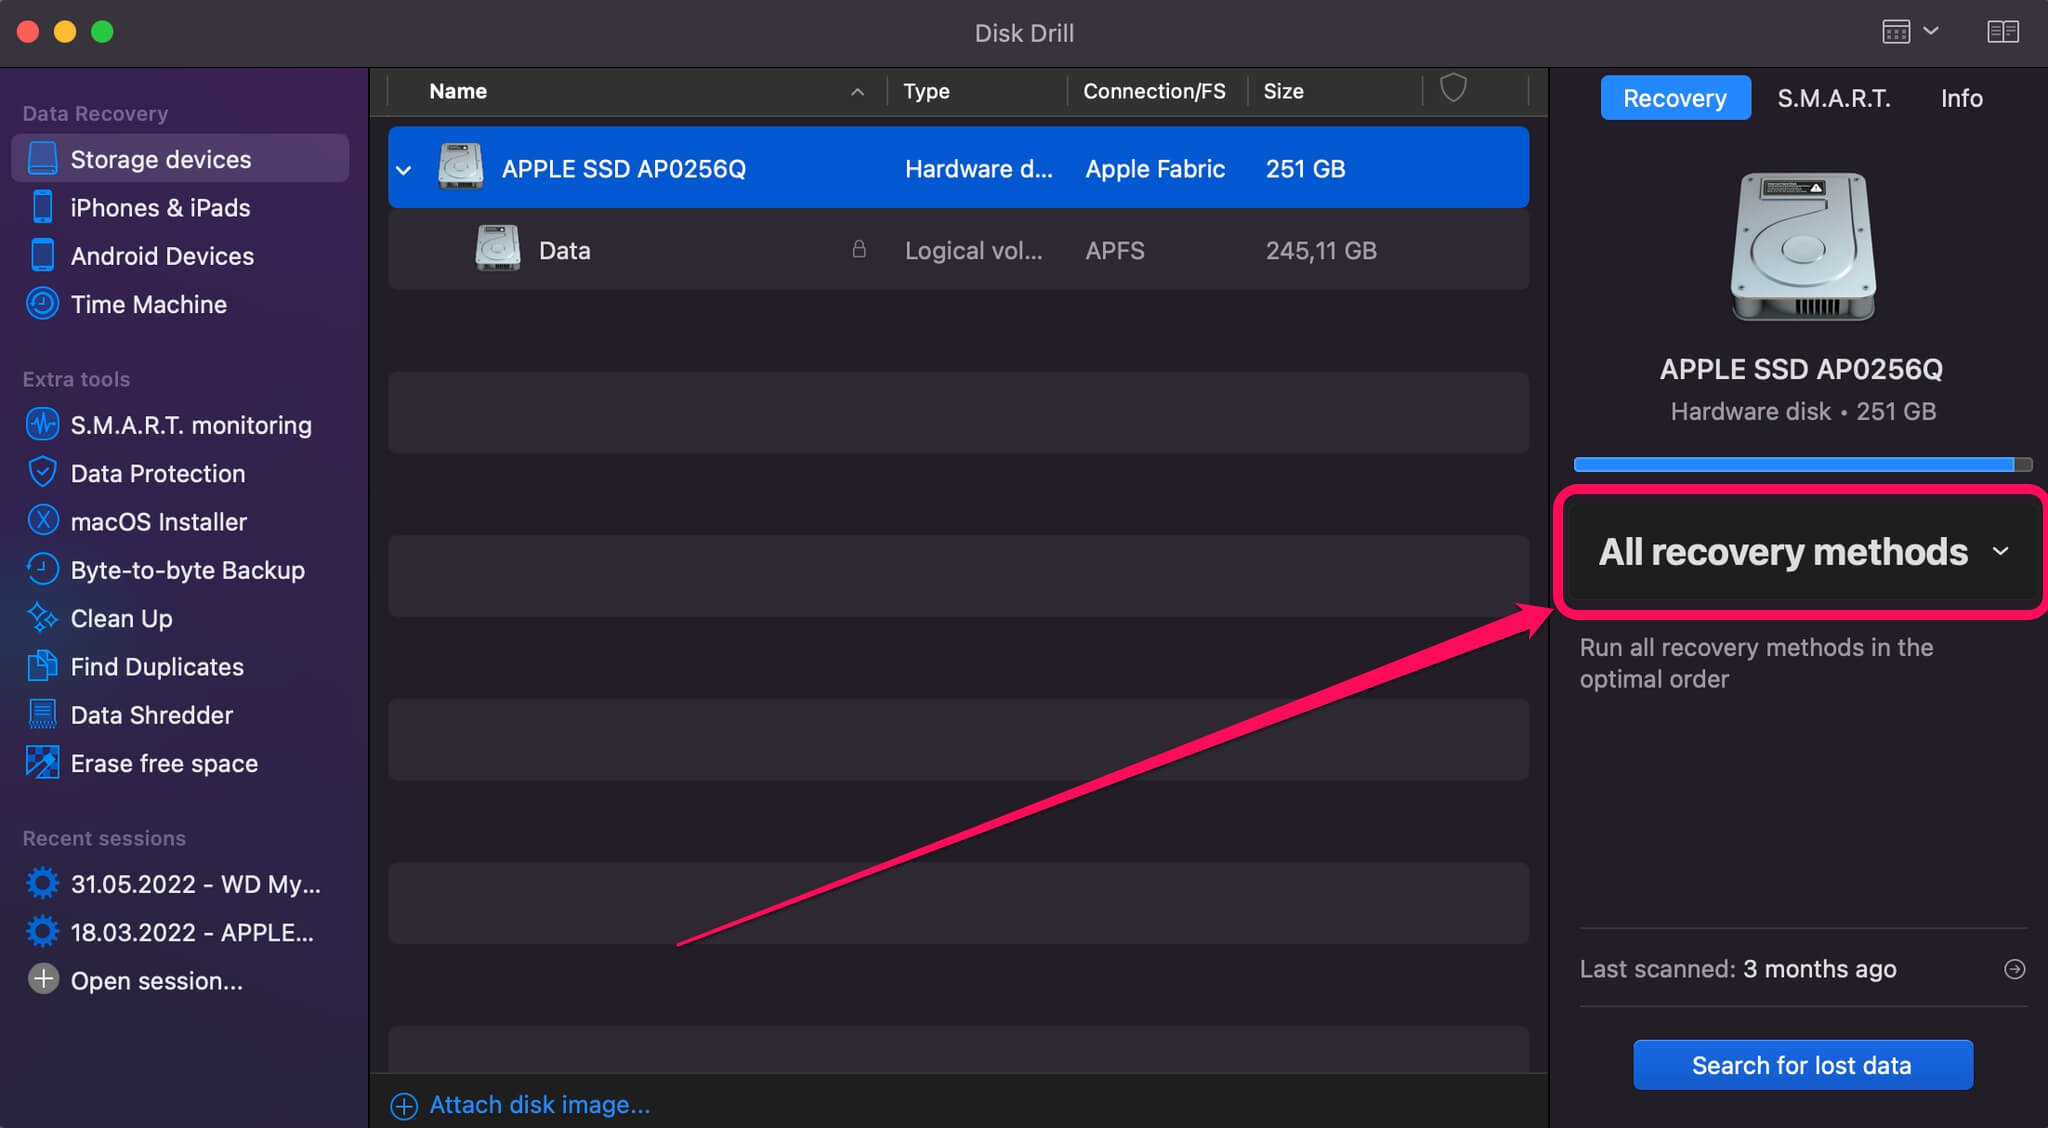
- Select All recovery methods. You will see a list of files that can be recovered.
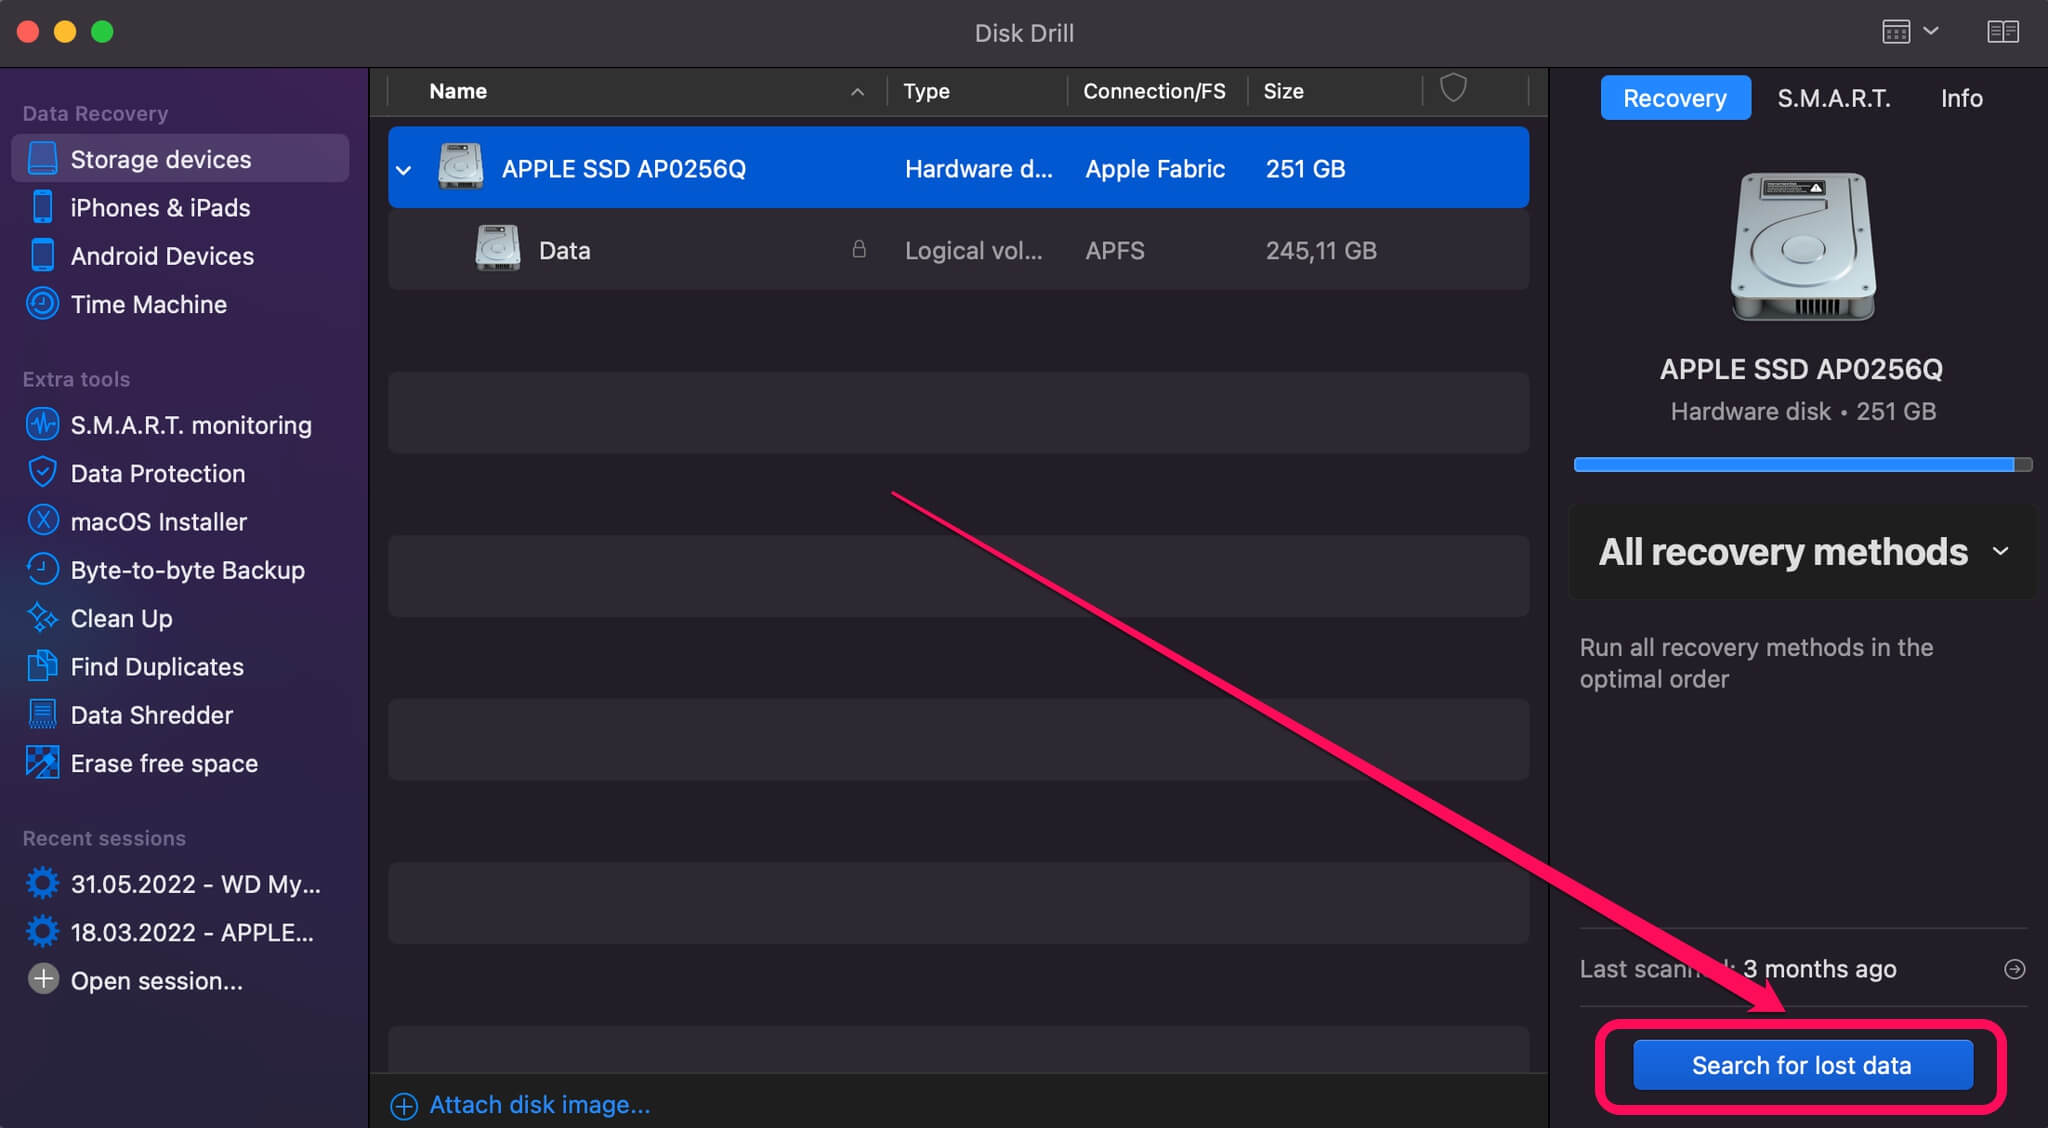
- Click on Search for lost data.
- Select each file you’d like to recover.
- Click Recover.
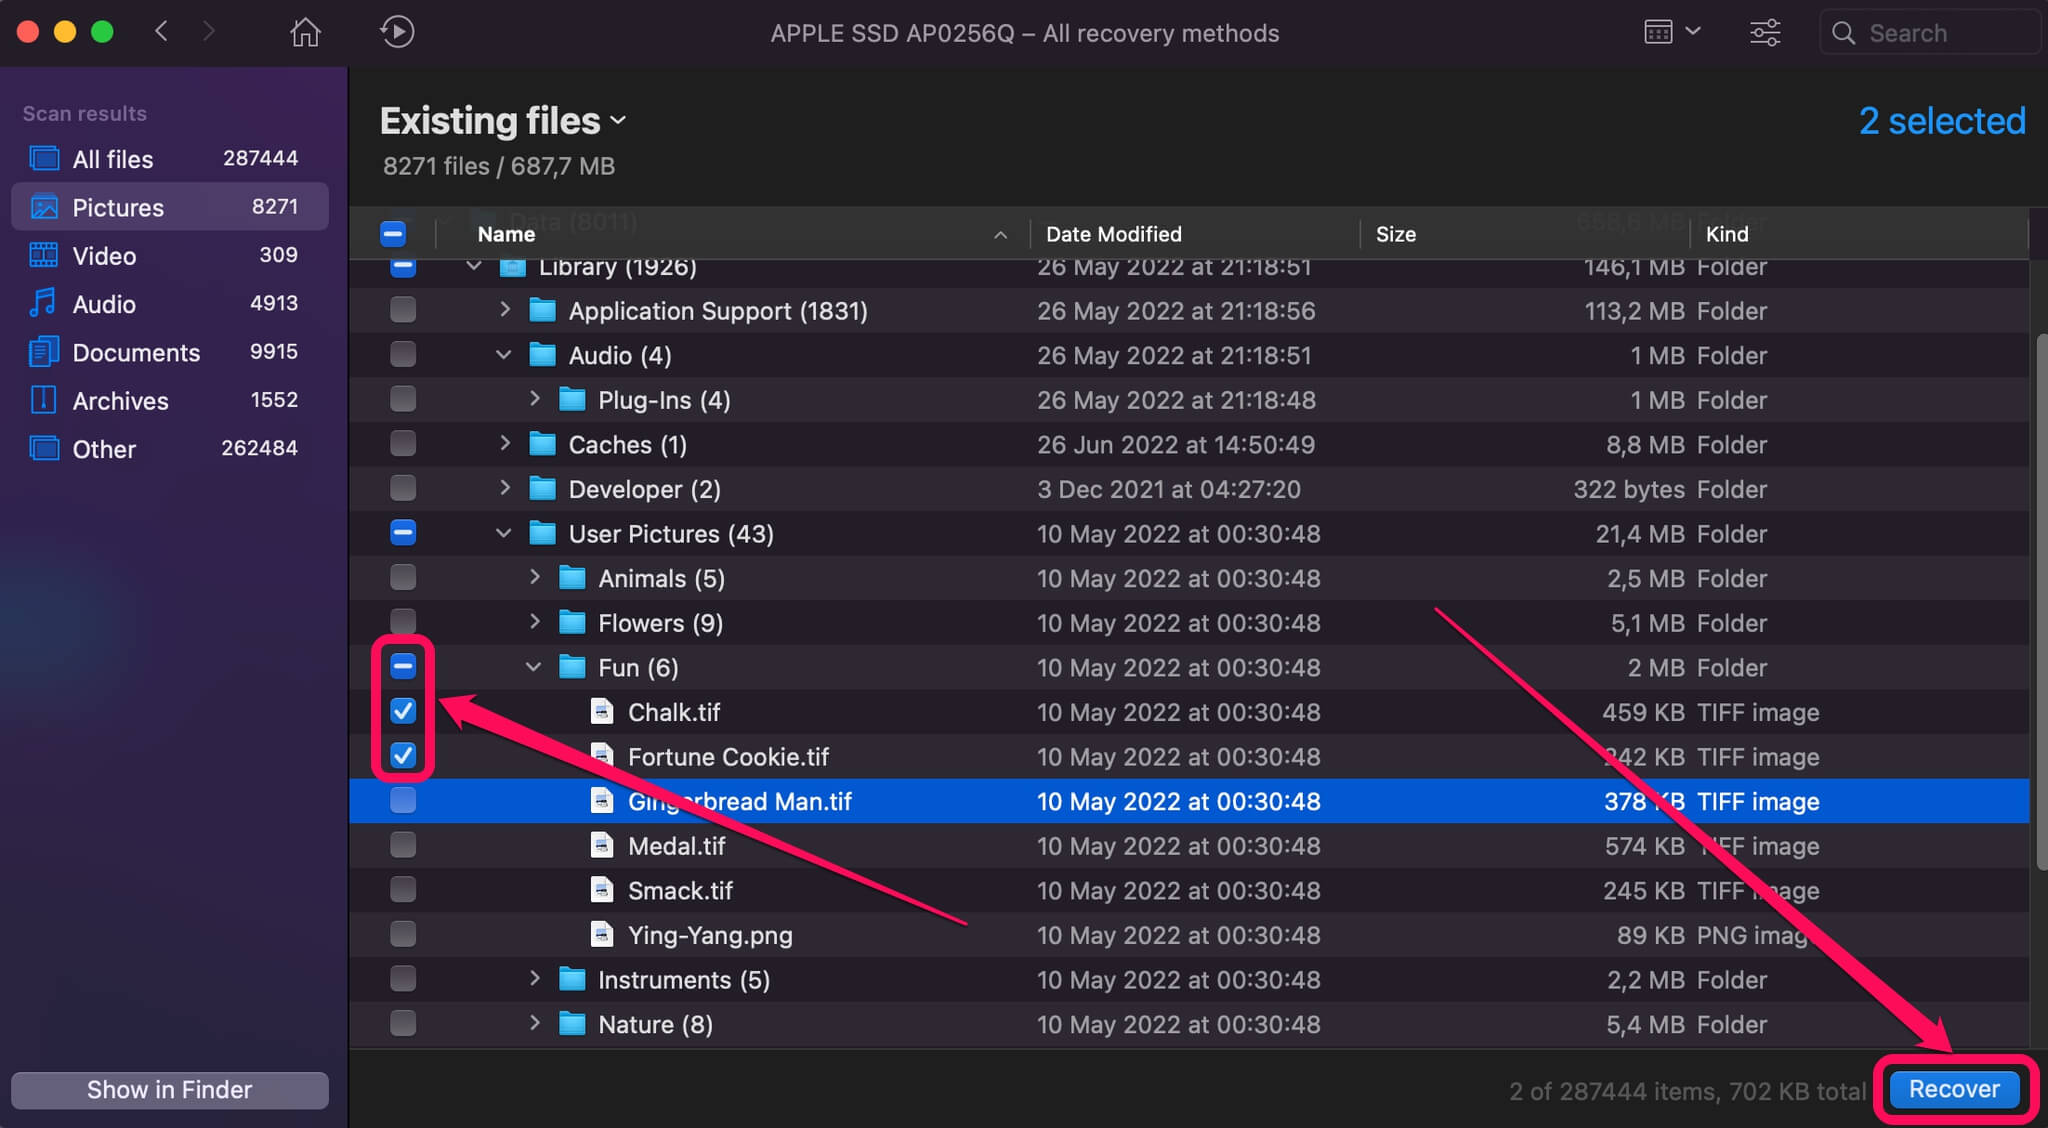
- Select a location to store the recovered data. It’s important to use a separate drive and not the one you’re recovering from – otherwise you risk overwriting your data!

Method #4: Recover data from iMac hard drive with Disk Drill
- To recover lost files, corrupt data and lost drive partition, download Disk Drill for Mac OS X and install it.
- Disk Drill for Mac is available in two options: Pro version and Disk Drill free version. Disk Drill free version can be used to scan lost files on an iMac desktop, to retrieve recoverable files you need to upgrade to the full version that comes with unlimited options and futures.
- After successfully installing one of Disk Drill version, launch the program on your desktop.
- Disk Drill will provide you with a welcome guide that explains some few useful tips for data recovery. Read the welcome guide and continue with the data recovery process.
- On Disk Drill data recovery window, you will see all storage media drives connected to your desktop.
- Locate the hard drive partition that you want to recover deleted files from and click on the “Recovery” button.
- Disk Drill will perform a quick scan that will try to recover iMac files.
- When the scanning process is done, Disk Drill will display all recoverable files on your screen. Select all the files and documents that you would like to recover back and save them on your iMac hard drive.
Method #5: Use Professional Data Recovery Services
There are professional services that can help you recover your lost files too. Companies like Cleverfiles Data Recovery Center can help you get back data that you may not be able to recover yourself with normal methods. Keep in mind that these services tend to cost a lot of money and don’t work fast. It can take weeks or even months until you get your drive back.
Conclusion
The iMac line of computers is a great option for professionals and hobbyists alike. If you want a good combination of high performance and ease of use, an iMac will likely be your best option. However, it’s important to know what you can do in case of accidental data loss. It’s possible that your data isn’t lost forever, but you need to act fast if you want to increase your chances of saving it.


FAQ
An iMac is useful for a variety of tasks. It’s a popular choice among developers, designers, and hobbyists working on various creative projects. It’s also a great all-around computer for daily use that offers many features without requiring expert knowledge in their use.
Macintosh is the general name for Apple’s line of computers, including iMac and MacBook. iMac is just one of the specific lines under that brand name.
An iMac and a PC are very different, both in terms of hardware as well as software. iMacs are sold in preconfigured setups with little room for choice, but are designed to work out of the box.
A PC, on the other hand, can be customized heavily according to your preferences, but it usually requires a little more tinkering to adjust it to your liking. An iMac is also usually slightly more expensive for relatively similar hardware configurations, but that price includes the operating system as well.
Choosing between a MacBook and iMac is mostly a matter of portability. If you are constantly on the go and want to have access to your workstation no matter where you are, a MacBook will probably be a better option. On the other hand, if you primarily work in the same spot and want to get the best performance for your money, you should look into an iMac.