The Photos app on Mac is the one place where all of the photos and videos that we take on our iPhone will be stored. They then sync across all of our other devices and we can access them anywhere.
The Photos app will come installed on any new Apple device that we use making it super easy to take a photo in one place and then view it in another.
If we’re having issues with our Photos or the entire Photo Library in general, we may need to restore it which we’re going to take a look at how to do in this article.
What Is the Photos Library?
Photos on Mac features an immersive, dynamic look that showcases your best photos. All of the photos that you take on your iPhone, Mac, or any other Apple device will be stored here. It comes with some awesome and powerful features.
- Find the shots you’re looking for with powerful search options.
- Organize your collection into albums, or keep your photos organized automatically with smart albums.
- Perfect your photos and videos with intuitive built-in editing tools, or use your favorite photo apps.
- With iCloud Photos, you can keep all your photos and videos stored in iCloud and up to date on your Mac, Apple TV, iPhone, iPad, and even your PC.
It’s no wonder with these features why so many people love and use the Photos library on our Mac and across all of our other devices.
How to Restore the Photos Library on Mac
If you’re noticing that your Photos app isn’t working correctly or that you’re missing photos from it there are multiple ways that we can repair it and try to fix the issue. I would recommend that you follow the steps below in the order that they’re listed.
If you’ve already attempted one of the methods then you can feel free to move on to the next one if your issue hasn’t been resolved yet.
Method 1: Check your Recently Deleted Folder
The Recently Deleted folder is in place should we delete something that we didn’t want to delete or we change our mind and we want to recover it at some point down the road.
This is the first method that we should attempt.
- Launch the Photos app.
- Go to the Recently Deleted Folder.
- Select the photos that you want to recover.
- Click on Recover.
The next step would be to make sure that your iCloud settings are set up correctly.
Method 2: Restore Photos by Using iCloud
We want to also make sure that our iCloud Photos sync settings are turned on as having those off could cause our photos to not appear.
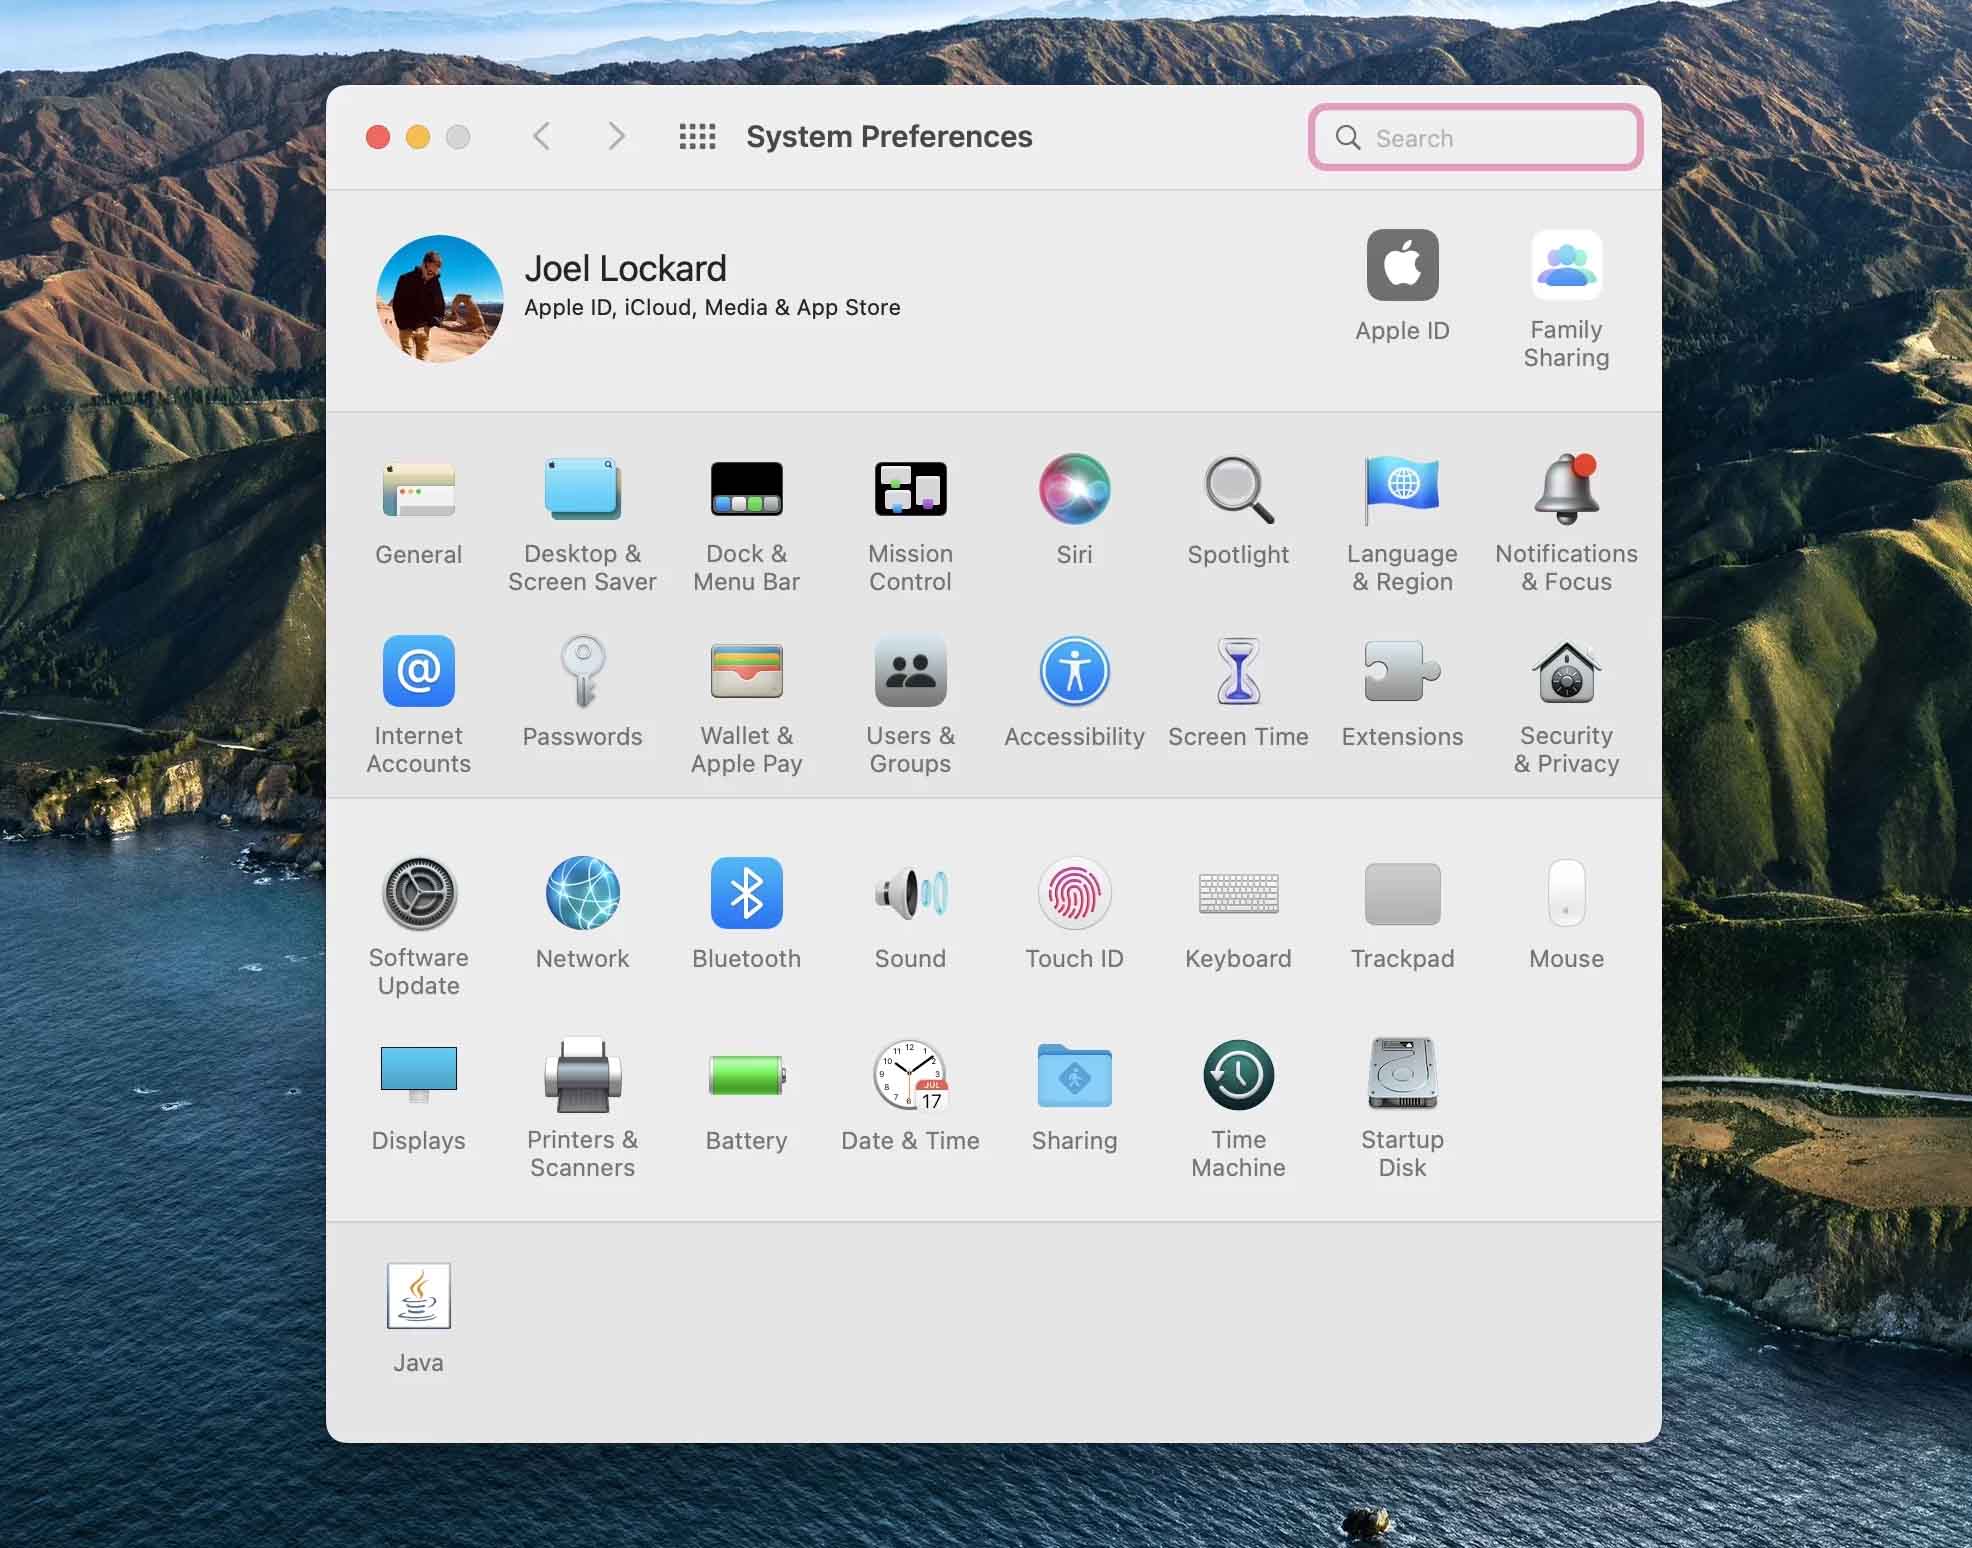
- Launch your System Preferences.
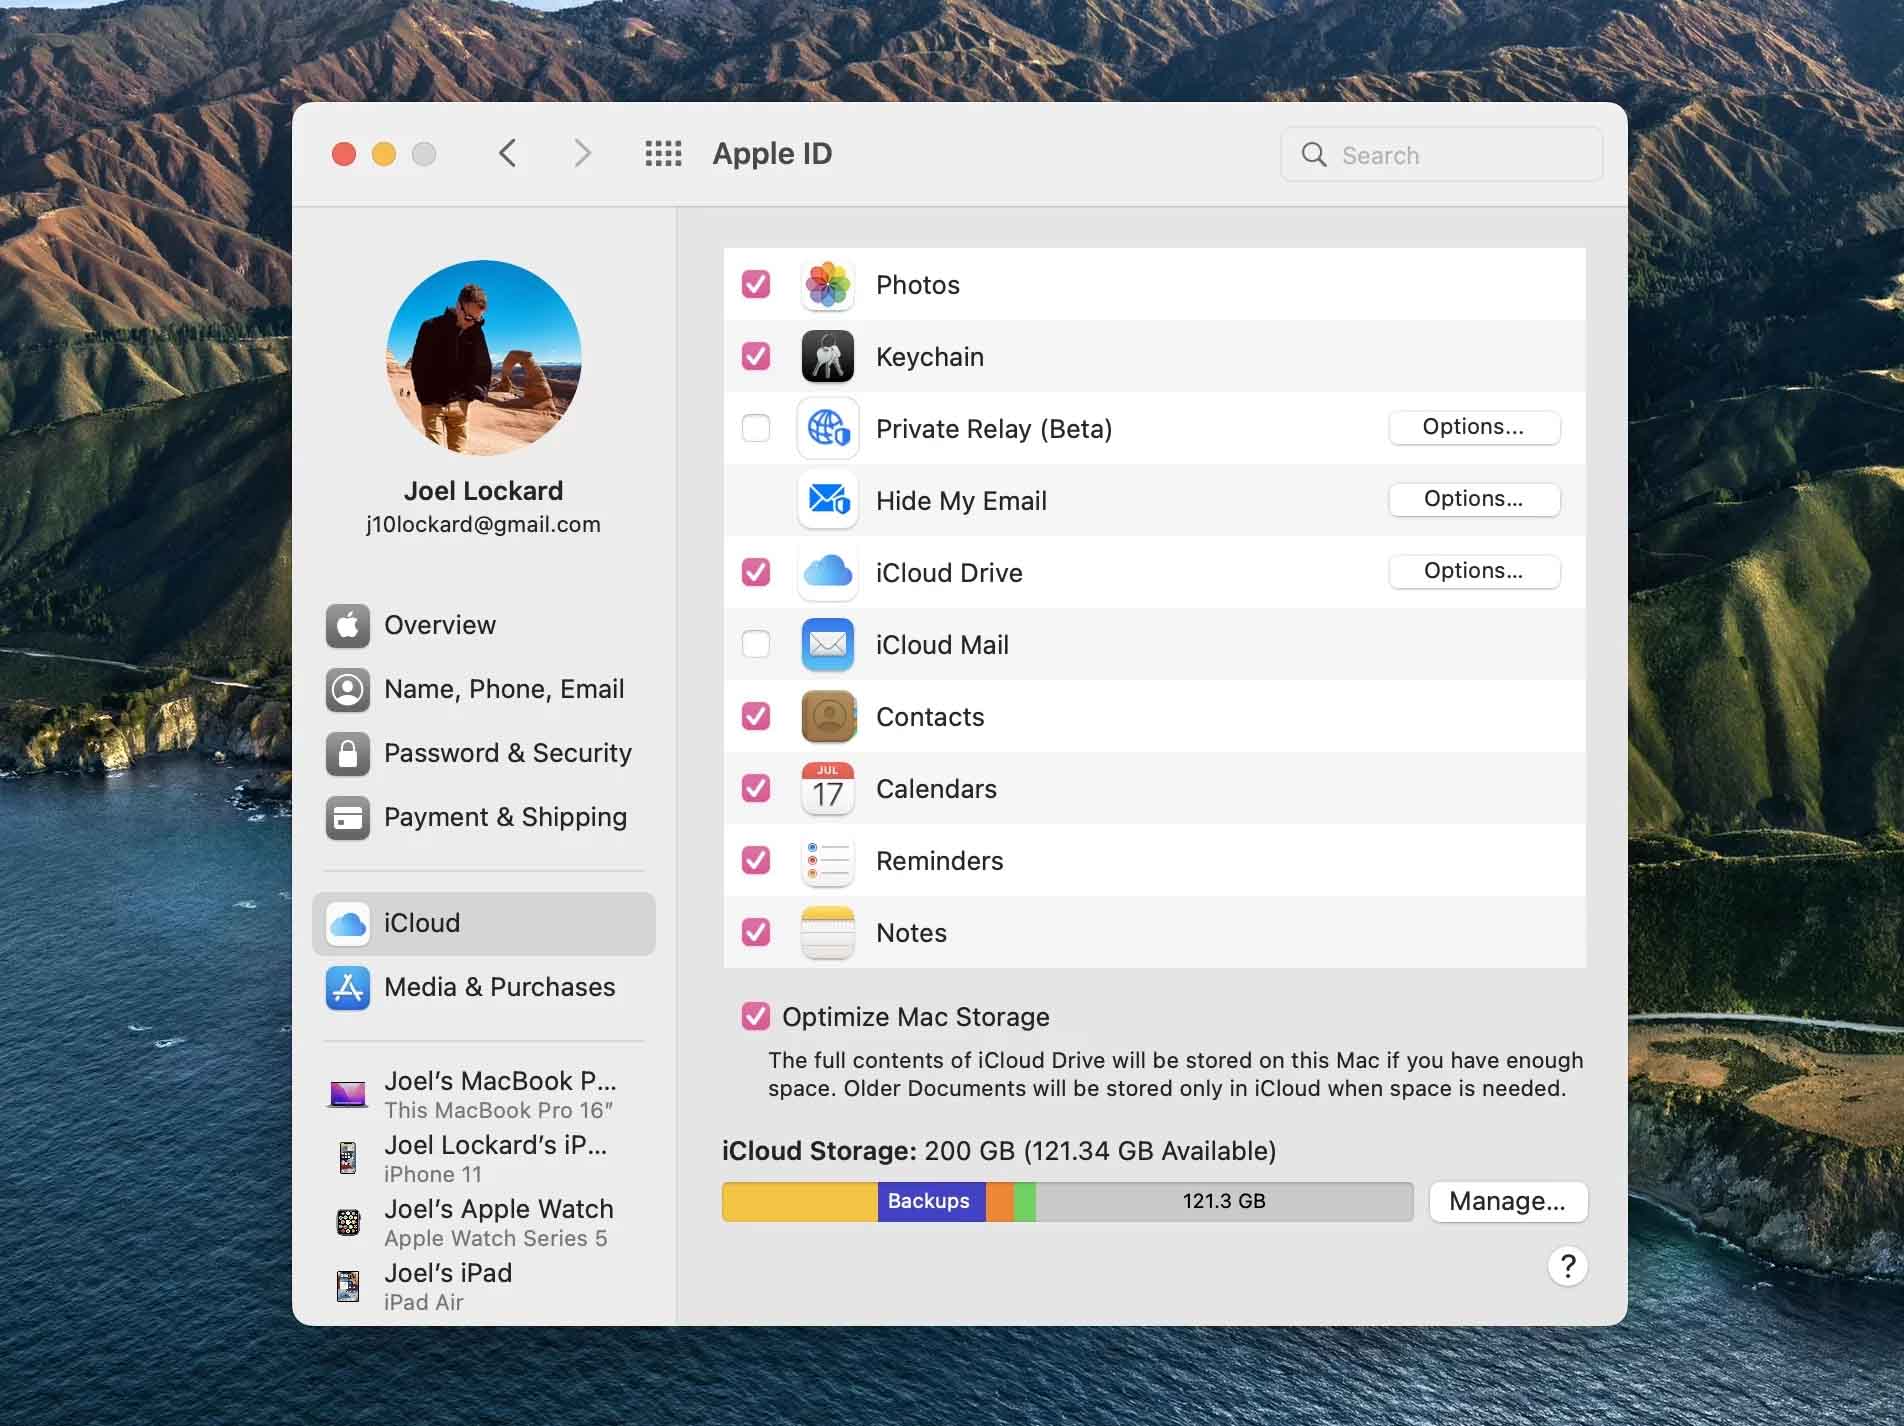
- Go to Apple ID.
- Once within your Apple ID settings, ensure that Photos are selected and turned on.
If you’re still not seeing your photos, then let’s look at how to repair our Photo Library.
Method 3: Repair the Photo Library
If you’re having issues launching, using, or viewing your photos in the Photos app then you will want to attempt repairing your photo library.
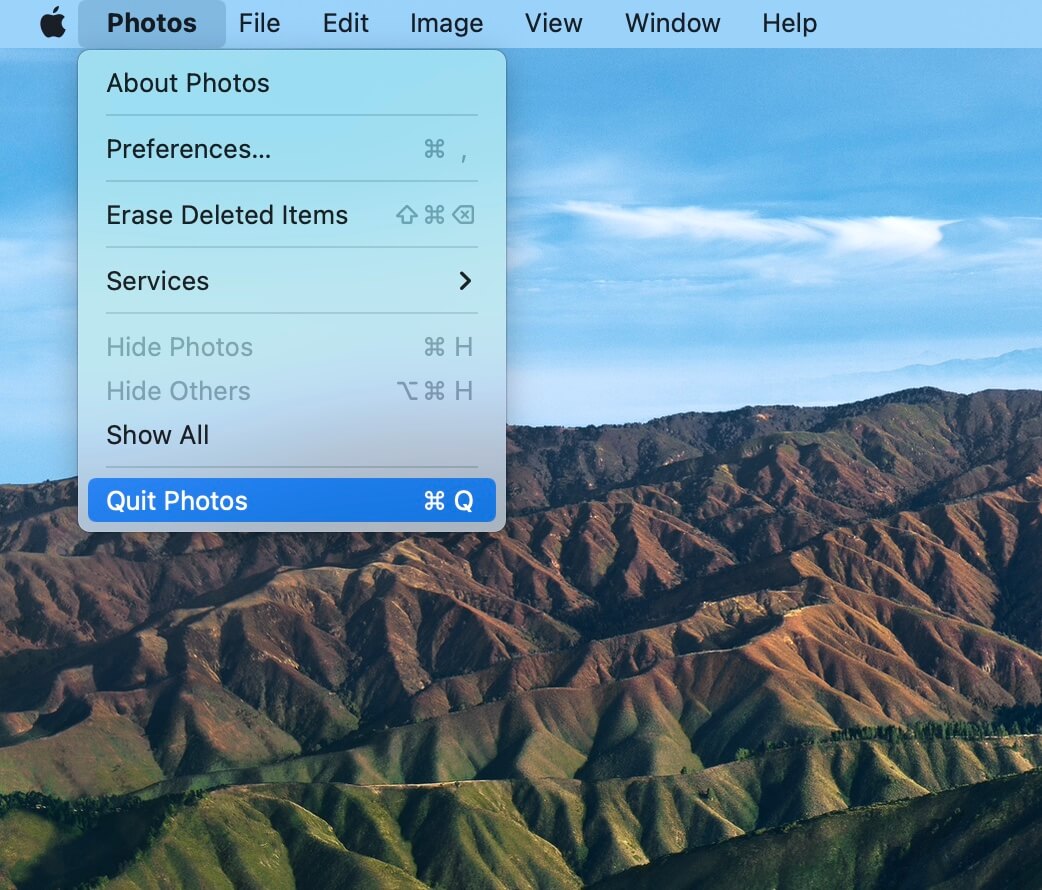
- If the Photos app on your Mac is open, choose Photos > Quit Photos.
- Press Option–Command and double-click the Photos icon in the Applications folder (or click the Photos icon in the Dock).

- In the Repair Library window, click Repair to rebuild your Photo Library.
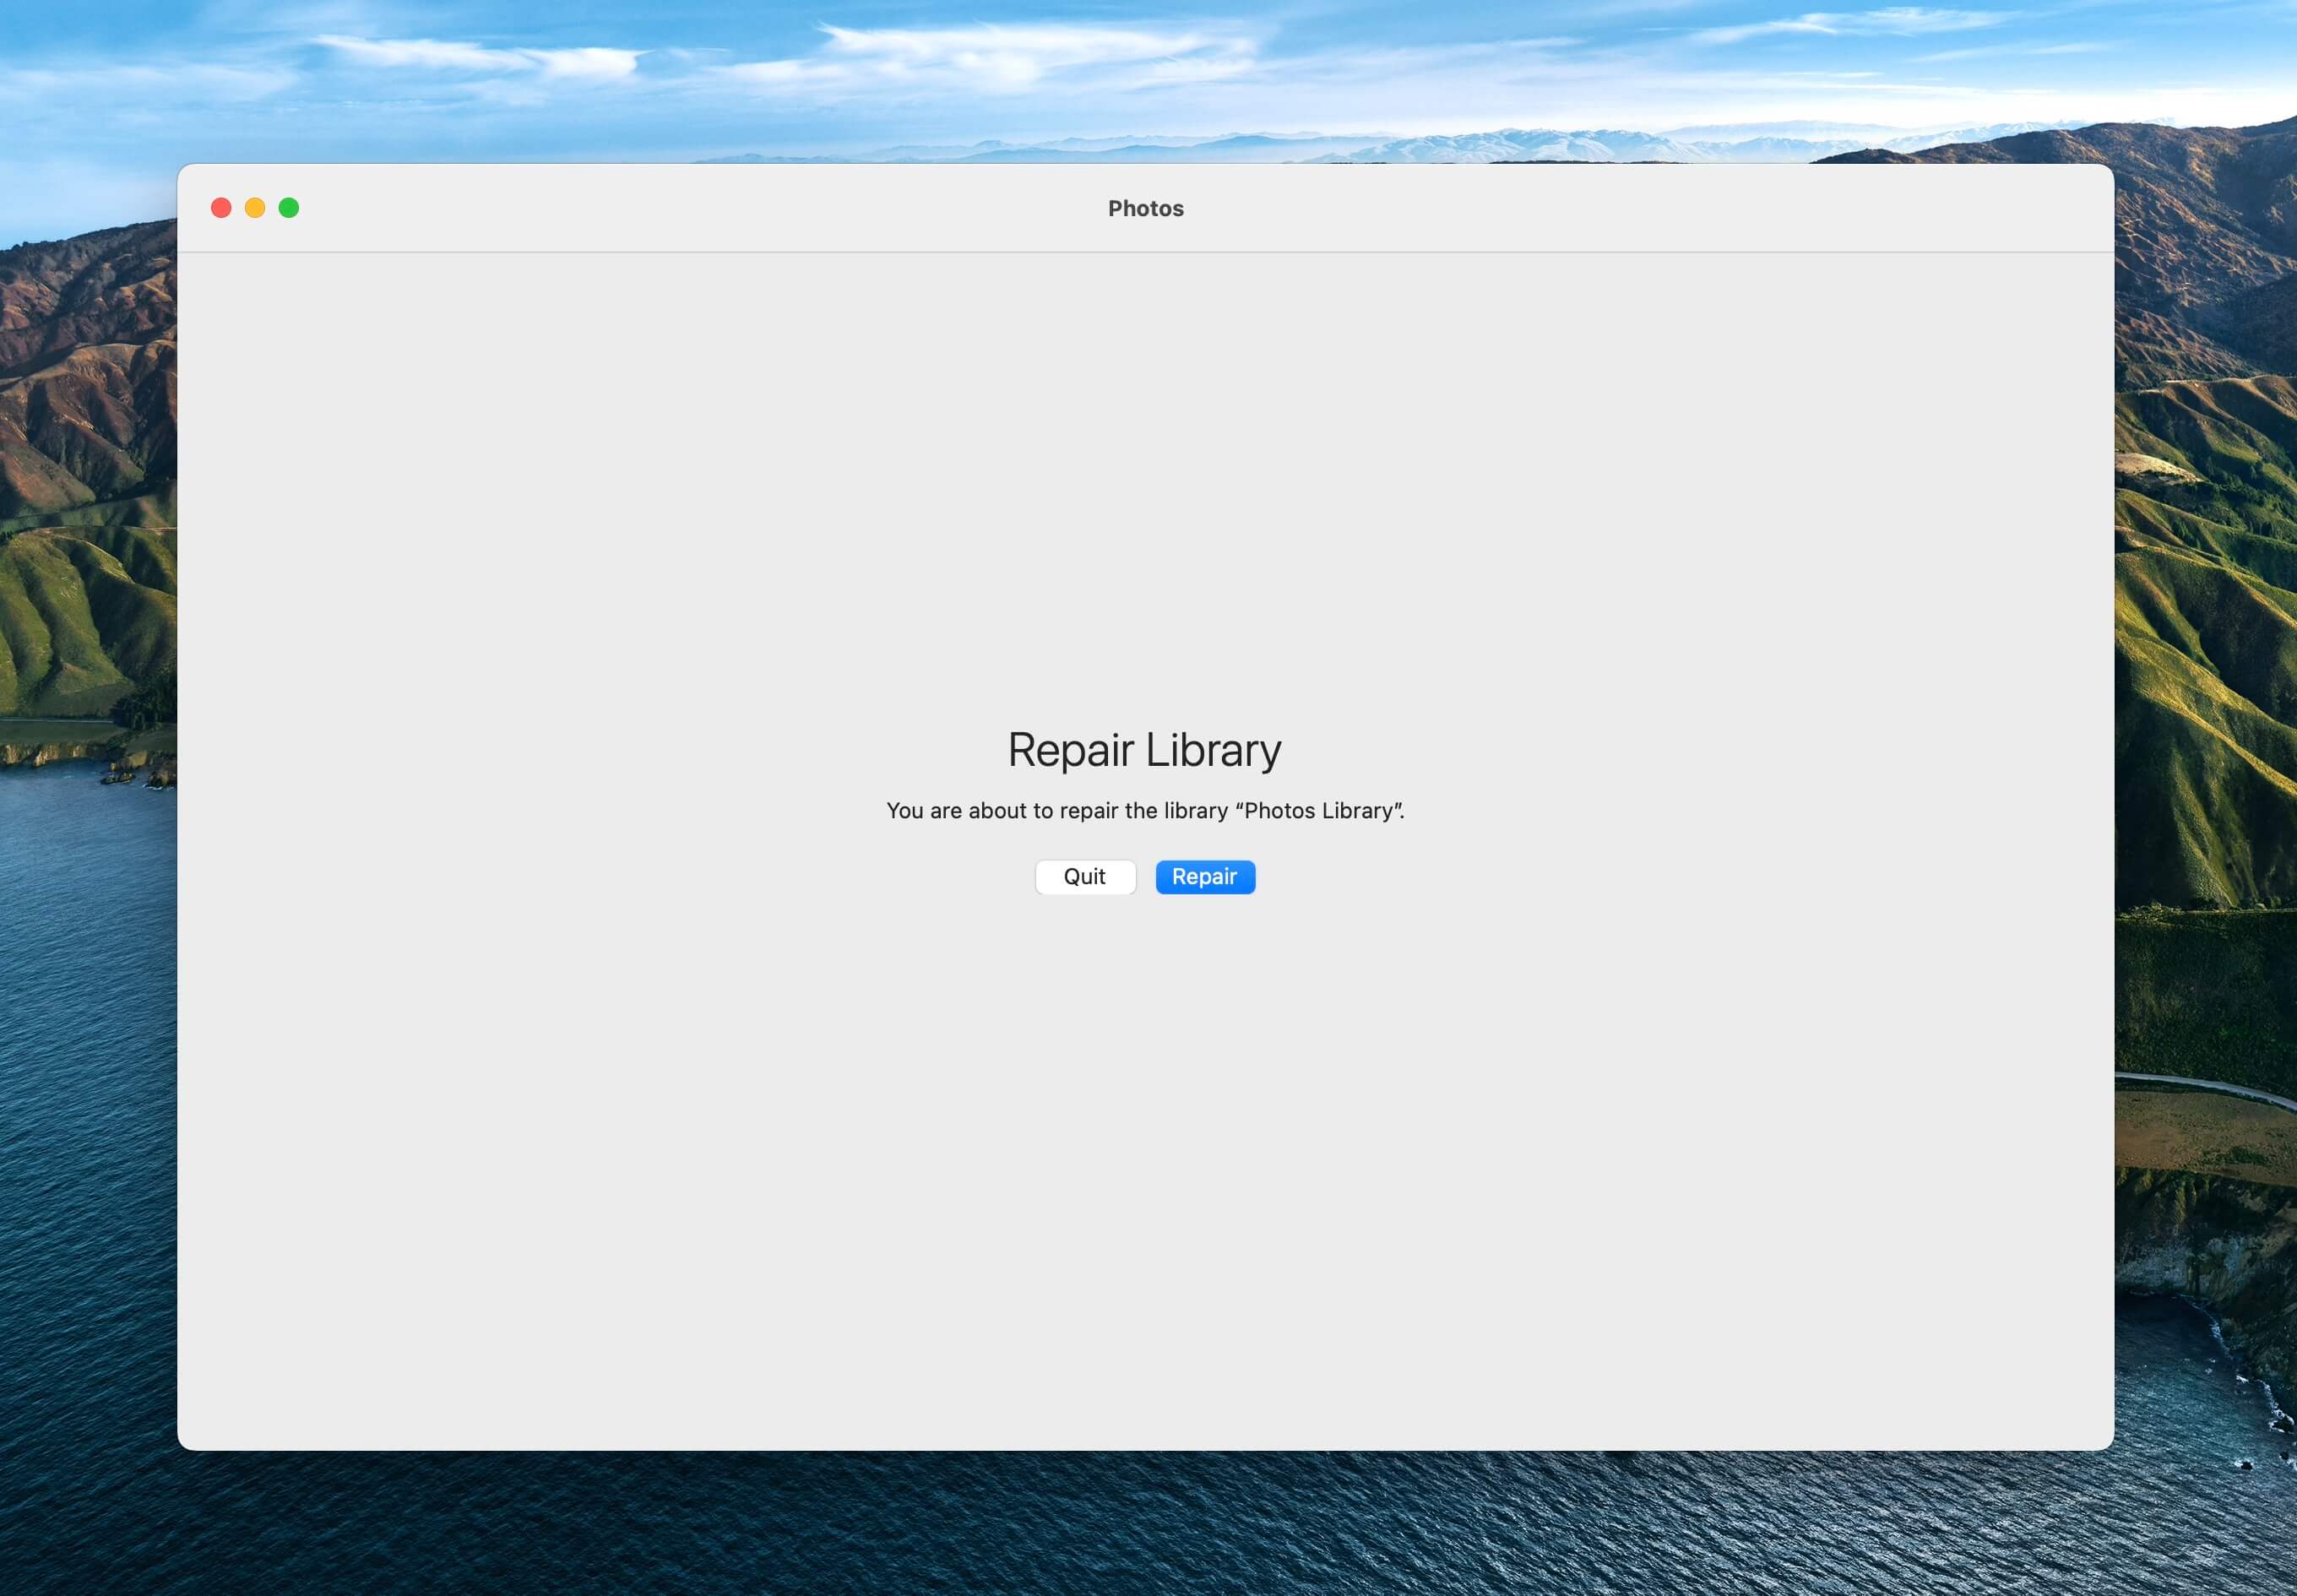
- Wait for the repair to complete and then see if your photo library is working correctly. This can take some time depending on the number of photos that you have.
Method 4: How to Restore macOS From a Time Machine Backup Using Migration Assistant
If you’re missing photos and need to restore your photo library on your Mac then you can restore it from a Time Machine backup by using Migration Assistant.
Migration Assistant is a utility built into macOS that you can use to restore your Mac to an earlier date if it’s not working correctly or if you have missing data.
This would put your Photo library back to how it was on that day and the rest of your Mac as well so keep that in mind as you will lose any data that you created after the day that you restore back to.
- Launch Migration Assistant from within the Utilities folder.
- You will then be greeted by a window that will tell you about what Migration Assistant does. Click on Continue to move forward to the next screen.
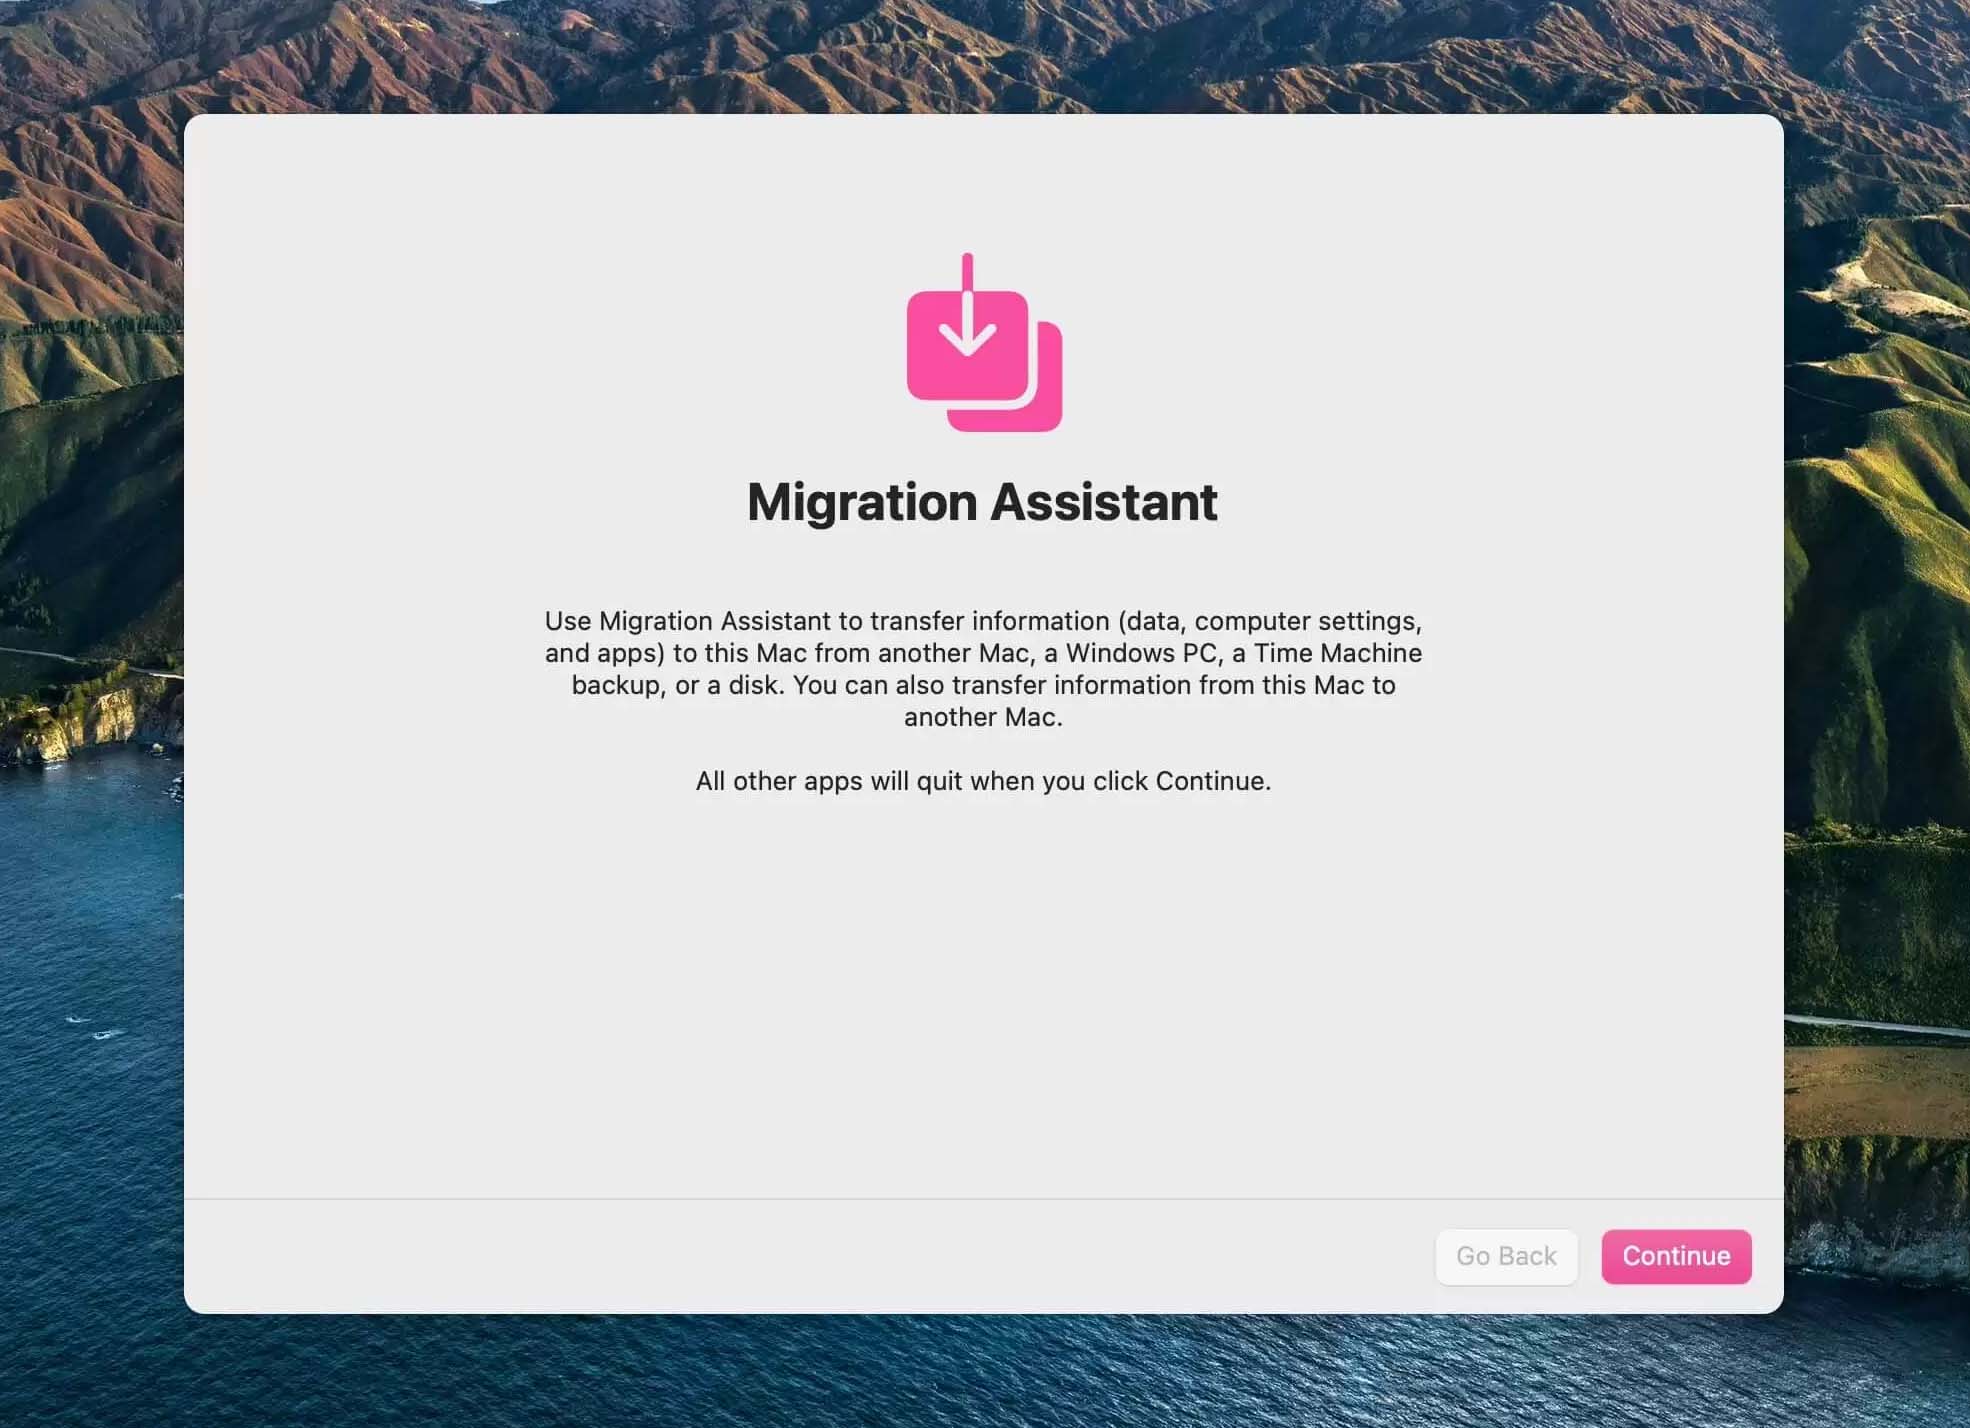
- Then, select that you want to transfer information from a Time Machine Backup.

- Plug your external hard drive into your Mac and restore back to the date that you last had the photos that you’re wanting to recover.
- Wait for the backup process to complete.
Method 5: Recovering Photos on Mac Without a Backup (Using Disk Drill)
If you don’t back up your Mac, don’t worry as we can attempt to restore the deleted file by using third-party data recovery software.
Disk Drill will allow you to recover data on your Mac even if you don’t have a backup in place. I like using Disk Drill because of the following:
- 📄 Can recover pretty much any data format.
- 🔍 It actually works and can find your data.
- ⚙️ Works on the newer Macs with Apple Silicon.
Let’s scan our Mac and see if we can recover some files even though we don’t have a backup.
- Download and install Disk Drill onto your Mac.
- Launch Disk Drill and scan the storage device that you would like to recover the lost file from. In this example, I’m going to scan my Mac hard drive.
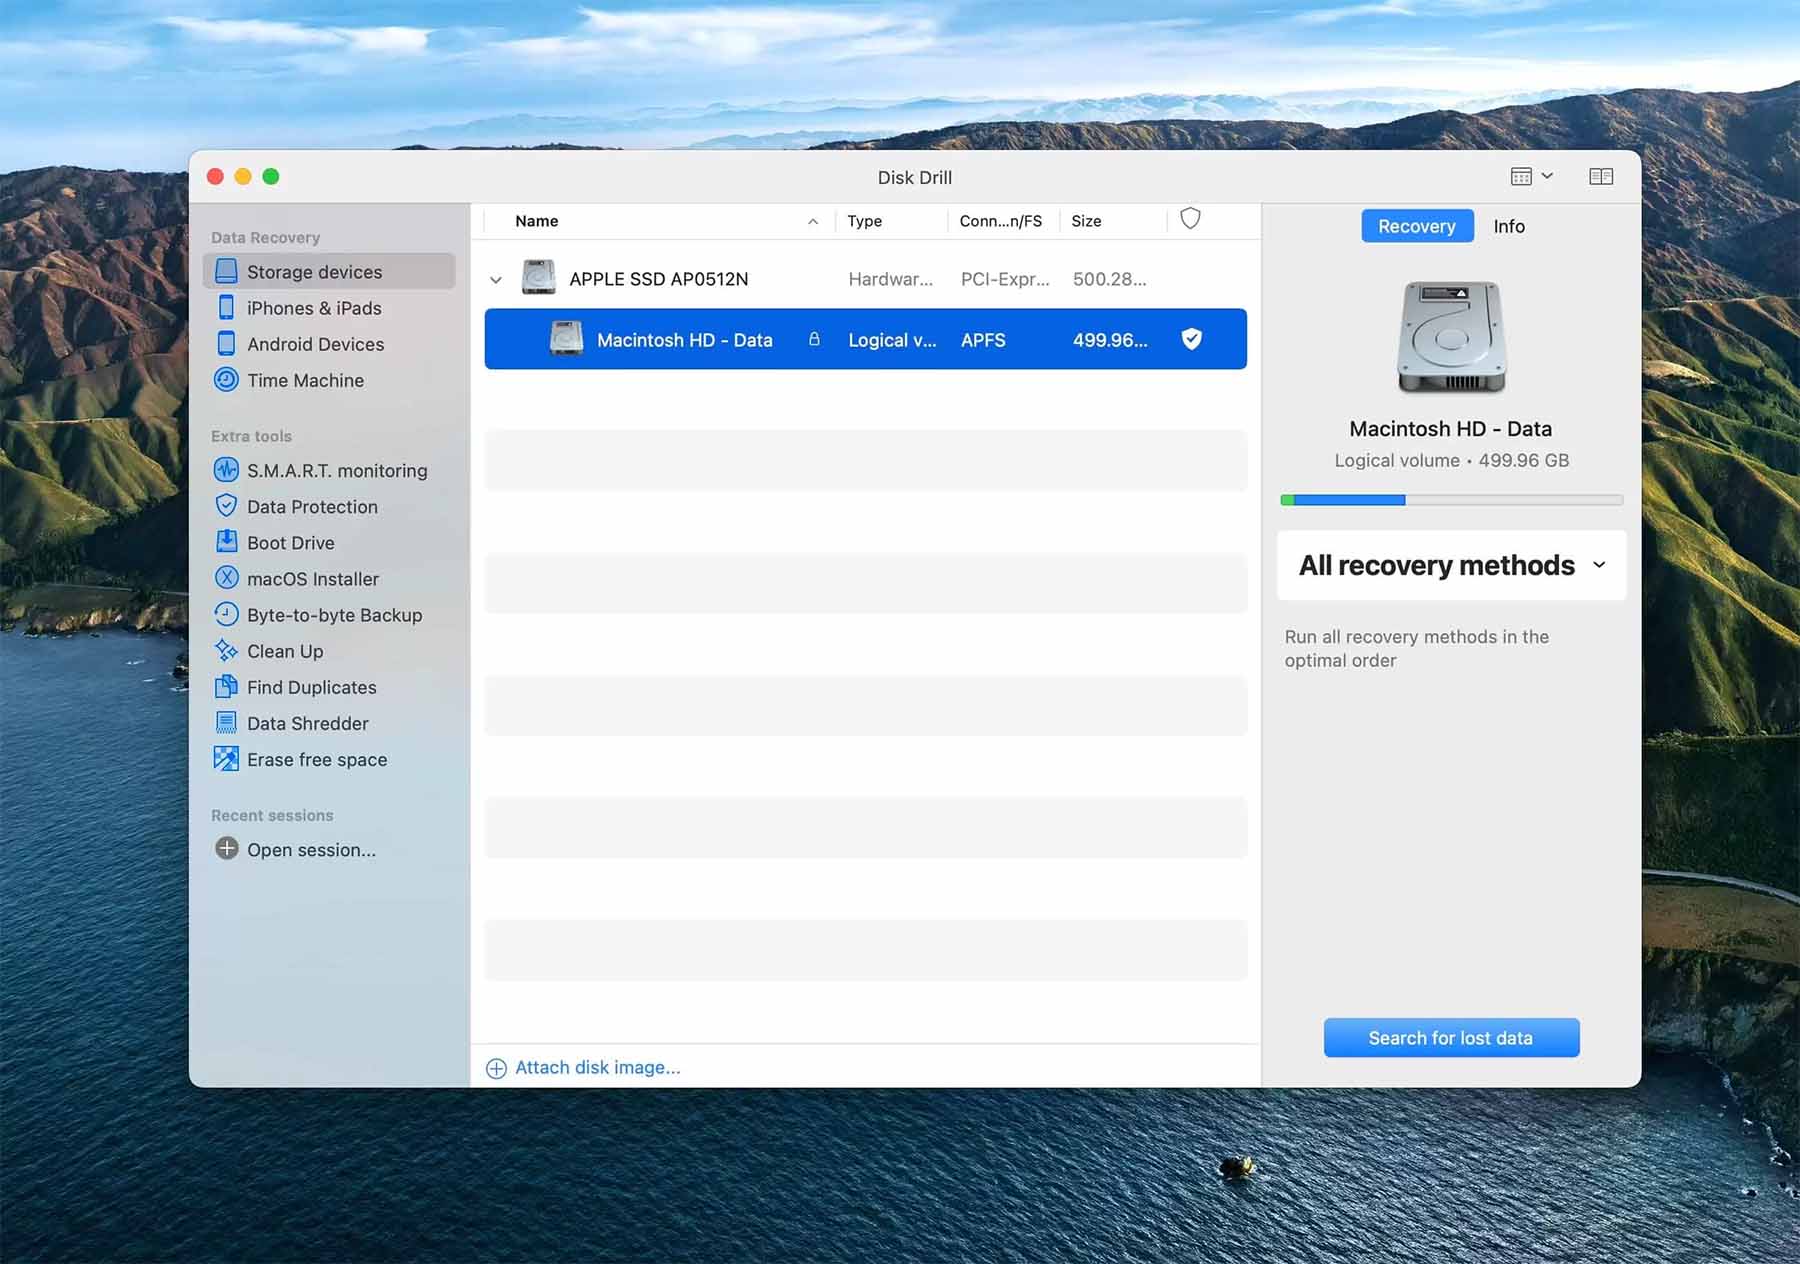
- Wait for the scan process to complete.

- Once the scan process has been completed, you can review what Disk Drill was able to find. I’m using the Preview feature in this next screenshot which allows me to enlarge an image to see it fully before I choose to recover it. To do this, simply select the eye icon when hovering over a file in Disk Drill.
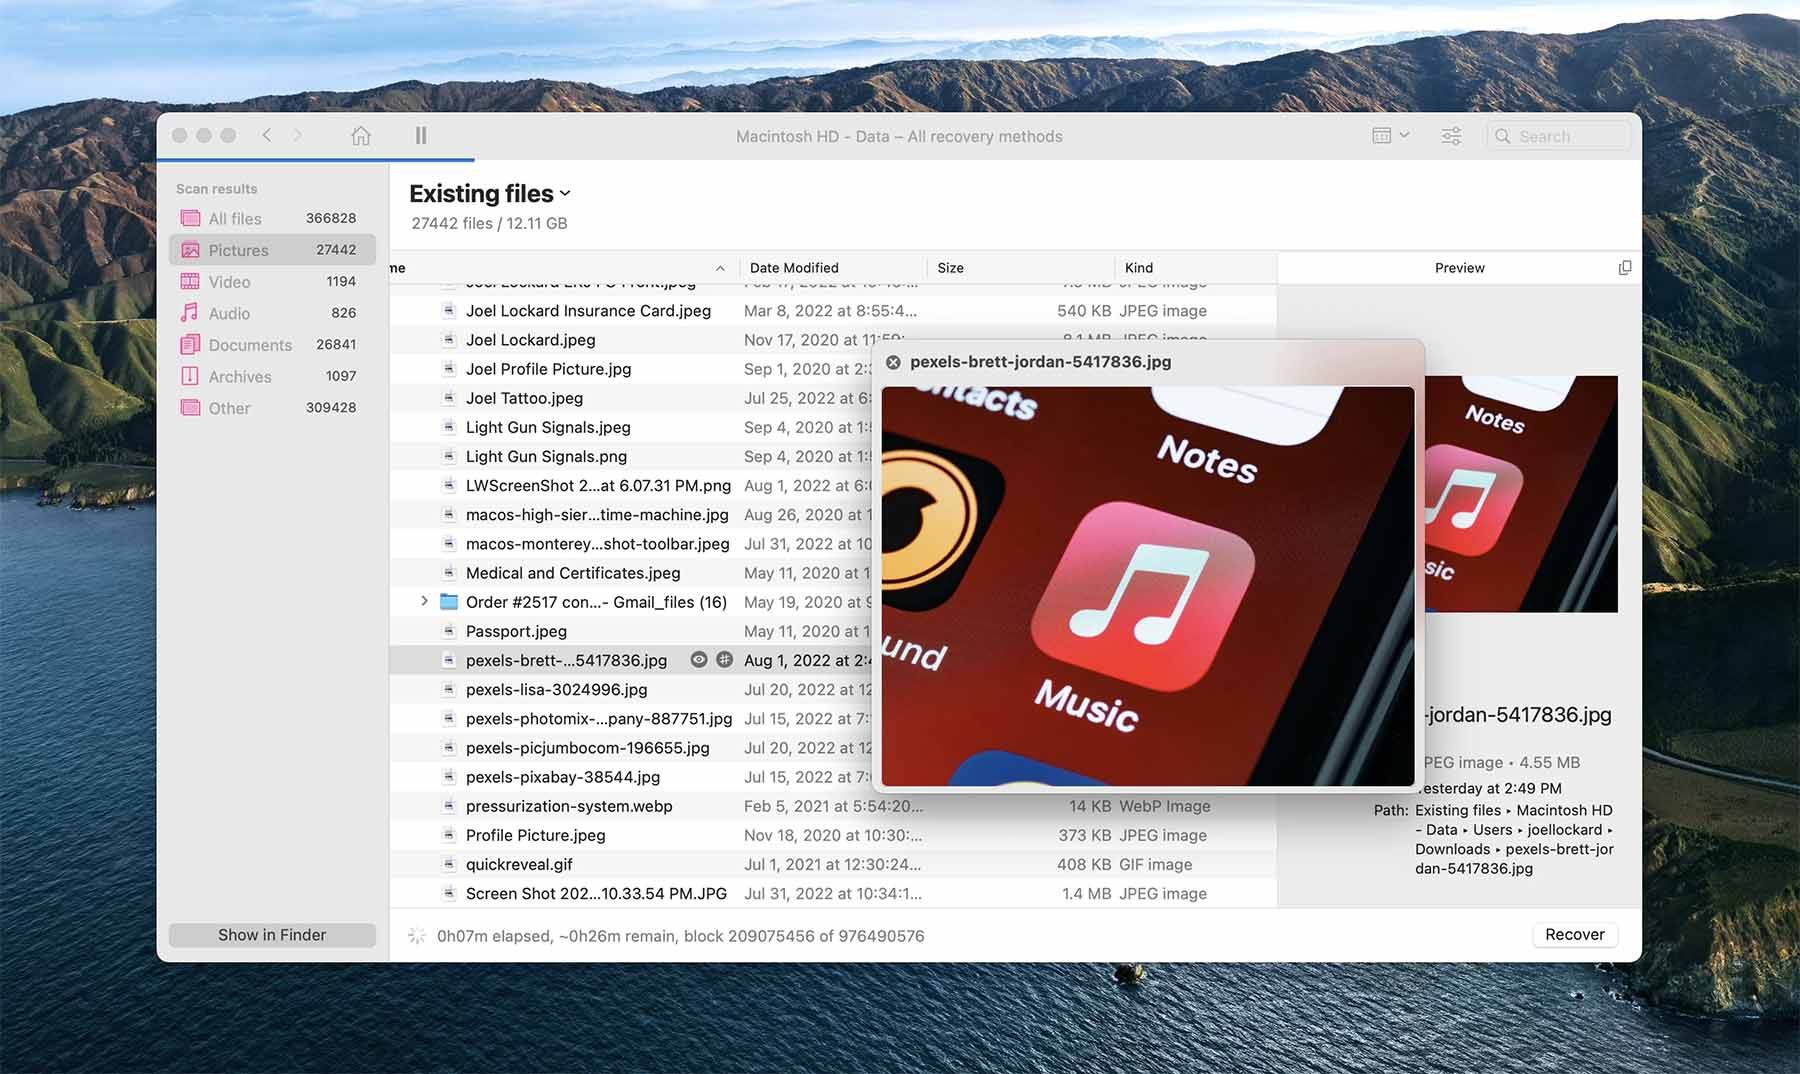
- Select the files that you would like Disk Drill to recover and then click on the blue Recover button.

Now that we’ve gone through how to restore our photos, let’s talk about what we can do to protect them and prevent issues with our photos in the future.
Tip: How to Protect Your Photos Library
If you’re not already backing up your Mac, you should! It’s quite easy to do. As I mentioned above no one thinks that they’re going to lose data on their Mac until it happens and then they wish that they had been backing up!
To use Time Machine, you will need an external hard drive and you can get these for pretty cheap these days.
- Plug your external hard drive into your Mac.
- Launch System Preferences and then go to Time Machine.
- Select the external hard drive that you’ve plugged into your Mac and give it a name, mine is called “Backup Drive”.
- Wait for the backup to complete.
Conclusion
The Photo Library on Mac has come such a long way and now for most people you can organize and edit your photos right in the app that comes installed on your Mac.
In addition, knowing how to restore your photo library should something happen to it can put us at ease should we delete a photo or our entire library and want to get it back onto our Mac.


FAQ
You can repair your Photo Library on your Mac by doing the following steps.
- If the Photos app on your Mac is open, choose Photos > Quit Photos.
- Press Option-Command and double-click the Photos icon in the Applications folder (or click the Photos icon in the Dock).
- In the Repair Library window, click Repair to rebuild your photo library.
You can restore your Photo Library by using Disk Drill to scan your iPhone for the photos that you would like to put back onto your device.
- Download and install Disk Drill onto your Mac.
- Launch Disk Drill and then select your iPhone as the device to scan for lost photos.
- Wait for the scan process to complete.
- Once the scan process has been completed, you can review what Disk Drill was able to find.
- Select the files that you would like Disk Drill to recover and then click on the blue Recover button.
If you’ve lost your Photo Library on your Mac, follow the steps below to recover photos from the Recently Delted folder.
- Launch the Photos app on your Mac.
- In the Photos app, click Recently Deleted in the sidebar.
- Select the items you want to restore.
- Click Recover.
If this didn’t work for you, try the methods that are discussed in the article above.
If you can’t get your Photo Library back, please follow these steps.
- Close the Photos app if it’s open on your Mac. To do this choose Photos > Quit Photos.
- Click the Time Machine icon in the menu bar and choose Enter Time Machine, or choose the Apple menu > System Preferences, then click Time Machine. You will need to have a Time Machine backup in place to use this option.
- Time Machine opens and shows your available backups.
- Click the date of your last backup, navigate to the backup of your photo library, then click to select it.
- Click Restore and wait for it to complete.