How to Upgrade to Disk Drill PRO/Enterprise
If you want to jump to a specific part of the article, feel free to use the Quick Navigation menu below. It will help you get the instructions on how to upgrade your Disk Drill from Basic version to PRO or Enterprise in no time.
➡️ Disk Drill for Windows: Basic to PRO/Enterprise upgrade instructions
➡️ Disk Drill for macOS: Basic to PRO/Enterprise upgrade instructions
Start your data recovery journey by downloading Disk Drill Basic—the free data recovery software for Windows and Mac. If you haven’t already, click the banner below to download Disk Drill Basic and start recovering your lost files today.
When Do I Need to Upgrade?
The great thing about Disk Drill is that you don’t have to upgrade to its premium/paid edition until you ensure the file(s) you are looking for can be recovered. Always download the free Disk Drill Basic first, and scan your storage device(s). Once you have located and successfully previewed the files you wish to recover, you may consider upgrading to Disk Drill PRO. In case you had our data protection modules enabled before the data was lost and can be restored with Disk Drill’s Recovery Vault (Windows) or Guaranteed Recovery (macOS), the recovery is totally free for you.
The Benefits of Upgrading to Disk Drill PRO
While the free Disk Drill Basic allows you to scan for lost files, preview the recoverable items, and recover from Recovery Vault (Windows) and Guaranteed Recovery (macOS) storage, only Disk Drill PRO will allow you to restore and access those files through other recovery methods like Quick and Deep Scan, smart recovery algorithms, partition search, etc.
Premium Upgrade Options
We have two Disk Drill licensing options available:
- 👨💼 PRO – The PRO edition is for personal use only. It allows you to install Disk Drill only on computers that you own and can only be used to recover data from hard drives and other media that belong to you. It cannot be used for money-making/commercial purposes. Disk Drill PRO is available in two variants:
- 🔄 PRO Subscription – Annual plan with access to all PRO features, priority updates, and ongoing support. Renew yearly to stay current.
- ♾️ PRO Lifetime License – One-time payment for a perpetual license that includes lifetime updates. Pay once and use Disk Drill forever.
- 🏢 Enterprise – This is the commercial license that allows you to install Disk Drill and recover files on any client computer. It can be deployed and used by multiple users — any employee in your company can use your license of Disk Drill. They can use it on all of your company’s computers and your client’s computers. Once data recovery is complete, you must uninstall Disk Drill PRO from client-owned computers (but you can install Disk Drill Basic for ongoing data protection).
How to Upgrade to Disk Drill PRO/Enterprise on Windows
If you’ve already purchased a Disk Drill PRO or Enterprise license and have your activation code ready, you’re in the right spot. Upgrading is quick and hassle-free. Watch our step-by-step video tutorial below to see the entire process in action, or scroll down for a detailed, easy-to-follow guide on how to apply your activation code and unlock all the Pro features of Disk Drill.
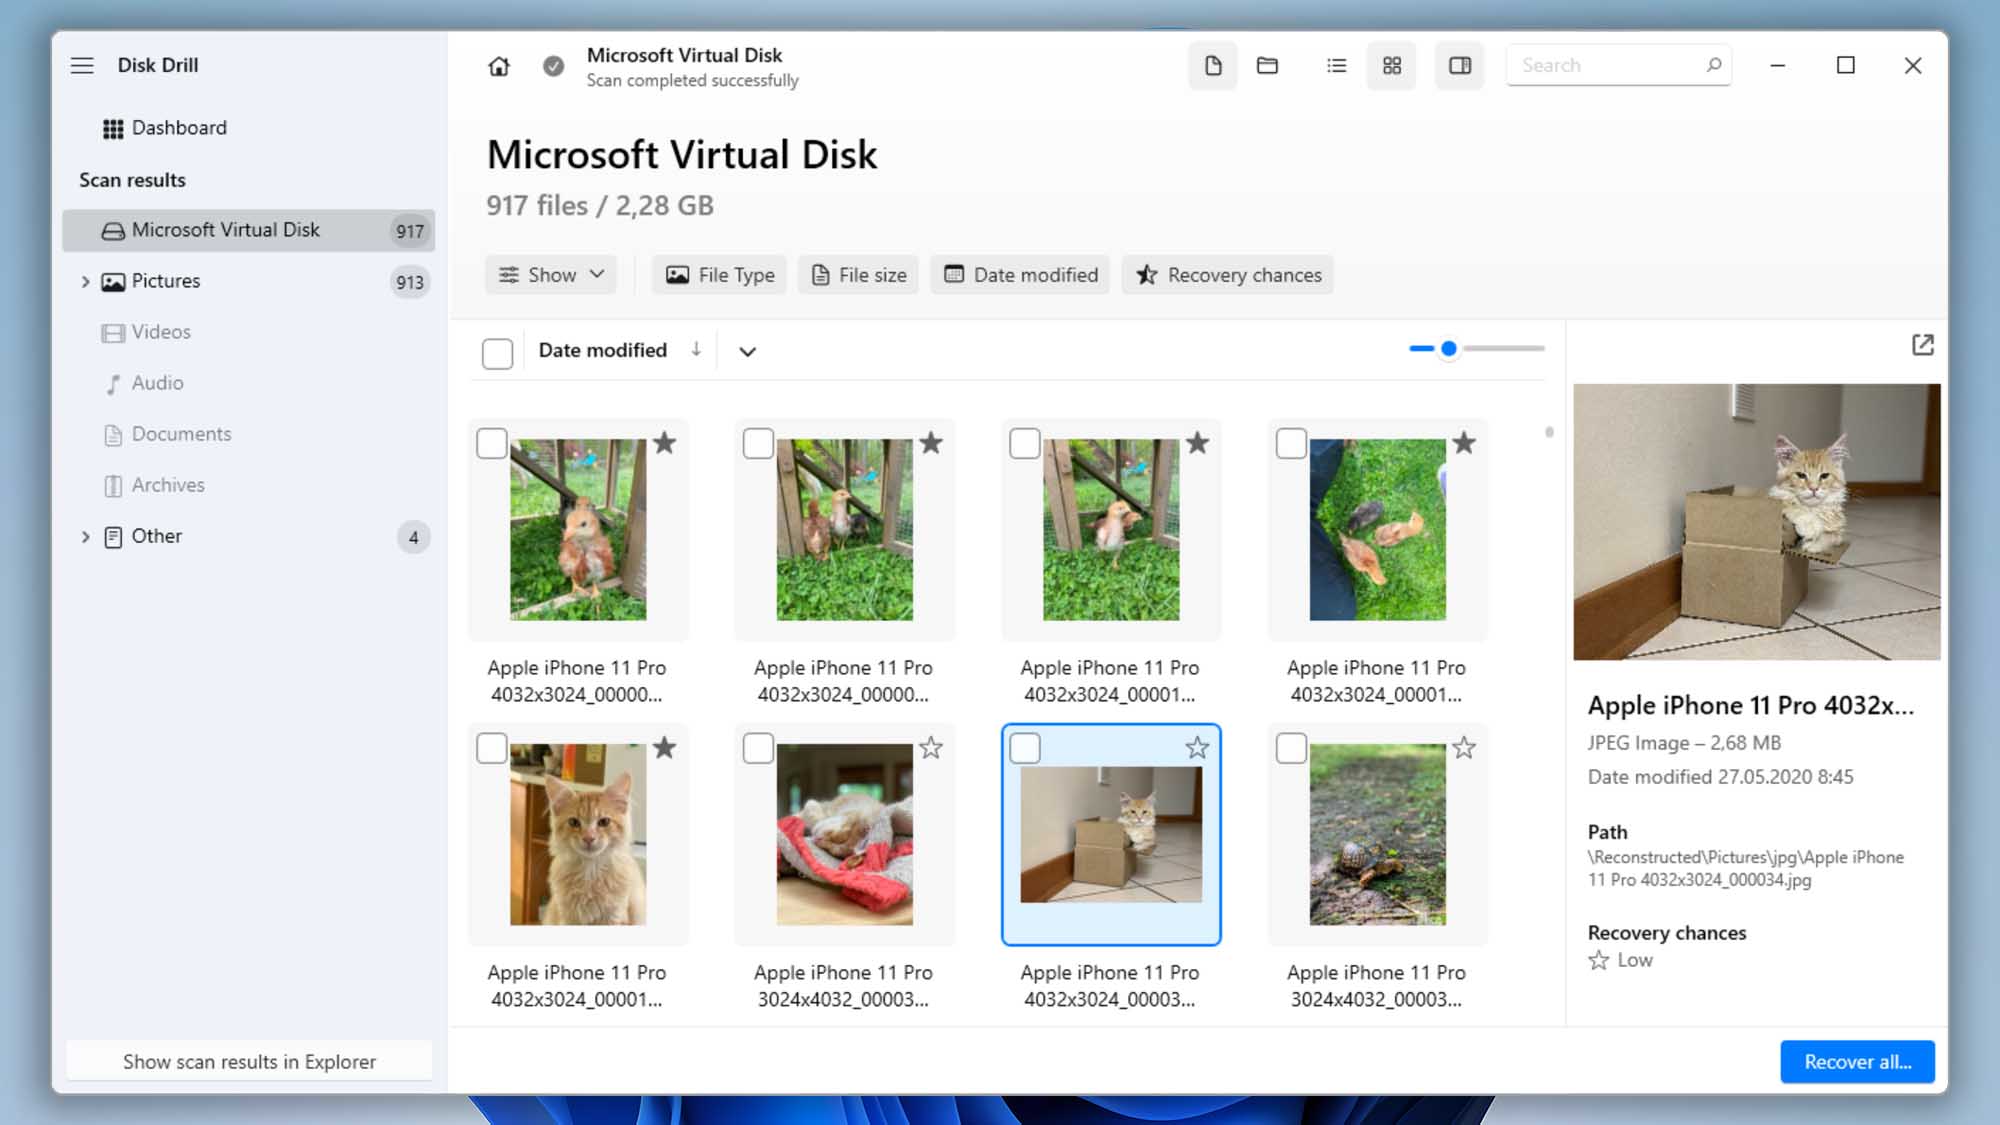
Step 1. Install Disk Drill Basic and Verify File Previews
First, download and install Disk Drill Basic on your Windows PC. Launch the program and run a full scan to locate your lost files. Once the scan finishes, use the built-in preview feature to confirm that Disk Drill can display the files you want to recover—this ensures a smooth upgrade to Pro when you’re ready to unlock unlimited recovery.
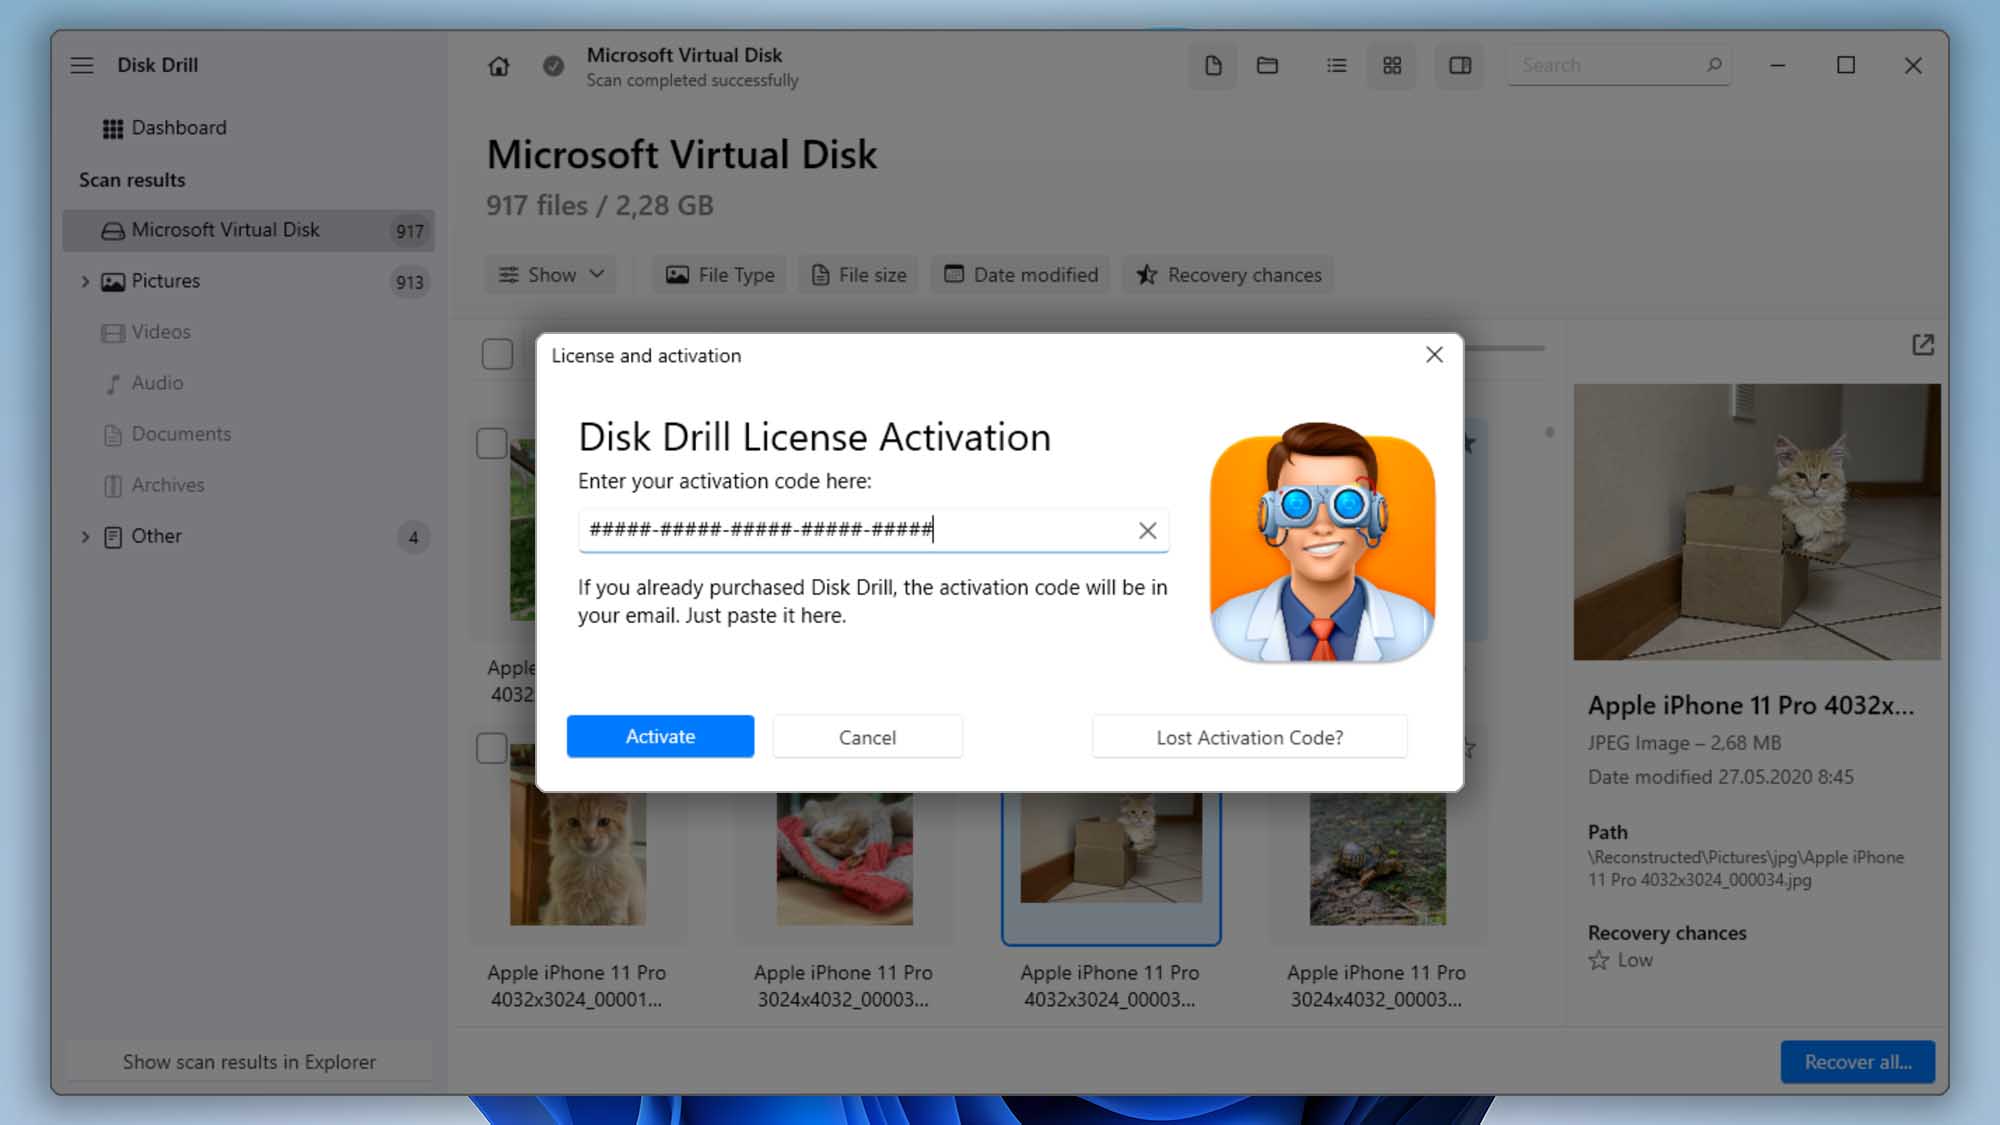
Step 2. Open the License & Activation Menu
In Disk Drill, select “Hamburger menu” and press “License and Activation”. You will then need to choose the “Enter activation code” option. If you do not have a license, you can purchase it here, and continue with the steps.


Step 3. Enter Your Activation Code
Copy your activation code from your purchase confirmation email (or wherever you stored it), then paste it into the Activation Code field. Click “Activate“, and within seconds you’ll unlock all of the powerful Disk Drill PRO features—unlimited data recovery, advanced scanning algorithms, and priority support—so you can get back to restoring your files right away.
How to Upgrade to Disk Drill PRO/Enterprise on Mac
If you’re using Disk Drill for Mac, you can follow our video tutorial or read the step-by-step instructions below to upgrade your license on either platform.
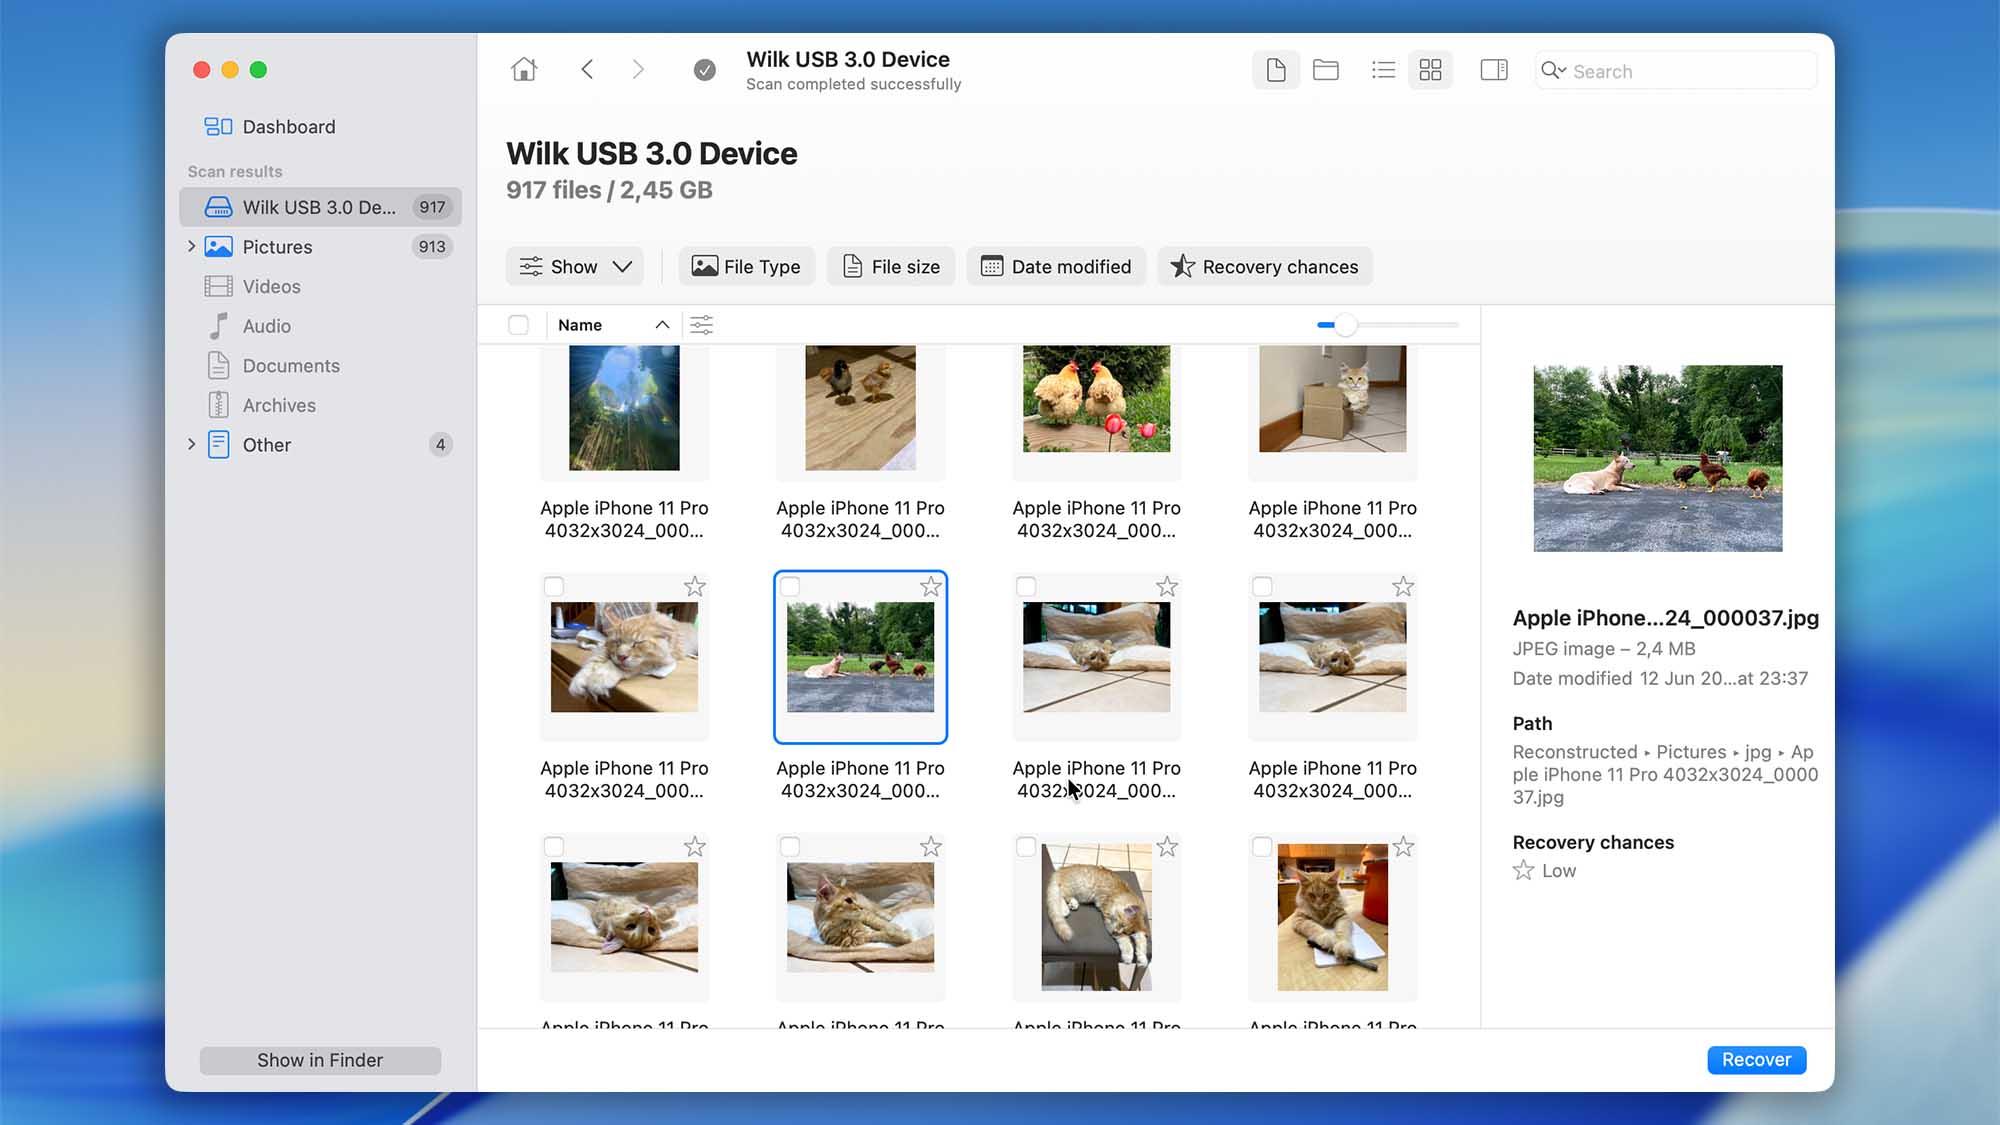
Step 1. Install Disk Drill Basic, Scan Your Drive and Preview Files
Download and install Disk Drill Basic on your Mac. Launch the app, run a complete scan to locate deleted or lost files, and use the built-in preview feature to confirm that Disk Drill can display the exact files you want to recover. This ensures you’re ready to unlock the Pro features and restore your data with confidence.
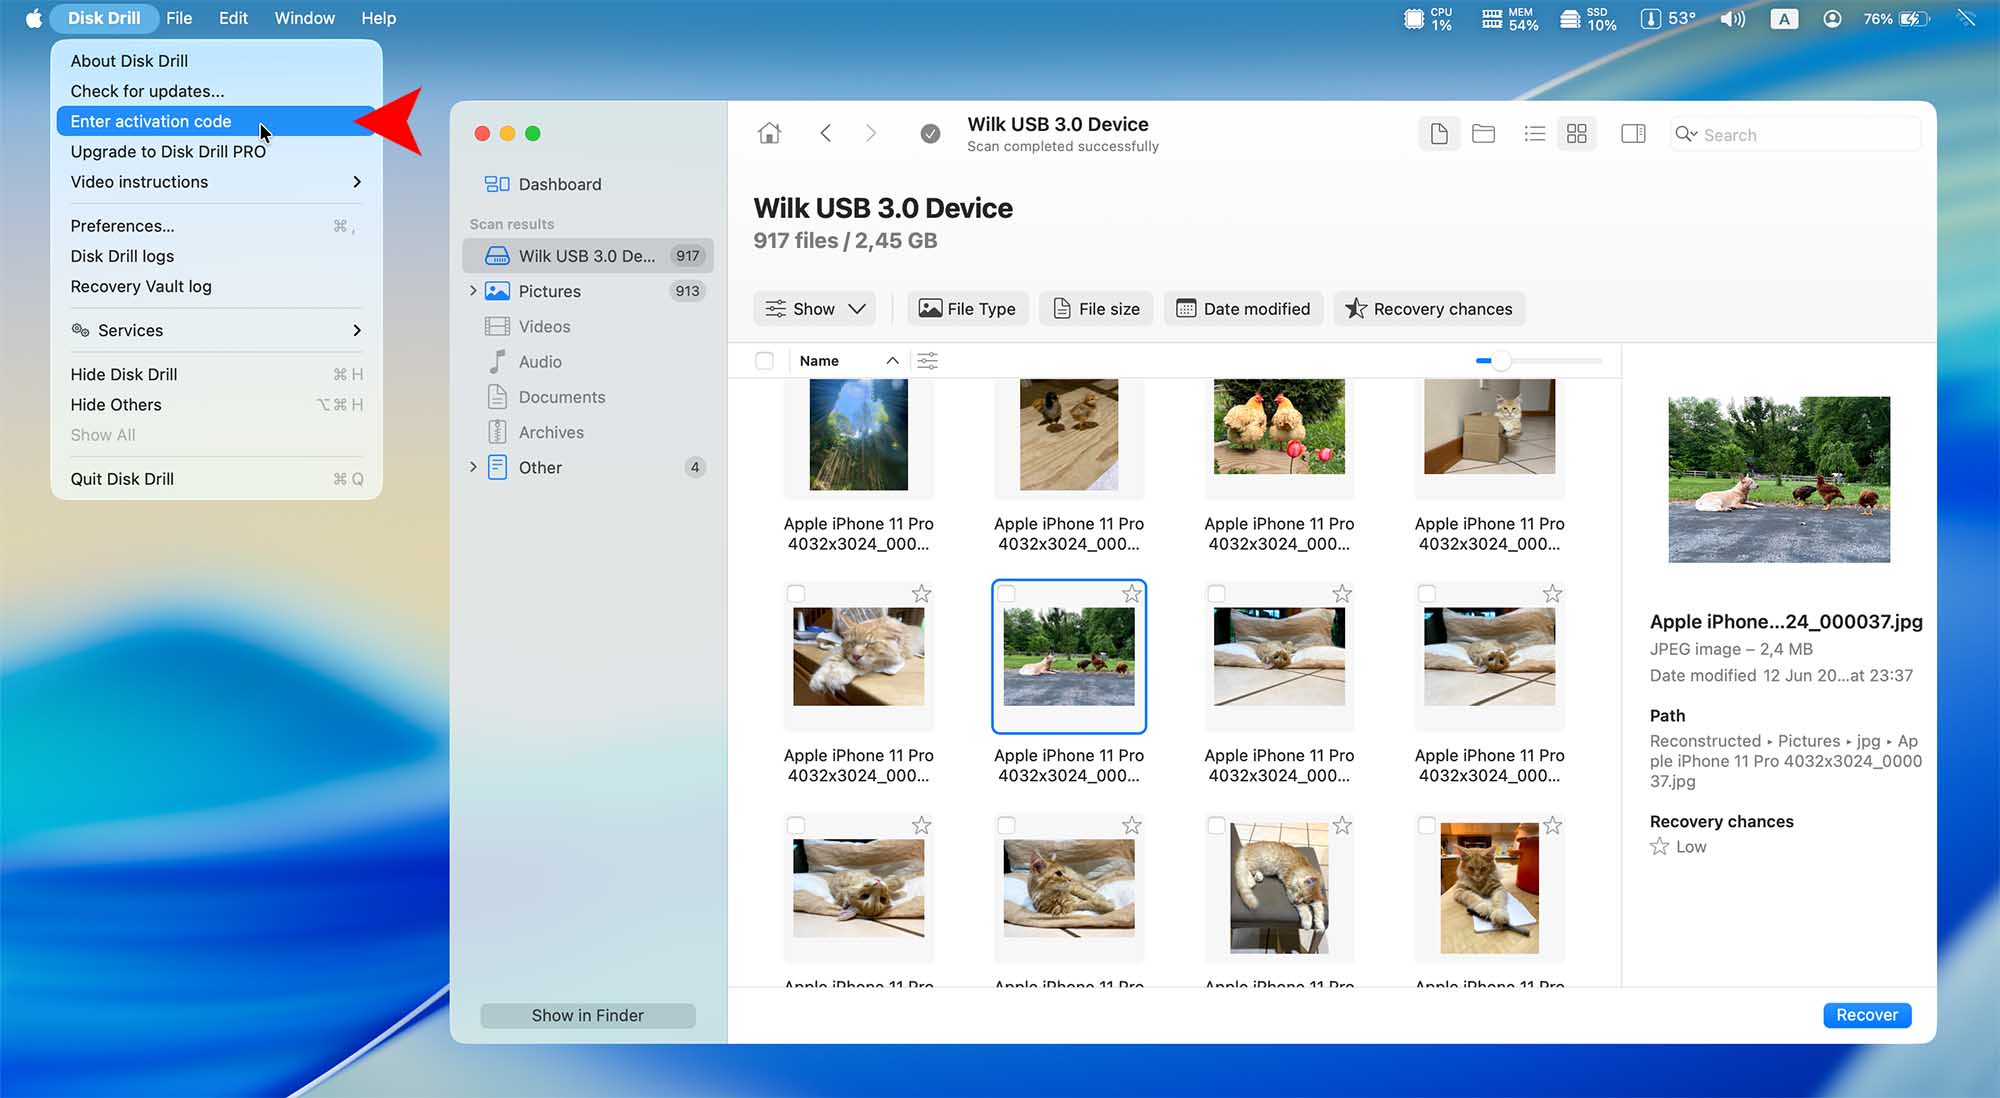
Step 2. Activate Your Disk Drill PRO/Enterprise License
On Mac, click Disk Drill in the top menu bar and choose “Enter Activation Code“. If you don’t yet have a license, select “Upgrade to Disk Drill PRO” to open our store page, where you can pick the edition that’s right for you.
Step 3. Enter Your Activation Code
Copy the activation code from your purchase confirmation email (or wherever you’ve saved it) and paste it into the field. Click “Activate“, and within seconds Disk Drill will verify your license and unlock all PRO/Enterprise features—enabling unlimited data recovery, advanced scans, and priority support.

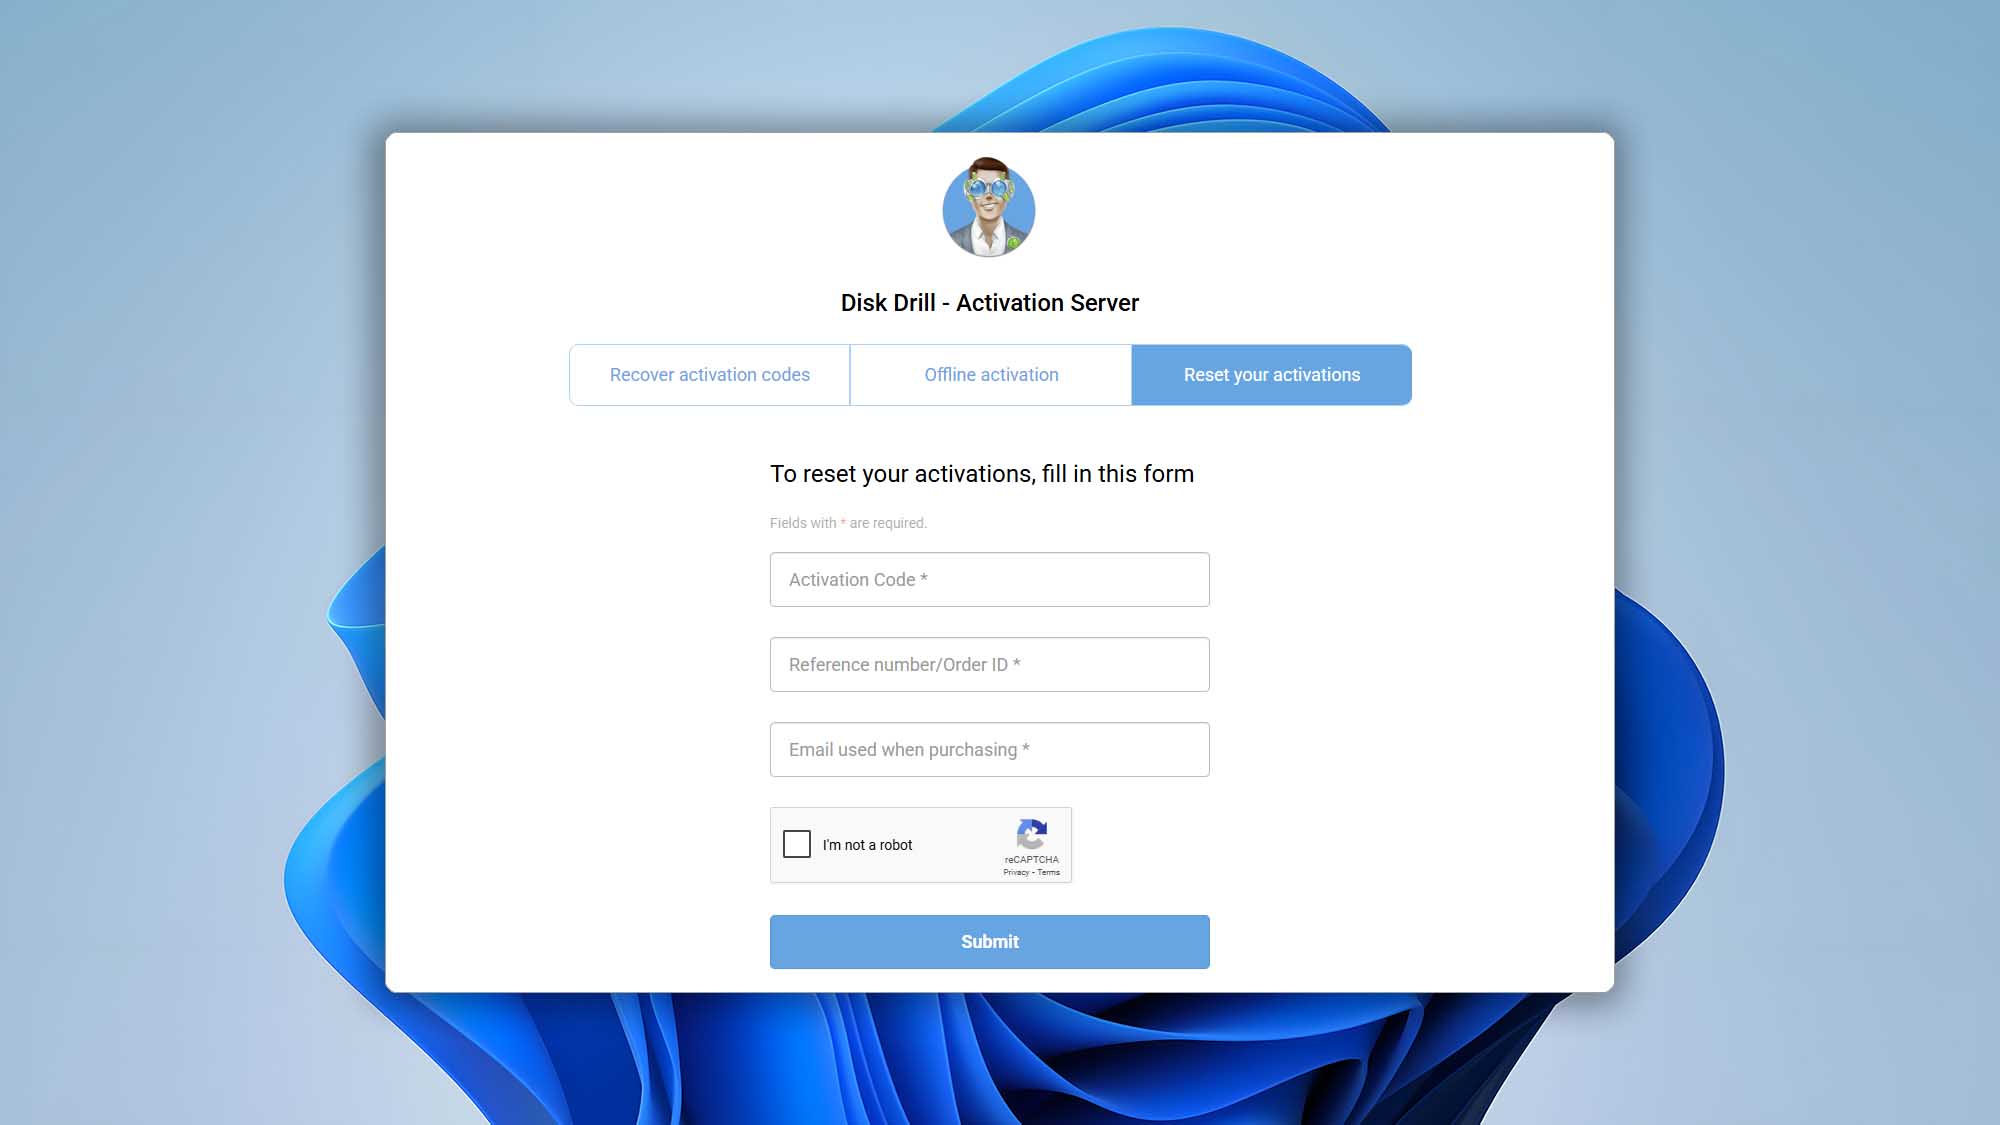
What to Do If You’ve Reached Your Activation Limit?
If you’ve activated Disk Drill on multiple computers and hit the maximum activation count, don’t worry—resetting is simple. Visit our Activation Server and select Reset Your Activations, then enter your activation code, the email address and order number you used to purchase Disk Drill. This will clear your previous activations, allowing you to authorize Disk Drill on new or different devices right away.
If you have any further questions, please feel free to chat with us here. Alternatively, you can use this form to send us a request and we will reach out to you via email.