Disk Drill for Mac includes a built-in Data Shredder for deleting selected files, folders, and Trash contents. It overwrites file data to reduce the chance of recovery.
How to Shred Files With Disk Drill
- Open Disk Drill and select Data Shredder under Extra Tools.
- Add the files or folders you want to delete. To include items in the Trash, click Shred Trash contents.
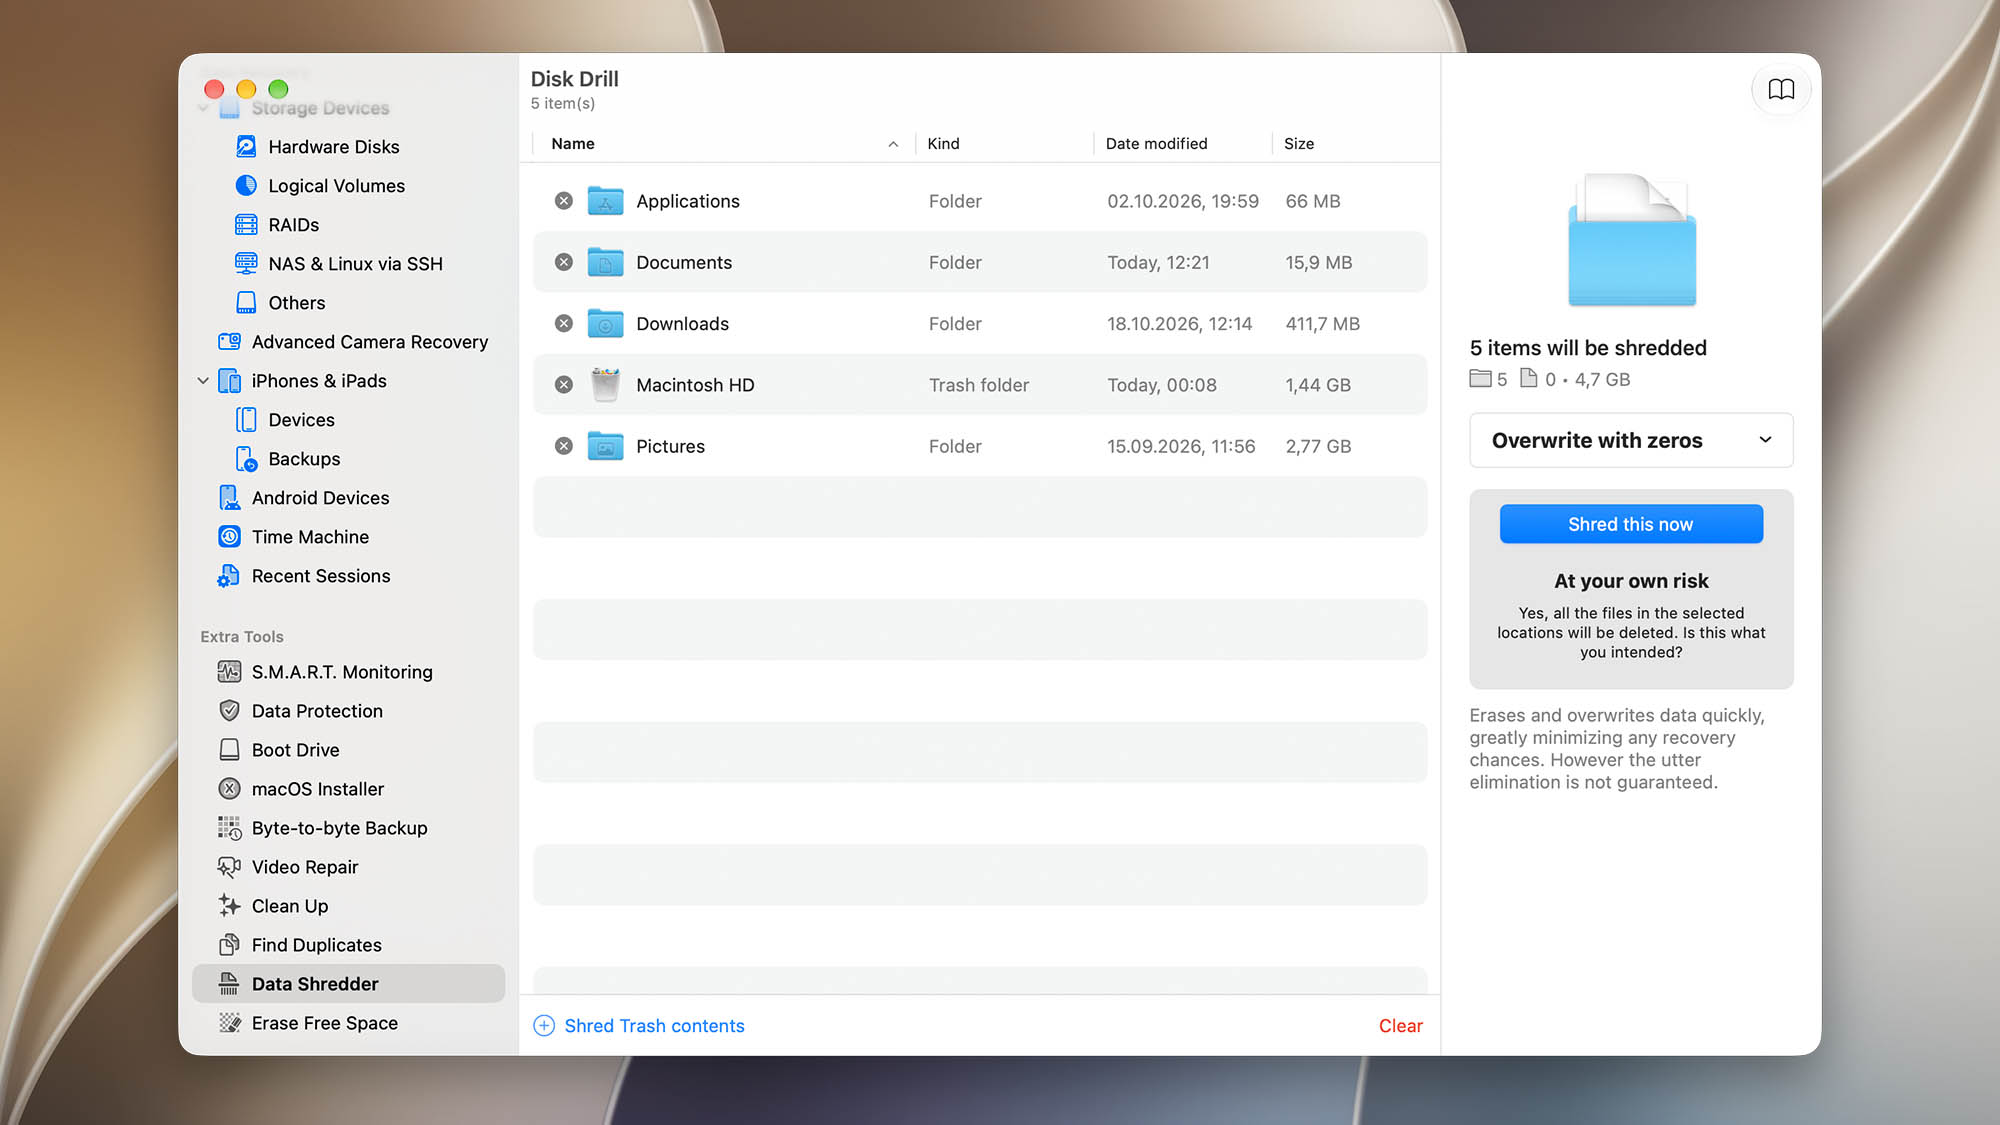
- Review the selected items carefully and remove anything you want to keep.
- Choose an overwrite method from the menu on the right.
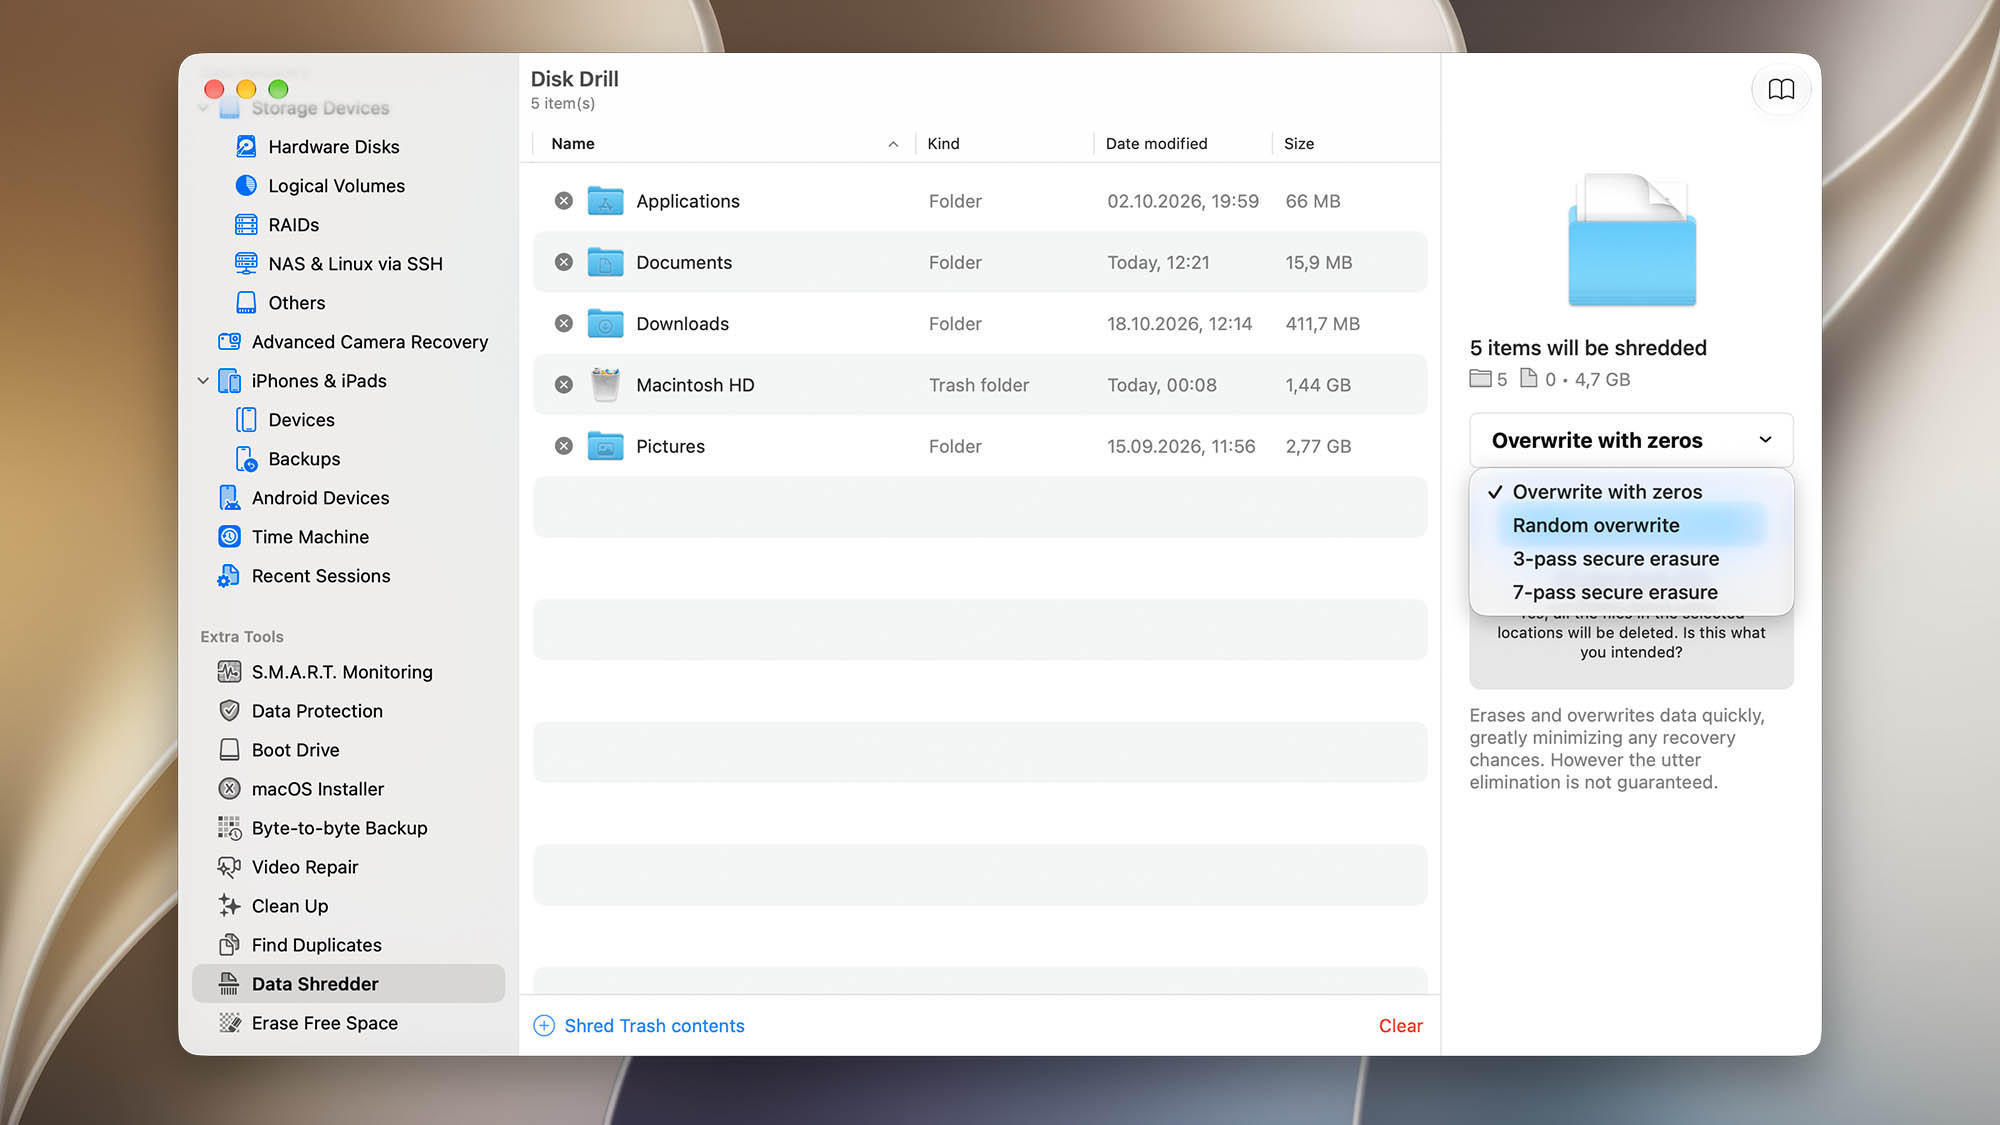
- Click Shred this now and follow any confirmation prompts.
⚠️ Keep a separate copy of anything you may need later. Shredding is intended to make the selected data unrecoverable.
Available Erase Methods
A pass is one overwrite cycle. Disk Drill offers four methods:
- Overwrite with zeros: Quickly overwrites the selected file data with zeros, reducing recovery chances without guaranteeing complete erasure.
- Random overwrite: Overwrites the selected file data twice: first with random data, then with zeros.
- 3-pass secure erasure: Writes two passes of random data followed by one pass of known data. Disk Drill describes this method as DOE-compliant.
- 7-pass secure erasure: Overwrites the selected file data seven times. Disk Drill describes this method as meeting the U.S. Department of Defense (DoD) 5220.22-M standard for magnetic media.
Completion time depends on the amount of data, drive speed, and number of overwrite passes. Additional passes may take longer time.
What About Previously Deleted Files?
To reduce the chance of recovering files you have already deleted, use Disk Drill’s Erase Free Space tool. It overwrites unused space on the selected volume, where remnants of deleted files may remain.
⚠️ Recover any deleted files you still need before continuing.
- Open Disk Drill and select Erase Free Space under Extra Tools.
- Select the volume where the deleted files were originally stored. Check its name and capacity to confirm you selected the correct one.
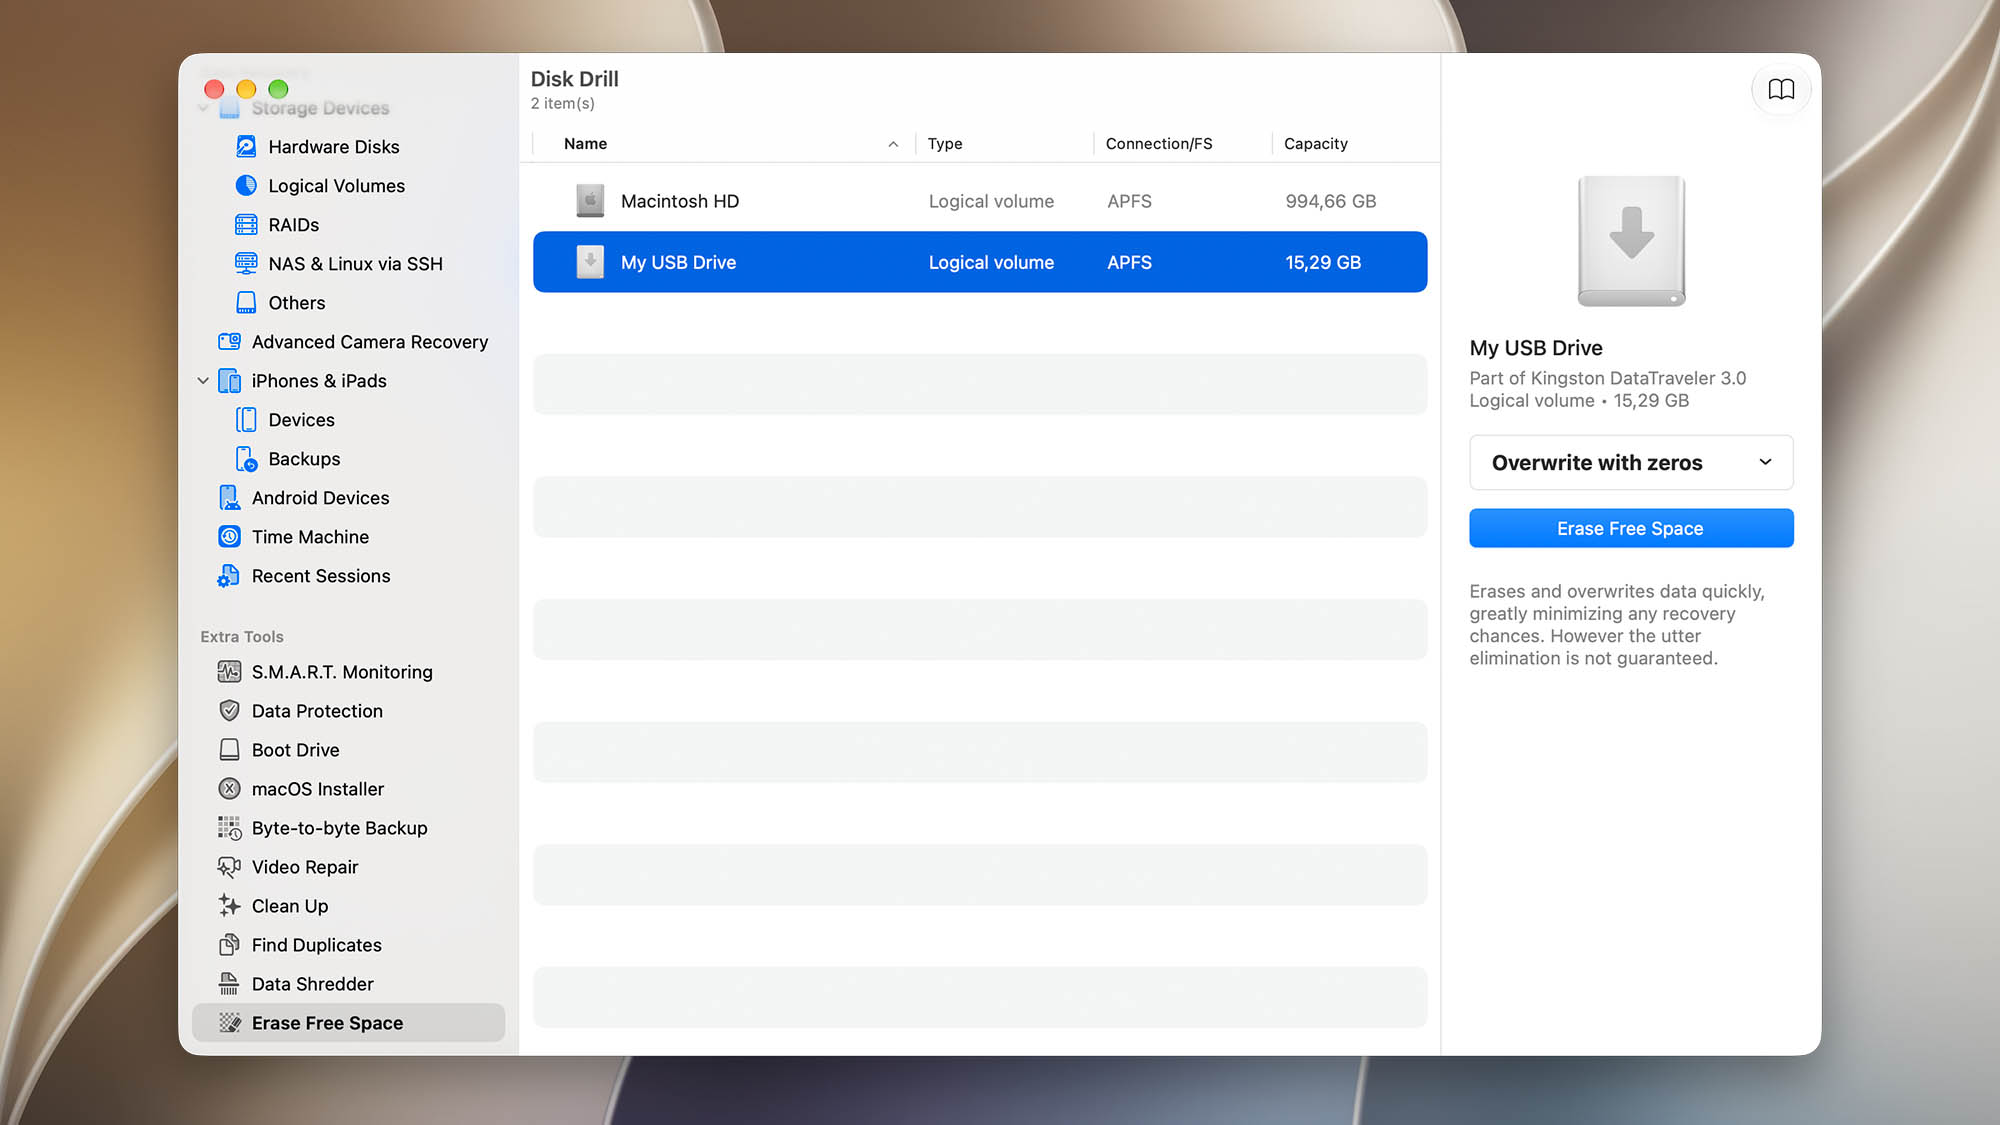
- Choose an overwrite method from the menu on the right. The same four methods described above are available.
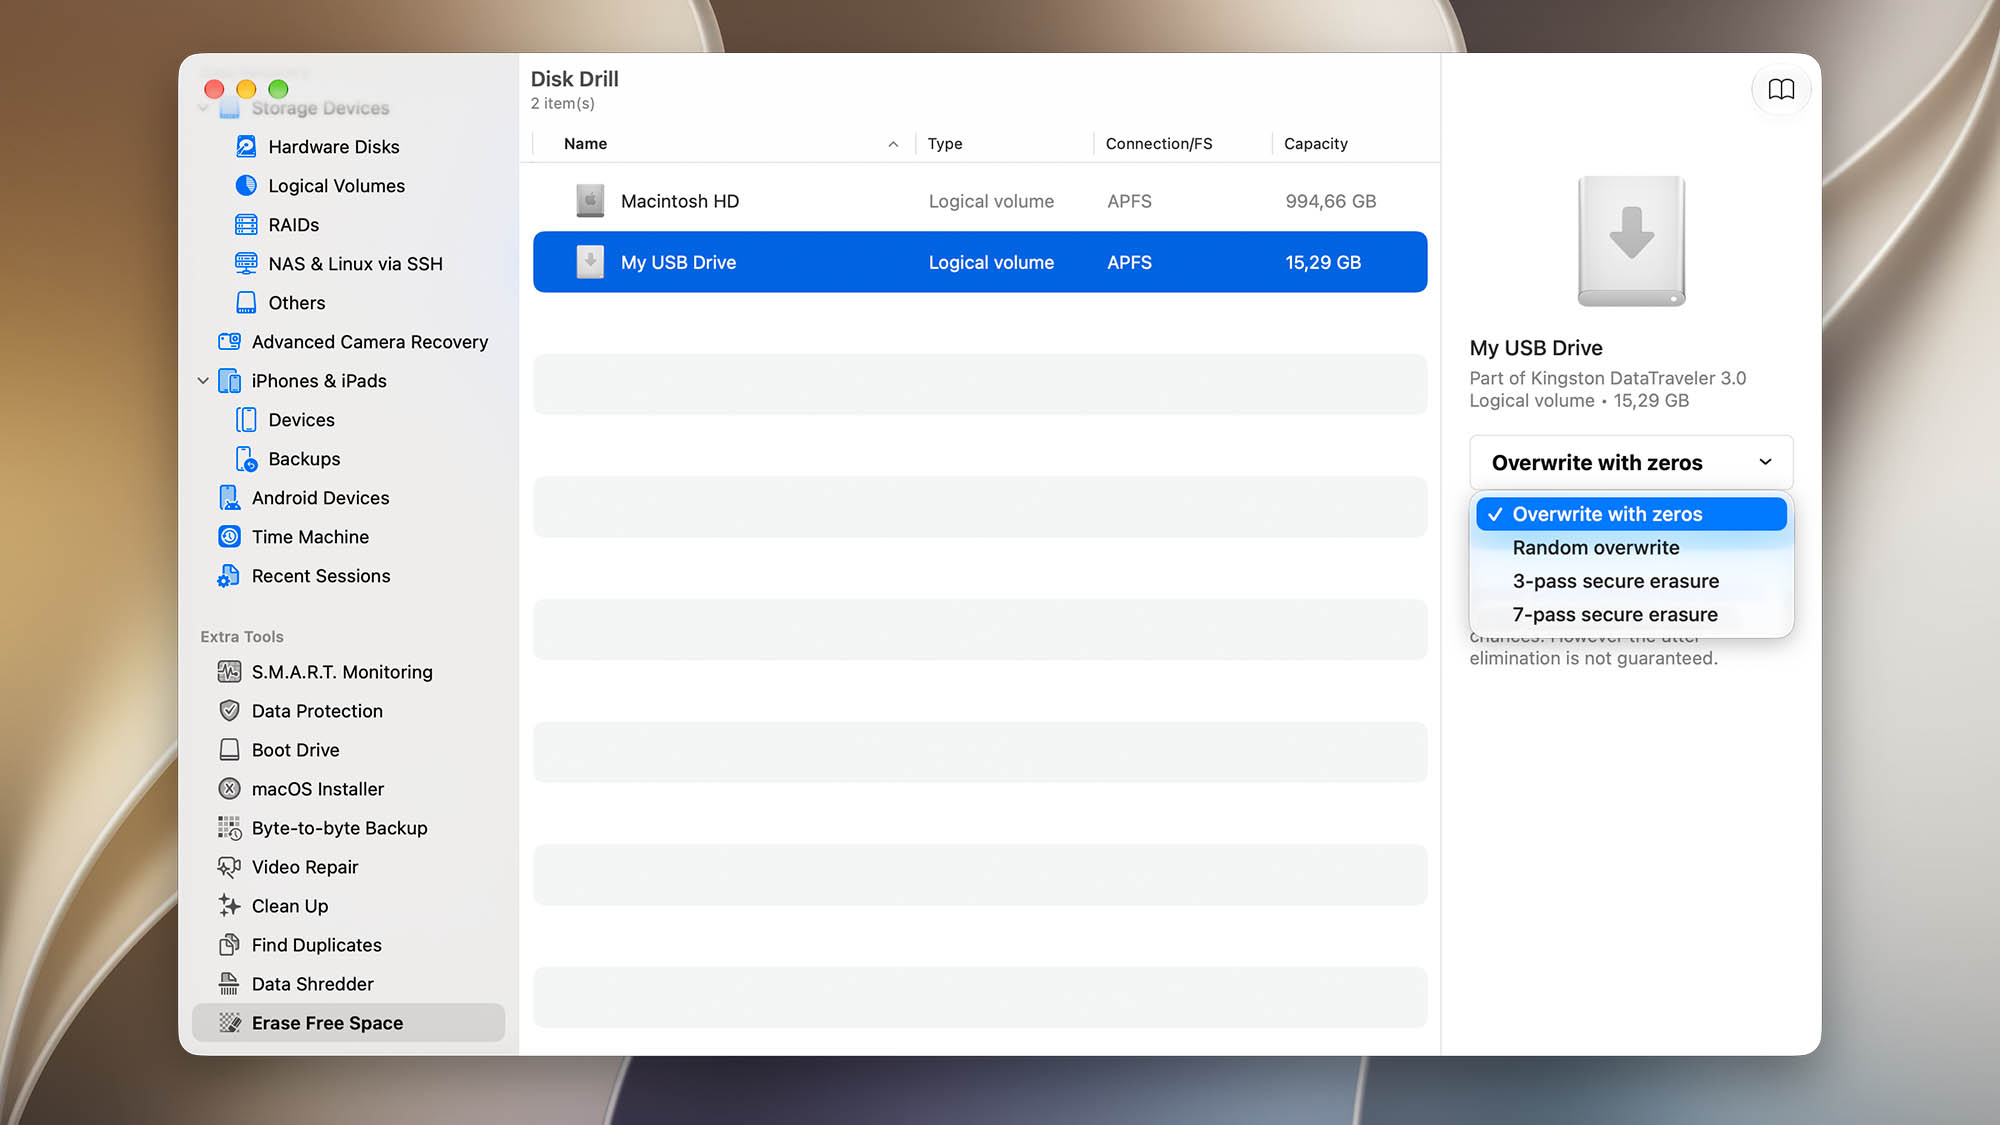
- Click Erase Free Space and follow any confirmation prompts.
- Wait for the operation to finish. Keep the drive connected throughout the process.
.updated: October 20, 2026 author: