With Windows 11 finally out, everyone wants to upgrade their system to the latest version. But usually, installing an operating system means having to re-format the hard drive. Is there any way to update to the new version of Windows without losing any of your data?
Turns out there is. You can easily turn your Windows 10 PC into a Windows 11 computer without having to delete a single file or application already installed on it. How? Let’s find out.
Most common reasons for data loss during Windows 11 installing process
💿 Installing from an ISO File
The most common way of installing an operating system on your computer is through an image file. Usually distributed as an ISO file, this image can be used to create a Windows installation disk.
The problem with installing Windows through such a disk is that it needs an empty partition. Unless you have your important files already segregated into a different drive or partition, you will end up losing all your data.
Moreover, using the ISO file excludes you from official Microsoft support and future updates. Downloading the ISO file needs you to accept a waiver, which can prove to be an issue in the long run.
⏏️ Installing from Installation Media
Microsoft also provides a media creation tool to easily create a bootable USB stick (or DVD) that can be used to install Windows 11. It works similar to the ISO file but is easier to use since you don’t have to install any additional software to make it work.
Similar to the image file method, it also wipes the drive clean, so it is an unsuitable method if you don’t want to lose your data. Creating installation media is only useful if you are looking to perform a clean install, removing all existing files and applications.
How to Check if Your PC Can Support Windows 11
Before you try installing Windows 11 on your computer, you should confirm that your PC can actually support the new version. Unlike the previous iterations of the operating system, Windows 11 is more restrictive with its system requirements, and will not run on all machines.
Here is an easy way to verify whether your computer can run Windows 11.
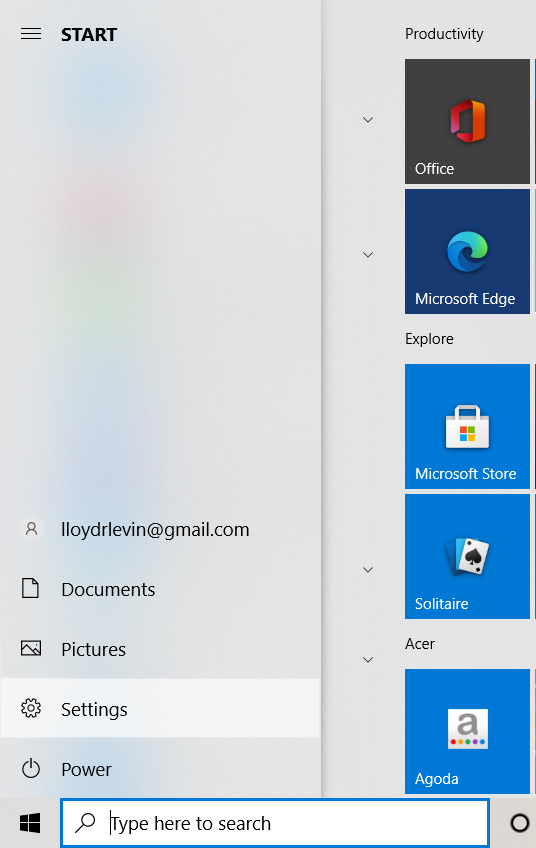
- Open Settings from the Start menu.
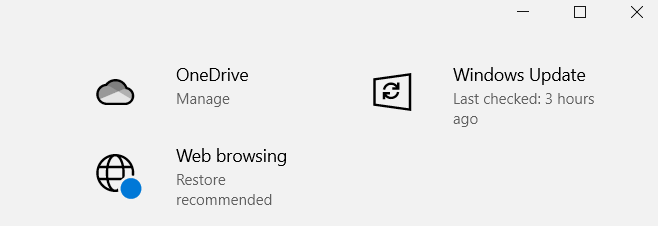
- Head to Windows Update.
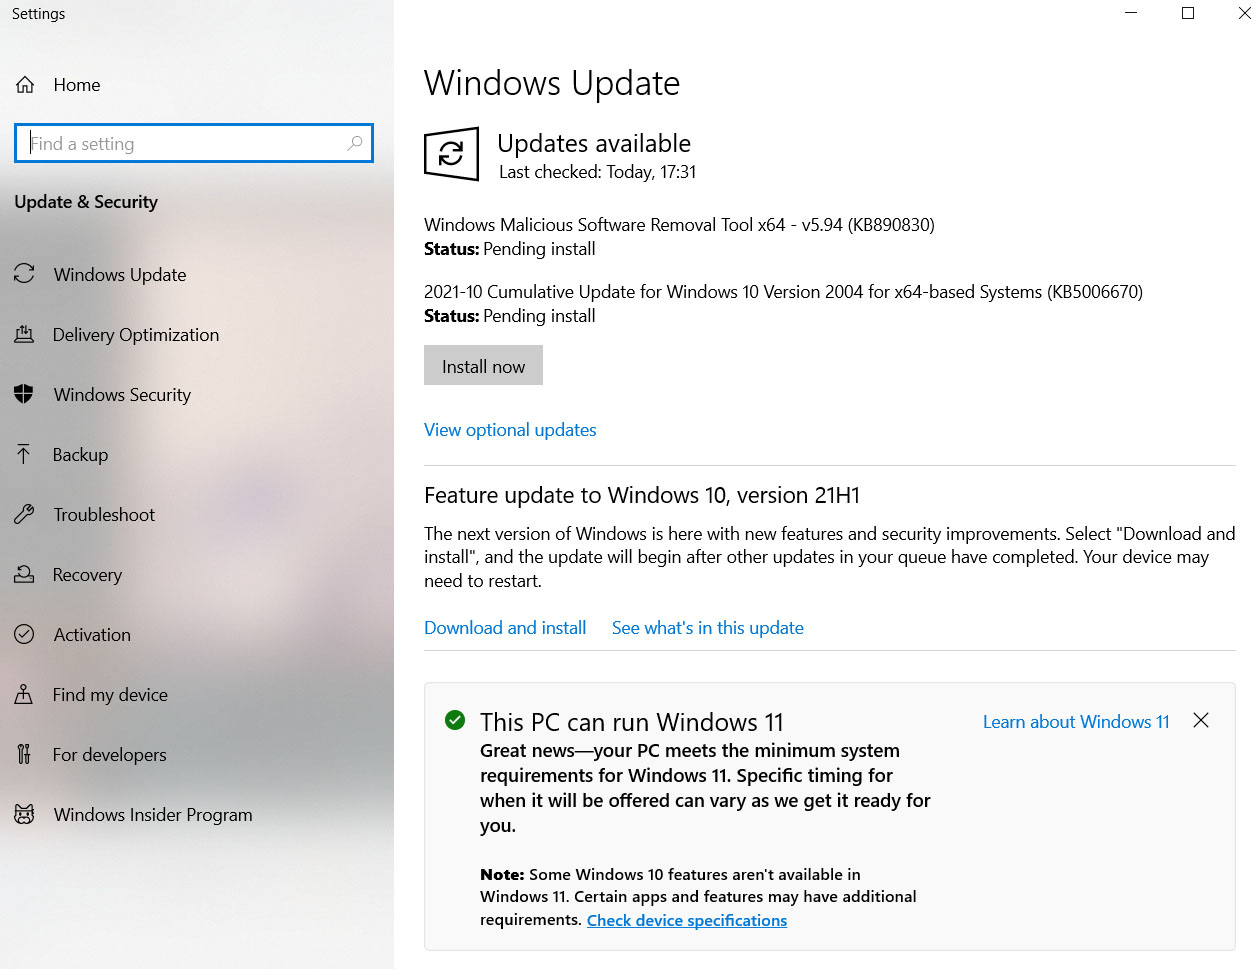
- In this window, you can see whether your computer is compatible with the new version of Windows. You will see a message informing you if your system meets the system requirements. The download button might still be missing, as the rollout is likely to take some time.
How to Install Windows 11 without Data Loss
To install Windows 11 on your computer without losing your existing data, you should use the Windows Installation Assistant. Available for download on Microsoft’s webpage, the installer updates the existing Windows installation to the new version, without changing any of the files or applications already present on the PC.
Obviously, the installer will only work if your computer is otherwise eligible for Windows 11. This includes both hardware compatibility as well as the possession of a valid Windows 10 license. In case your PC meets the requirements, you can use the installer to upgrade to Windows 11 without having to format your hard drive or reinstall any applications.
How can I install Upgrade from Windows 10 to Windows 11 without data loss
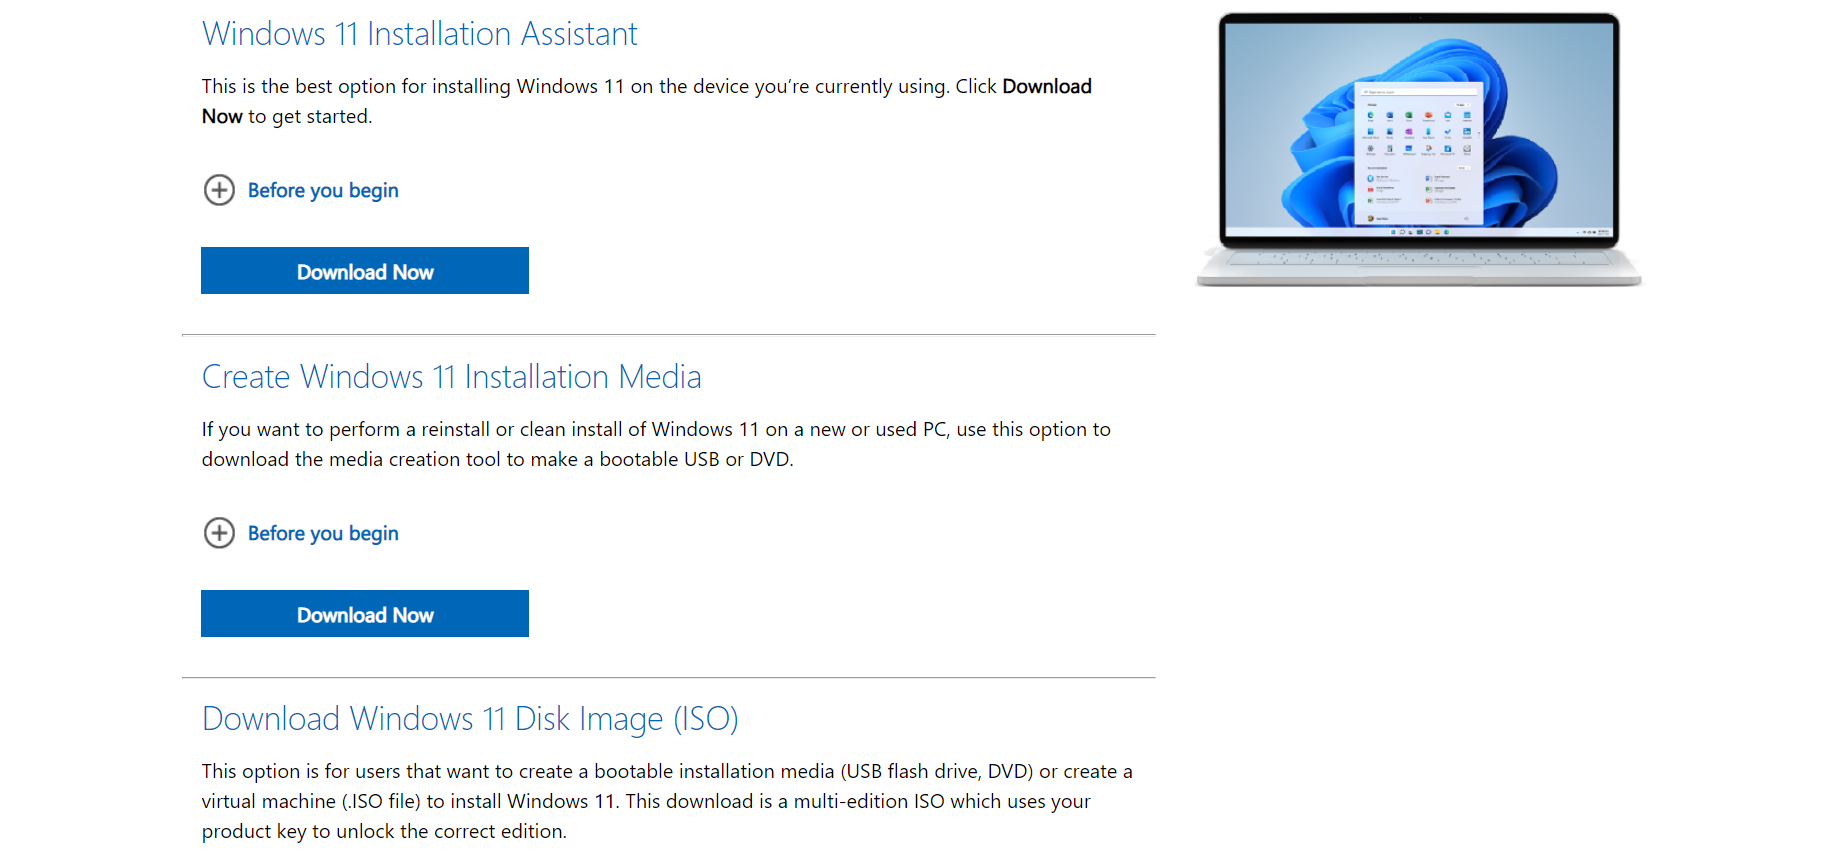
- Head to Microsoft’s official download page to grab the Windows 11 Installation assistant. The page also lists options to get an ISO file or create an installation media, though we will not be using those methods.
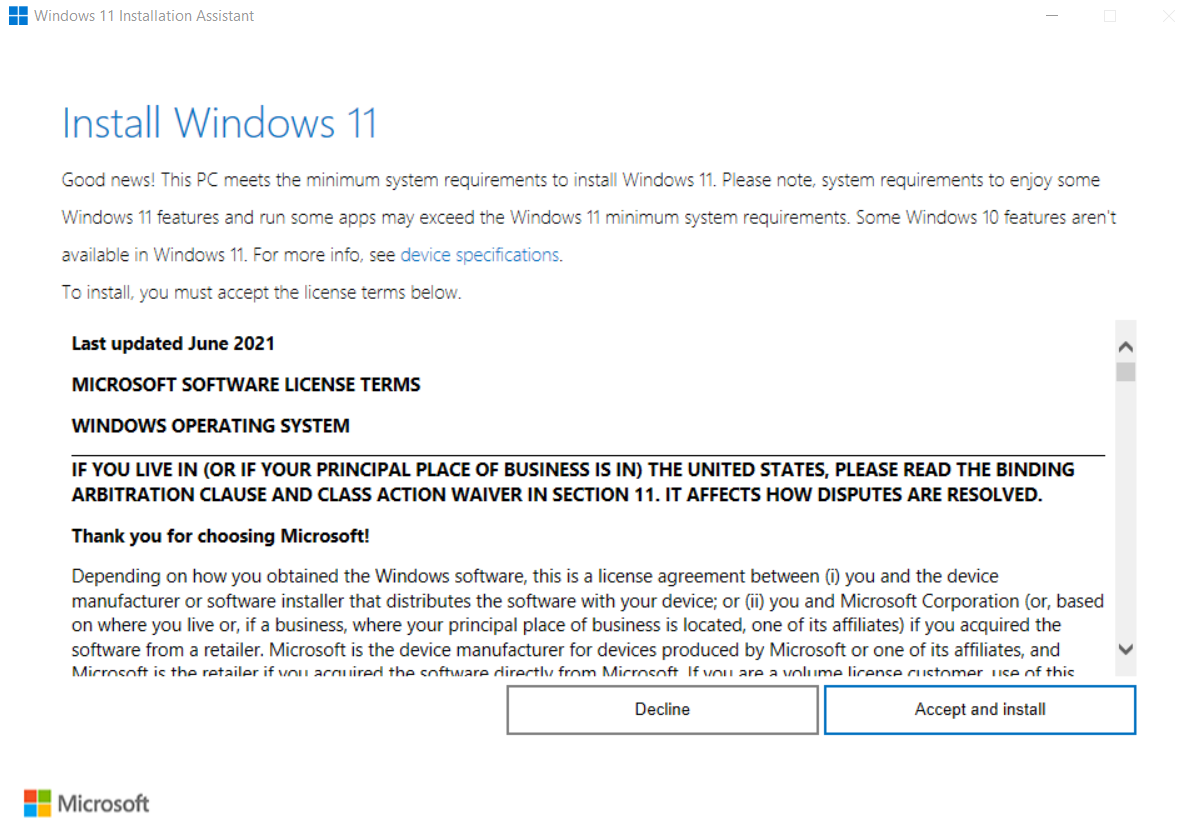
- Run the Installation Assistant and agree with the license agreement. If your PC supports Windows 11, you will be able to proceed with the installation.
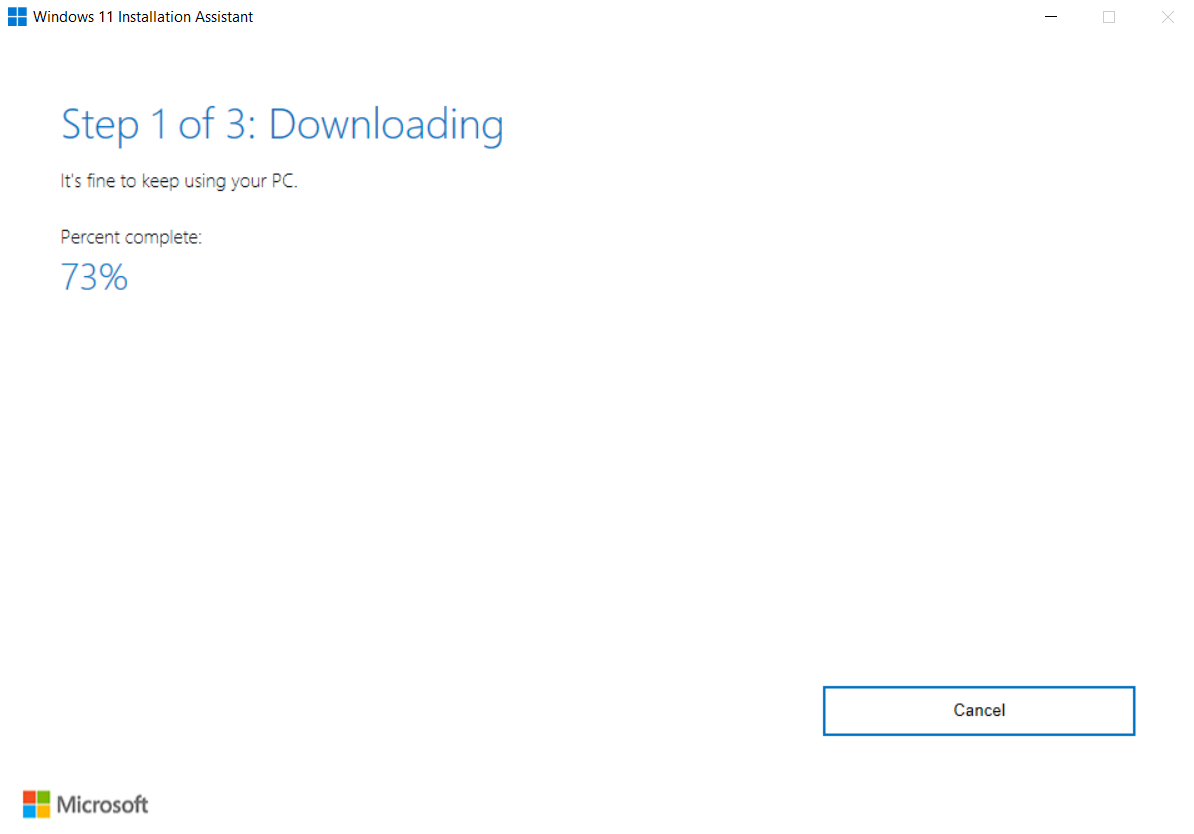
- Before it actually gets to the installation, the app will download the files needed for the setup. This can take some time, as around 4 GB of data will be downloaded. You can keep working on your PC during this time.
- Once the necessary files have been downloaded, the application will verify them and then proceed with the installation. In a departure from other methods, you can continue using your PC through the first phase of the installation, without having to shut down.
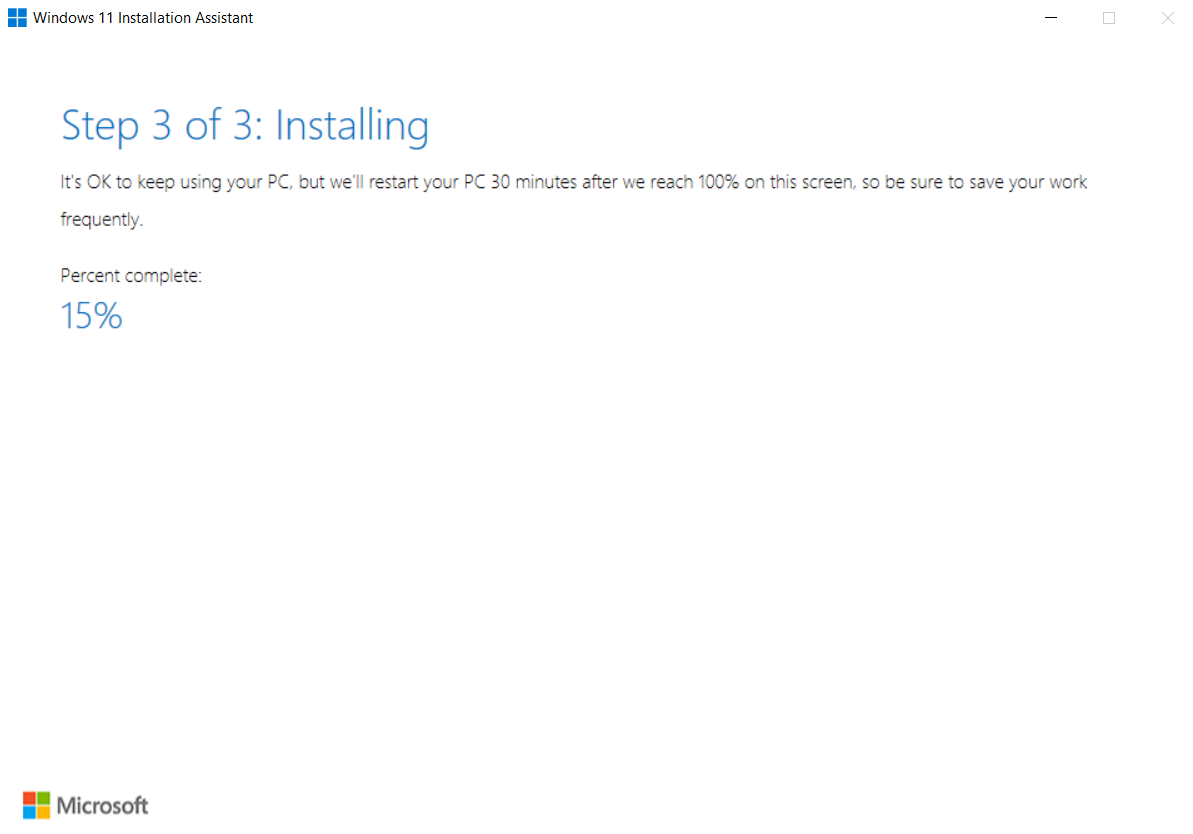
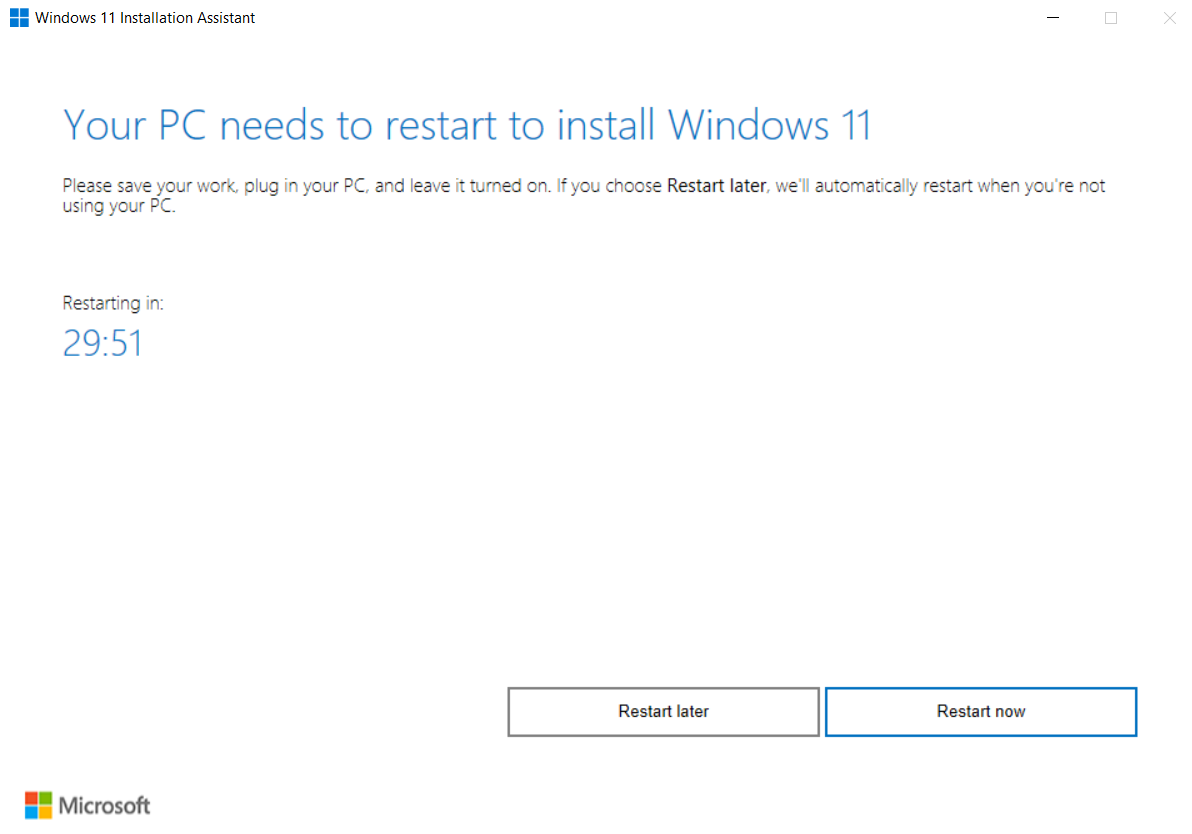
- When this phase of installation is complete, you will be prompted to restart your computer. You can choose to restart at a later time too, and the installation will simply continue from there. In case you had left the PC unattended during the installation, it will restart automatically in thirty minutes.
- After your computer restarts, it will finish the installation. The process is actually pretty quick since the bulk of the setup was completed when the computer was still running. And when it is done, you will be able to log into your Windows 11 computer, complete with all of its files and applications from before.
How to prevent losing data in Windows 11
The best way to prevent data loss during the upgrade to Windows 11 is to use the Installation Assistant. Doing so keeps all of your files intact, seamlessly transitioning your PC to the new OS.
But in case you used another method (like an ISO file) and need to get your data back, that is possible too. Using a data recovery tool, you can restore most of that lost data, provided it hasn’t been overwritten yet.
In this guide, we will demonstrate the steps using Disk Drill. It is a constantly updating data recovery tool that works perfectly in Windows 11. It also has a free version that you can utilize to recover the most important files and photos.
- To get started, download Disk Drill from the official website and run the setup.

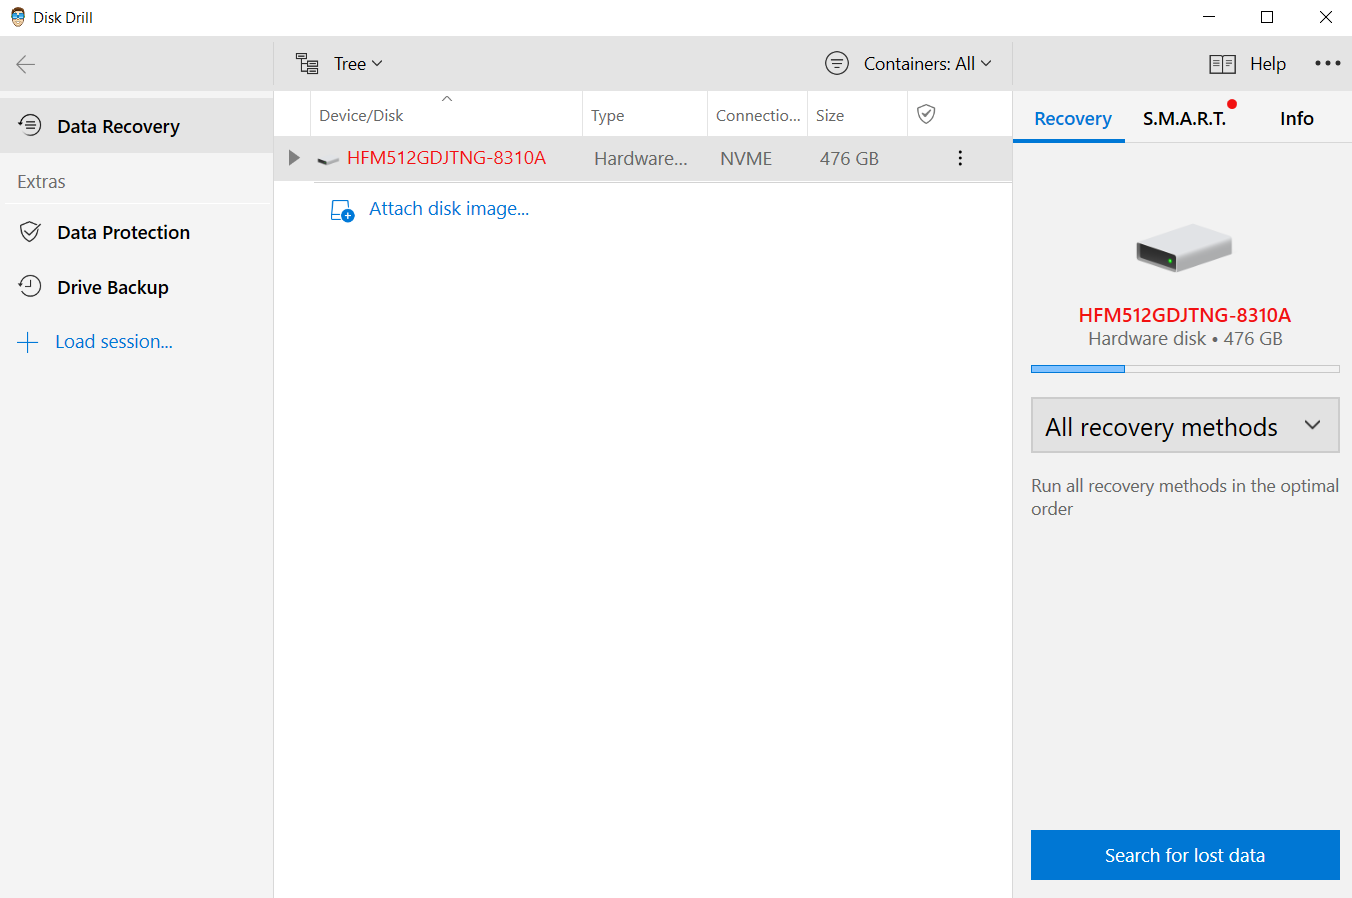
- After the application has been installed you can view all the drives connected with your computer. Choose the main disk and hit Search for lost data.
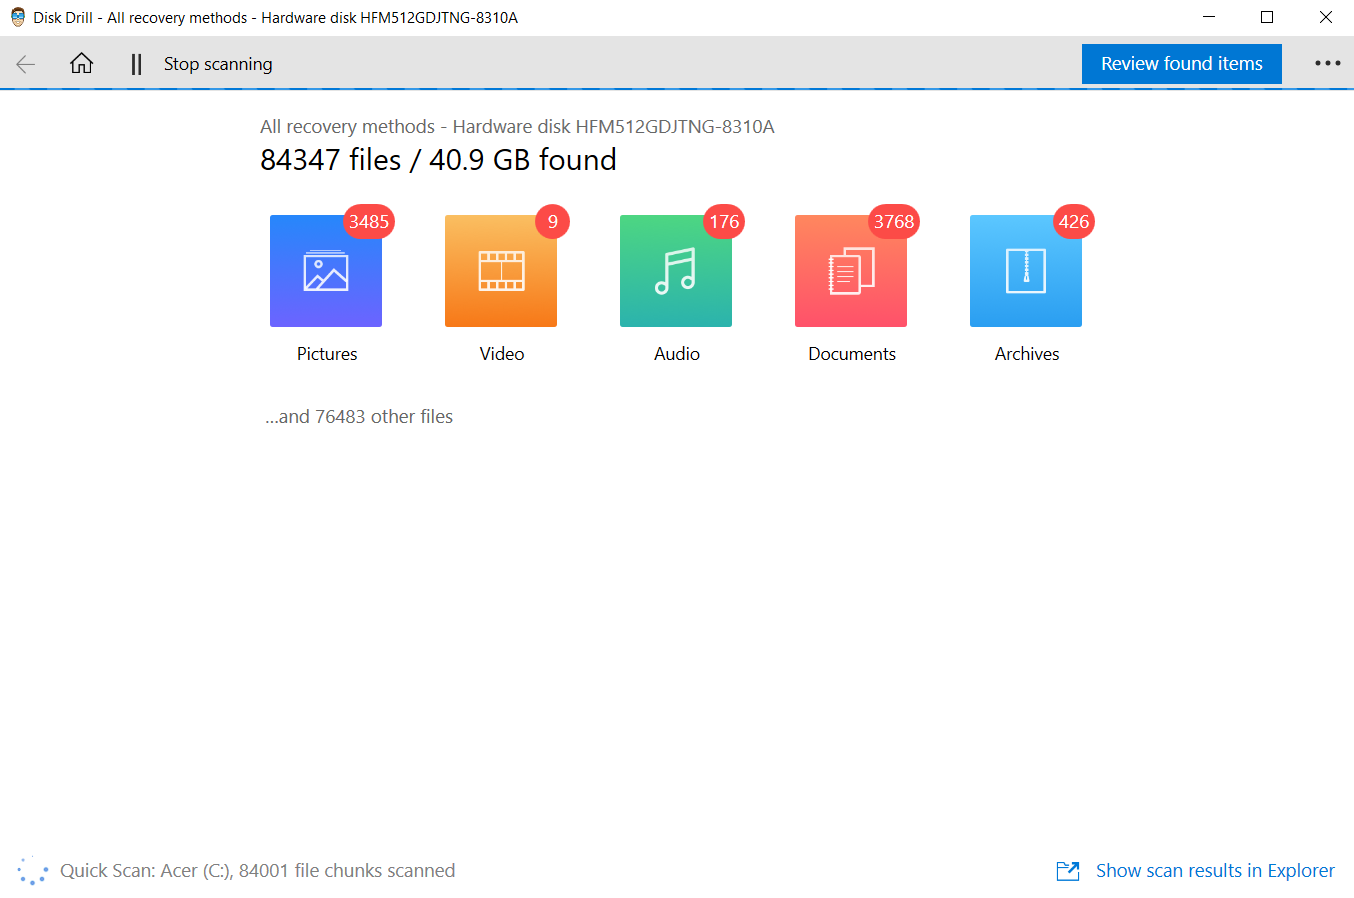
- Disk Drill will scan through the drive, giving a brief overview of the types of files found. To actually view the files located, use the Review found items button.
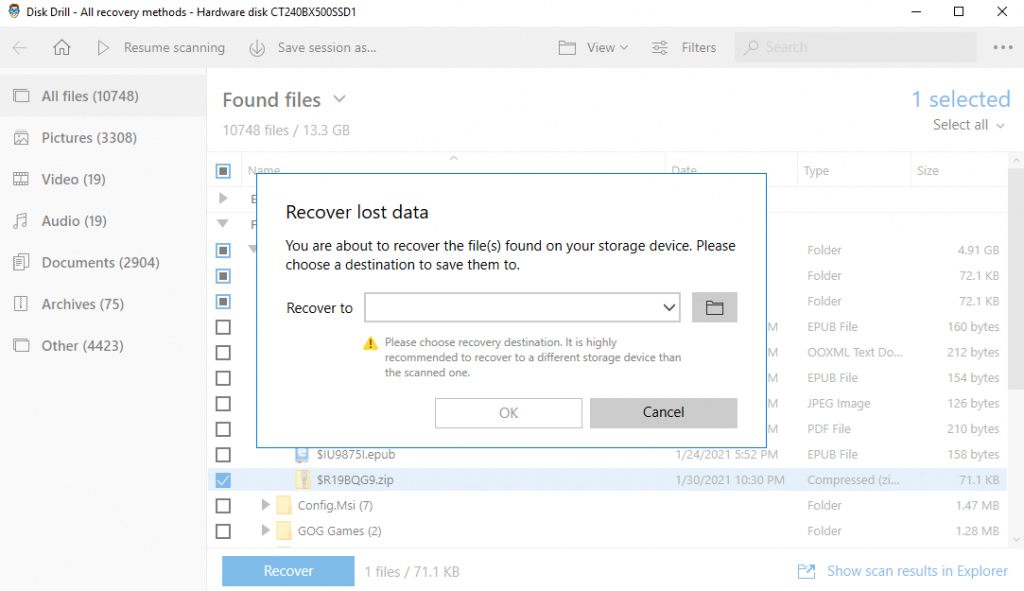
- In this new window, all the discovered files are displayed, neatly sorted by their folder structure and type. You can browse through this list, or use any of the filters to narrow down the results.

- If you come across any image files, you will notice an option to Preview this item. Click on this option to view a preview of the picture. This will not eat up your free recovery quota, letting you see the photos without having to recover them first.

- Keep selecting files to recover by enabling their checkbox from the left. Once you have decided on the files that you wish to keep, you can use the Recover button to start the restoration process. Just specify a recovery destination and Disk Drill will take care of the rest for you.
Conclusion
With the Windows Update not offering to install Windows 11 on many computers, there is much confusion about how exactly one is to get the latest version on their PC. Sure, you can always download an ISO file and create a bootable USB drive, but installing from such means requires you to lose your files and apps.
But with the official Windows 11 installation assistant, you can update your existing operating system without any changes to your data. Your files, applications, even the programs currently running on your PC – everything is left untouched.
And if you just have to use installation media, you can always backup your data beforehand. Without backups, you have to resort to using a data recovery application to recover all the lost data before it can get overwritten.

FAQ
Yes. For anyone possessing a Windows 10 license, Windows 11 is a free upgrade. This includes further updates and technical support as well. Of course, the upgrade is only offered to machines that can actually support the new version – otherwise, you cannot even buy it.
Certainly. Windows 11 has been rolled out as an upgrade to Windows 10, with Microsoft offering a seamless process to simply transition to the new version without losing your data. Again, this update is only available to computers that meet the minimum system requirements and are running a licensed version of Windows 10.
While Microsoft has started releasing Windows 11, it is being done in a phased manner. It can take months for the new version to be actually available as a Windows update on your computer. On most systems, you will just get a message about being able to run Windows 11, without a specific timeframe mentioned.
In case your PC is selected for the current phase of the rollout, you can install it automatically from the Windows Update option in the settings. Otherwise, you will need to use the Windows 11 installation assistant.