The following set of instructions explain how you can enable data protection in Disk Drill to prevent any accidental data loss in the future.
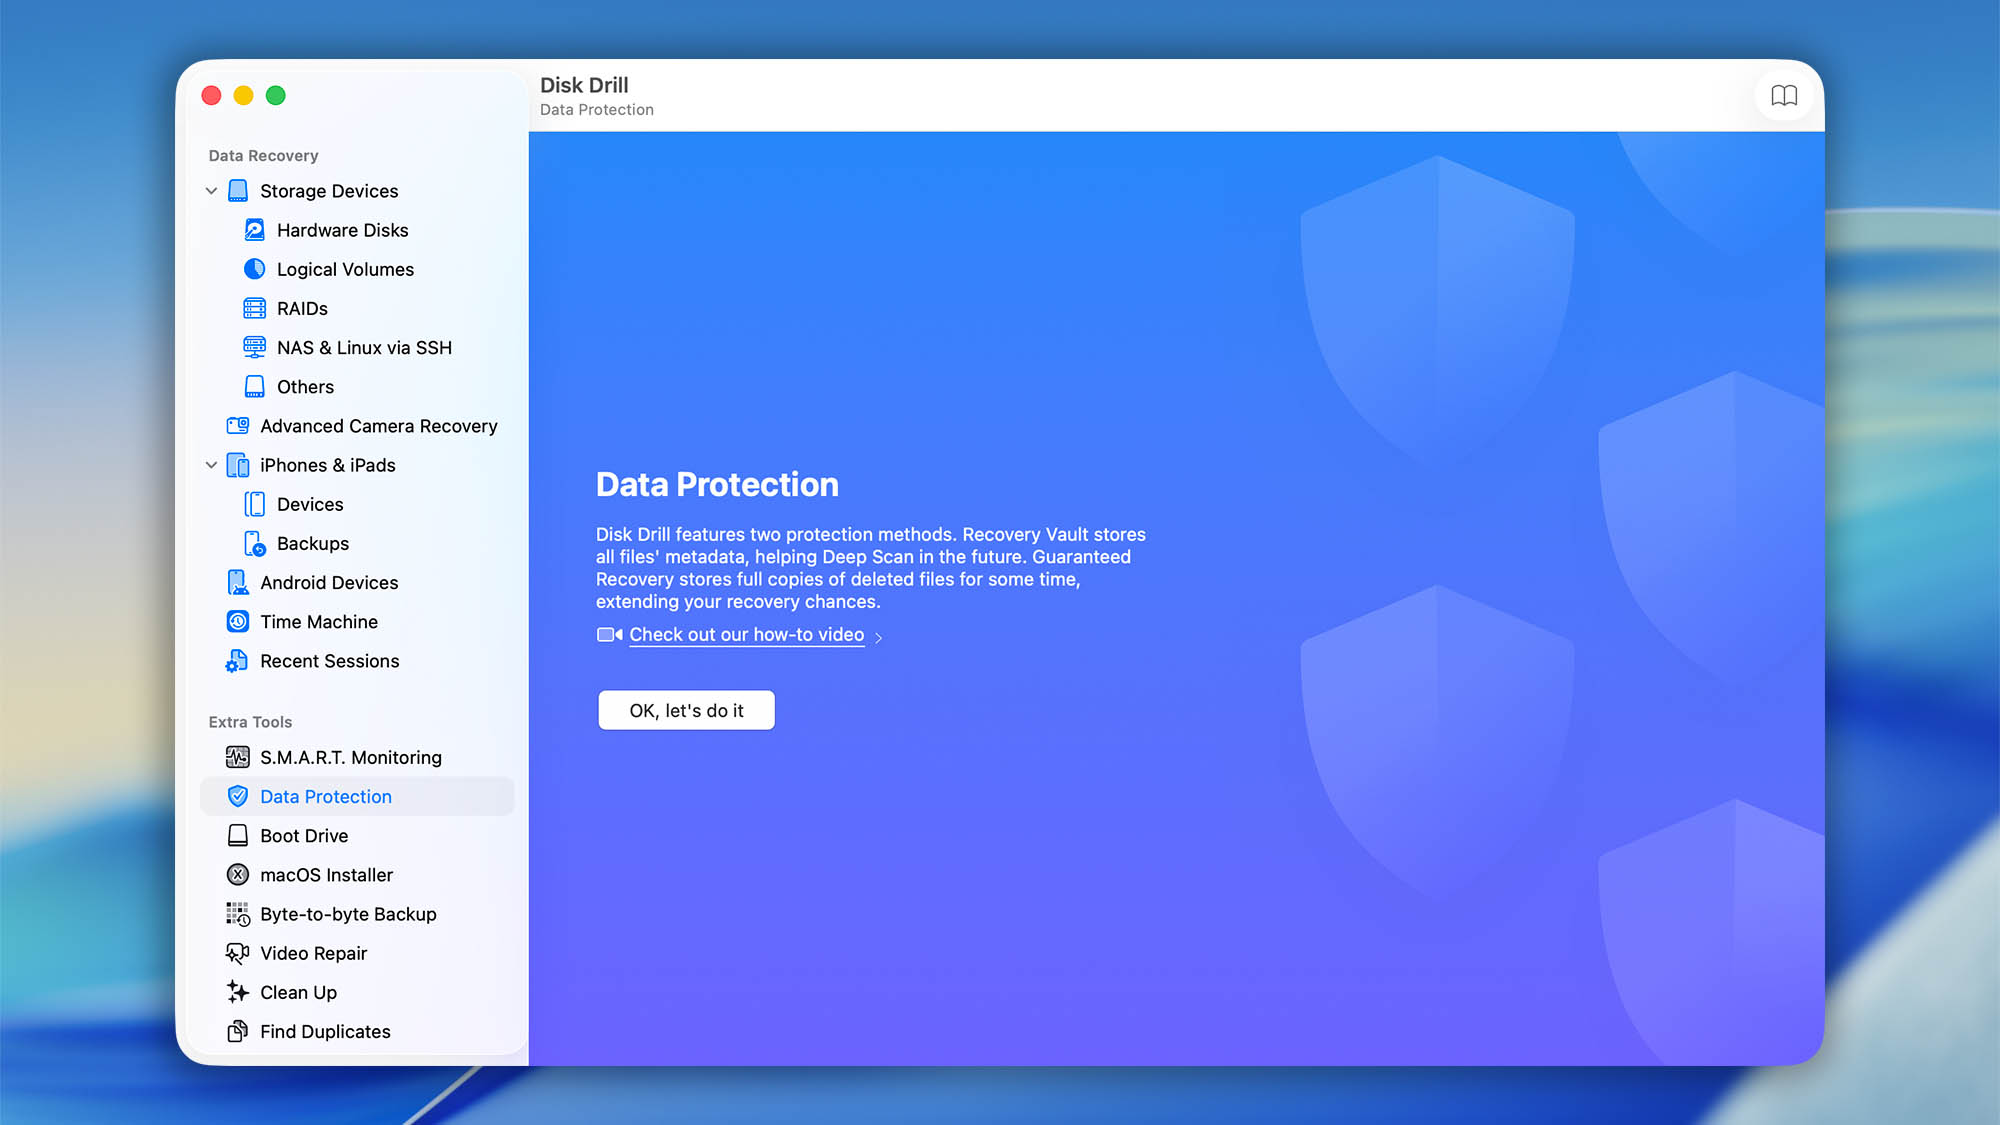
Disk Drill offers two data loss prevention features: Recovery Vault and Guaranteed Recovery. Recovery Vault is available in Disk Drill for Windows and helps protect deleted files by saving key file metadata, making future recovery easier. Guaranteed Recovery is available in Disk Drill for macOS and protects files by creating hard links to items moved to the Trash or other selected folders, making them easier to restore if they’re accidentally deleted.
Recovery Vault (Disk Drill for Windows)
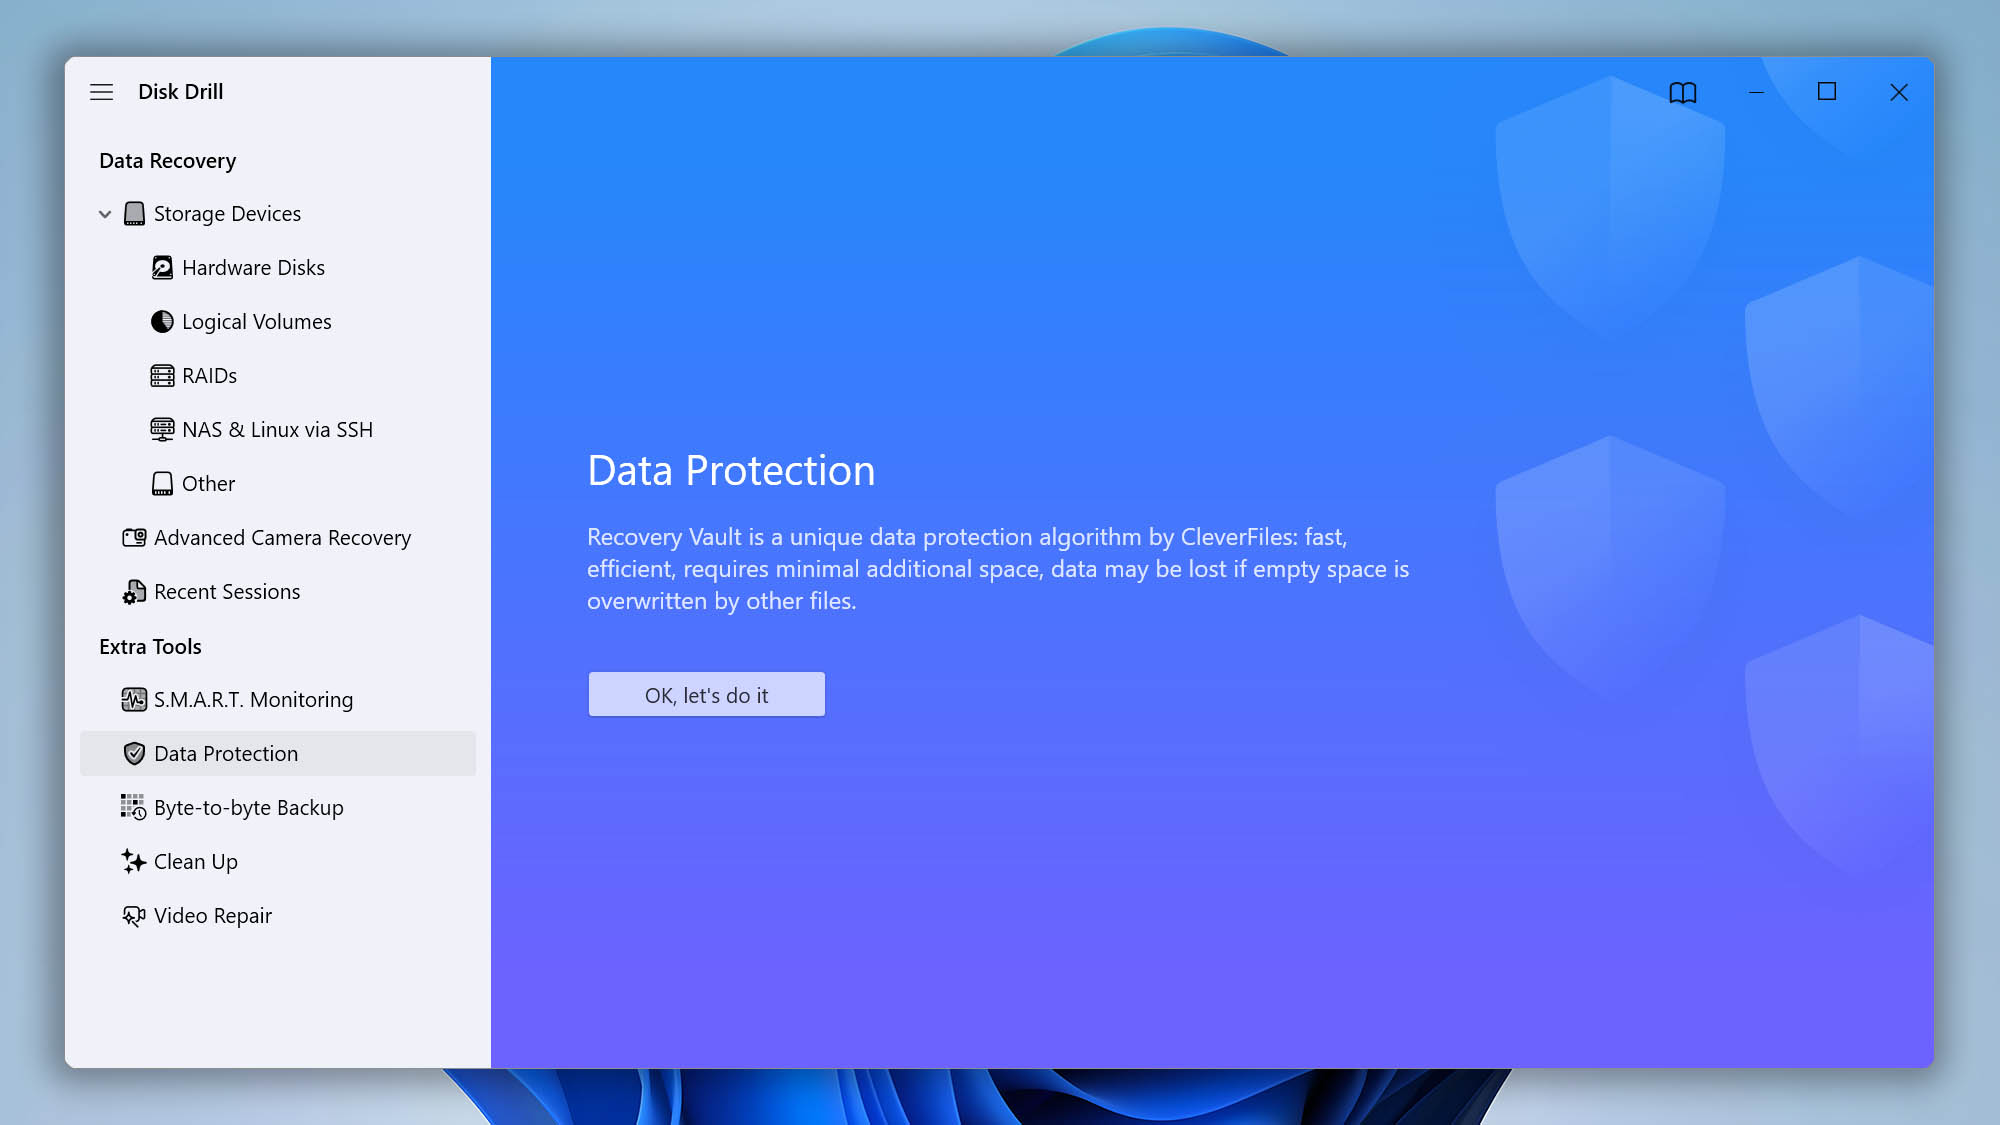
Recovery Vault is Disk Drill’s data protection feature for Windows. Once enabled, it saves important metadata about deleted files, including the file name, original location, and other file system details. This makes it easier for Disk Drill to identify deleted files and recover them with their original names and folder structure.
Unlike a traditional backup, Recovery Vault does not save a copy of the file itself. Instead, it improves your chances of successful file recovery as long as the deleted data has not been overwritten.
💡 Note: Recovery Vault is available only for supported FAT32, exFAT, and NTFS partitions that have read/write access enabled.
Guaranteed Recovery (Disk Drill for macOS)
Guaranteed Recovery is currently available in Disk Drill for macOS. When enabled before data loss occurs, Disk Drill’s Guaranteed Recovery helps protect files moved to the Trash—the default protected location—by creating hard links to them, making future recovery much more reliable.
Because Guaranteed Recovery is designed to preserve protected files for future recovery, it may use additional disk space and system resources, depending on your protection settings, the number of monitored folders, and the size of the files being stored. You can manage its storage usage in the Guaranteed Recovery settings by adjusting the storage cap, file size limits, and how long protected files are kept. For best results, enable it before deleting files and make sure the folders or volumes you want to protect are included in Disk Drill’s data protection settings.
💡 Note: Guaranteed Recovery can be used only on supported APFS and HFS/HFS+ partitions with read/write access enabled. Read-only partitions and disk images cannot be protected with this method.
How to Enable Data Protection in Disk Drill: Quick Guide
Follow these steps to enable data protection in Disk Drill and help prevent future data loss:
- Optional: To protect an external drive, connect it to your Mac or Windows PC.
- Make sure the drive uses a supported file system and has read/write access enabled.
- Launch Disk Drill.
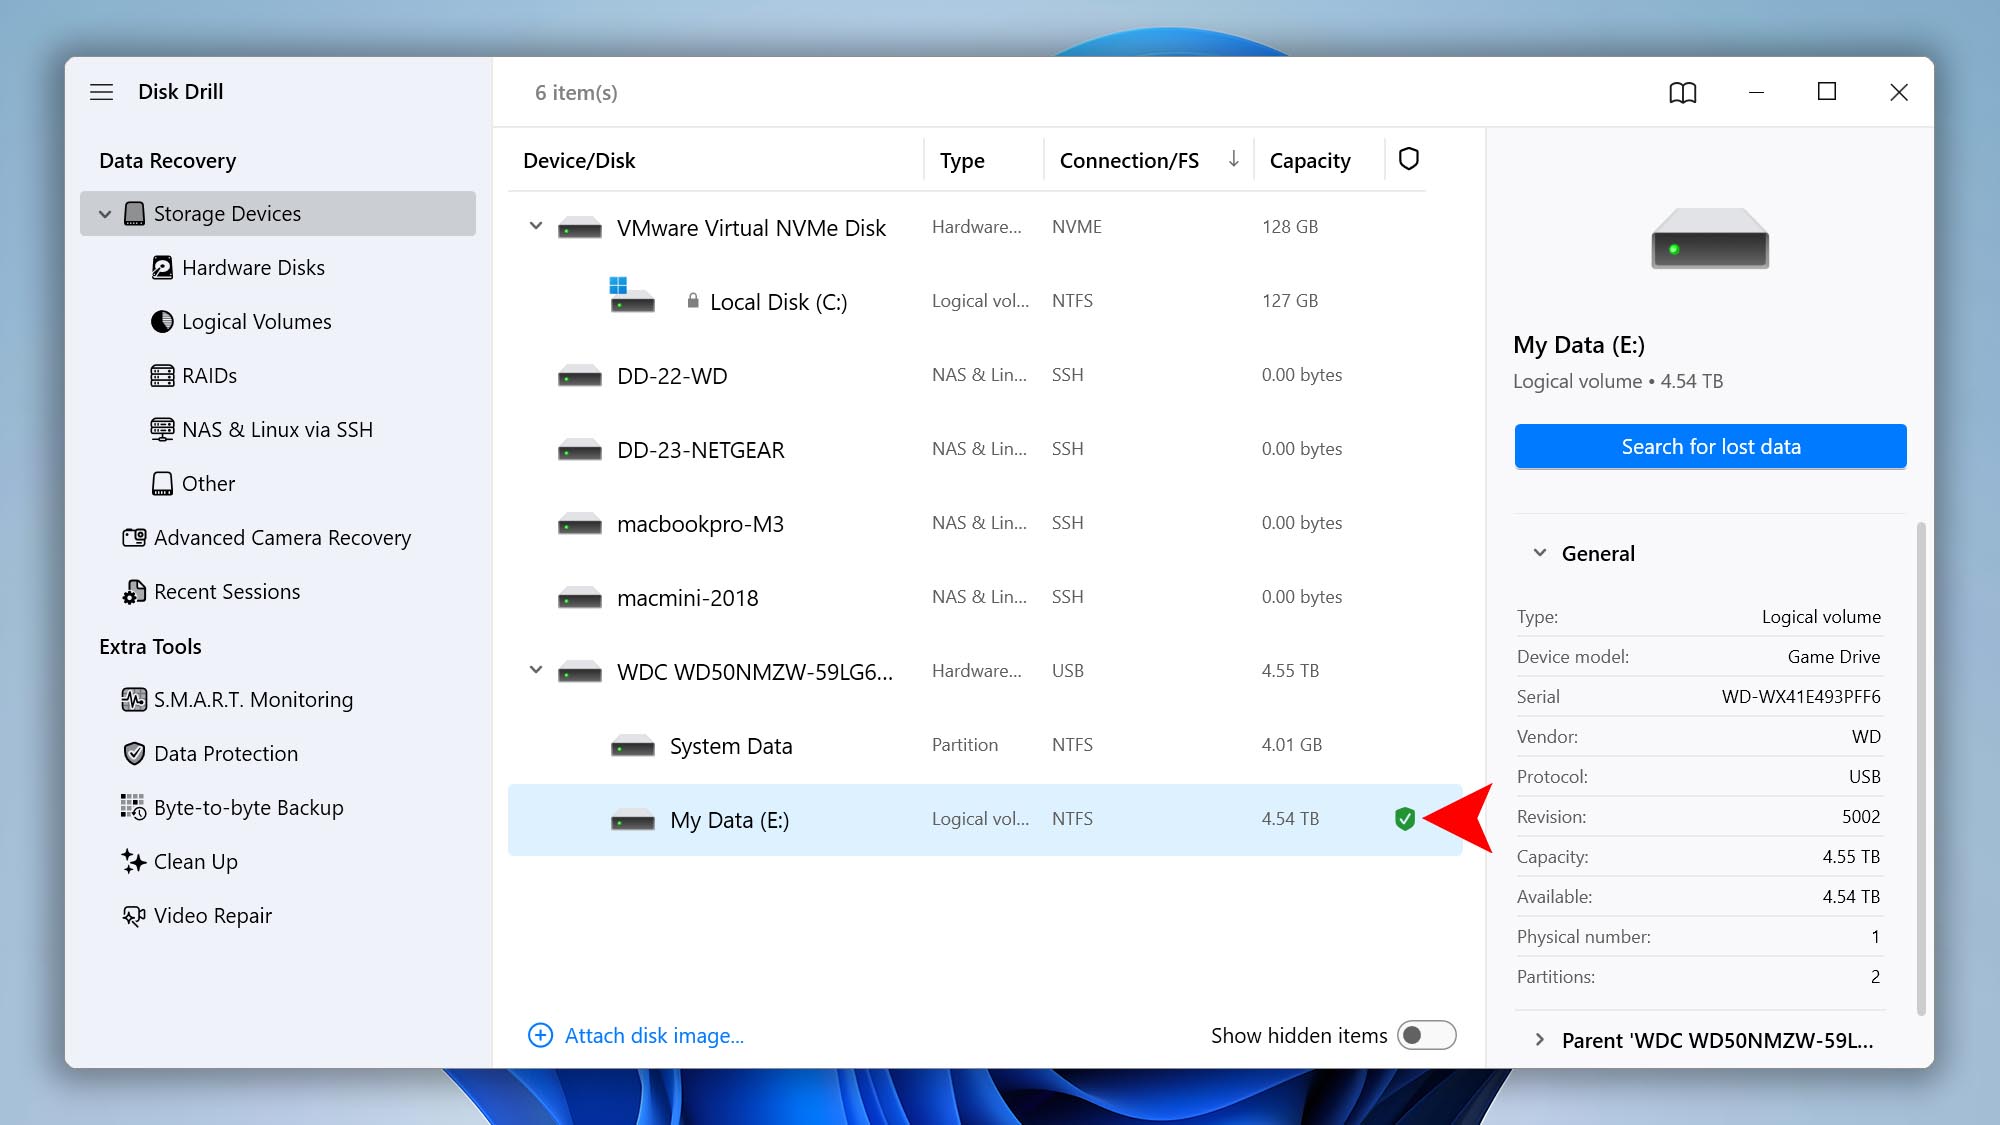
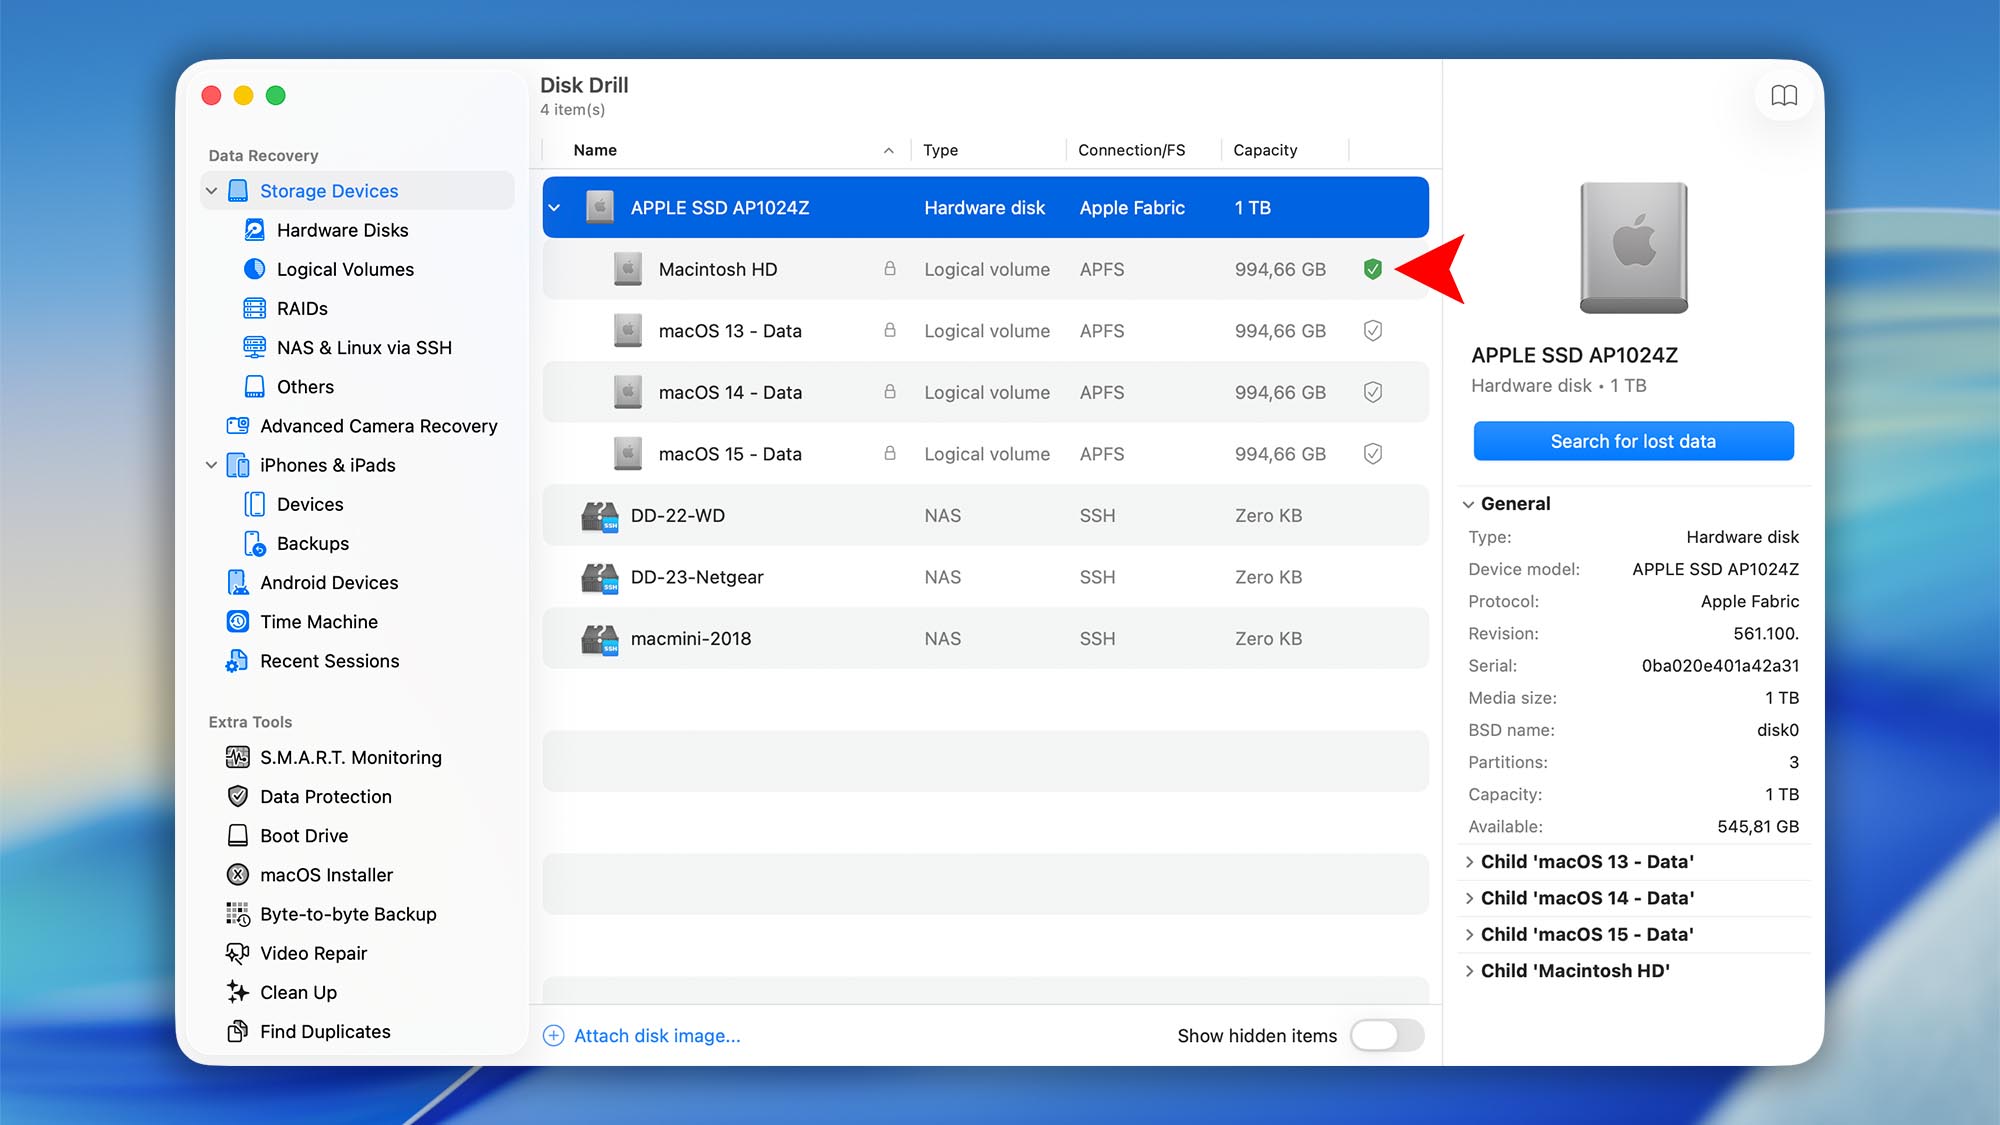
- On the main screen, you will see a list of available drives and storage devices.
- Click the 🛡️ shield icon next to the drive where you want to enable data protection.


- To customize protection settings, open the Data Protection module from the left sidebar.