In Disk Drill you can export your scan results into a read‑only virtual disk and browse them in Finder (macOS) or File Explorer (Windows). On macOS, Disk Drill mounts via its built‑in KFS mounter by default—no FUSE is required. If macFUSE is already installed, Disk Drill can use it; you can also explicitly block FUSE usage via an advanced preference (see below). On Windows, Disk Drill mounts via Dokany to present the results as a drive letter.
What Mount Found Items as Disk Actually Does
One of the great features of Disk Drill PRO is that you don’t have to preview files in Disk Drill. You can instead recover them to a virtual disk and open the files in their native applications. When you click Mount found items as disk, Disk Drill builds a read‑only virtual filesystem view of your results and exposes it to the OS as a disk/volume. From there you can use your native apps (Preview, Photos, Word, etc.) to open and verify file integrity before copying them out to a safe destination. This mounting mode is read‑only by design to protect your data.
Typical use cases:
- Preview large batches of files quickly in their native apps
- Validate folder hierarchies rebuilt from metadata (vs. signature‑only results)
- Selectively copy only what you need to a secondary drive
Step-by-step: Mount on macOS
- Scan the device. Open Disk Drill → select the disk or partition → Search for lost data and let the scan complete (or review in real time).
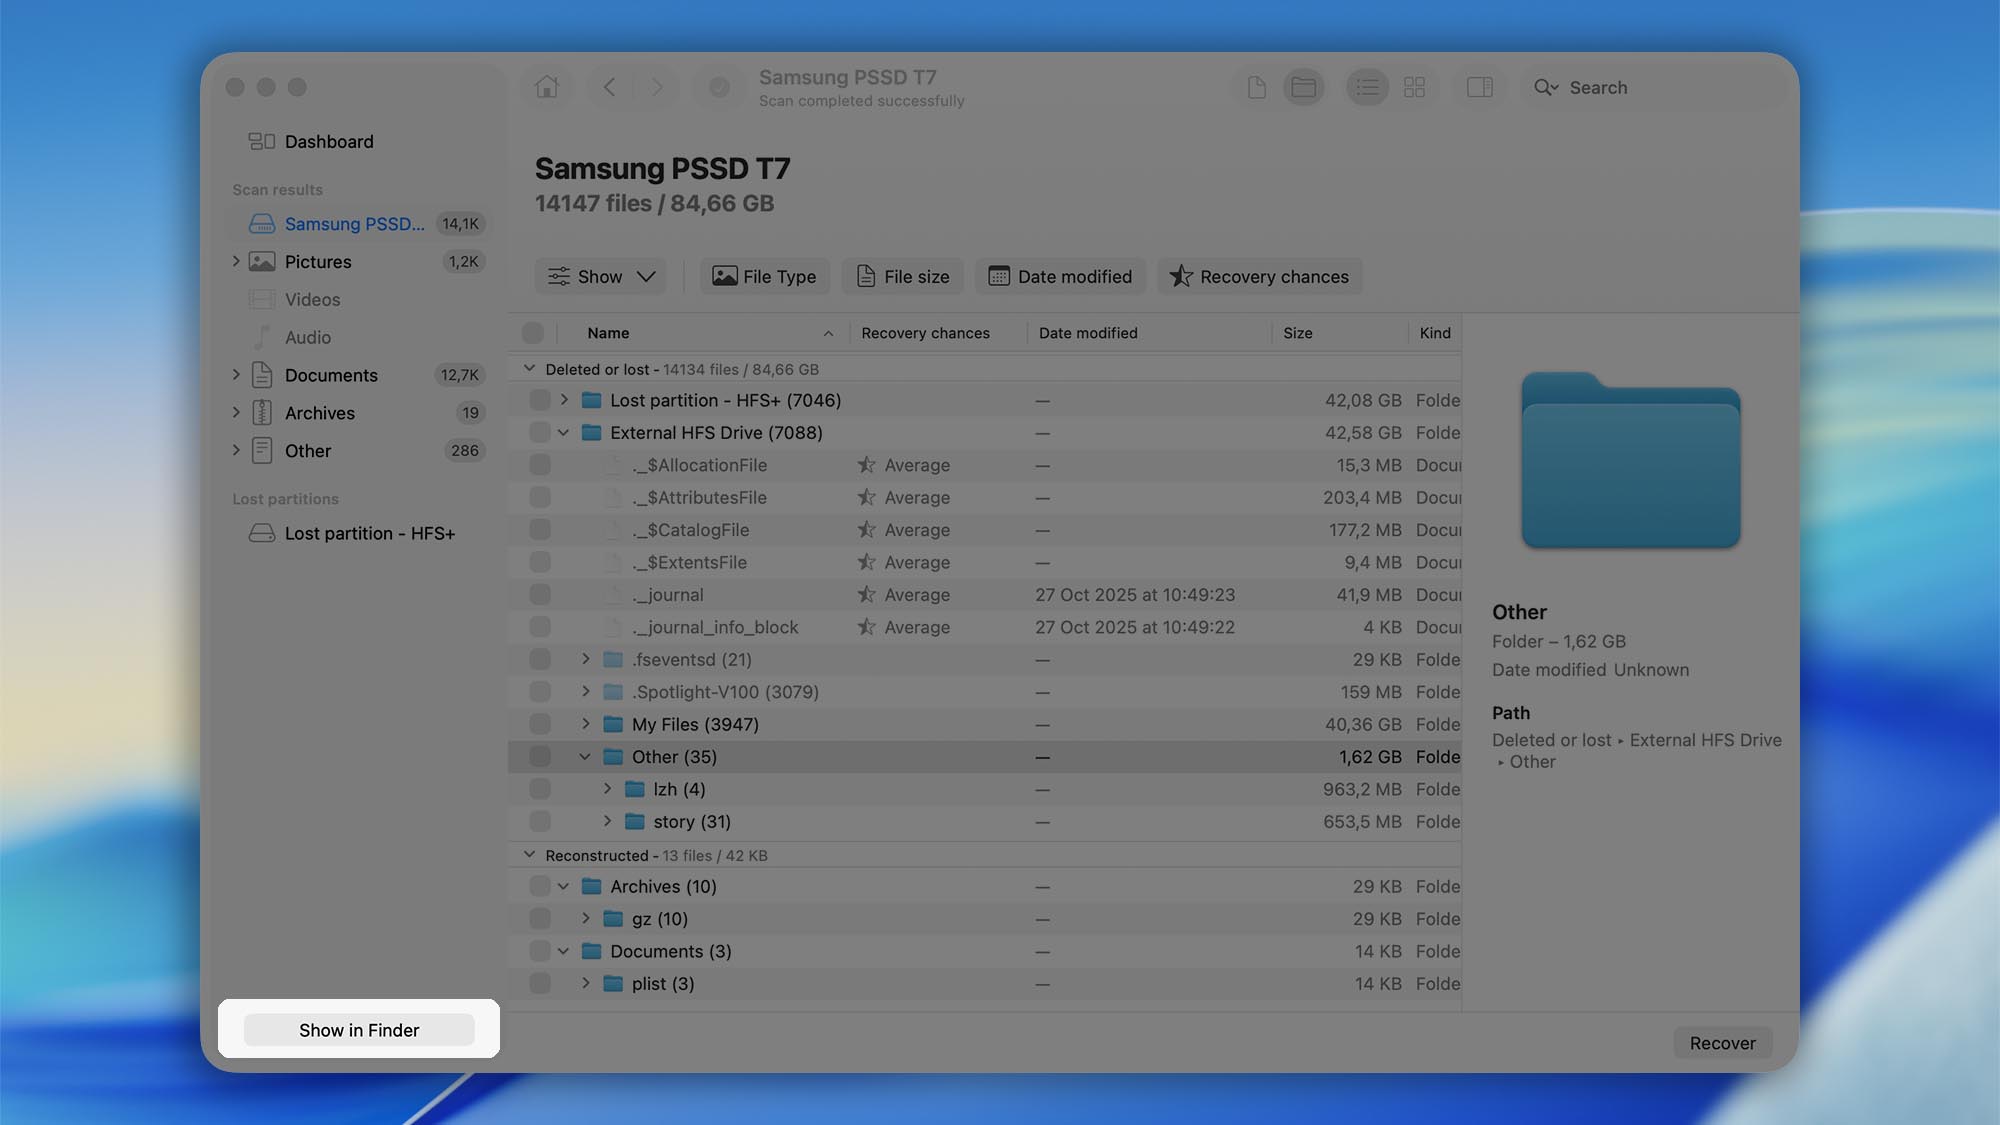
- Mount the results. In the results screen, click “Show in Finder”.
- Choose a destination for the mount file(s). Pick a location on a different physical drive than the one that lost data. This prevents accidental overwrite.
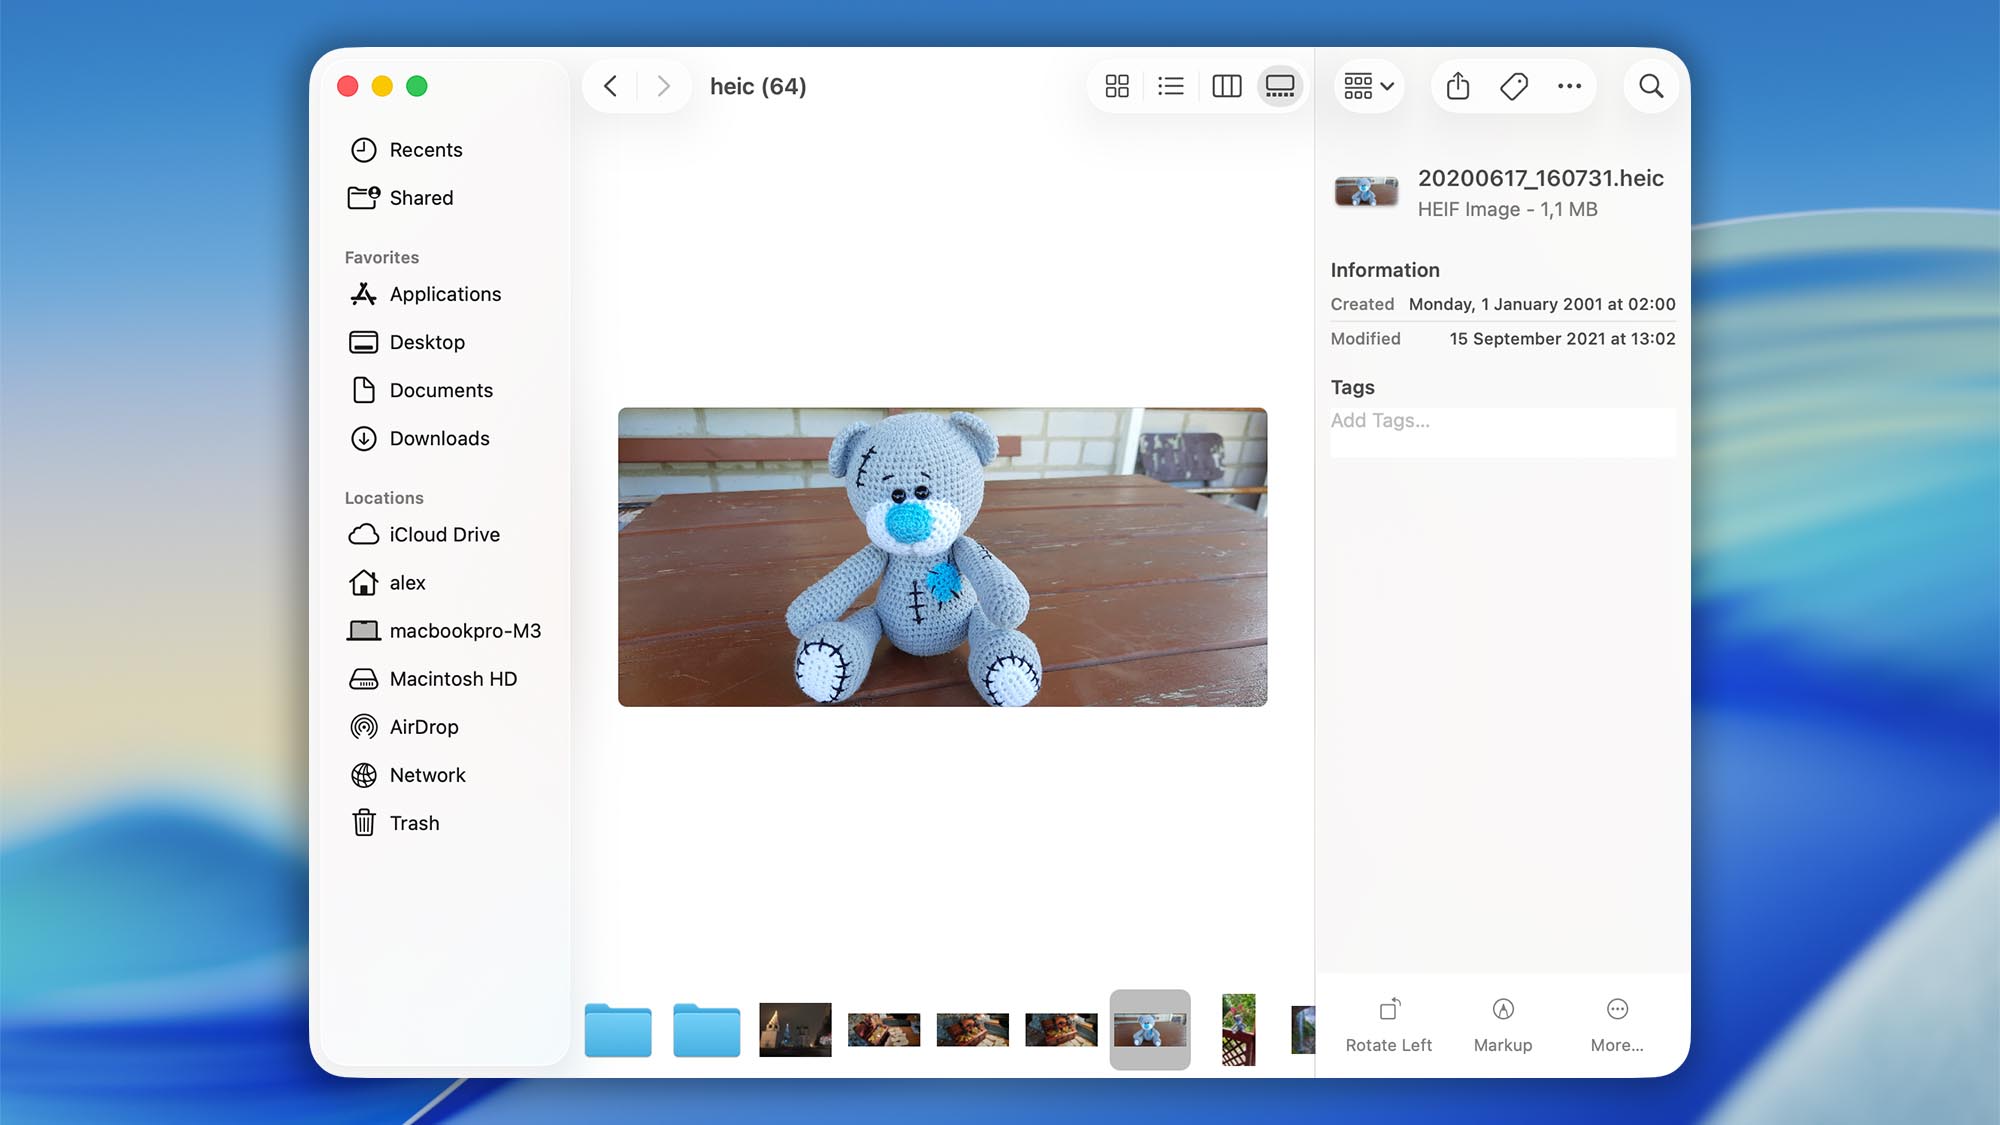
- Browse the mounted disk. The virtual disk appears under Locations in Finder (and typically on the Desktop). Open it to preview files in their native apps and copy the ones you want to your safe destination.
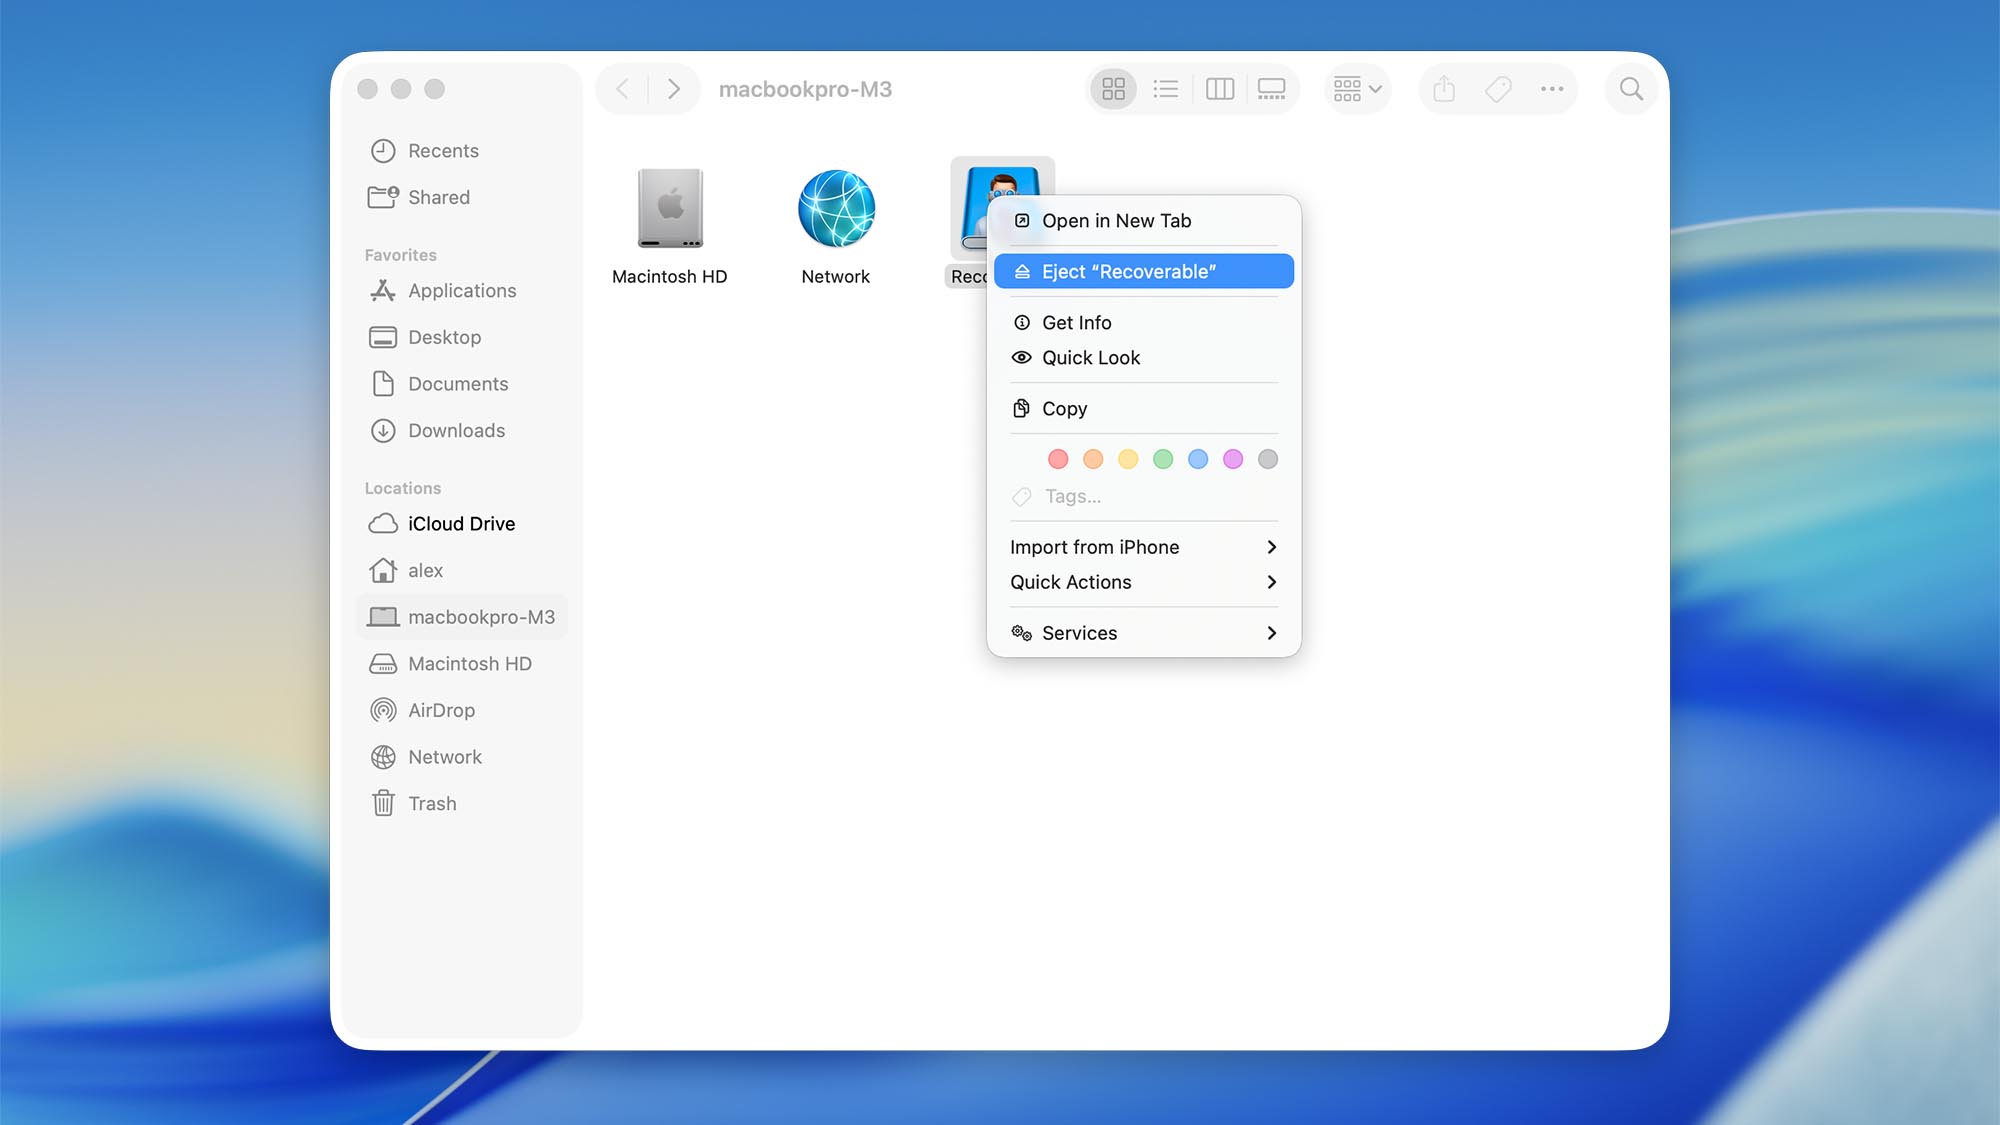
- Eject when done. Eject the mounted disk like any external volume. You can re‑mount later from Disk Drill if needed.
Step-by-step: Mount on Windows
- Scan the drive. Launch Disk Drill → Select the device → Search for lost data.
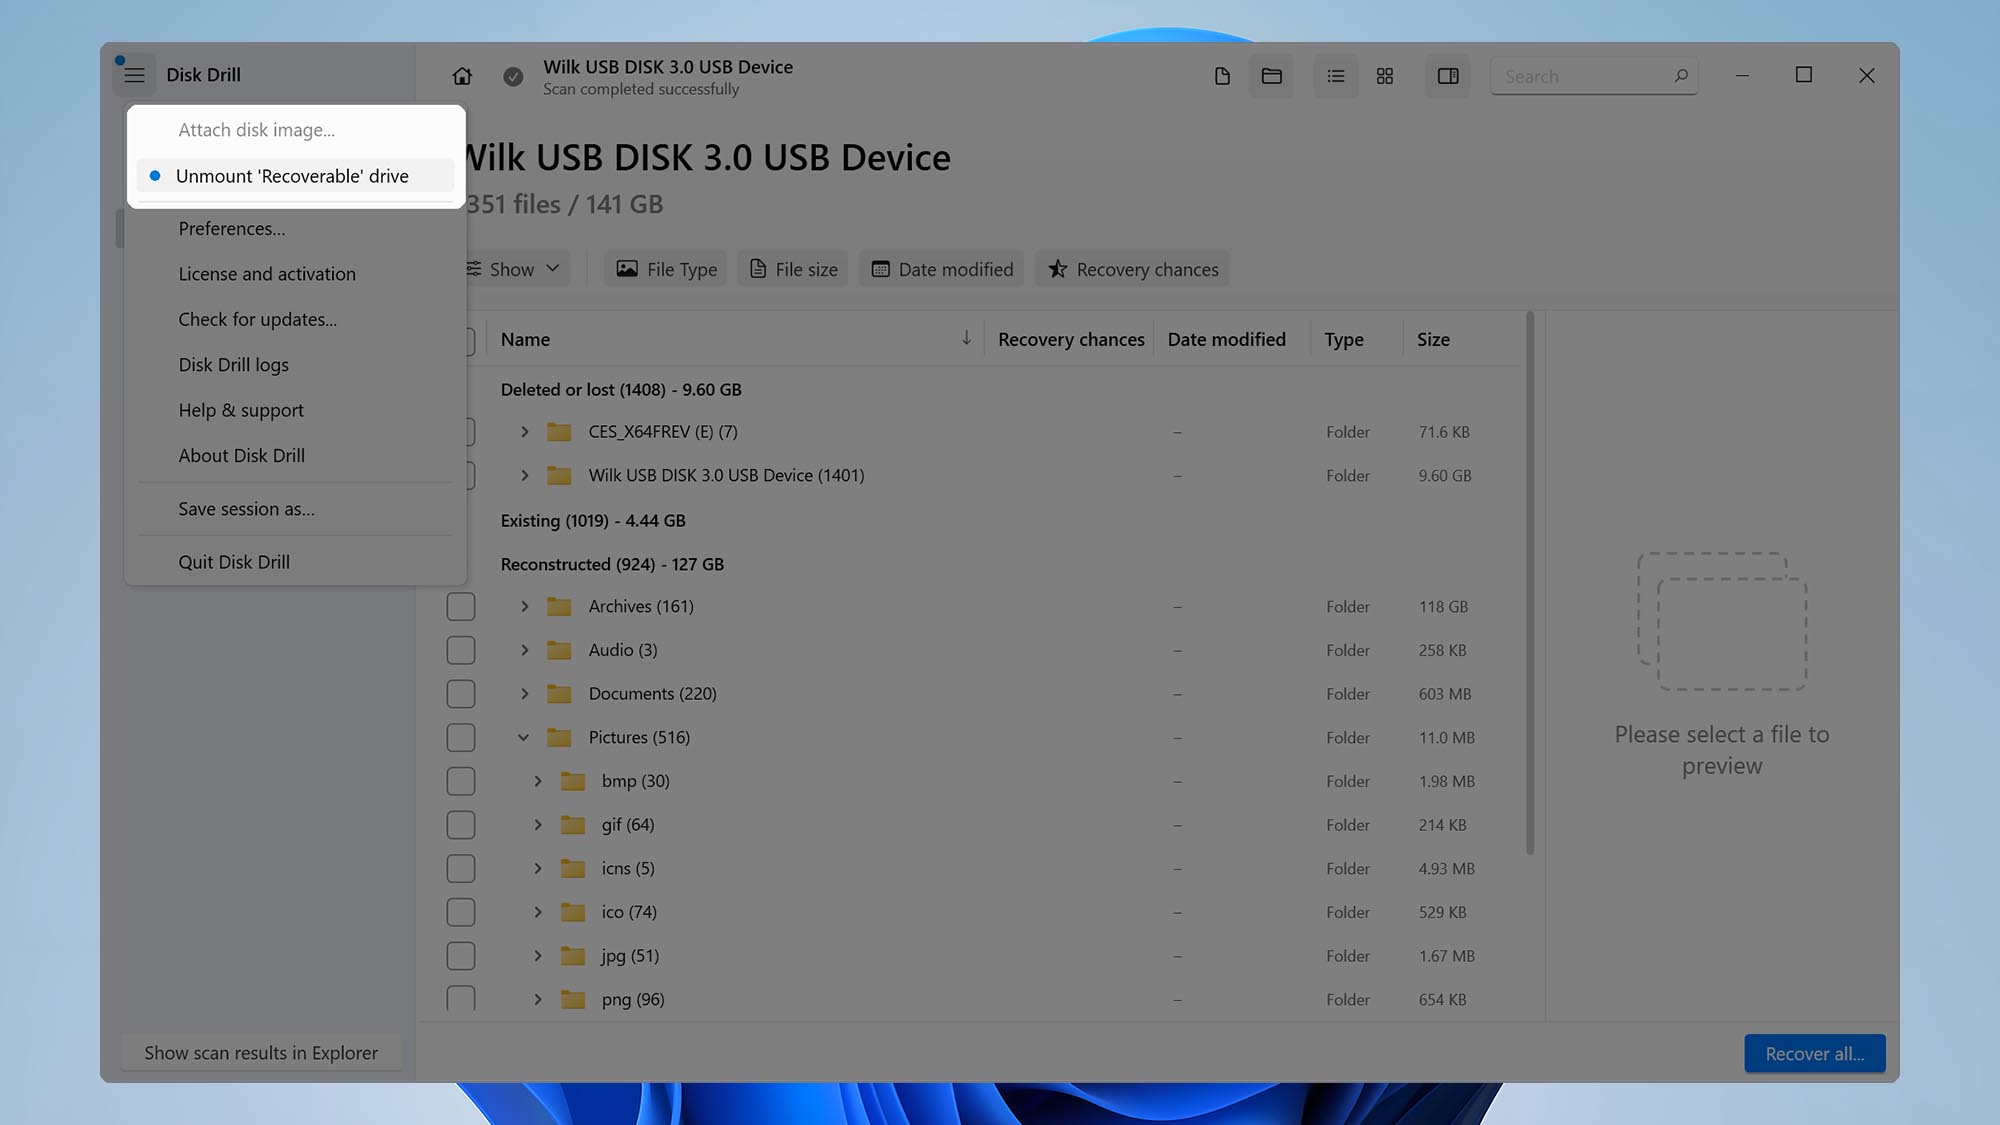
- Mount the results. Click “Show scan results in Explorer”.

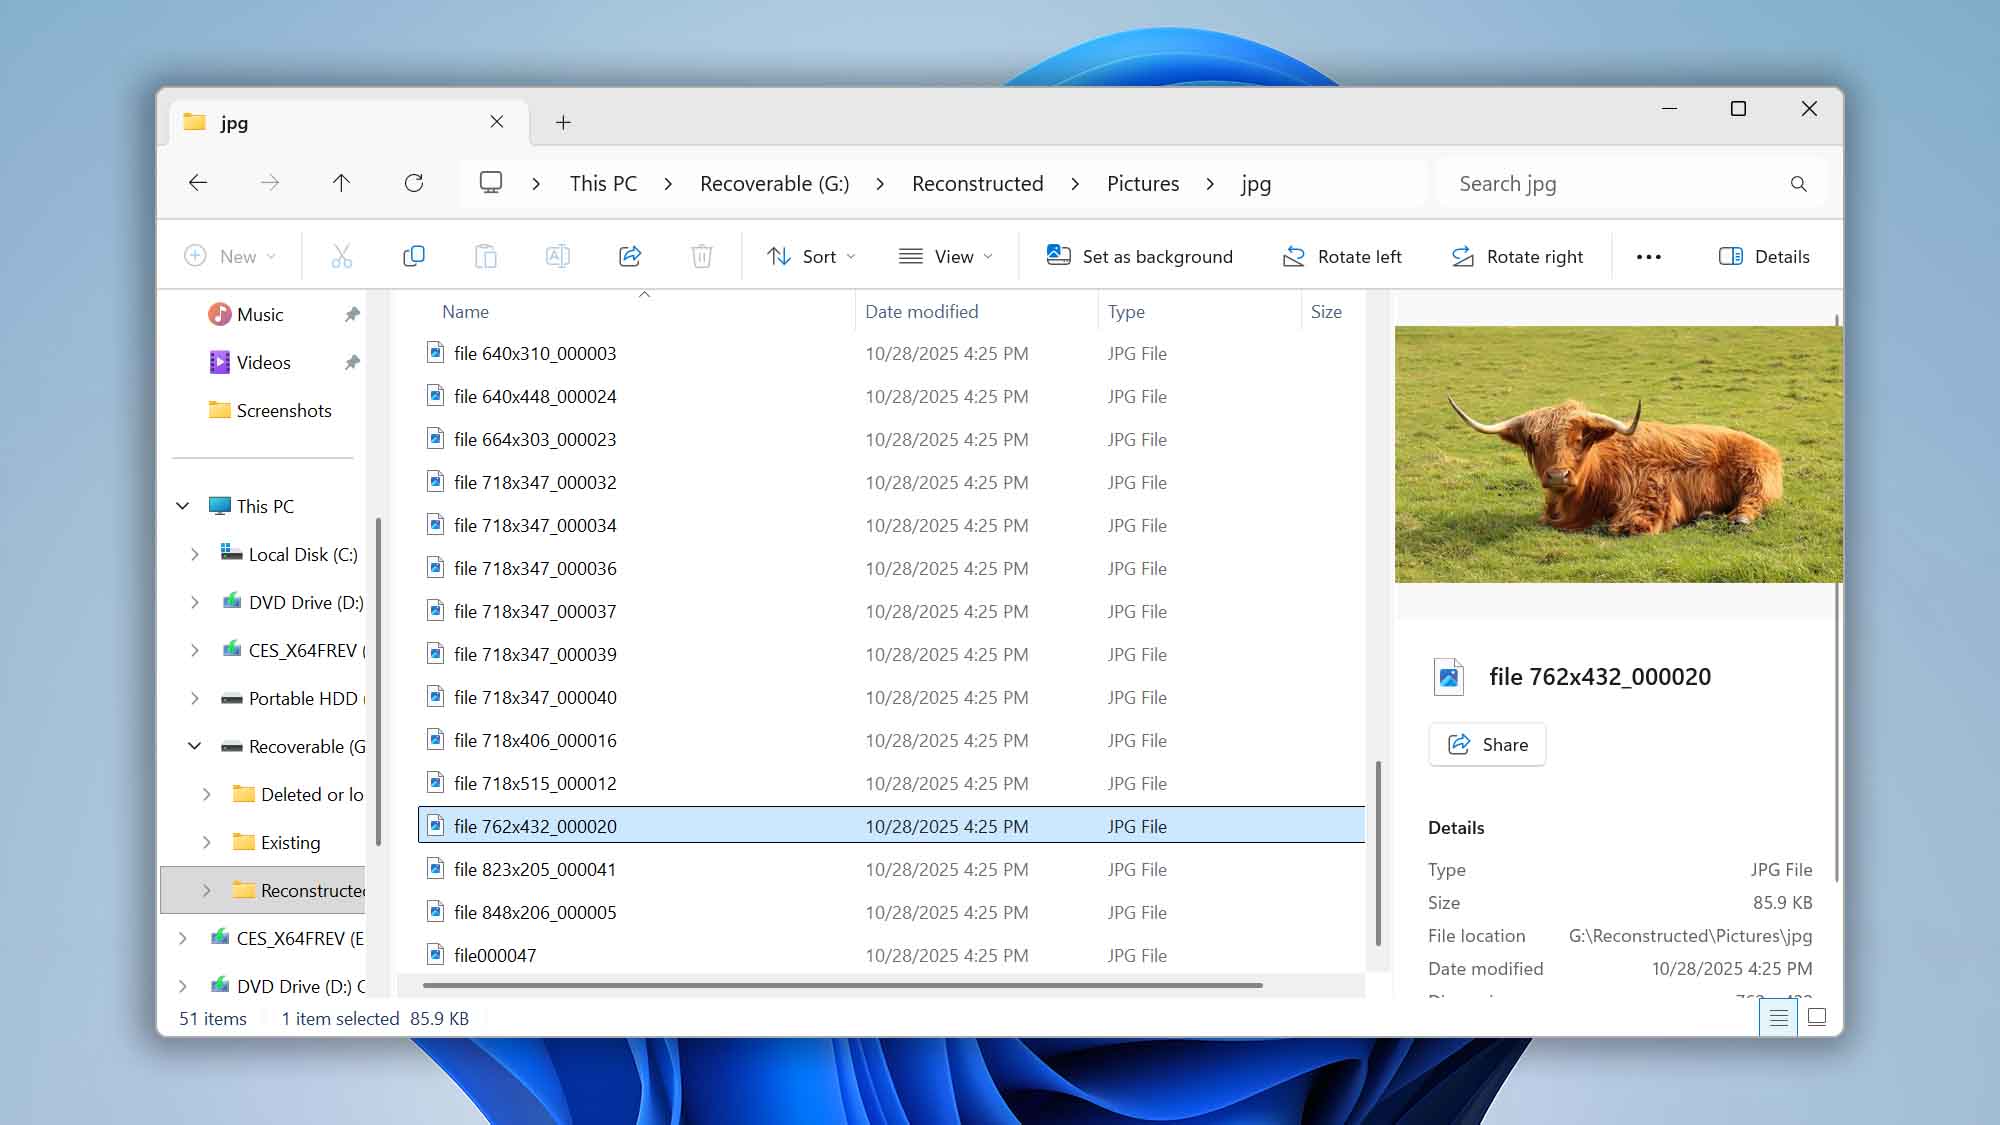
- Browse in File Explorer. A new drive letter appears under This PC; open it to browse/preview and copy files out.
- Safely remove. Click burger menu in Disk Drill and select “Unmount Recoverable drive”.
Advanced: Controlling FUSE Usage on macOS (Disk Drill 6)
By default Disk Drill 6 uses its KFS mounter. If macFUSE is installed, Disk Drill can use it automatically. You can force Disk Drill to avoid FUSE even when it’s present:
- Quit Disk Drill.
- Run the following in Terminal:
defaults write com.cleverfiles.DiskDrill BlockFuseMounter -bool yes - Relaunch Disk Drill and mount again.
To revert to the default behavior (allow FUSE usage if installed):
defaults delete com.cleverfiles.DiskDrill BlockFuseMounter