Are you unable to access photos, video, or any file from your computer, smartphone, memory card, hard drive, SSD, or any other data storage device? Down below you will see a list of certified recovery services along with their locations and contact details which can recover your lost or deleted data and repair your broken hard drive, laptop or another device. These data recovery service centers are spread over all of Montreal so that every local area is included.
Trusted Data Recovery Experts in Montreal Area, QC
Montreal, QC H4B 2M5
Monday - Friday: 9AM–3PM
Saturday: Closed
Sunday: Closed
Montreal, QC H4R 1X1
Monday - Thursday: 9AM–4PM
Friday: 9AM–1PM
Saturday: Closed
Sunday: Closed

Montreal, H3A 1Y1
Monday - Friday: 8AM–12AM
Saturday: 8AM–12AM
Sunday: 8AM–12AM
Montreal, QC H2M 2A6
Monday - Friday: 9AM–6PM
Saturday: Closed
Sunday: Closed
Montreal, Quebec H3W 3A5
Monday: Closed
Tuesday - Friday: 9:30AM–10:30AM
Saturday: 9:30AM–11:30AM
Sunday: 9PM–10:30AM
Montreal, QC H2J 2Y3
Monday - Friday: 9AM–6:30PM
Saturday: Closed
Sunday: Closed
Montreal, Quebec H3A 0A5
Monday - Friday: 8AM–8PM
Saturday: Closed
Sunday: Closed
Montreal, Quebec H2R 1P1
Monday - Friday: Open 24h
Saturday: Open 24h
Sunday: Open 24h
Montreal, QC H8Y 2N9
Monday - Friday: 9:30AM–3PM
Saturday: 10AM–12PM
Sunday: Closed
Montreal, QC H1L 4H5
Monday - Friday: 9:30AM–5PM
Saturday: Closed
Sunday: Closed

Montreal, Quebec H3B 0B2
Monday - Friday: 8AM–8PM
Saturday: 8AM–8PM
Sunday: 8AM–8PM
Find Local Data Recovery Services Near You on the Map of Montreal, QC
How-to Recover Lost Data With DIY Method
If you attempt to recover lost documents, photos, videos, etc, Disk Drill would be the ideal solution. This tool is an effortless way of retrieving missing data from your storage device.
The interface of the software is simple. It was designed by professionals to ensure accessibility for rookies and experts, all the same. This computer software has 3 versions; the first one is the free version which will permit you to restore data up to 500MB (only for Windows user), the second one is Disk Drill Pro and the last one is Disk Drill Enterprise. To check the prices for Pro and Enterprise click here.
Follow these steps to download the software and restore data from laptops, phones, micro SD cards, flash drives, etc.
- Head on to the official website of Clevefiles to download the free version or simply click here.
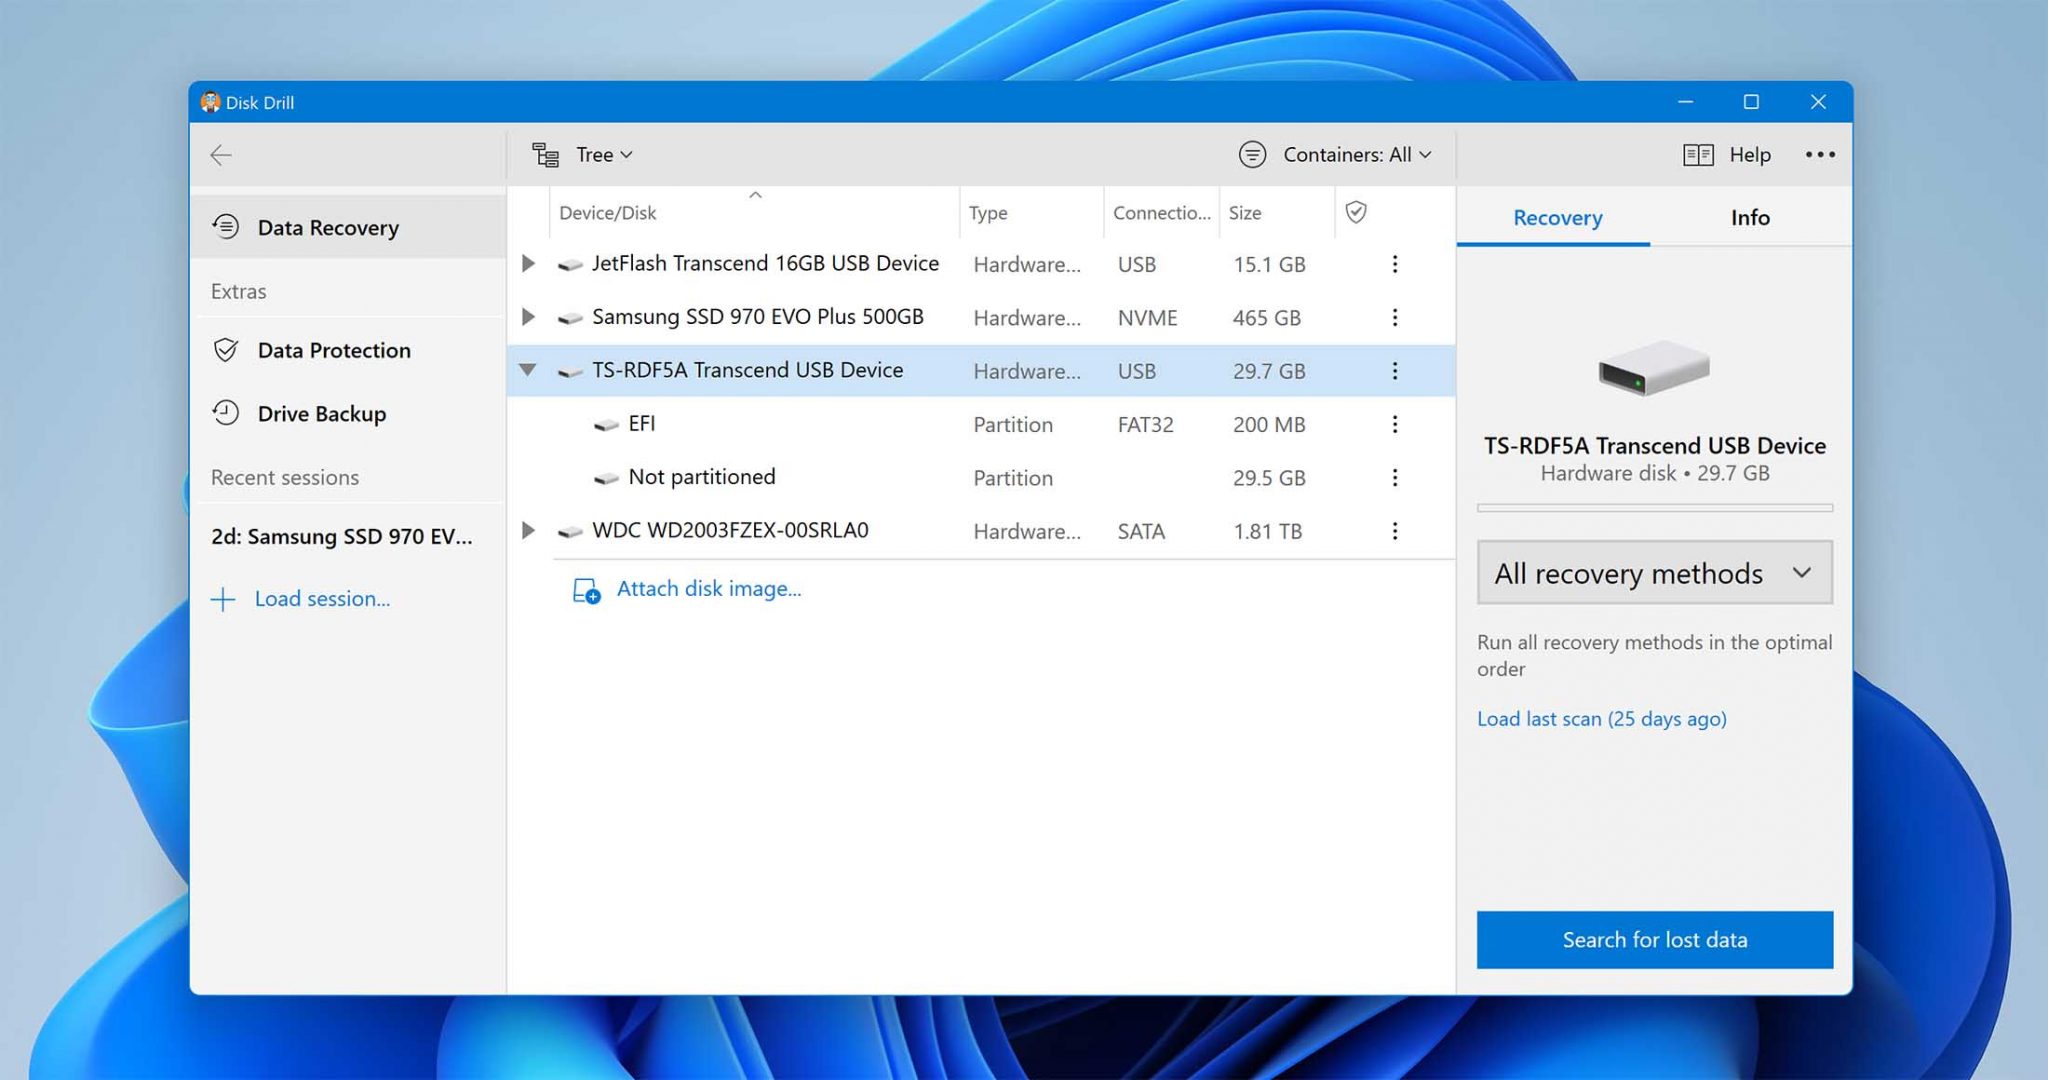
- After you have completed the installation, launch Disk Drill and click on the “Data Recovery” panel to your left. A few extras such as “Data Protection” and “Drive Backup” are available for use, as well. You will see hardware disk and/or logical volumes on the screen when you select “Data Recovery”.
- Click on the “Recovery”. For optimal success, choose “All Recovery Methods” from the drop-down menu and click “Search for Lost Data”.
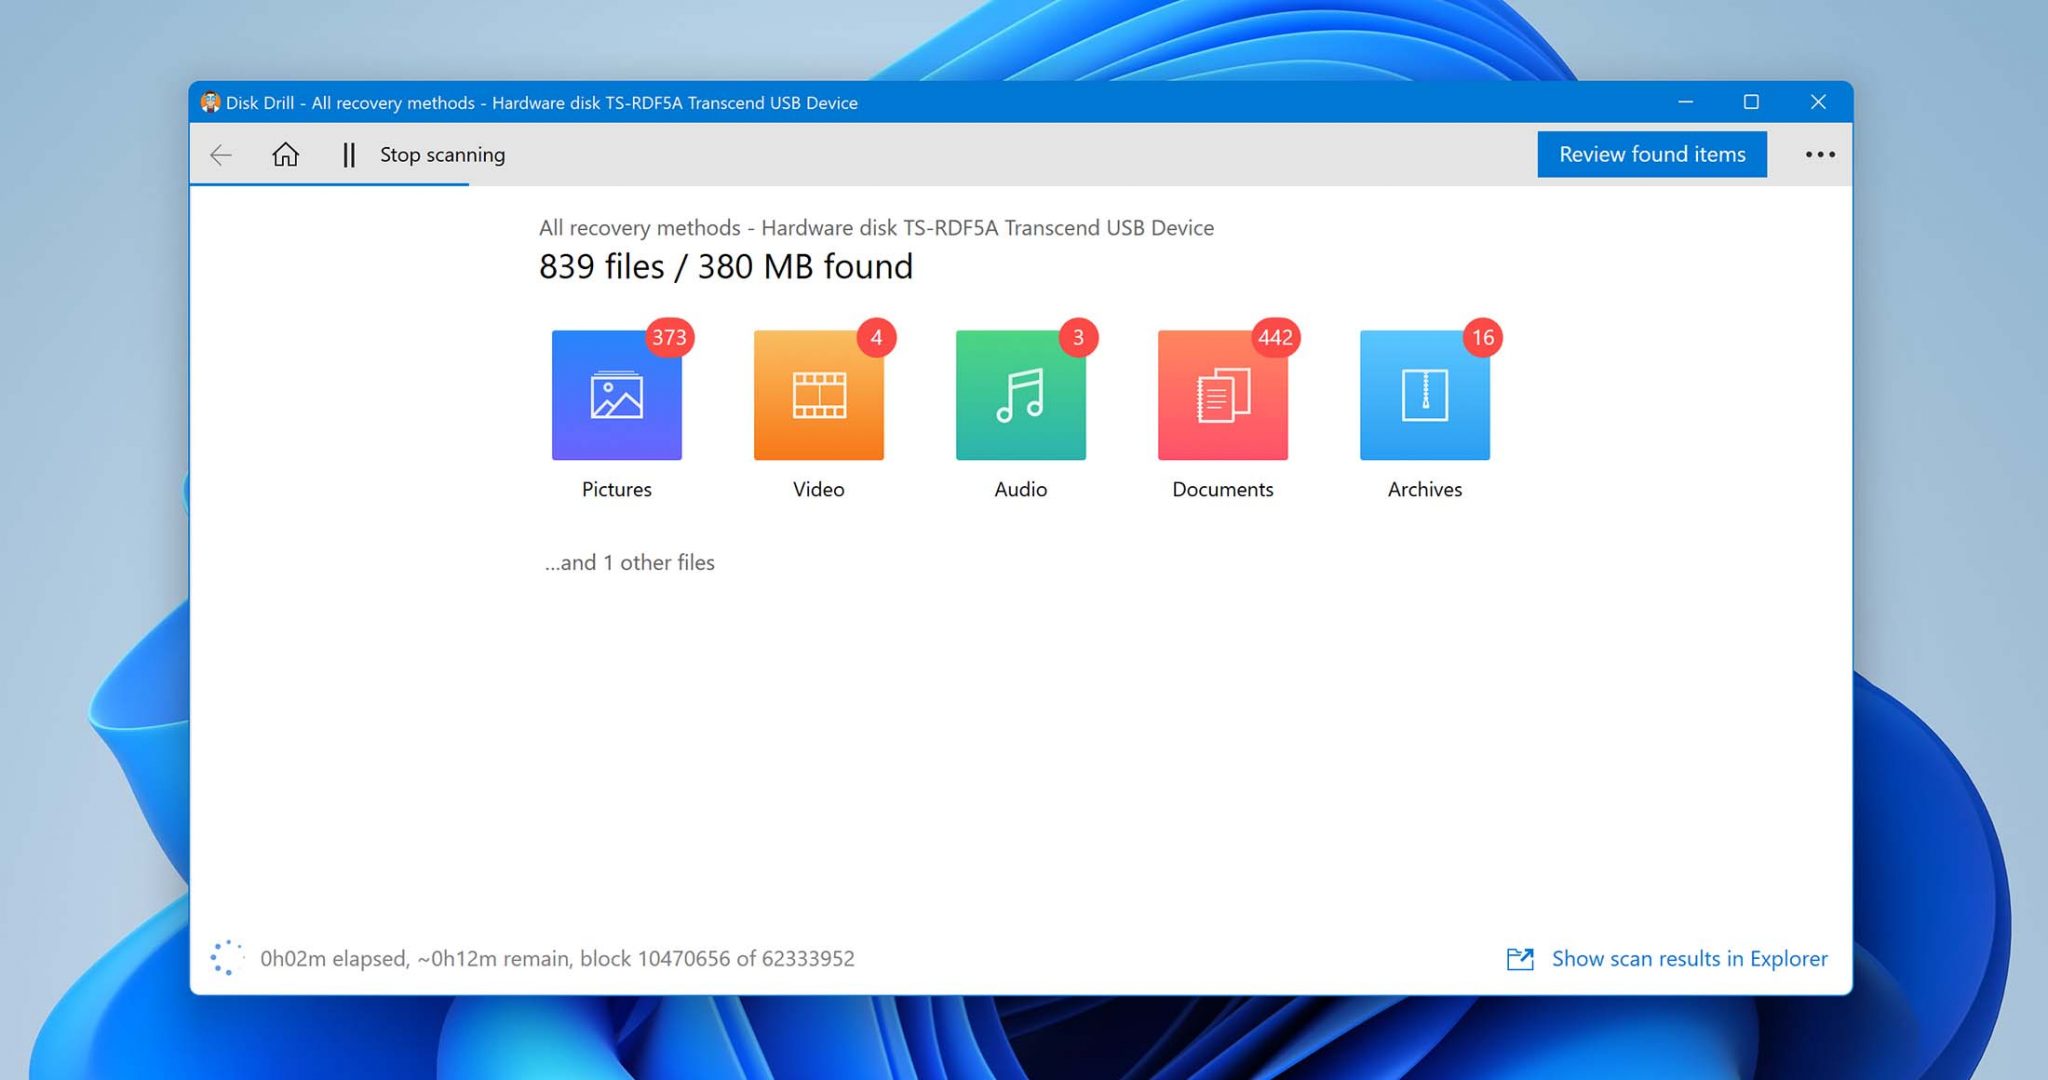
- After the completion of the scan, you can also opt for recovering all of the data found by clicking on “Recover all”. If there is a particular file you want to recover, type the name into the search bar.
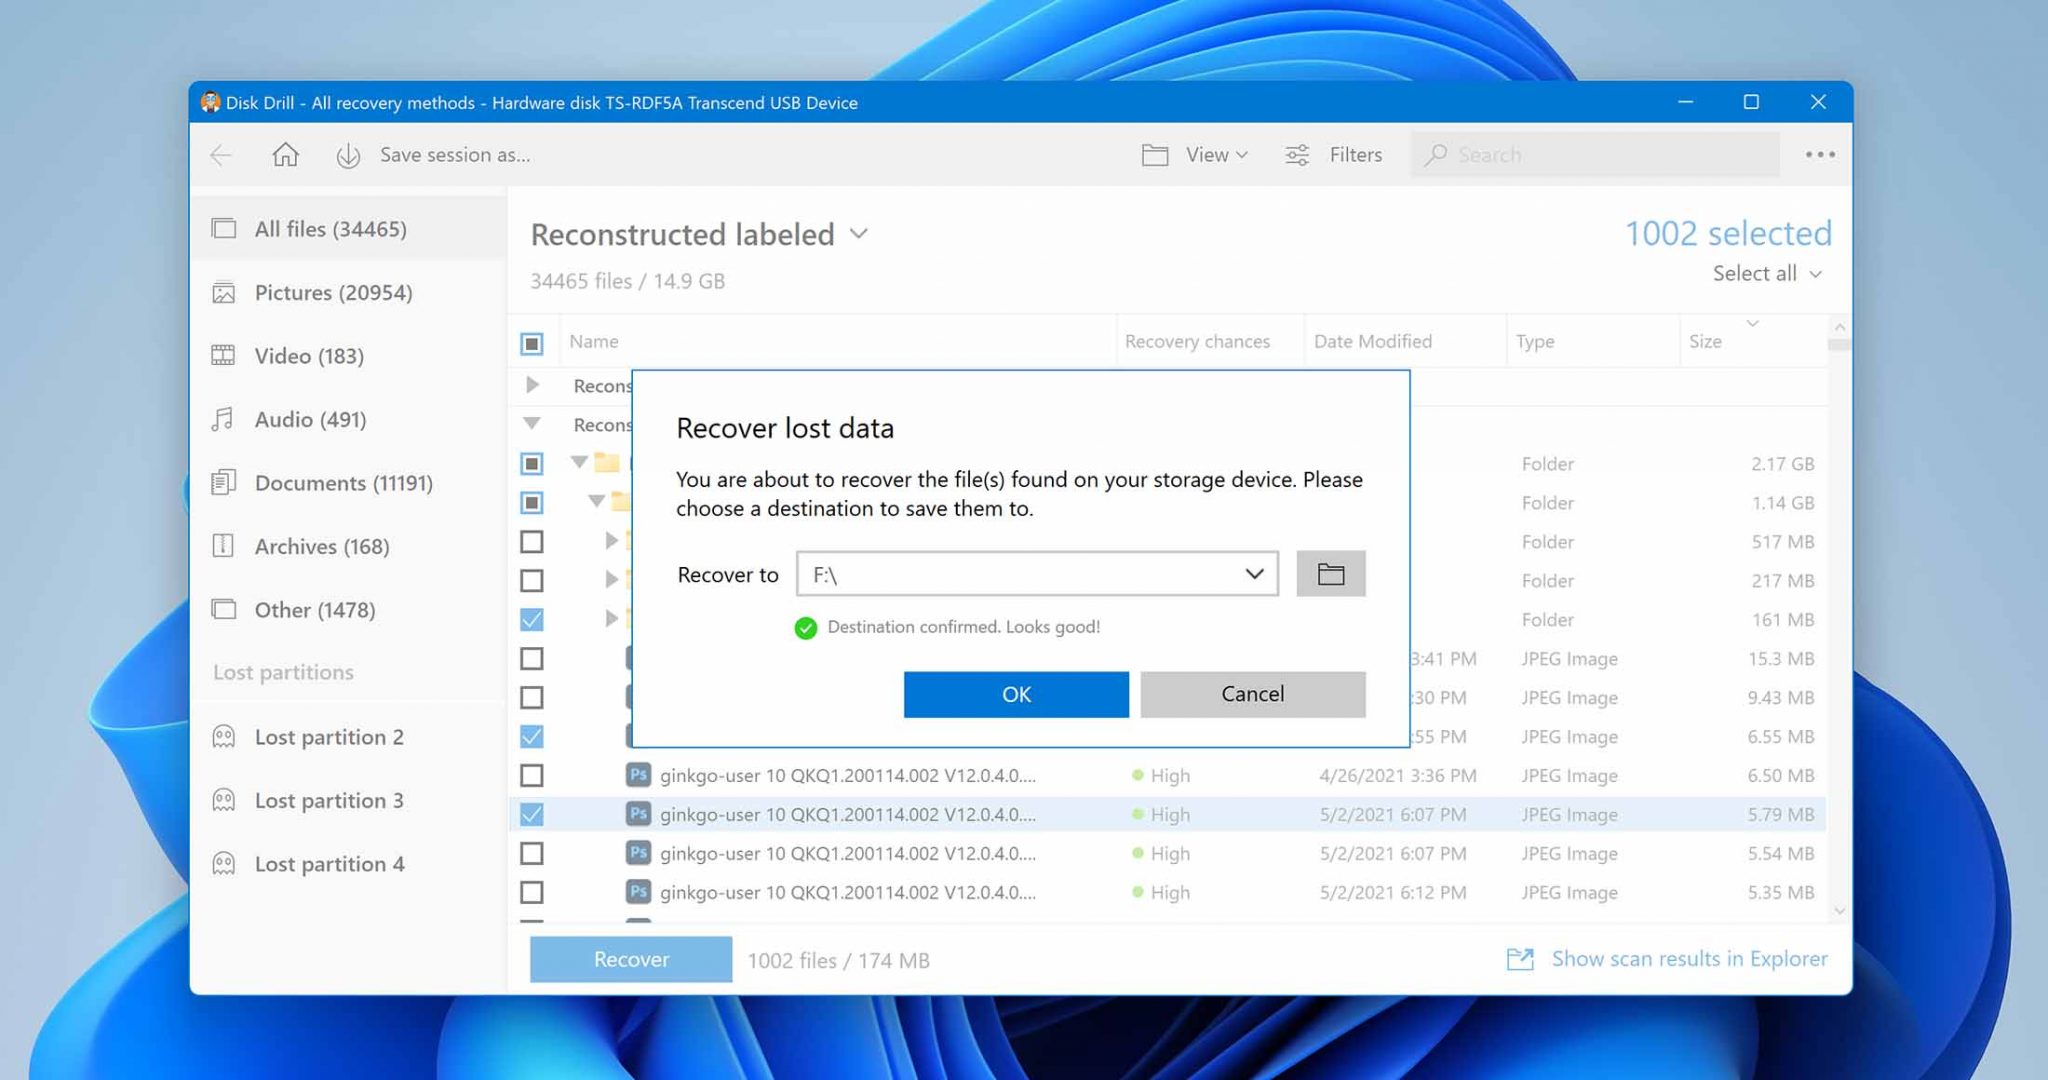
- The next step is to enter the destination of the recovered files. A pop-up will appear on the screen asking for the same. Once the destination is confirmed by the software, click on “Ok” and resume your work within a couple of minutes.

To know more about Disk Drill, you can visit the online CleverFiles’ blog where we provide further insight into how to recover files on Mac and Windows laptops or android and iPhones using Disk Drill.
FAQ
The cost of data recovery in Montreal, Canada varies based on the type of damage an HDD or SSD has experienced. It can range from $50 CAD for a simple recovery to over $3,000 CAD for a complex and time-consuming recovery.
To find the best iPhone recovery services in the Quebec area, follow these steps:
- Search for a certified recovery service in Quebec online
- Use their phone number or email address to check their details
- Search for positive reviews about the service
You can use the contact information above to verify their reliability.
Data may be recovered from a destroyed internal or external hard drive depending on the extent of the damage. A recovery specialist can often repair a broken storage device taken from your laptop or computer.
Professional data recovery services use advanced software and hardware techniques to clone a damaged storage device and retrieve lost files. Depending on what broke inside the drive, it can take an expert a considerable amount of time to perform the recovery.
Recovering data from an external hard drive or flash drive may require you to find a professional data recovery service in Montreal. Take the time to ensure that the service is reliable and affordable. You may also try a DIY solution using data recovery software.