Have you mistakenly deleted an LXO file or lost it due to a corrupted storage medium? Don’t panic just yet. There’s a good chance you can still retrieve the file and there are several ways you can go about it. Just follow our simple guide and you’ll get back your LXO files in no time, even if you’re not all that savvy with data recovery programs.
What Is LXO?
If you’re new to the realm of graphic design, you might come across a file with the .lxo extension. An LXO file is a 3D image created by Foundry MODO – a type of software used for rendering, 3D modeling, and animation. Once you use the program to develop 3D scenes, you can save them under the .lxo file extension.
They’re known for storing high-resolution pictures or animated scenes and are generally used in video game development, film making, advertising, or photography. While they’re mostly viewed and edited on an individual machine, they can be shared on a network to be accessed by a variety of users.
How to Recover Deleted LXO Files
As with pretty much any lost or compromised file, deleted LXO files can potentially be retrieved through various methods. Keep in mind, however, that you should stop writing files to the storage medium immediately and start attempting the recovery process right away.
This minimizes the chance of your deleted files being somehow overwritten. Here are some of the ways you can get lost LXO files back:
How to Recover LXO with Software
One of the best ways to recover deleted LXO files is through the help of top-tier recovery software. Since Disk Drill is among the leading data retrieval solutions available in the market, we’ve created a step-by-step guide to help you use the app to save your missing LXO files. For this guide, we used the Windows version of Disk Drill, though the Mac edition works in largely the same way. All you have to do is follow these easy steps:
- You can start by downloading the Disk Drill setup file here.
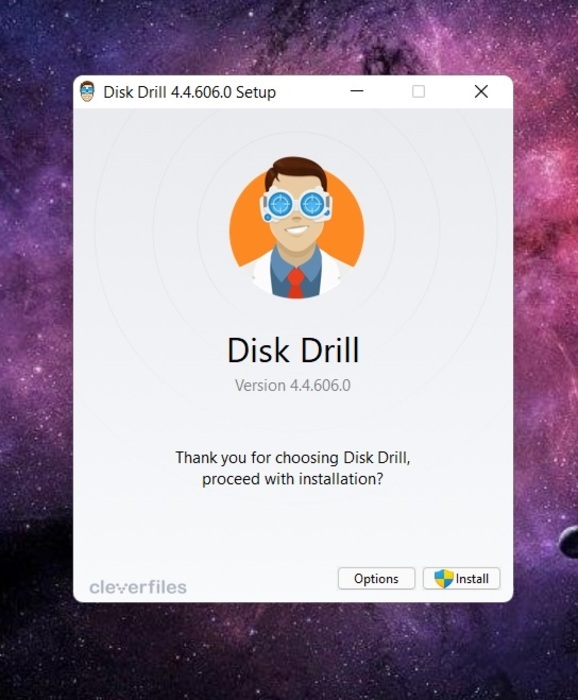
- Launch the setup file and follow the onscreen instructions until the program is successfully installed.
- Once the app is installed, click the Launch button from the wizard to run Disk Drill.
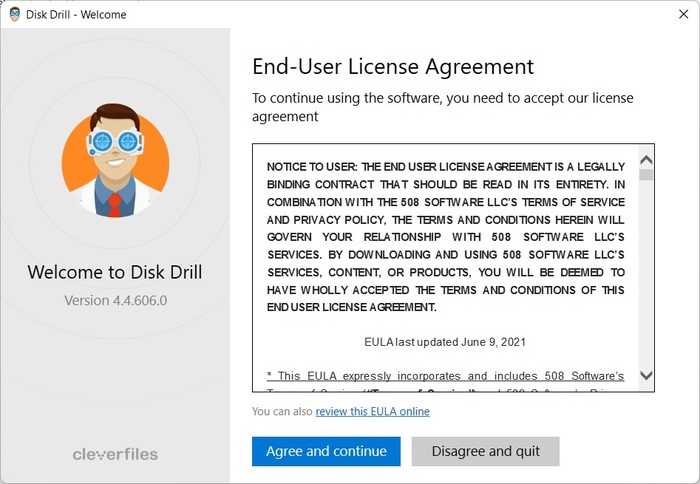
- You’ll be asked to accept the end-user license agreement. Click the Agree and continue button and a few succeeding buttons to proceed.
- From the app’s home screen, select the storage medium you want to retrieve your LXO files from and click the Search for lost data button.
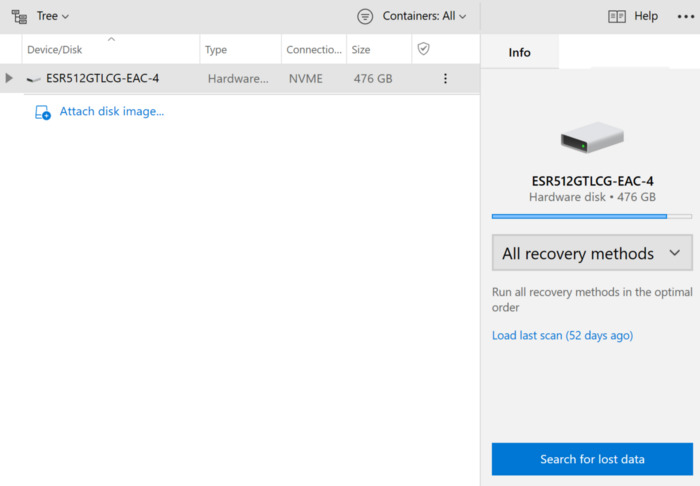
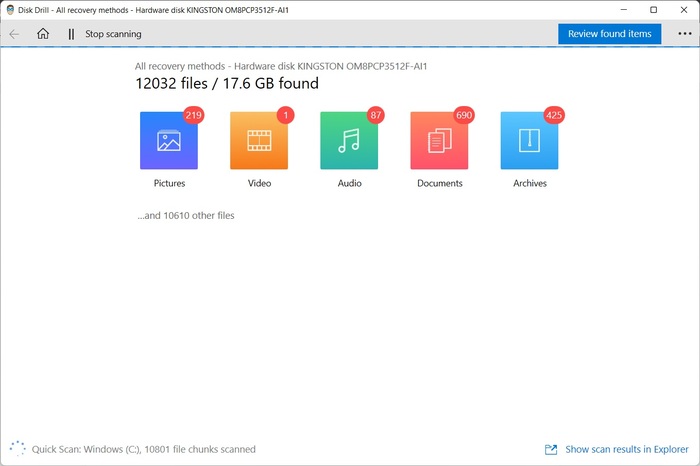
- Wait for the scanning process to complete. The length of time this will take depends on the size of your storage medium and the speed at which data can be read from it. You can also click any of the category icons on the searching screen to display the results as the app is scanning.
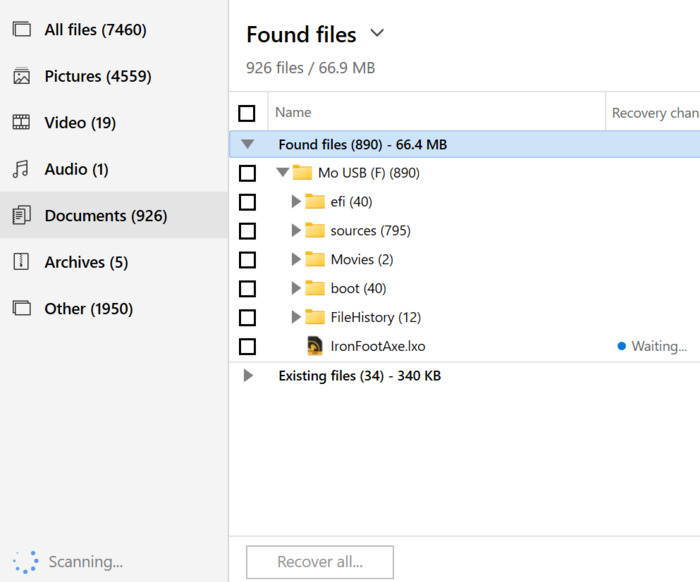
- From the results page, we were able to find the LKO file under the Documents category. Just navigate to the folder where the files were located before they were deleted, and they should show up there. Make sure you’re looking under the Found files dropdown, not the Existing files one.
- Tick the checkbox next to the LXO file and click the Recover button to start the recovery process. You’ll receive a pop-up asking you to select the destination for the recovered file. Keep in mind that it is highly recommended that the recovered file be saved in a different storage medium than where the file was recovered from. This is to avoid accidental overwriting.
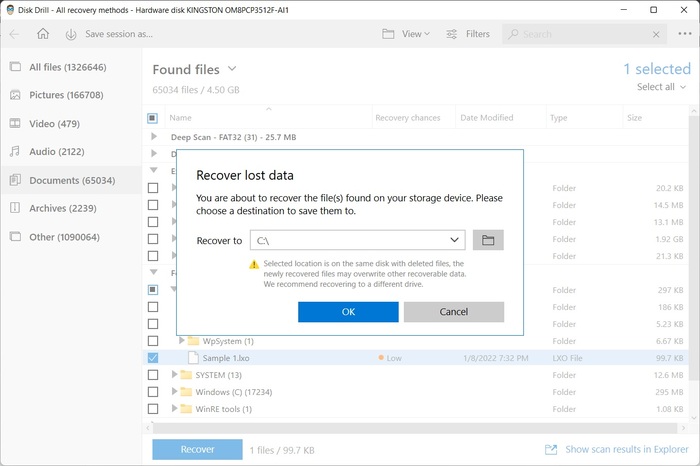
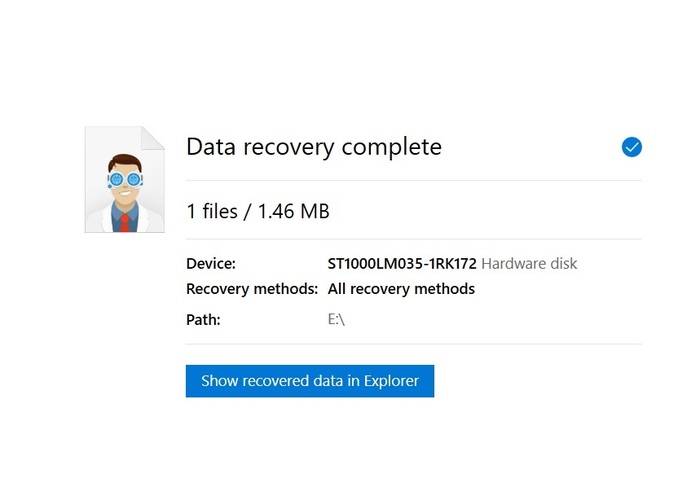
- Once you’ve selected your destination storage medium, click the OK button to finalize the recovery. There’s a Show recovered data in Explorer button on the completion screen that will take you directly to your recovered file.
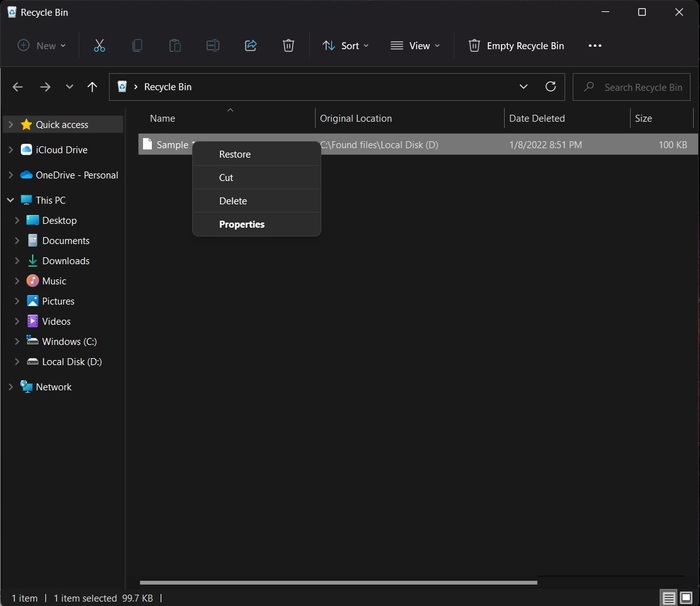
Recover LXO from Windows Recycle Bin or Mac Trash
Unless you use the Shift + Delete command in Windows, deleting a file on Windows or Mac will send the file to the Recycle Bin or Trash. If you accidentally deleted your LXO file, it’s worth looking in those places to see if it’s still there. If it is, you can simply right-click the file and select Restore for Windows or Put Back for Mac.
Restore from File History
A lot of users are not aware that Windows has a File History feature that allows you to back up essential files in certain folders, like the desktop, documents, etc. Generally, this feature has to be manually enabled beforehand. If you already have it enabled, here’s how you can use it to restore deleted files:
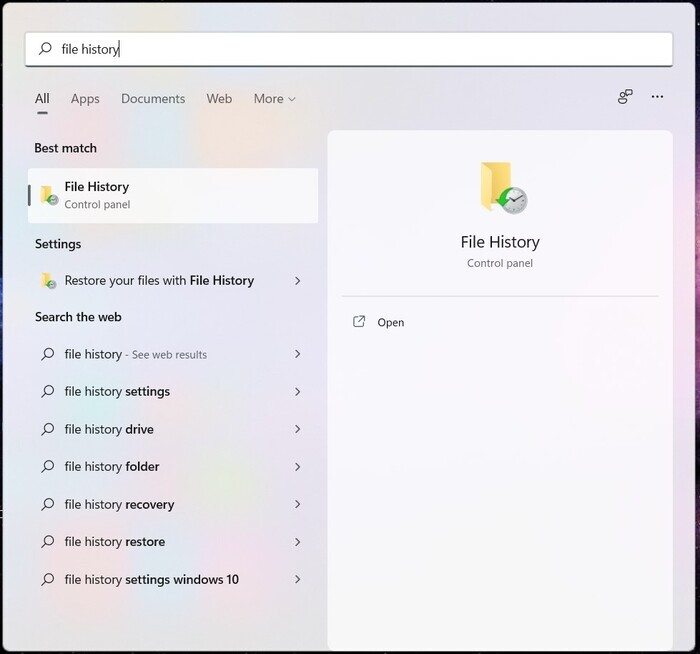
- Open up the search tool in your Windows taskbar and type in File History.
- Click the search result of the same name and it’ll take you to that feature.
- Click Restore personal files from the top-left corner of the window. That should take you to a window where all your backups can be found.
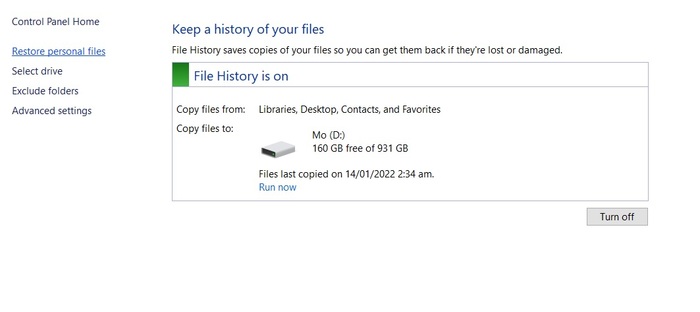
- Navigate to the folder where your LXO file was last located.
- Locate the backup where your LXO file can be found and then click the green button on the bottom to restore it.
Note: File History requires another storage medium to enable, such as a separate hard disk or external storage.
How to open LXO files on Mac and Windows
LXO files are the proprietary filetype of the Foundry Modo program and it’s the only app capable of opening them. You can download a free trial of their app on the official Foundry website, though you’ll have to input your email information and it will only allow you to view files but not edit them. To view your LXO, just follow these steps:
- Launch the Modo app.

- Open the File dropdown from the top-left corner of the app and select Open.
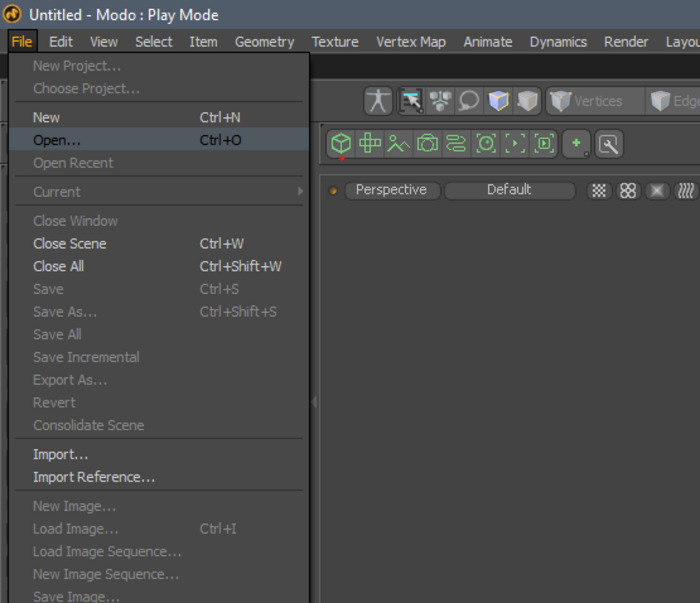
- Navigate to the folder where your LXO file is located and double-click the file.
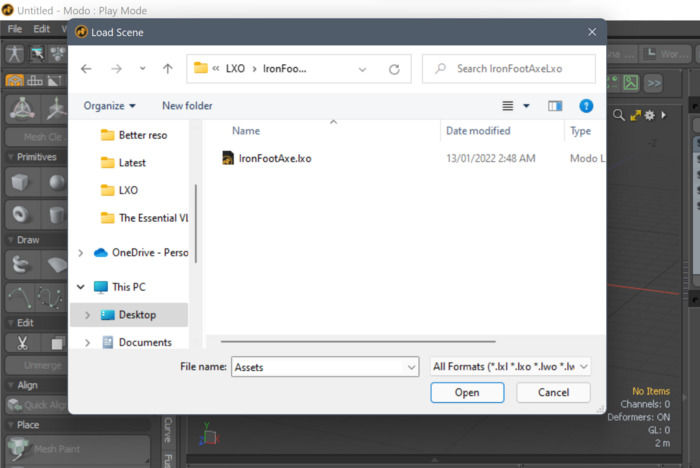
- The program should now display the 3D model or animation you selected.

Tips to avoid LXO file loss
There are many different ways to recover lost information, but none of the methods can retrieve files with 100% certainty. At the end of the day, prevention is still better than a cure, so here are a few tips that can help you prevent the loss of your LXO files:
- Create backups regularly: Both Apple and Windows operating systems come with backup features (Windows System Restore and Mac Time Machine), so make sure to utilize them frequently and create multiple backups of your information in various storage mediums. That way, even if you lose some data, you can restore it and resume where you left off.
-
- Save your work frequently: Obsessively hitting Ctrl or CMD + S every few minutes to save your work on Foundry Modo is never a bad thing. You never know when your machine will unexpectedly shut down due to a power issue, operating system failure, or other reasons. This could easily wipe out any progress you made on the LXO file that you forgot to save, which could end up being hours of painstaking unsaved work.
- Have a different machine for work and play: Operating systems can be finicky and constantly stuffing them with various programs and games could cause your OS to become unstable. The best way to avoid this is to create a dedicated machine just for work, where you only install the programs you need to get the job done. This greatly minimizes the chances of your operating system destabilizing.
- Swap your old drive for a fresh one every few years: Whether you’re using a hard drive or SSD, every storage medium has a shelf life and exceeding this puts your information at risk of being compromised without warning. Hard drives generally last between 3 – 5 years, while SSDs are said to live for upwards of 10 years. Either way, you’re better off not pushing your storage medium to the limits of its life span, as there’s always a chance that it could fail before then. Migrate the information on your drive to a new one every few years to ensure that your drive is constantly running in top-top shape.
- Install competent antivirus software: Having a nasty virus infect your machine can cause all sorts of havoc, including the abrupt deletion of various important files. Make sure you install a top-notch antivirus program on your machine and always keep it updated to ensure that you have the best protection against such things.
- Perform proper computer/laptop maintenance: Dust build-up and improper ventilation can put your hard disk and other integral parts of your computer or laptop at risk. If the temperature shoots past a safe temperature, there’s a solid chance that it could result in your hard disk failing which will likely cause some of your data to disappear. You could even have your information wiped out completely.. Clean out your machine regularly and always ensure that it’s getting a sufficient amount of cooling.
Stick to these simple tips and you can easily minimize the chances of you losing your important files. Sure, you can rely on excellent data recovery programs like Disk Drill to help you rescue your lost LXO files, but it’s always better if you avoid the situation in the first place.