What is an INX File Format?
The INX file extension is mostly associated with InDesign, Adobe’s very own desktop publishing software. It’s a format that is compatible with older versions of Adobe InDesign and is typically exported in Extensible Markup Language format or XML.
Like other XML-formatted files, INX is text-based in structure. They provide information on the pages, page content, text frames, colors, margins, guides, and other important elements of the InDesign file. Basically, it’s the skeletal format of an Adobe InDesign file and it’s something that users cannot afford to lose.
How to Recover Deleted INX File
Now, we know how frustrating it is to have to redo a task that you spent so many hours working on. As much as possible, you would rather retrieve that unsaved, deleted, or missing INX file instead.
Luckily, there are several methods you can perform in the recovery of a deleted INX file and you can even do them within the comforts of your own home.
How to Recover INX with Software
The internet gave birth to a lot of blessings, and one of them is the option to download software to recover data. There are several options available online. Some can be used for free, while others require payment. Some are beginner-friendly, while others are designed for professionals. But if you want a data recovery software that is easy to use yet has a high recovery rate, we recommend that you try Disk Drill.
Disk Drill is a do-it-yourself data recovery solution with added features that can protect your device or disks from losing files in the future. A free version is available for both Mac and Windows but you will only be able to retrieve 500MB worth of files.

To get back your lost INX file using Disk Drill, follow the steps below:
Step #1 First, visit their official website and download the app on your computer.
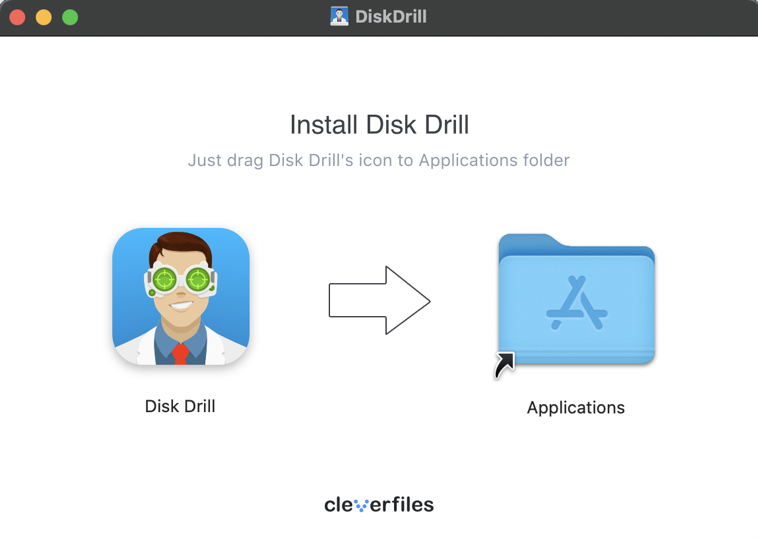
Step #2 Once the download is done, click on the file and install the app by dragging the Disk Drill icon to the Applications folder.
Step #3 You can now open Disk Drill from the Applications folder. If this is your first time, a prompt will appear. Click Open to confirm that you want to open the app.
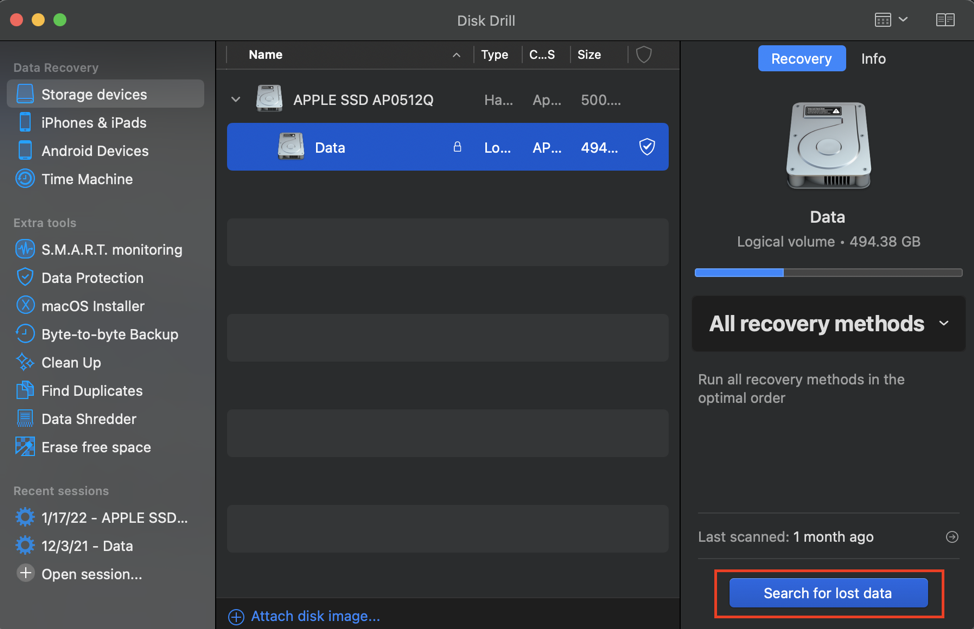
Step #4 On Disk Drill’s homepage, you will see the disks that are available for scanning on the left sidebar. These are listed under Storage Devices.
Step #5 Then, click the disk that you want to scan, and click the button Search for lost data located on the lower right part of the screen.
Step #6 Disk Drill will now start scanning your disk for lost files. For best results, wait for the scan to finish completely.
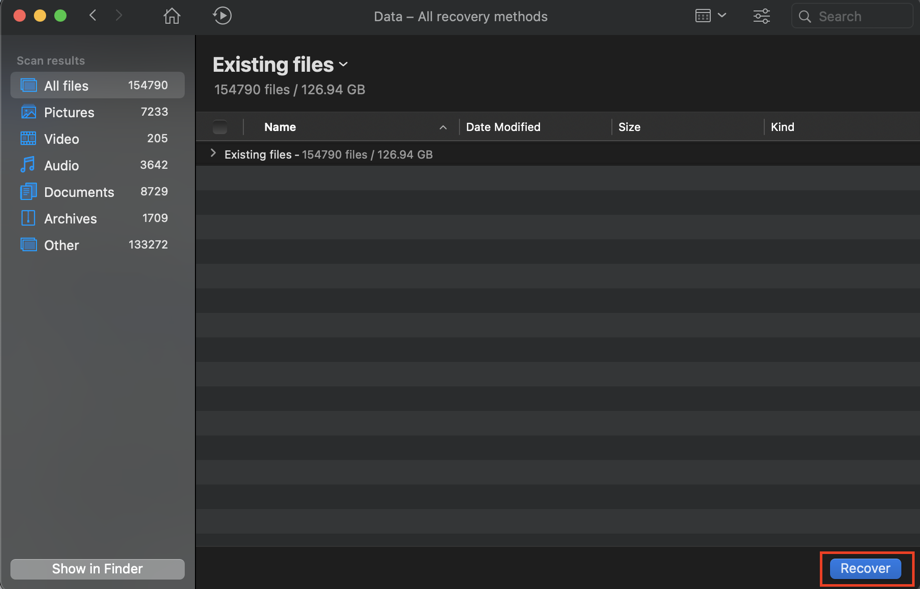
Step #7 When the scan is complete, you will be shown the retrievable items sorted by file type. To narrow down your search, you can type “INX” on the search bar. A file preview option is also available.
Step #8 Once you find your missing file, click the Recover button located on the lower right side of the screen.
Step #9 Finally, select a new folder to place your retrieved file.
Easy, right? If you are pressed for time, you can always pause the scan and resume the recovery session when it’s convenient for you.
If you think Disk Drill is the app for you, you can upgrade to PRO for only $89 and enjoy the full features that it has to offer.
Recover INX File from Windows Recycle Bin or Mac Trash
You’ll be happy to know that deleted files don’t instantly disappear from your computer forever. They are first sent to your Trash or Recycle Bin.
There are only three steps to recovering your missing INX file through Recycle Bin or Trash. Check out the processes below:
How to Restore Recycle Bin Files for Windows Users
Step #1 To start, double-click the Recycle Bin icon on your desktop.
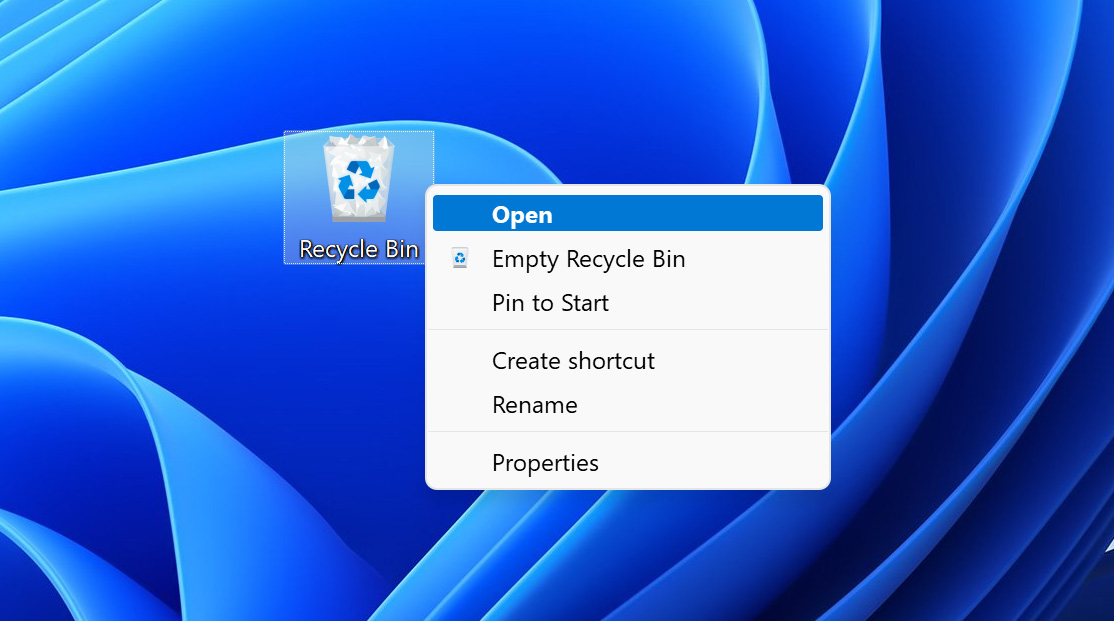
Step #2 All of your deleted files should be displayed in the window, sorted by either name, date modified, type, or size. Search for your file.
Step #3 Once found, select by right-clicking the file that you want to restore, then click Restore this item.
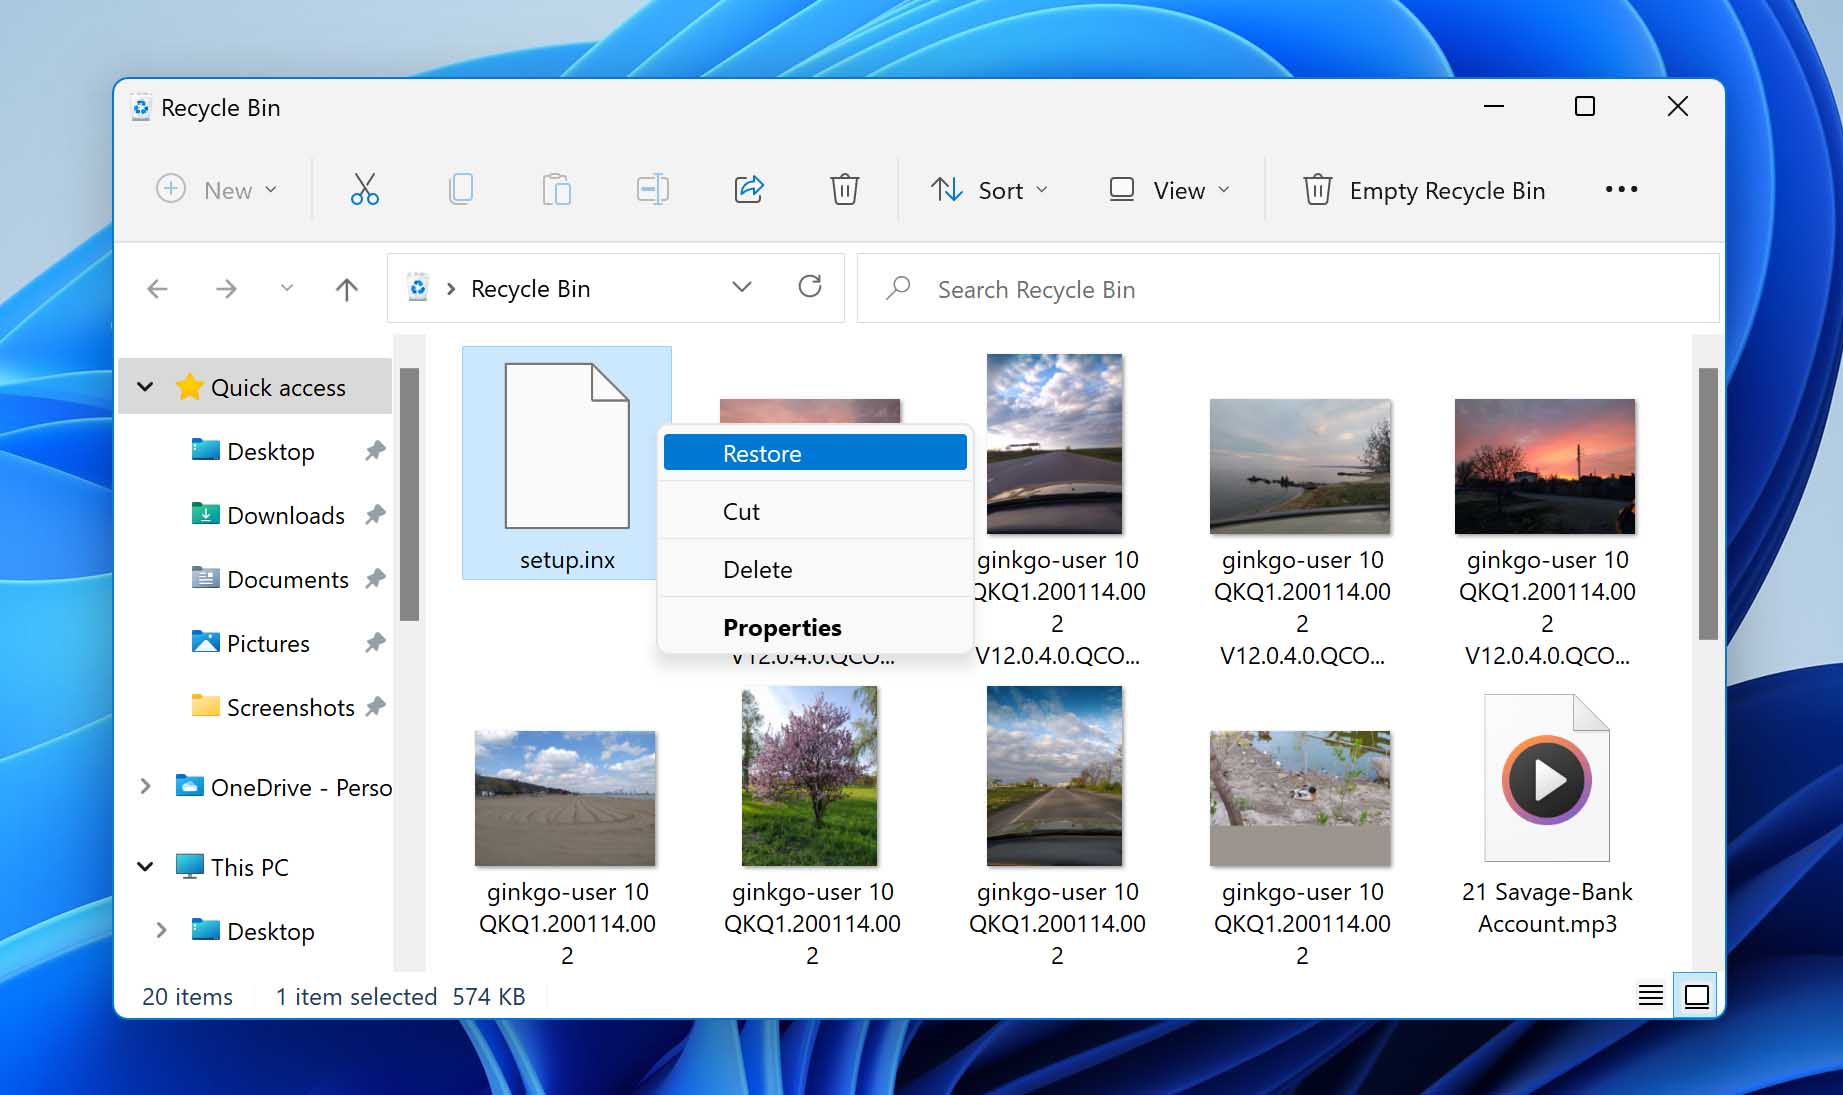
Step #4 The file will be sent to its original folder. Alternatively, you can also drag and drop the file to another destination folder that you prefer.
How to Restore Trash Files for Mac users
Step #1 Open Trash by clicking the app’s icon on your dock.
Step #2 Select and right-click the file that you want to retrieve, then select Put Back from the menu.
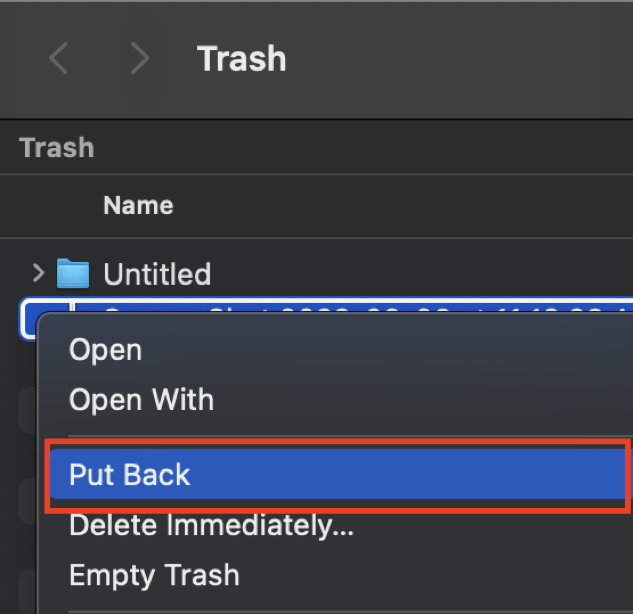
Step #3 Your file will be sent back to its location before it was deleted.
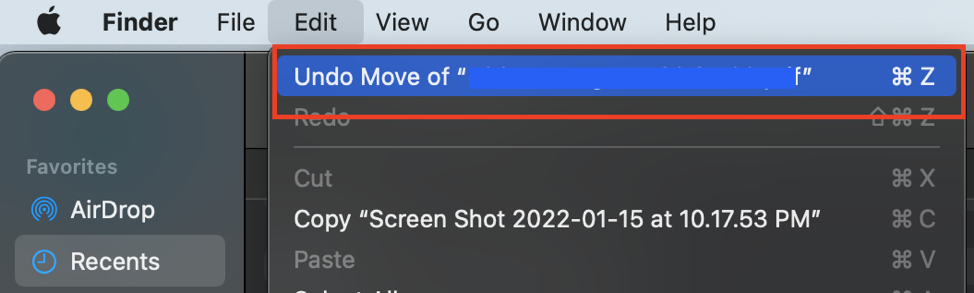
Restore from a Recents File folder
Recent is a smart folder where you can quickly access all your recent files, including those that were recently opened, recently modified, or that you forgot to save. A word of caution: if you delete a file from the Recents folder, it will also be deleted from its original location and will fall straight to Trash.
So if you accidentally deleted a file from the Recents folder, you can revoke this action by making use of the Undo command. Note that you can only undo the most recently deleted files.
To Undo while in the Recents folder, you can either go to the top bar and select Edit > Undo Move of [file name], or use the keyboard shortcut Command + Z. The deleted file will be restored to both the Recents folder and its original folder.
Recover INX File Using Time Machine
Time Machine is Mac’s built-in backup feature that makes automatic hourly backups, which is very helpful as you won’t always have to be reminded that it’s time to back up your files. The oldest backups are deleted only when the disk is full, so that’s something to be mindful of.
So, if you previously backed up your files using Time Machine, here are the steps to recover an INX file:
Step #1 Start by connecting your backup hard drive to your Mac.
Step #2 Then, open Time Machine by accessing it on the menu bar or by using the Spotlight search bar. If you cannot find this on the menu bar, configure the Time Machine settings on your System Preferences.

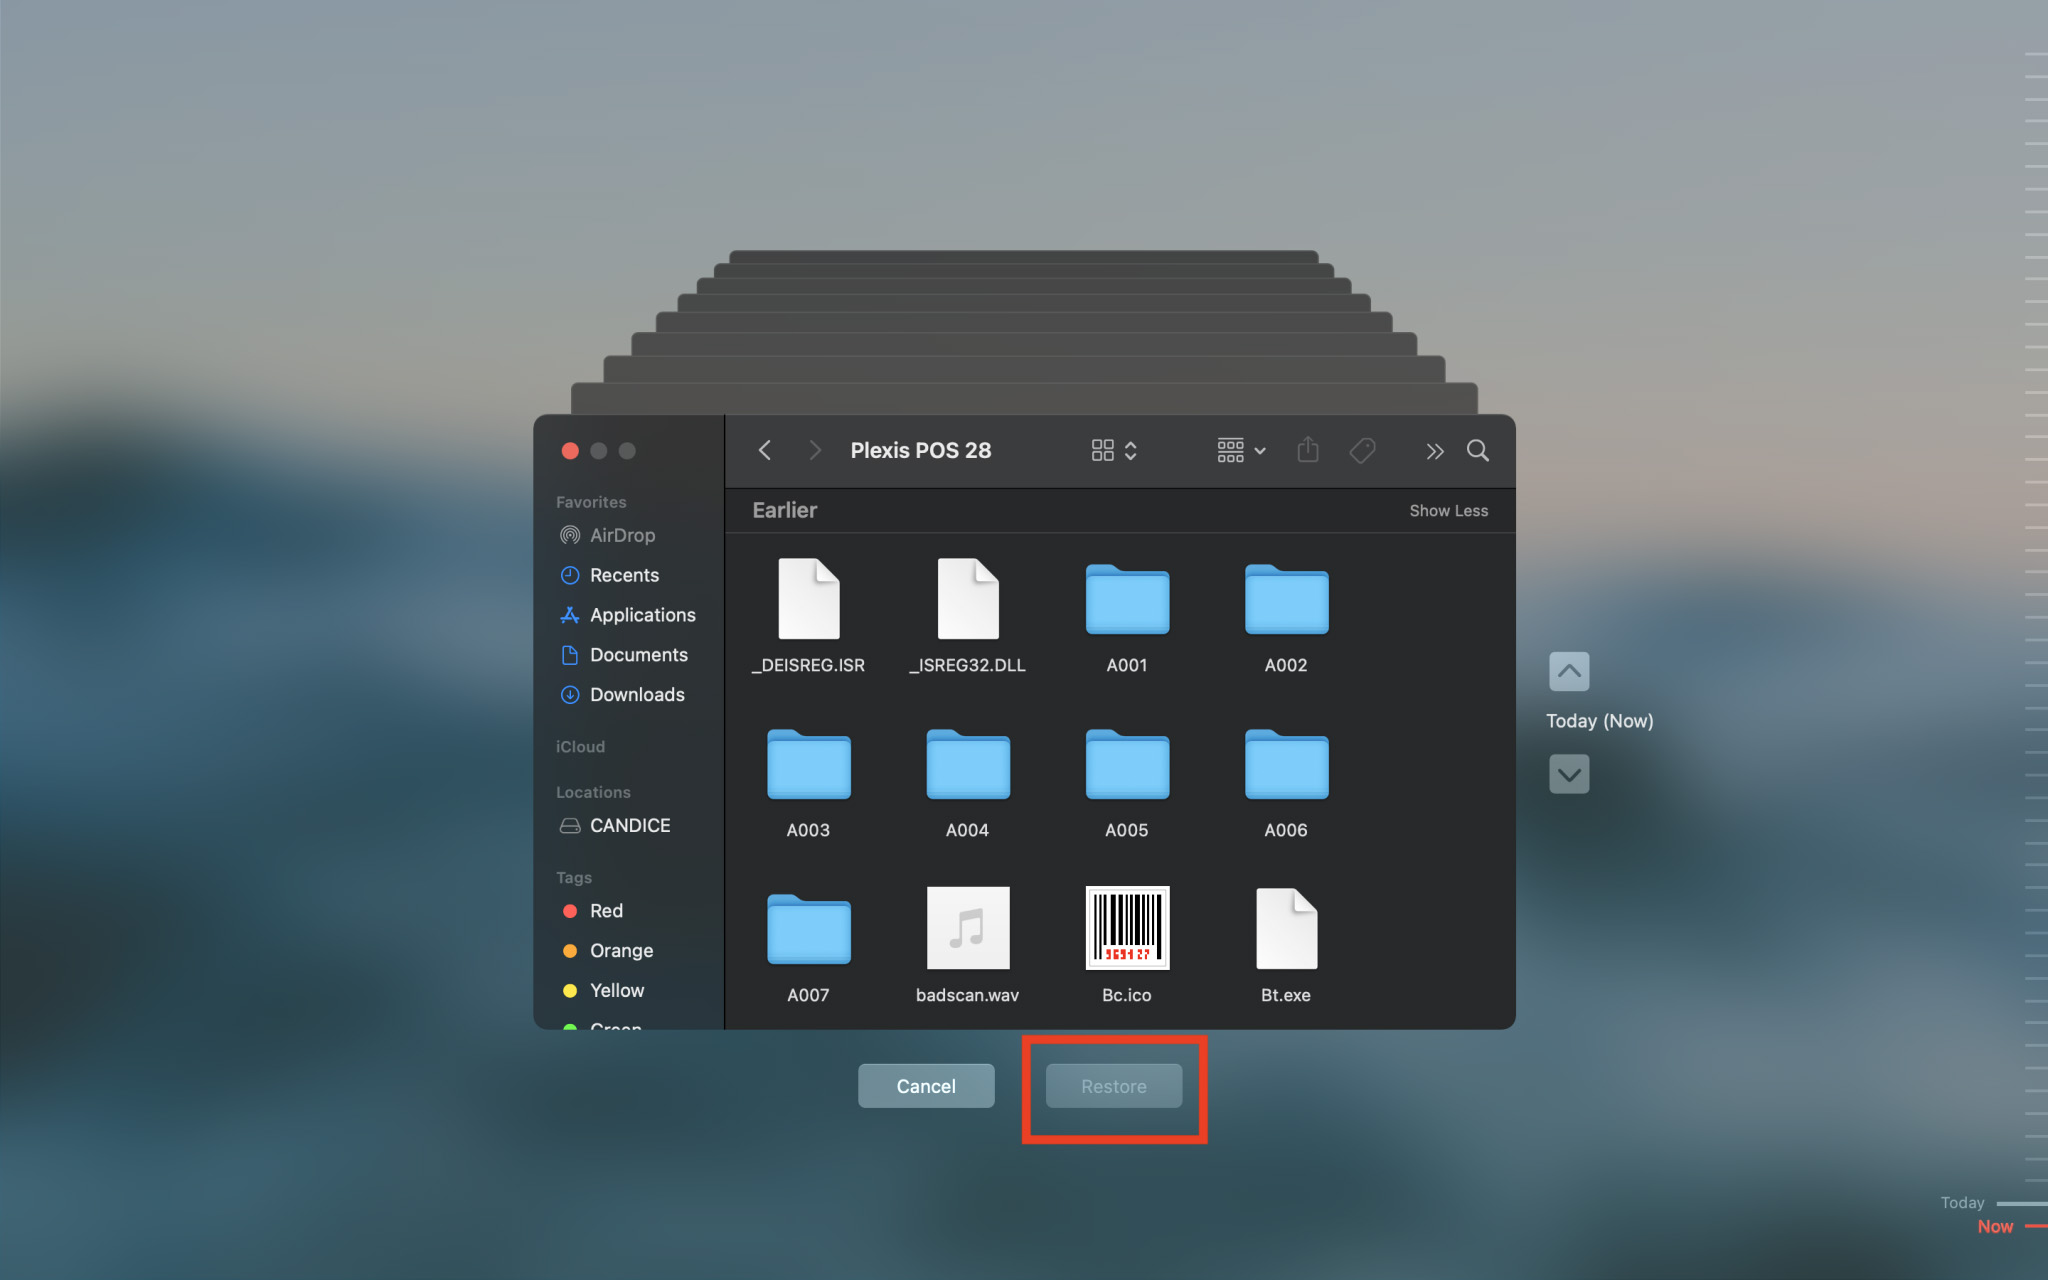
Step #3 The Time Machine window will appear. Scroll to find the missing file that you want to retrieve.

Step #4 To preview the file, press the spacebar on your keyboard.
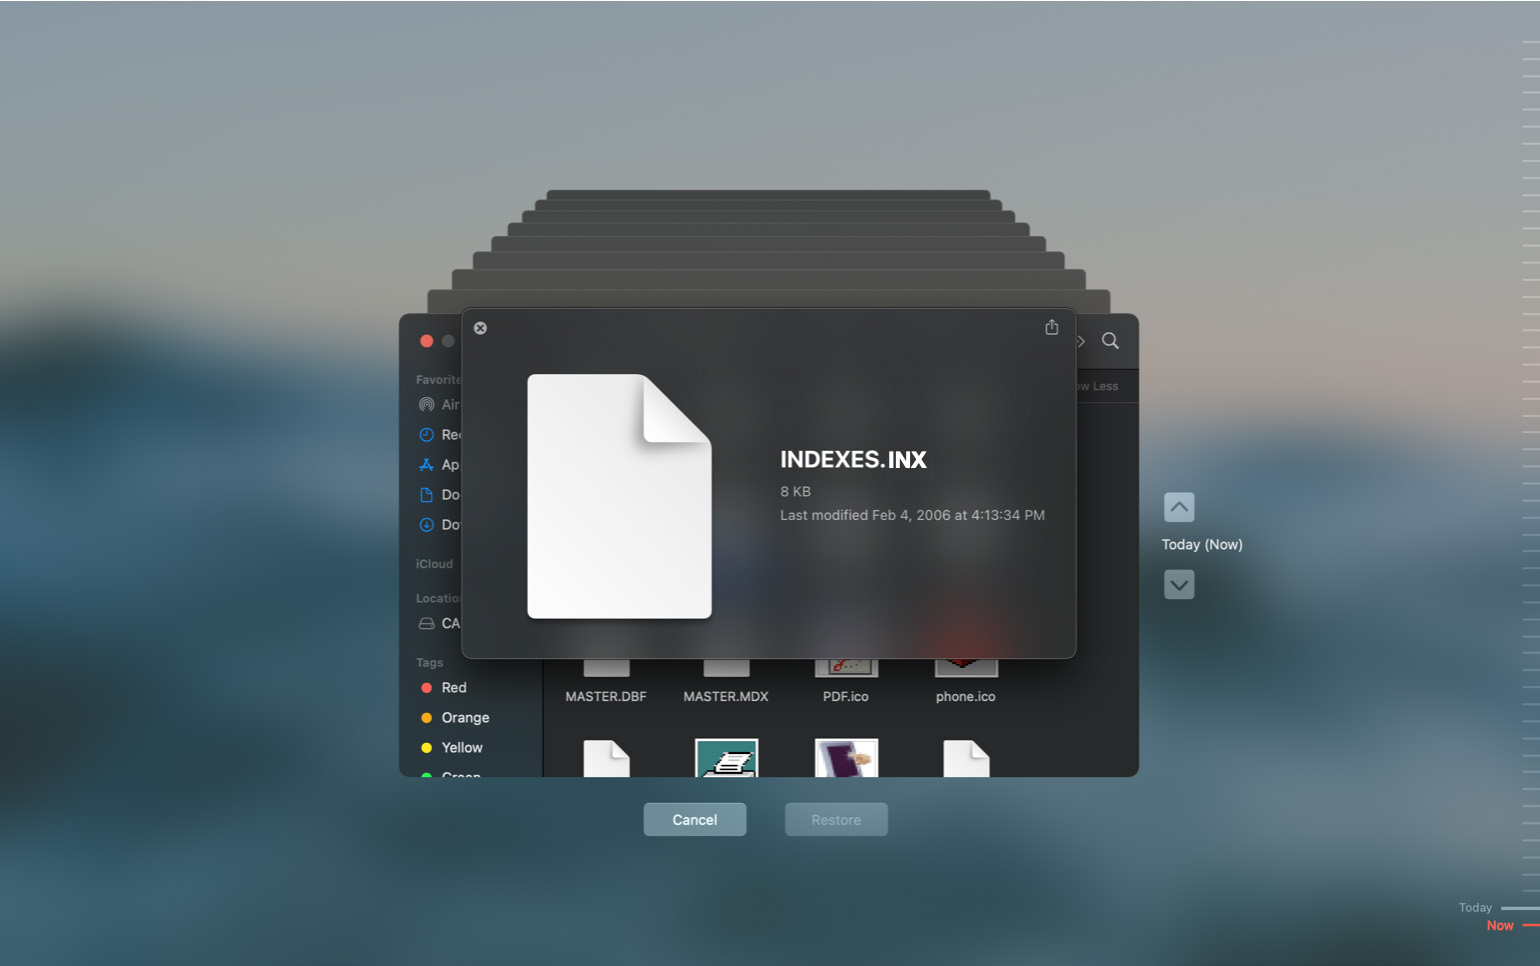
Step #5 Then, once you’re ready, click the Restore button at the bottom of the window.
Step #6 Exit Time Machine, and you’re done. You’ll be able to find the file back in its original folder.
Step #7 If there are more files that you wish to retrieve, simply return to step 2 and go from there.
How to Open INX files on Mac and Windows
To have full access to an INX file, you will need Adobe InDesign. There is a free version available on their website, which is helpful if you want to do a quick edit on the file. But if this is not an option for you, you can try downloading a text-editor software that is compatible with INX.
Programs That Open INX Files
Below is our list of suggested software and applications to access INX files:
| For Windows: | For Mac: |
|
|
Tips to Avoid INX File Loss
While losing files can happen to anyone, you can take simple steps to prevent future data loss.
- Backup your files regularly
Having a backup is necessary especially if you work with very important files such as INX. If you keep forgetting to do a backup every now and then, you can set up your Cloud, or Mac’s Time Machine to do hourly backups to help keep your files safe.
- Keep your device safe at all times
Use firewalls that can help keep your device protected from malware attacks that can lead to not only data loss but also security and privacy issues.
- Practice disk maintenance
Keep your files organized and clean. Have a schedule to clean up your disk so your system’s performance can be improved. This can also help free up space on your disk.