They might be quite as common as the AVI or MP4 file formats, but FLV files are also a type of video file extension that is used by a fair number of streaming platforms today. In this article, you’ll learn a bit more about what an FLV file is, how to open one, and the different programs that are commonly associated with them.
We’ll also teach you about the different ways you can potentially retrieve FLV files in case you mistakenly delete them or end up losing information due to storage medium corruption.
What Is an FLV File?
FLV – short for Flash Video – is a media file extension that used to be associated with Adobe Air or Adobe Flash Player. Previously, heavy-hitting video streaming sites like YouTube and Hulu utilized these types of files to share videos across the globe, but Adobe discontinued Flash support at the tail end of 2020, prompting most websites to migrate to HTML5 instead.
Some websites still choose to stick with FLV files until today, though it’s worth noting that Adobe changed the name from “Flash” to “Animate”. The main advantage of FLV files over other video formats is their small size yet high quality and the fact that they’re easily converted to other extensions if need be.
How To Recover Deleted FLV Files
FLV files can be pretty large depending on the video duration and getting them back after accidentally deleting or losing them can be a pain. It’s especially disheartening if they were hard to find clips or videos that are no longer available these days.
But there are methods you could use to recover these files, some of which are contingent on how they were deleted or went missing. These are some ways you can retrieve those deleted FLV files of yours:
How To Recover FLV Files With Software
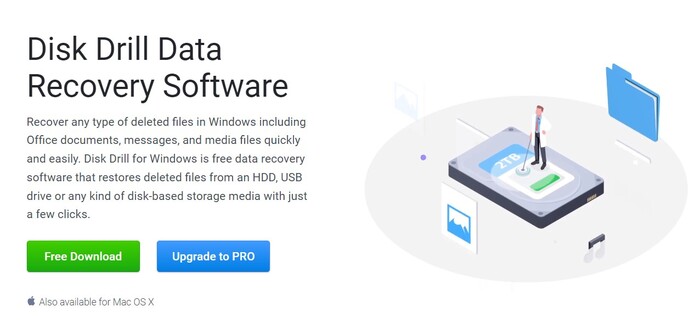
There’s no shortage of ways to get back your lost FLV files, but arguably the best way to do so would be by using a top-tier data recovery program. We recommend Disk Drill due to its newbie-friendly user interface, sky-high recovery rate, and abundant extra features. Furthermore, there’s a free version that lets users rescue up to half a gigabyte’s worth of information and you can stop and resume the scanning process at any time. Here are the steps on how to use it:
- Head to the official Disk Drill website and download the program’s installation file.
- Open the downloaded file and follow the provided instructions until it’s successfully installed.
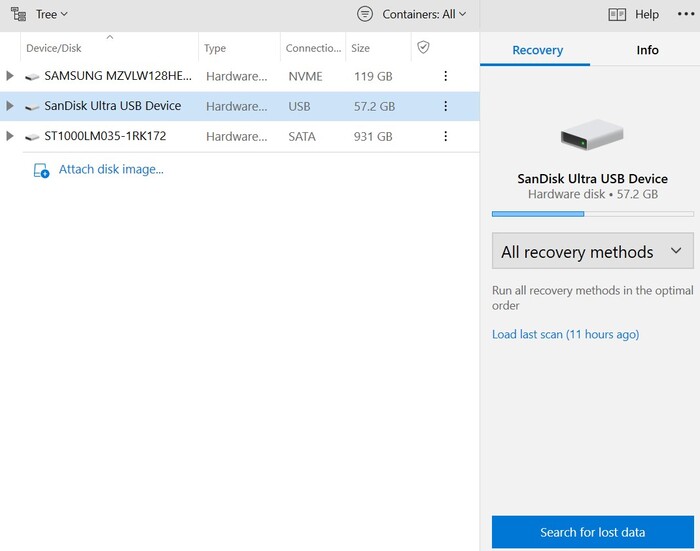
- Once you launch the app, you’ll be able to select the storage medium you want to search. After you accomplish that, click the Search for lost data button to begin scanning.
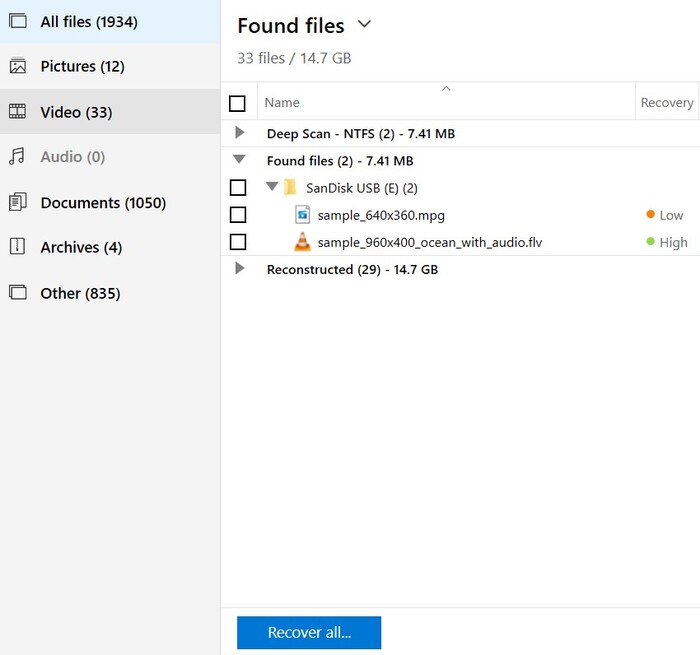
- The scanning duration varies depending on the read speed of your storage medium as well as its size. While the scan is still in process, you can click any of the on-screen categories to go to the results page, where you can take a look at the recoverable files found so far.

- On the results page, you’ll want to head to the Videos category which is where you’ll find your FLV files. From there, uncollapse the Found Files dropdown and navigate to the location your missing files were last in.
- Tick the boxes on the left of the files you want to retrieve to highlight them, then click the Recover button. A small pop-up will appear asking you to set a destination for the rescued files. This has to be on a different storage medium than the one you’re recovering from to avoid overwriting problems.
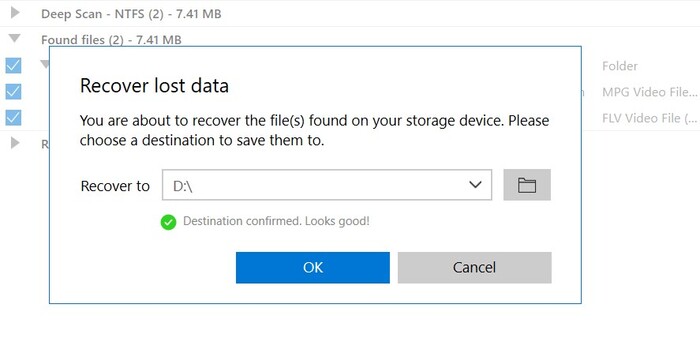
- When you’re all set, click the OK button on the pop-up to begin the recovery process. How long this takes depends on the overall size of the files you’re trying to save, though it shouldn’t be too long either way. Upon completion, you’ll see a link labeled Show recovered data in Explorer. Clicking this will take you right to your retrieved files.
Recover FLV Files from Windows Recycle Bin or Mac Trash
Windows Recycle Bin
If you deleted your files using the Shift + Delete command, then this method is not for you. But if you simply press the Delete key, then there’s a good chance that your files are still sitting pretty in your Recycle Bin. To get them back, just follow this short guide:
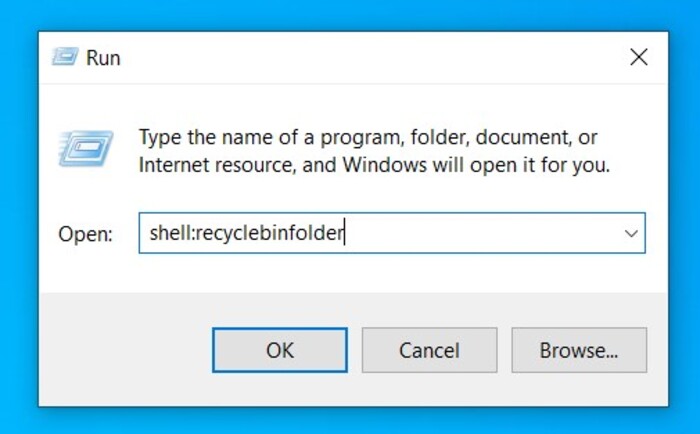
- Find and open the Recycling Bin tool on your desktop or open the Run command by pressing Windows + R, then type “shell:recyclebinfolder” and hit Enter.
- If your files are still in the Recycle Bin, highlight the ones you want to save, then right-click one of them and choose the Restore option.
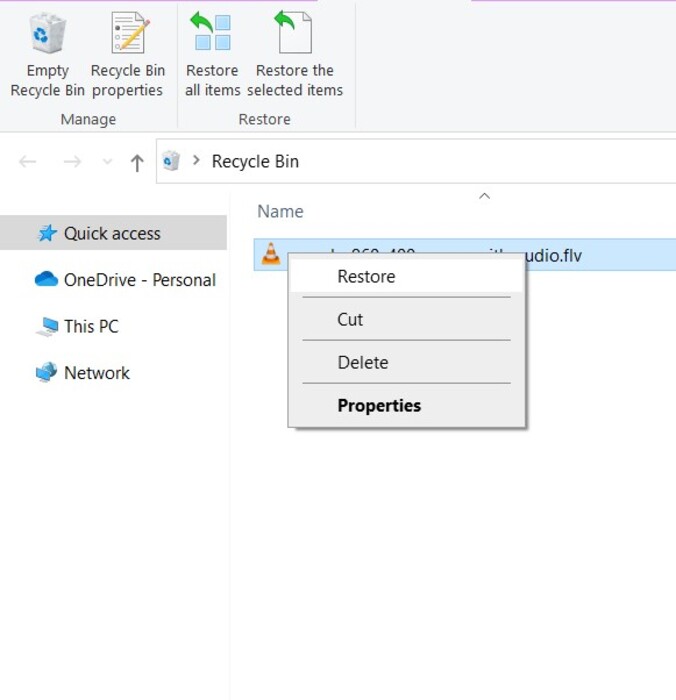
- The files will be returned to the folder they were in before being deleted.
Mac Trash
All deleted files on Mac machines go through the Trash before disappearing. To permanently delete them, you’d need to manually erase them from the Trash app, or set a specific time frame after which the tool will automatically wipe files stored there. To retrieve files from this place, follow the steps below:
- Look for the Trash icon on your dock and click it to launch the tool.
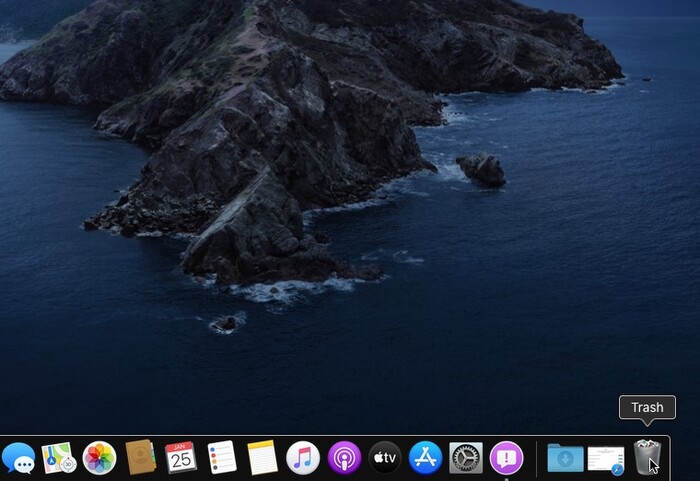
- If your files are here, highlight them, right-click a file, and then choose the Put Back option.
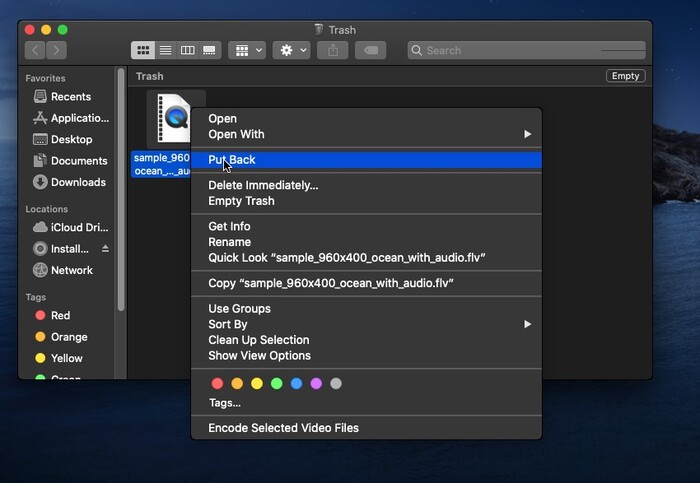
- This will restore the files to where they were prior to being erased.
Restore from File History
File History is a built-in backup solution on newer Windows iterations that allows you to restore specific versions of files in particular locations. It’s a great tool in case you forgot to save your progress on a file since you can set an hourly backup to kick in. Regrettably, it doesn’t work on unsaved files.
There’s a caveat, however. The feature needs to be switched on before the data loss took place for this to work, and you’ll need a second storage medium for the tool to save backups on. If you manage to enable this beforehand, follow these instructions to recover your files:
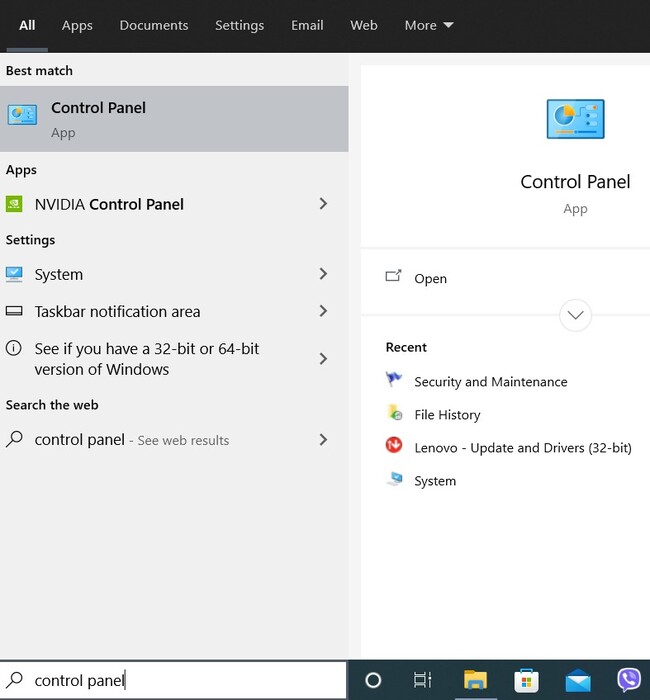
- Open up your taskbar search utility and type in “Control Panel.” Select the top result.
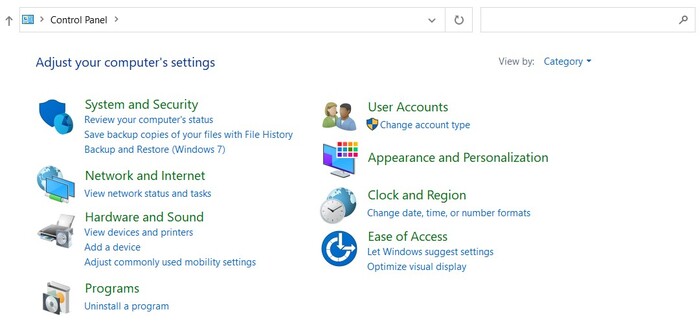
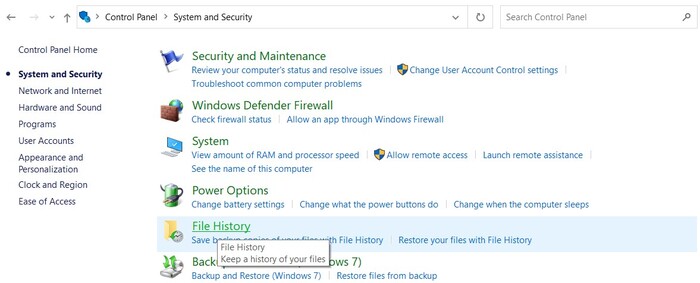
- Head to System and Security > File History.
- Click on the Restore personal files on the left side of the window.
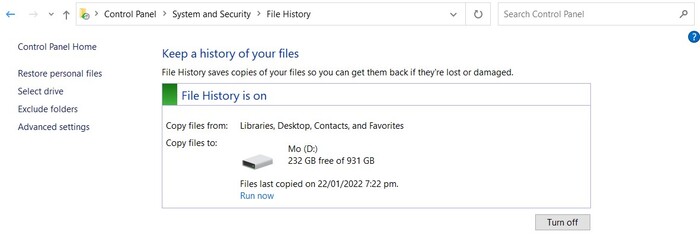
- Move to the folder your FLV files were last located in.
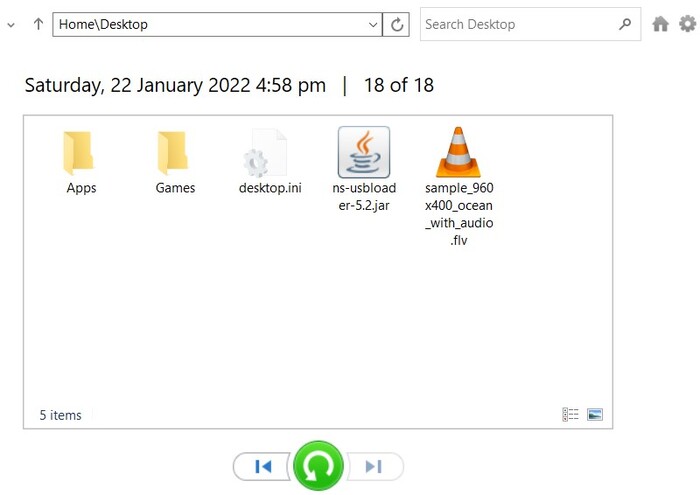
- Select the files you want to recover then click the round green arrow along the bottom of the window to restore them.
How To Open FLV Files On Windows and Mac
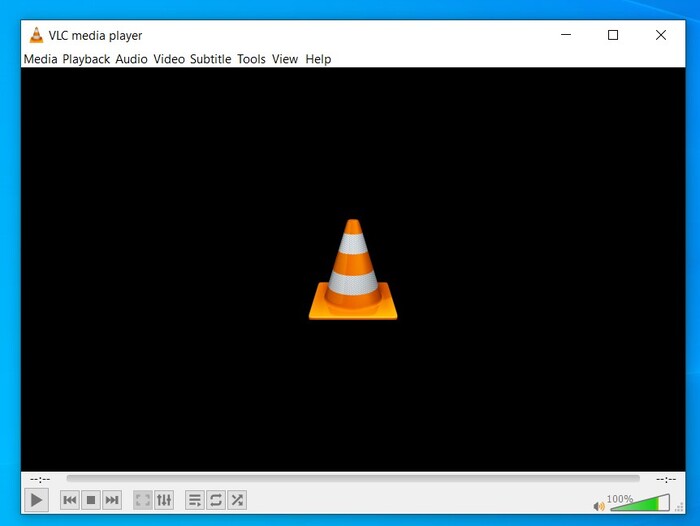
Unfortunately, FLV files are not supported by Windows Media Player or QuickTime Player, which are the two default video playing apps of Microsoft and Apple. You’ll need the assistance of a more robust media playback tool instead, like the extremely popular and completely free VLC player. To watch FLV files with this player, follow the guide below:
- Launch VLC player.
- Open the Media dropdown on the top-left corner and choose Open File.
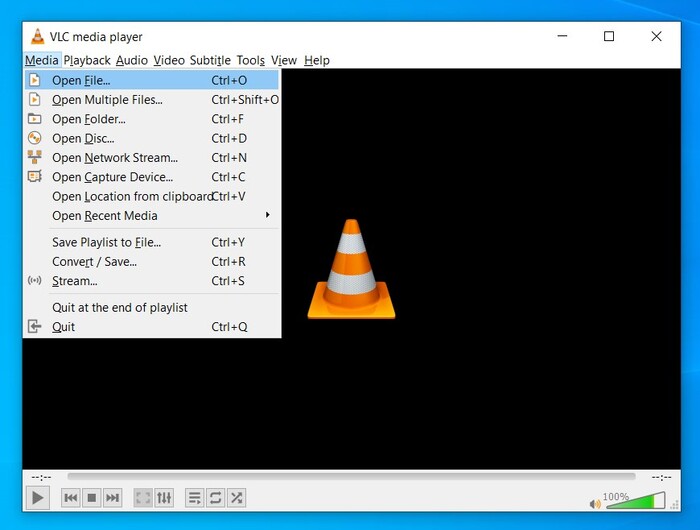
- Head to the folder your file is located in and double-click the video to open it.

Other Programs That Can Open FLV Files
VLC certainly isn’t the only media player capable of playing FLV files. Since it’s the official file format for Adobe Animate, that app can certainly access them. Here are a few more video openers you can use to watch clips with the .flv file extension:
- PlayerXtreme Media Player (Windows & Mac)
- MiniTool MovieMaker (Windows & Mac)
- Winamp (Windows & Mac)
- Tonec Free FLV Player (Windows)
How to Convert FLV to MP4
There are lots of programs available that can convert your FLV files to MP4 or any other video extension for that matter. But there are also several websites that offer tools that can do exactly the same thing without the hassle of downloading and installing another app.
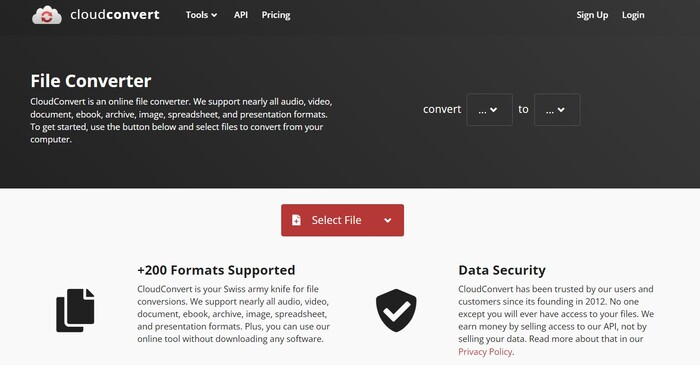
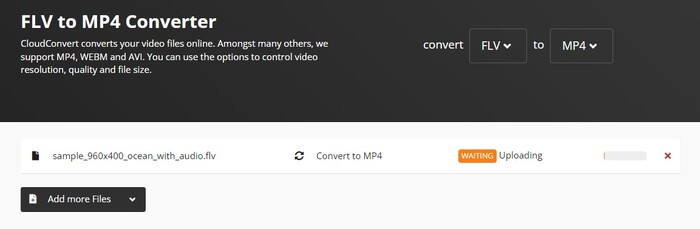
For the purposes of this guide, we’ve chosen to go with cloudconvert.com – a lightweight solution that’s exceedingly user-friendly, quick, and comes with a wide range of customization options. Follow these steps to convert your FLV files to the MP4 format in no time:
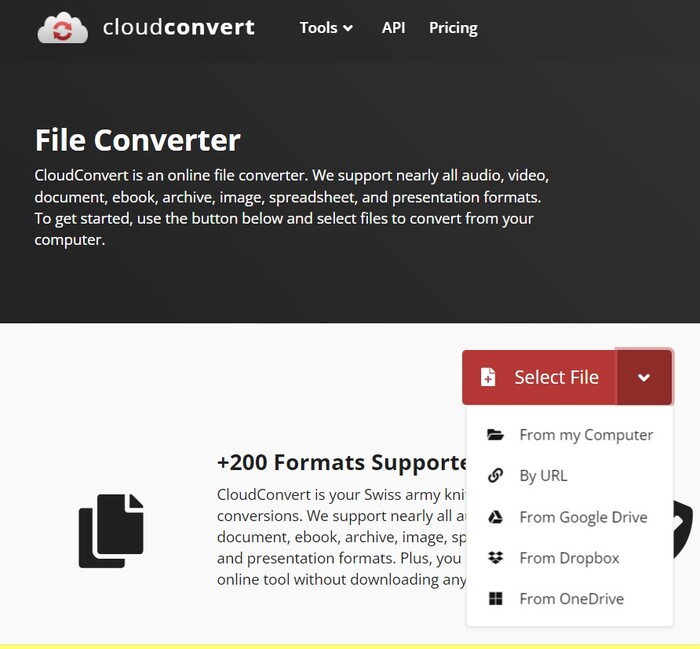
- Navigate to www.cloudconvert.com.
- Click the Select File dropdown and choose your preferred method of uploading your FLV file. We went with From my Computer.
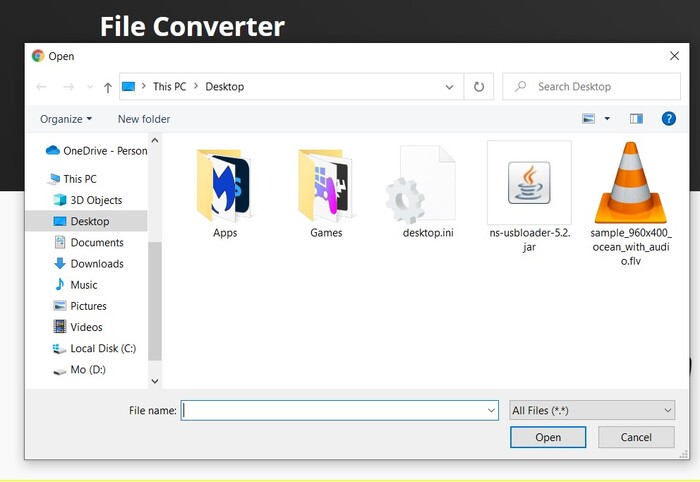
- Navigate to the folder your FLV file is located in and double-click the video.
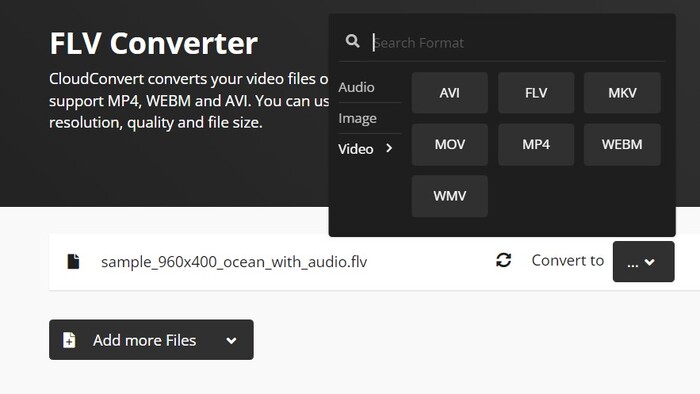
- Click the dropdown next to the Convert To label and choose MP4.
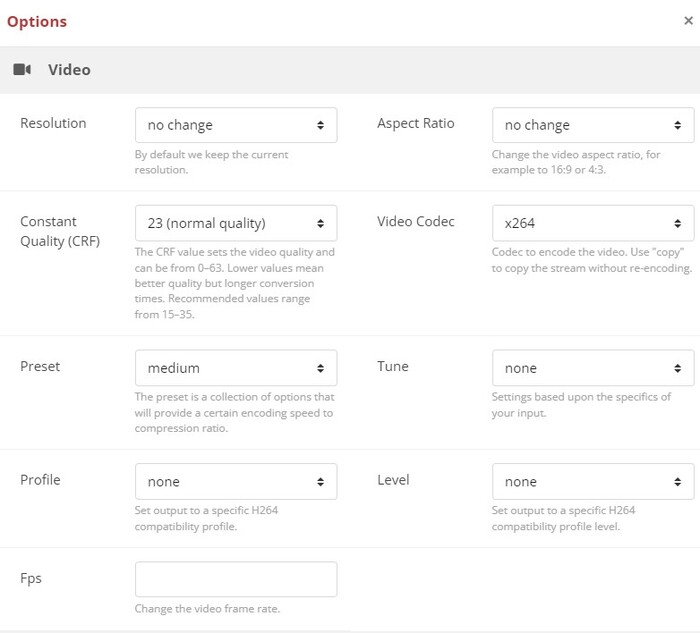
- You can click the wrench icon to open up the Options menu where you can customize various aspects of the video and audio, like the resolution, video codec, volume, and audio bitrate. You can also trim the clip and add subtitles.
- When you’re all set, click the red Convert button on the right side of the page to start the conversion process.
- This process will take time depending on how big the file is and how much you want to change with the conversion. The video will automatically appear in a built-in video player once the process is done.
- Click the green Download icon on the bottom-right corner of the window and a pop-up will appear asking you to choose where you want to download the file. Once you figure that out, click the Save button.
