If you’re into setting up or customizing Windows themes, then you may have come across ANI files. They’re responsible for personalized mouse cursors and can be a great way to spice up your operating system.
In this article, we’ll take a closer look at what ANI files are, what they’re used for, and the different programs that are capable of viewing and editing these kinds of files. We’ll also discuss the different ways you can recover those files in case you ever end up accidentally deleting them or losing them to a compromised storage medium.
What Is an ANI File?
An ANI file is a type of animation file specifically used for mouse cursors in Windows operating systems. Essentially, they’re a group of ICO files (the filetype used for Windows icons) that come together to form the complete cursor animation.
They bear certain similarities to CUR (Windows Cursor) files, though ANI files house various images that can be displayed sequentially for animation purposes. Images like the “busy” and “working” cursors. Custom Windows themes utilize ANI files for their animated mouse cursors in the same way that the official Windows mouse cursors do.
How To Open ANI Files On Windows and Mac
The ANI file extension cannot be accessed natively on either Windows or Mac computers and will require the use of third-party software to view or edit. Luckily enough, there are plenty of openers and editors out there that are capable of opening these files.
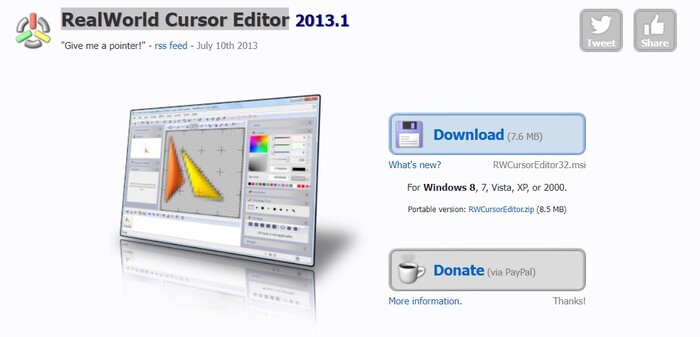
RealWorld Cursor Editor is one of these programs that happens to be lightweight, exceedingly easy to use, and doesn’t cost you a thing. Just follow the simple step-by-step instructions below to open your ANI files with this app:
- Navigate to the official RealWorld Cursor Editor website and download the setup file for free.
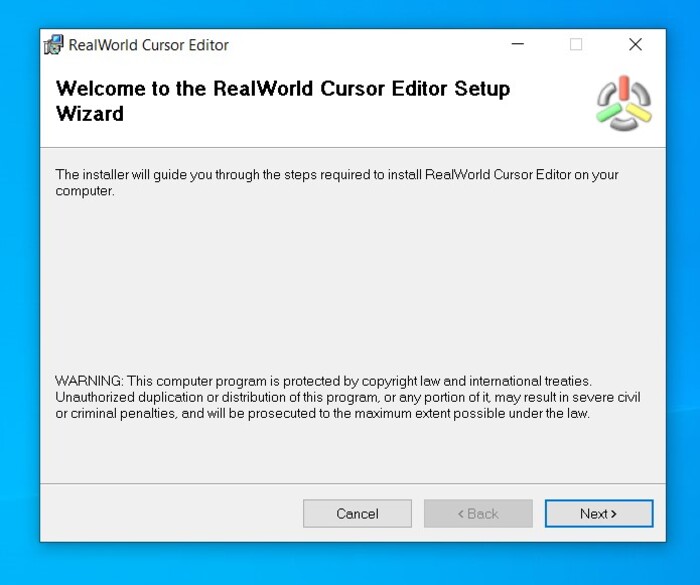
- Launch the downloaded installation file and follow the on-screen instructions until the setup is completed successfully.
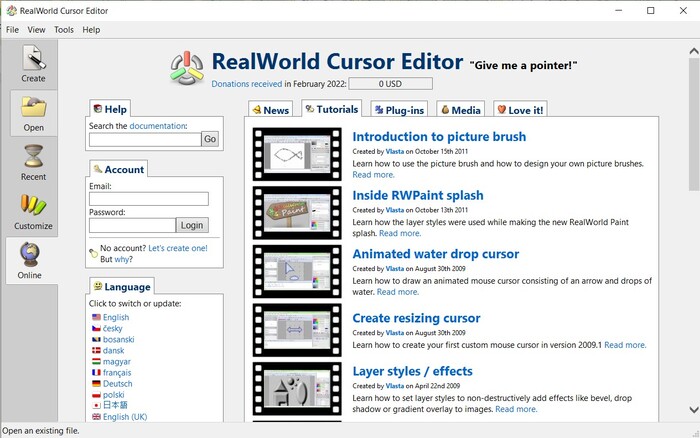
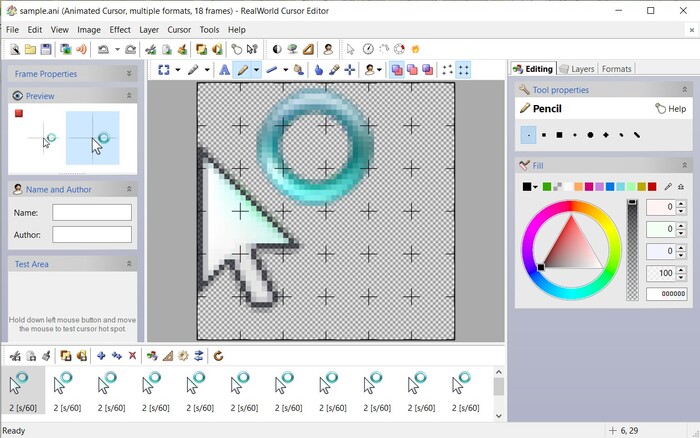
- Run the program and click the Open icon on the left side of the window.
- Head to the folder where your ANI file is located and double-click the file to open it.
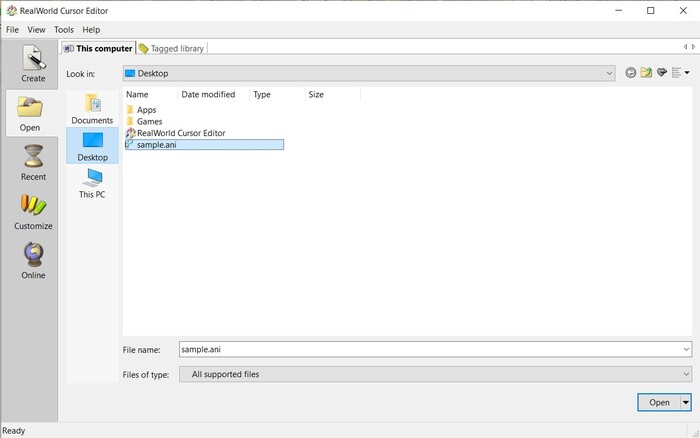
- A static image should appear in the center of the window, with an animated preview in the top-left corner.
Other Programs That Can Open ANI Files
There are lots of other programs that can access ANI files. Here are some of the more popular ones:
- IcoFX (Windows, Mac)
- Inkscape (Windows, Mac)
- ACDSee Photo Studio (Windows, Mac)
- Axialis CursorWorkshop (Windows) – It’s worth noting that this program can only display the first frame of the file.
How To Recover Deleted ANI Files
Losing or mistakenly deleting your ANI files can be quite the hassle, especially if you painstakingly designed the cursors yourself and forgot to save backups on a separate drive. Fortunately, there are more than a few ways to potentially get your lost files back.
It’s worth mentioning, however, that some of these methods only work in specific circumstances or if a certain feature was enabled in advance.
How To Recover ANI Files With Software
If you look up data retrieval solutions online, you’ll likely see that utilizing a quality data recovery program is often the most recommended way to go. It’s the more flexible option in the sense that it can help users save missing files from different scenarios and they usually include some extra features that can prove pretty useful.
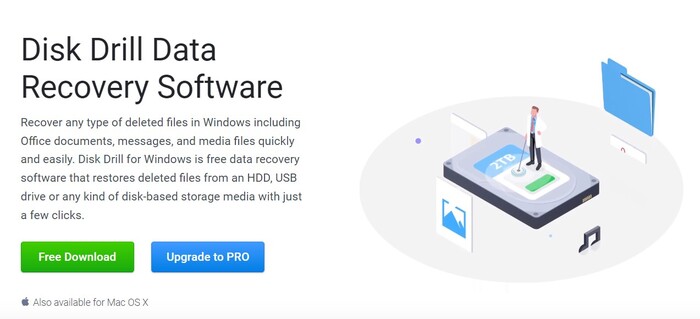
Disk Drill is among the best information recovery programs available online, with its highlights being its sky-high recovery rate, newbie-friendly user interface, useful extra features, and the ability to stop and resume scans at any time. Moreover, you can download the free version that gives you access to the majority of its features, albeit with a 500MB recovery cap. Here’s how you can use Disk Drill to get back your ANI files:
- Download the setup file from the official Disk Drill website.
- Run the setup file and follow the instructions provided by the installation wizard until the program is successfully installed.
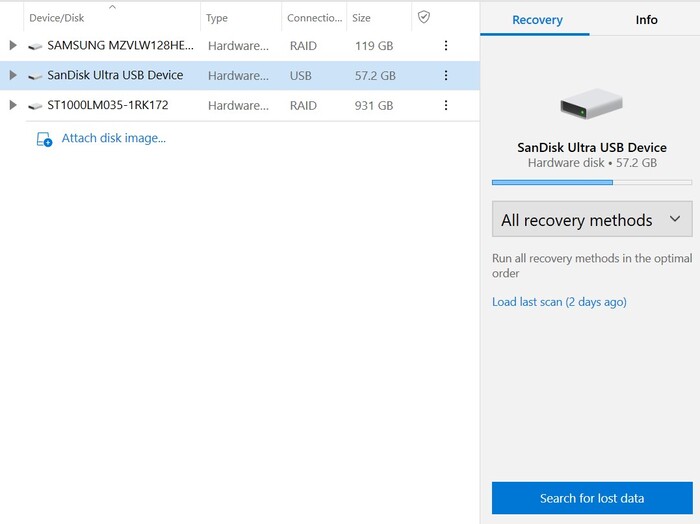
- Launch the app, select the storage medium you want to recover files from, and then click the Search for lost data button.
- Disk Drill will start scanning your drive for potentially recoverable files. The length of time this will take depends on the size of your storage medium and its read speed. You can click any of the category icons on-screen to go to the results page where you can sift through the files while the program continues scanning.
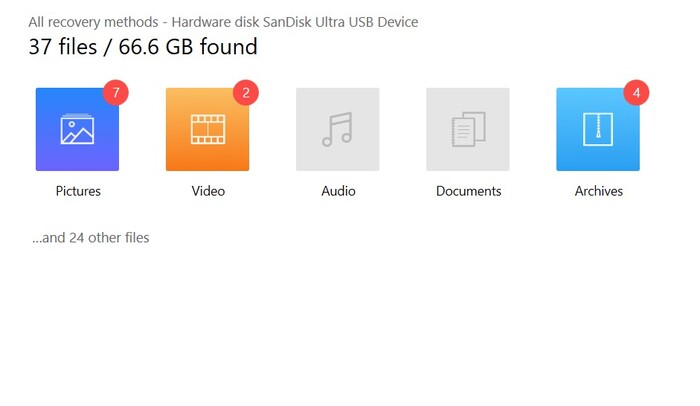
- You’ll find ANI files in the All Files category of the results page since the program doesn’t consider it as a part of the other categories. Just make sure you look in the Found Files section and navigate to the folder the files were last located in.
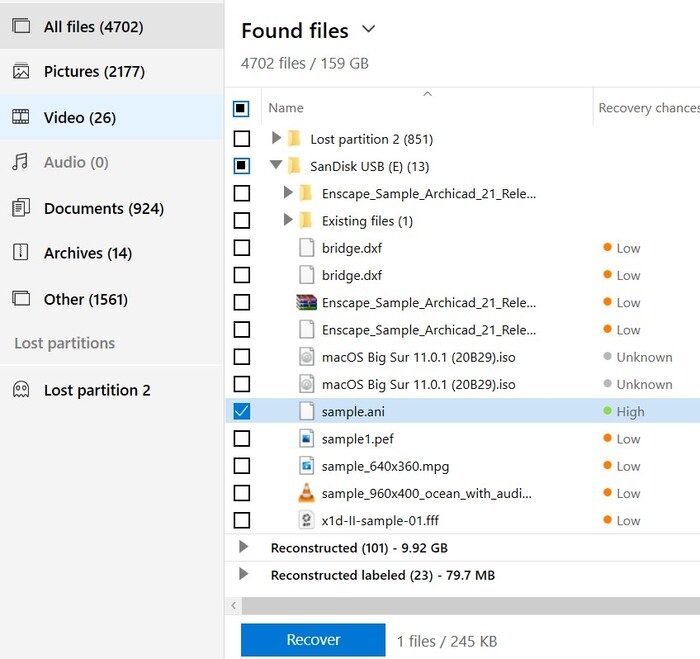
- Highlight the files you want to recover by ticking the checkbox next to the filename, then click the Recover button. This will prompt a pop-up asking you to select the storage medium where the recovered files will be saved to. This location has to be different from the drive you’re recovering from to avoid any overwriting issues.
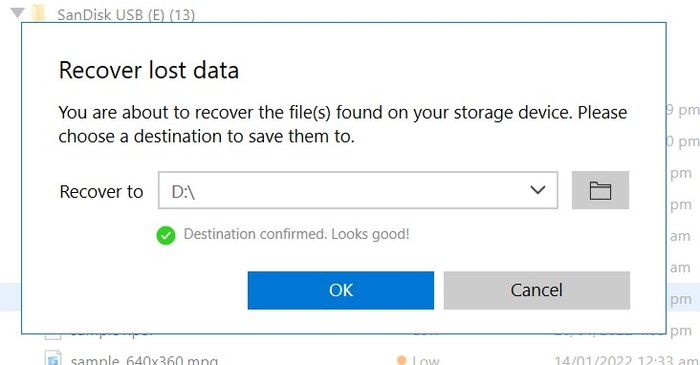
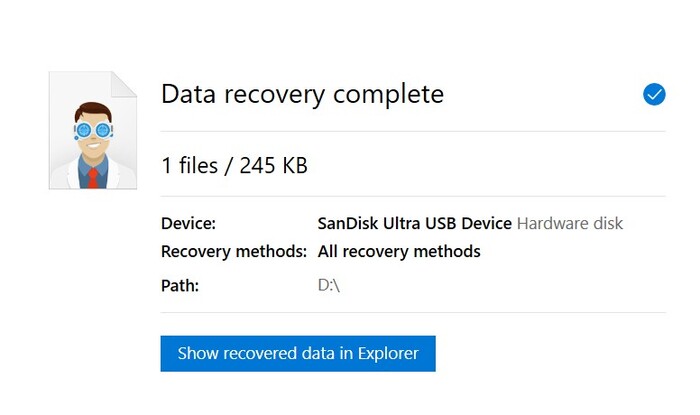
- Once you’re all set, click the OK button and Disk Drill will start recovering. ANI files are relatively small, so this process shouldn’t take too long. Upon completion, you’ll see a link labeled “Show recovered data in Explorer” that you can click to go straight to your recovered files.
Recover ANI Files from Windows Recycle Bin or Mac Trash
Windows Recycle Bin
Getting back your files from the Windows Recycle Bin is a straightforward process, but this recovery method only really works if you delete the file using the Delete key or by right-clicking the file and choosing the Delete option. If you use the Shift + Delete command, the file will get completely erased without ever going to the Recycle Bin and you’ll have to use recovery software to try and get it back. Here’s how you can get files back from your Recycle Bin:
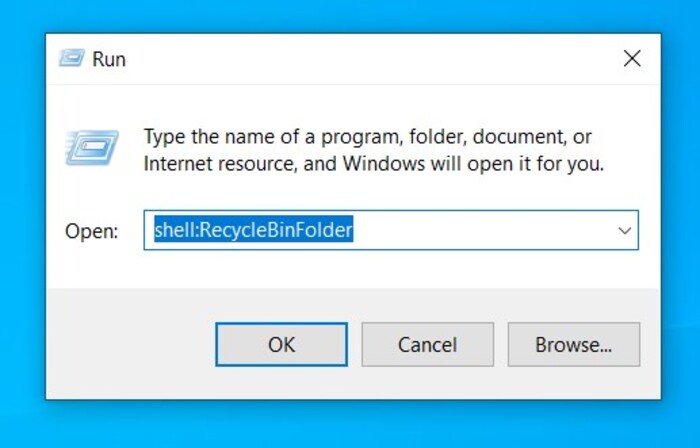
- Your Recycle Bin is usually on the desktop by default. Alternatively, you can press Windows + R to bring up the Run command, then type “shell:recyclebinfolder” and press the Enter key.
- If your ANI files are here, select the ones you want to recover and then right-click and choose the Restore option.
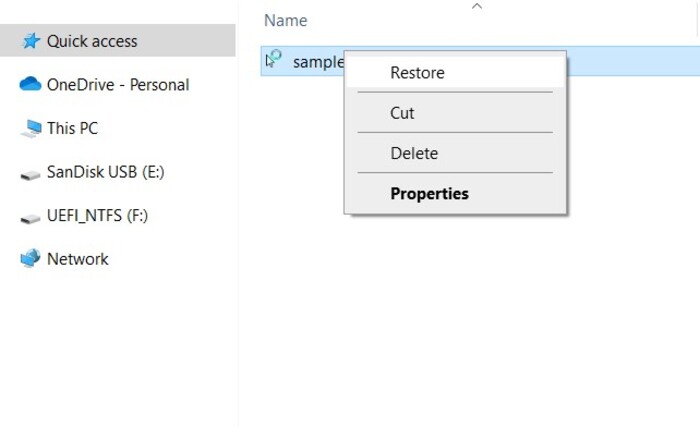
- The files should be returned to their last location.
Mac Trash
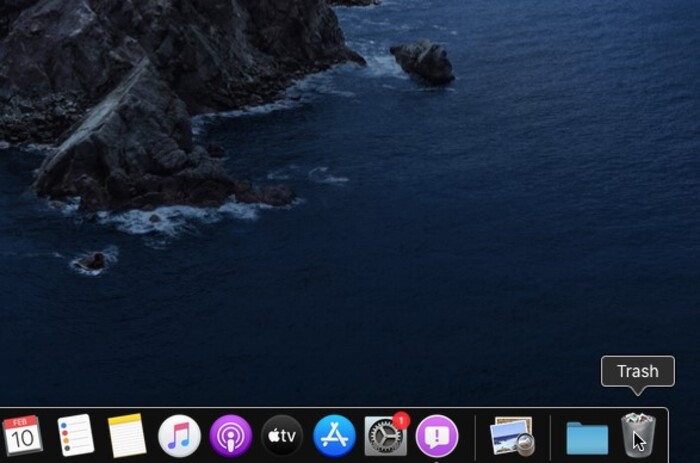
Mac’s version of the Recycle Bin is called “Trash” and it’s even easier to maneuver. All deleted files on Mac operating systems are sent to Trash where they have to be manually deleted. You can also set the Trash app to automatically empty itself at specific intervals. Follow these steps to recover files from Trash:
- Locate the Trash icon on the far-right side of your dock and click it to run the app.
- Highlight the files you want to retrieve, then right-click and choose Put Back.
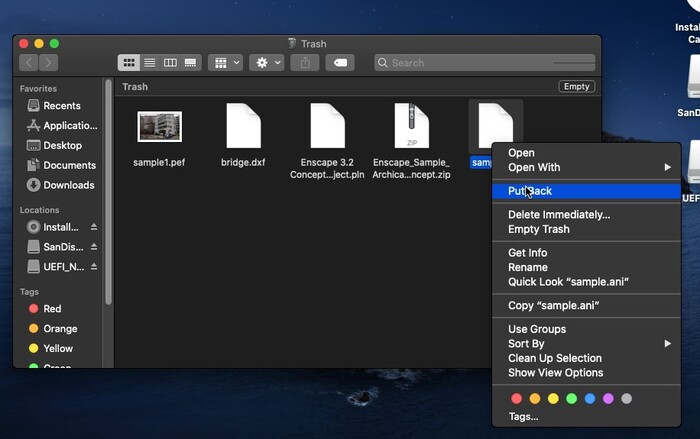
- Your files will be restored to the last location they were in.
Restore from File History
File History is an incredibly useful tool that can be found in the most recent iterations of the Windows operating system. It creates regular backups of your files that you can use to restore specific versions of them whenever you want. It’s a great feature if you work with lots of sensitive files that you might need to restore in case you forgot to save them on a backup drive.
However, it only backs up certain folders and you’ll need to have the feature enabled before any data loss takes place if you want to use it to recover files. If you have files that disappear before then, you won’t be able to get them back with File History. It doesn’t work with unsaved data either. That being said, here’s how to use the tool to rescue files:
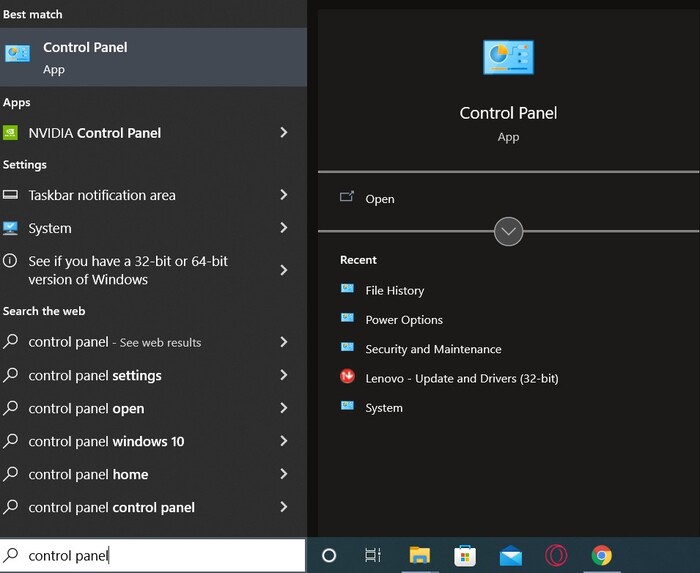
- Open up the search tool on your taskbar, type in “Control Panel”, then choose the first result on the list.
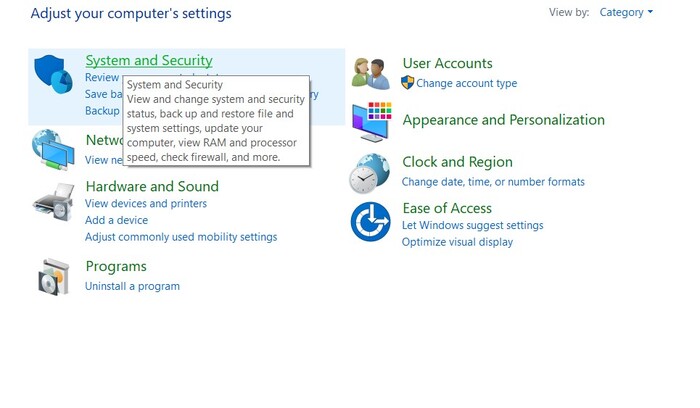
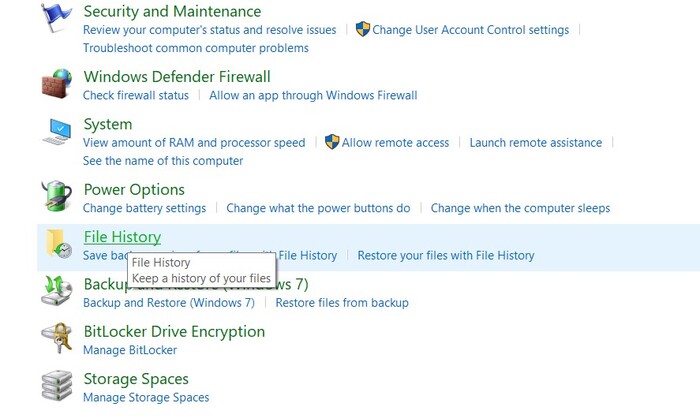
- Click on System and Security followed by File History.
- Click Restore personal files on the left panel of the window.
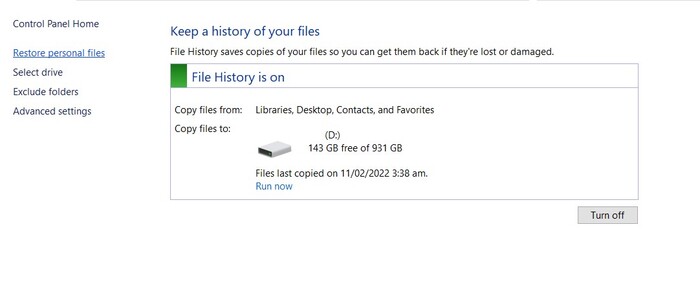
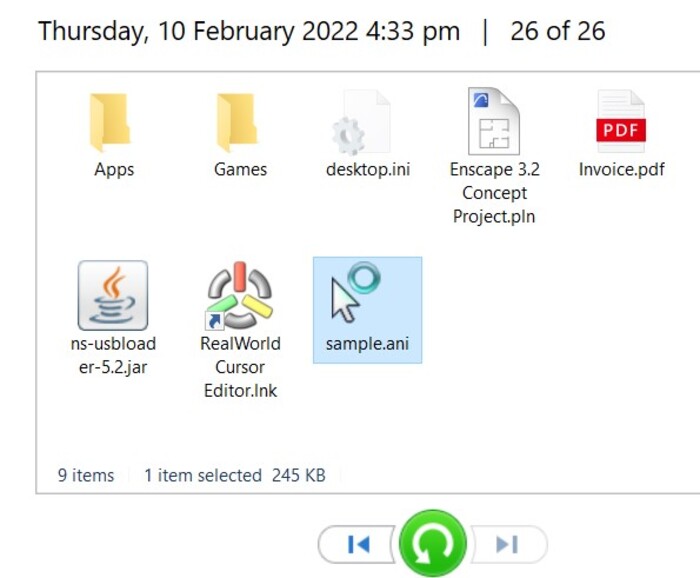
- Go to the folder your ANI files were last located in, then select all the files you want to recover. Once you’re all set, click the rounded green arrow icon along the bottom of the window to restore your files to the location they were last in.
There’s no shortage of ways to recover accidentally deleted or compromised files, so there’s no need to panic if it ever happens to you. All you have to do is figure out which method best suits your data loss scenario and utilize the corresponding guide to get your missing ANI files back in no time.