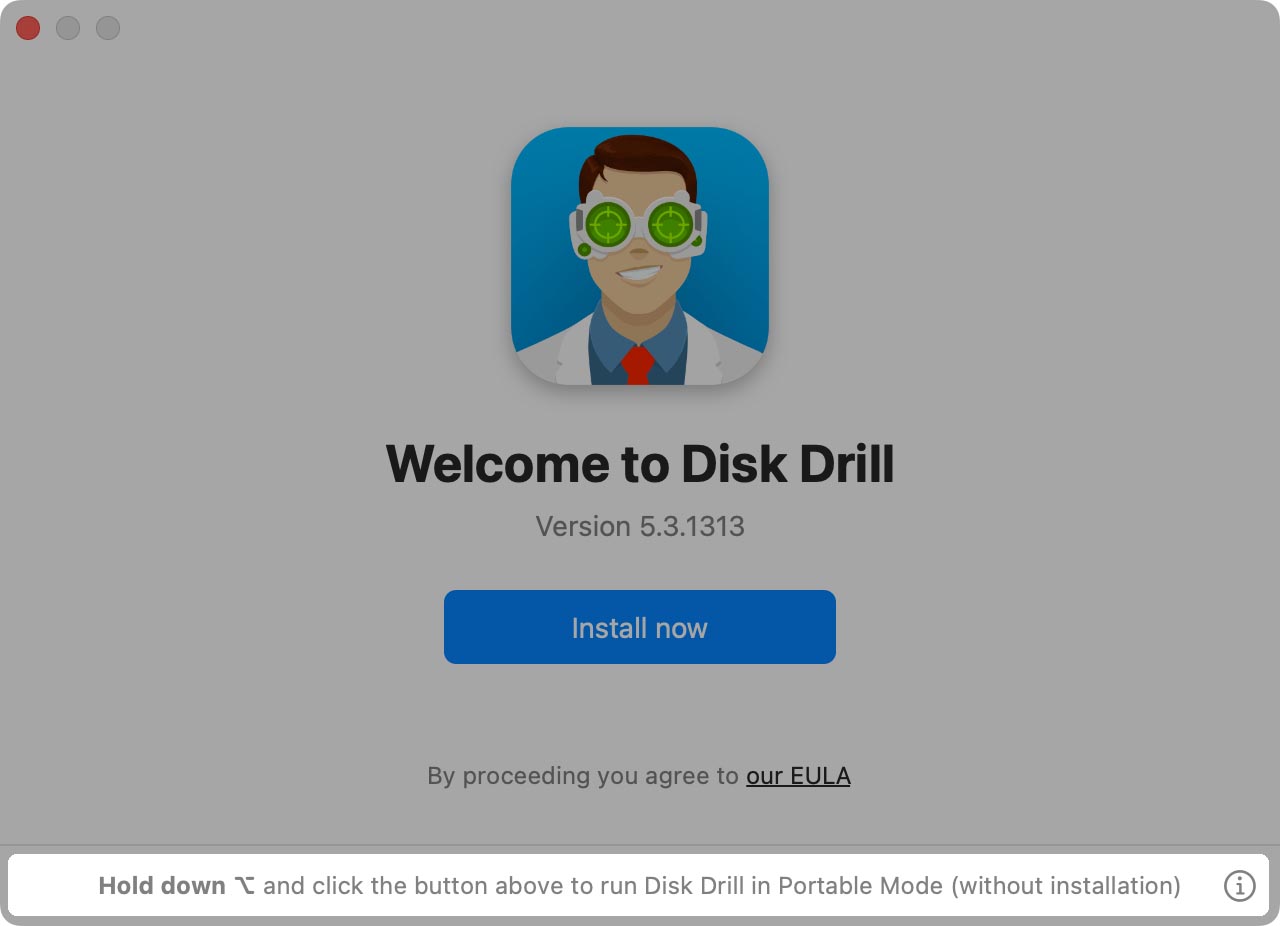
Like many apps, Disk Drill can be installed either on your Mac’s main hard drive or on another disk, in what is called “portable mode”. The advantages of portable mode are especially significant when you are trying to recover data. It can be used in many situations:
- When you have suffered data loss on your internal hard drive and you don’t want to risk overwriting precious data by installing a new program on it.
- When your internal hard drive isn’t working properly and you are unable to complete the normal Disk Drill installation process, or you already have Disk Drill installed but can’t launch it.
- When you want to recover data on another computer, but you don’t want to go through the process of installing Disk Drill on it.
How does portable mode work?
The Disk Drill app is installed on an external disk that is plugged into the computer: this disk could be a USB flash drive, an external hard drive, or other storage device. As long as you have that USB drive or hard drive handy, you can recover data from your Mac. If you wish to recover files on a Mac that won’t start up properly, you’ll need to install it on a bootable drive.
- If your own Mac isn’t working, use a different Mac that is working.
- Connect a USB flash drive or external hard drive to the working Mac. Disk Drill’s app isn’t very large, so almost any size will do.
- Go to
downloads.html to download the app. - The Disk Drill app will automatically be downloaded to the Downloads folder. (If your browser asks you where to save the file, select the desired folder and click Save). It may take a couple minutes to download.
- Go to the Downloads folder and double-click on the Disk Drill disk image.
- You will see the Disk Drill icon and the Applications folder icon. This is where it is different from the regular installation. Do NOT drag it to your Applications folder. Instead, click on the Disk Drill icon, and keeping your mouse button held down, drag it to your external drive icon on the Desktop. Release your mouse button when the green plus button appears. The application will install on the external drive.
- When the installation is done, open your external drive and double-check that the Disk Drill icon now appears there. If it doesn’t, repeat step 7.
- You can now safely eject the external drive by either:
- Clicking the triangular button next to the name of the disk in any window;
- By right-clicking on the disk icon and selecting Eject.
You are now ready to begin file recovery. Note that portable mode still needs a Mac OS to run and cannot be launched when connected to other operating systems.
If you recovering from a Mac internal hard drive, refer to our tutorial How to Recover Lost Files from Your Mac Internal Hard Drive. If you are recovering from another device, plug your external drive into a Mac and then following our How to Recover Lost Files with Disk Drill Basic tutorial.